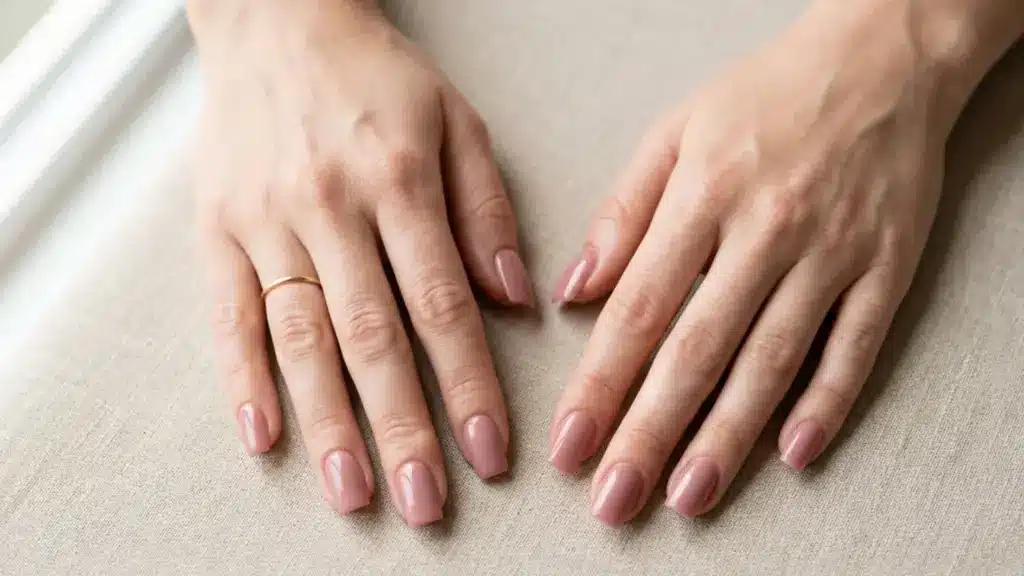
Acrylic nails look amazing until it’s time to take them off. Then suddenly, the strong acetone smell, dry nails, and messy removal process can feel like a whole situation.
Not everyone wants to deal with harsh chemicals just to remove a manicure.
Many people start searching for ways to remove acrylic nails without acetone, especially when trying to protect natural nails or simply work with what is already available at home.
Across beauty forums and DIY communities, countless users share simple tricks and personal experiences for removing acrylic nails more gently.
Warm-water soaks, oils, and careful filing often come up in these conversations.
The good news is that removing acrylic nails without acetone is possible with patience and the right approach.
This blog walks through six practical methods that many people successfully use at home to safely remove acrylic nails, along with tips on aftercare and when a salon visit makes more sense.
Acetone vs. Non-Acetone Removal: What to Expect
Before choosing a method, it helps to understand the honest trade-off between acetone and acetone-free removal.
| Factor | Acetone Removal | Non-Acetone Removal |
|---|---|---|
| Speed | 20 to 30 minutes | 30 to 50 minutes or more |
| Dryness and skin effect | Strips moisture; can irritate skin and cuticles | Gentler on skin, less drying overall |
| Smell | Strong, sharp chemical odor | Mild to moderate depending on product used |
| Effectiveness | Very effective, breaks down acrylic faster | Works well with patience; older sets loosen more easily |
| Safety note | Highly flammable; keep away from heat and flame | Less flammable; safer to use around heat |
| Best for | Quick removal, salon-style results | Sensitive skin, dry nails, at-home preference |
Non-acetone methods are slower but genuinely effective when used with the right technique. The sections below walk through each approach in detail.
Why Some People Prefer to Remove Acrylic Nails Without Acetone
Many people choose to remove acrylic nails without acetone because the chemical can feel harsh on both nails and skin.
Acetone works quickly, but it often strips away natural moisture, leaving nails dry and the surrounding skin rough.
After removal, nails may appear dull, thin, or fragile for a few days, which is why some individuals look for gentler alternatives.
Another common reason is the strong smell. Acetone has a sharp odor that can quickly fill a room, making the removal process uncomfortable for some people.
Those with sensitive skin may also notice irritation or dryness after exposure.
Nail technicians often note that repeated acetone exposure can gradually weaken the nail plate over time, which is one reason many clients ask about acetone-free options during their appointments
DIY beauty enthusiasts often prefer slower home methods that rely on soaking, oils, or careful filing.
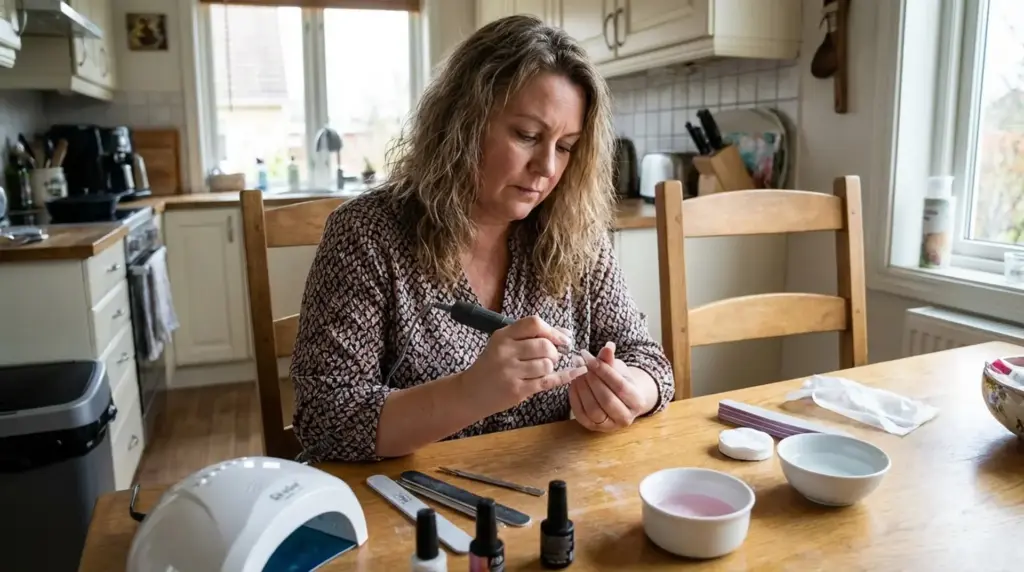
Things to Prepare Before Removing Acrylic Nails at Home
Before starting the process of removing acrylic nails without acetone, gather a few basic tools.
Having everything ready makes it easier to follow the gentle DIY methods used by many people learning to remove acrylic nails at home.
- Nail File or Buffer: A nail file helps reduce the thickness of the acrylic layer. Thinner acrylic becomes easier to loosen during soaking.
- Nail Clippers: Clippers help shorten long acrylic nails before removal. Shorter nails make the process easier and more controlled.
- Cuticle Stick or Wooden Stick: This tool helps gently lift acrylic as the edges loosen. A wooden stick reduces the chance of scratching the natural nail.
- Warm Water Bowl: A bowl of warm water is used to soak nails and soften the adhesive. Soaking also helps gradually loosen the acrylic.
- Mild Soap: Adding soap to warm water helps break down residue. It also keeps the nails clean during the soaking process.
- Cuticle Oil, Olive Oil, or Coconut Oil: Oils help soften the bond holding the acrylic in place. They also add moisture to nails and surrounding skin.
- Non-Acetone Nail Polish Remover: An alcohol-based alternative to acetone that can dissolve the adhesive on acrylic nails with extended soaking. Look for bottles labeled “acetone-free” at most drugstores.
- Towel and Patience: A towel keeps the workspace clean and dry. Patience is important because slow removal helps protect natural nails.
- Aluminum Foil (optional): Foil can be wrapped around soaking fingers to trap warmth and help oil or remover penetrate the acrylic layer faster. This is especially useful for the oil soak method.
- Petroleum Jelly or Barrier Cream (optional): Applying a thin layer around the skin before soaking protects the surrounding area from prolonged product exposure. This is a commonly recommended step in both beauty forums and salon guidance.
How Long Does Each Method Take?
| Method | Estimated Time | Best For |
|---|---|---|
| Warm Soapy Water | 30 to 40 minutes soaking, plus lifting time | Loose or older acrylic sets (3+ weeks) |
| Oil and Warm Water | 20 to 30 minutes with foil wrap; longer without | Dry or sensitive nails, moisture-focused removal |
| Dental Floss or Card | 10 to 20 minutes if nails are already loose | Nails that have already begun to lift at the edges |
| Nail File and Buffing | 15 to 30 minutes of filing plus follow-up soak | Thick acrylic sets work best when combined with soaking |
| Cuticle Stick | 5 to 15 minutes once acrylic is pre-loosened | Final removal step after soaking or filing |
| Non-Acetone Remover Soak | 30 to 45 minutes soaking, plus lifting time | Anyone wanting a chemical-assisted but gentler option |
How to Remove Acrylic Nails Without Acetone
The following methods are commonly shared in DIY beauty communities by people seeking safer ways to remove acrylic at home.
1. Warm Soapy Water Method
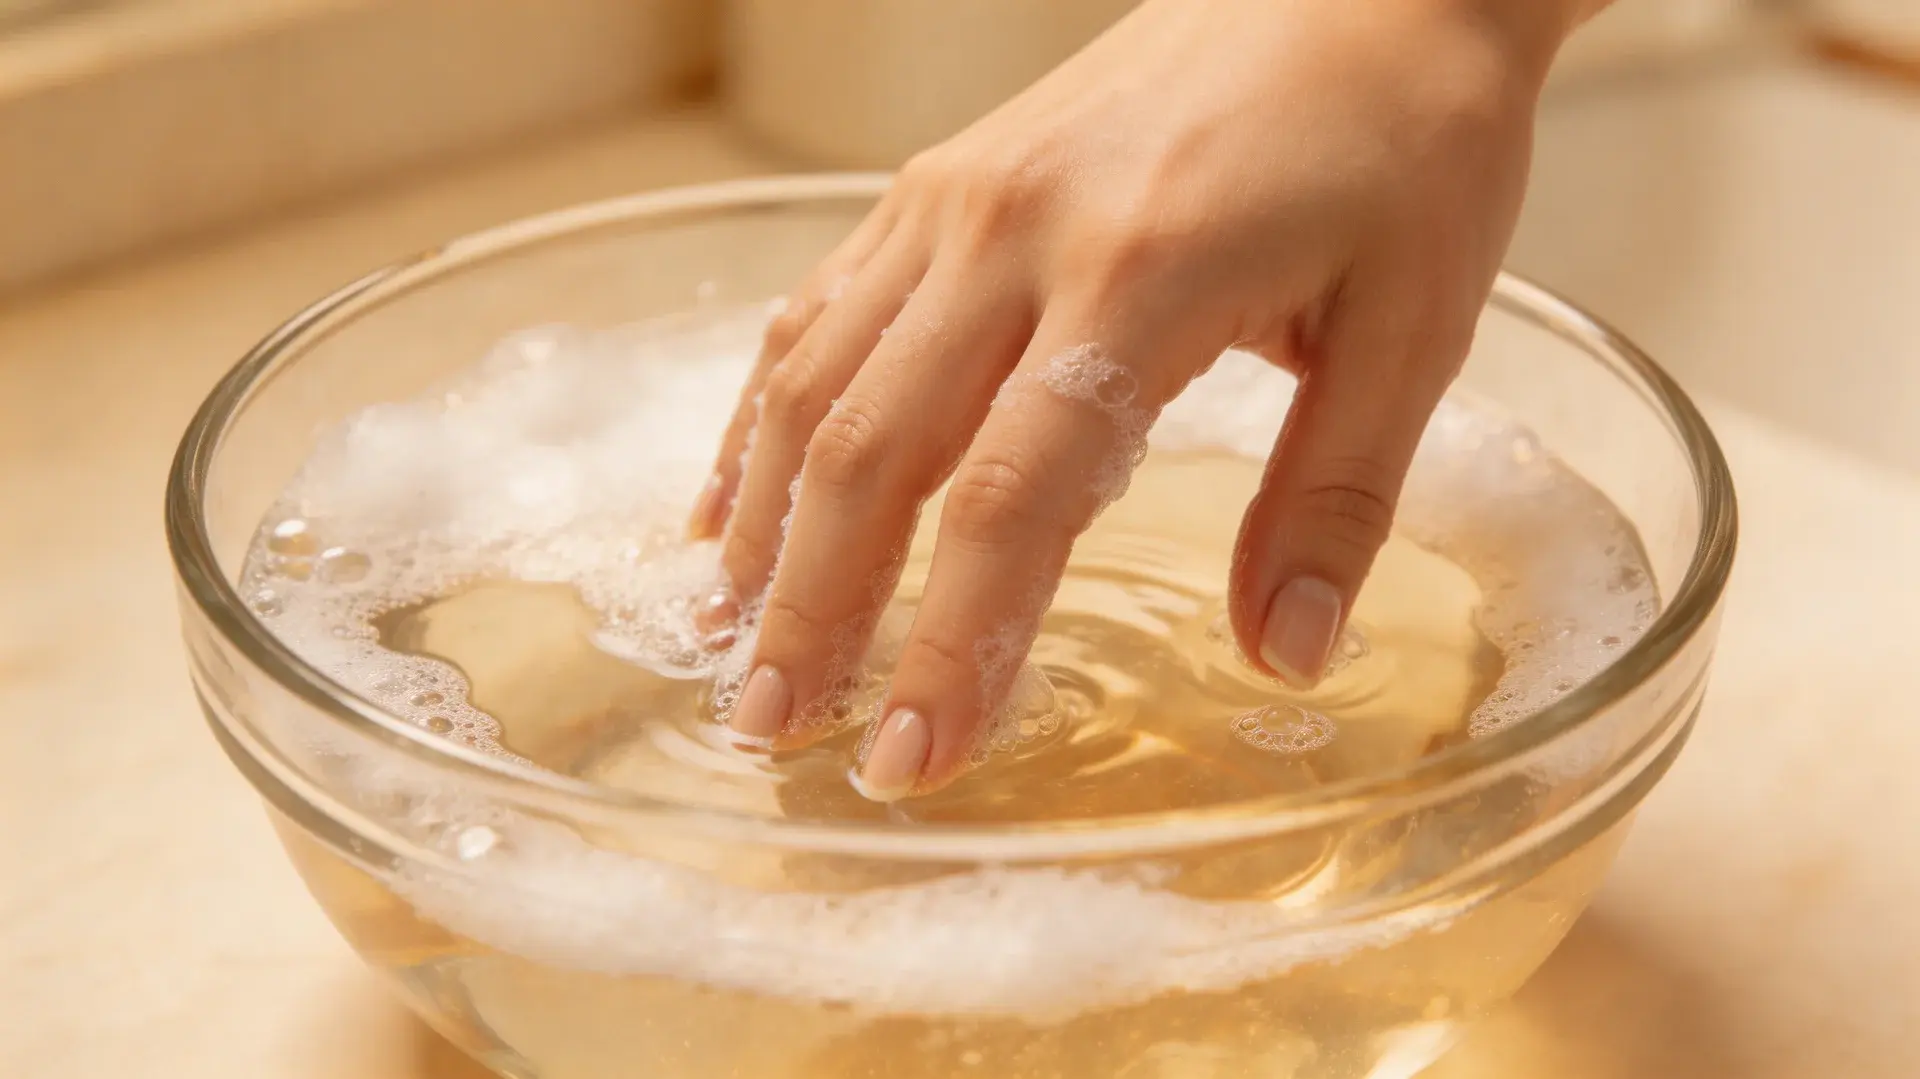
This is one of the most commonly suggested approaches for removing acrylic nails without acetone.
Start by trimming the acrylic nails as short as possible using nail clippers. Shorter nails make soaking more effective and easier to manage.
Fill a bowl with warm water and add a small amount of mild soap. Place your fingers in the bowl and soak the nails for about 15 to 20 minutes.
After soaking, gently try lifting the edge of the acrylic with a cuticle stick. If the acrylic does not move easily, avoid forcing it.
Soak the nails again and repeat the process until the acrylic begins to loosen naturally.
2. Oil And Warm Water Method
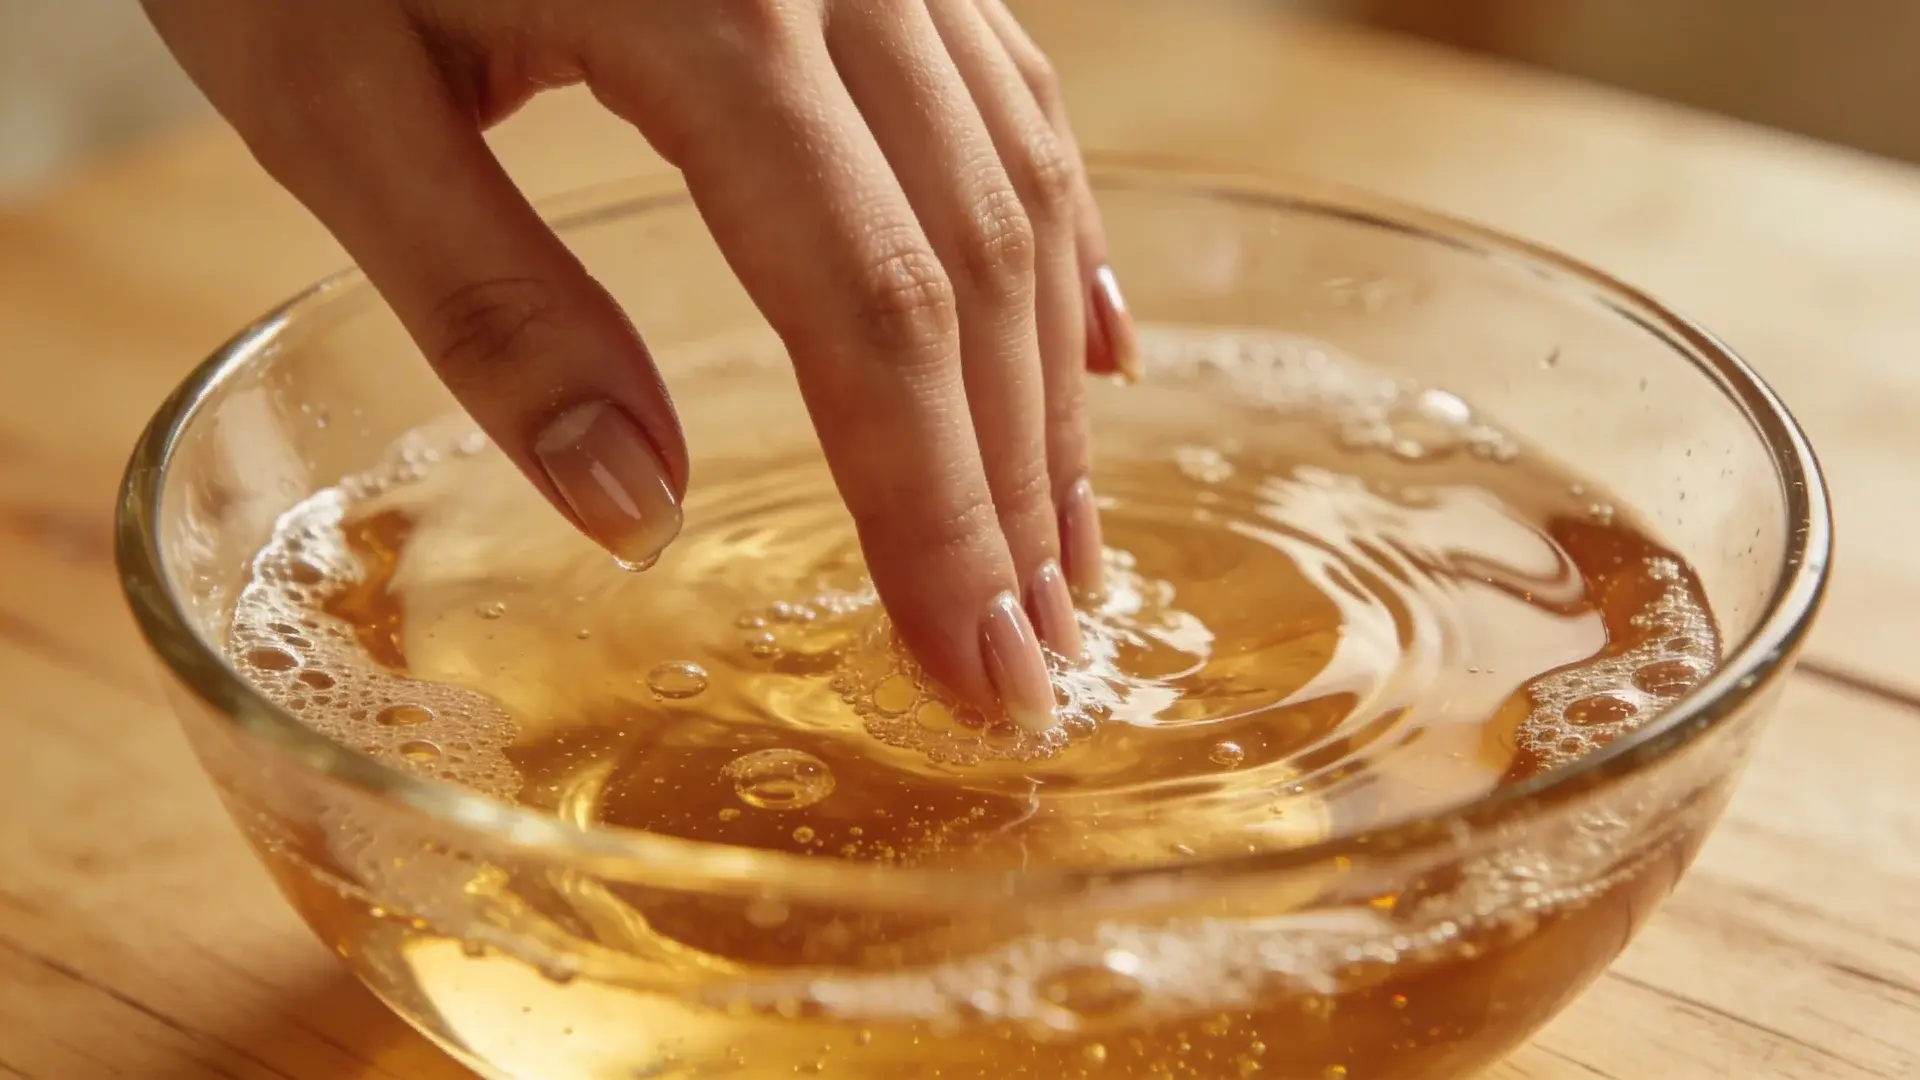
This method adds moisture while helping soften the adhesive holding the acrylic nails.
Fill a bowl with warm water and mix in a few drops of cuticle oil, olive oil, or coconut oil. Oils help break down the bond while preventing the nails from becoming overly dry.
Soak the nails for 15 to 25 minutes. During this time, the adhesive may slowly start loosening.
To speed up the process, try the foil wrap variation. Soak a cotton ball in cuticle oil and press it firmly against the nail, then wrap a small piece of aluminum foil tightly around the fingertip to hold the cotton ball in place.
The foil traps warmth and forces the oil to stay in direct contact with the acrylic surface rather than diluting into the water bowl, which helps it penetrate more effectively. Check back every five to ten minutes to see whether the edges have started to lift.
Use a wooden cuticle stick to gently push the acrylic upward from the edges. Work slowly and stop if the nail feels resistant.
If the nails begin to feel dry during the process, apply a little more oil and continue soaking.
3. Dental Floss Method
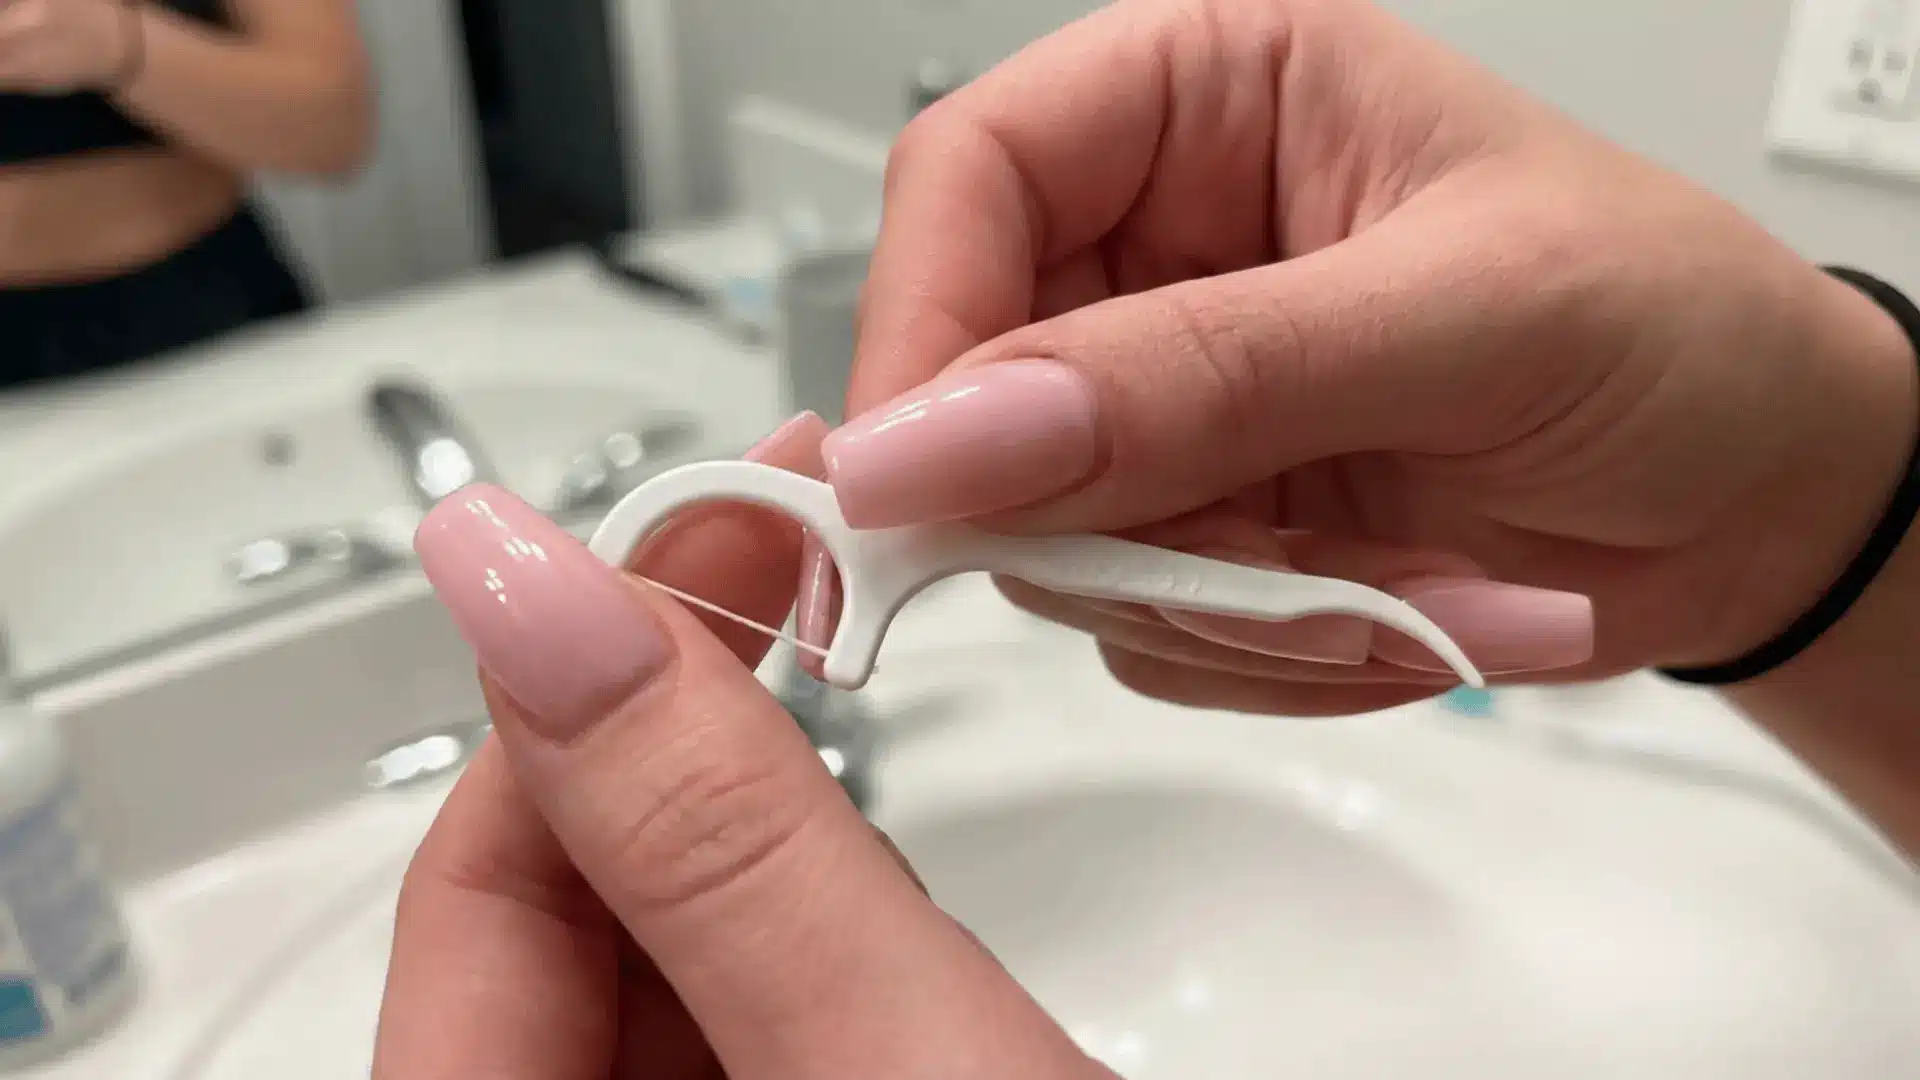
The dental floss technique is often mentioned in DIY nail forums as a creative way to help separate acrylic from the natural nail.
This method usually works best with two people. One person can carefully slide a piece of dental floss under the lifted edge of the acrylic nail.
The floss is then moved slowly back and forth between the acrylic and natural nail. This motion helps loosen the bond without pulling directly on the nail.
Gentle movement is important. If the acrylic feels strongly attached or the nail begins to bend, stop immediately to avoid damaging the natural nail.
A similar approach uses a thin business card or an old loyalty card instead of dental floss. Once a small gap appears between the acrylic and the natural nail, slide the edge of the card into that gap and push it gently toward the tip of the nail.
Moving the card slowly with even pressure can help separate the acrylic layer without excessive force on the natural nail underneath.
Both the dental floss and card methods should only be attempted after some degree of soaking has already loosened the edges. Trying either method on firmly bonded acrylic without pre-soaking significantly increases the risk of lifting or tearing the natural nail surface.
4. Nail File And Buffing Method
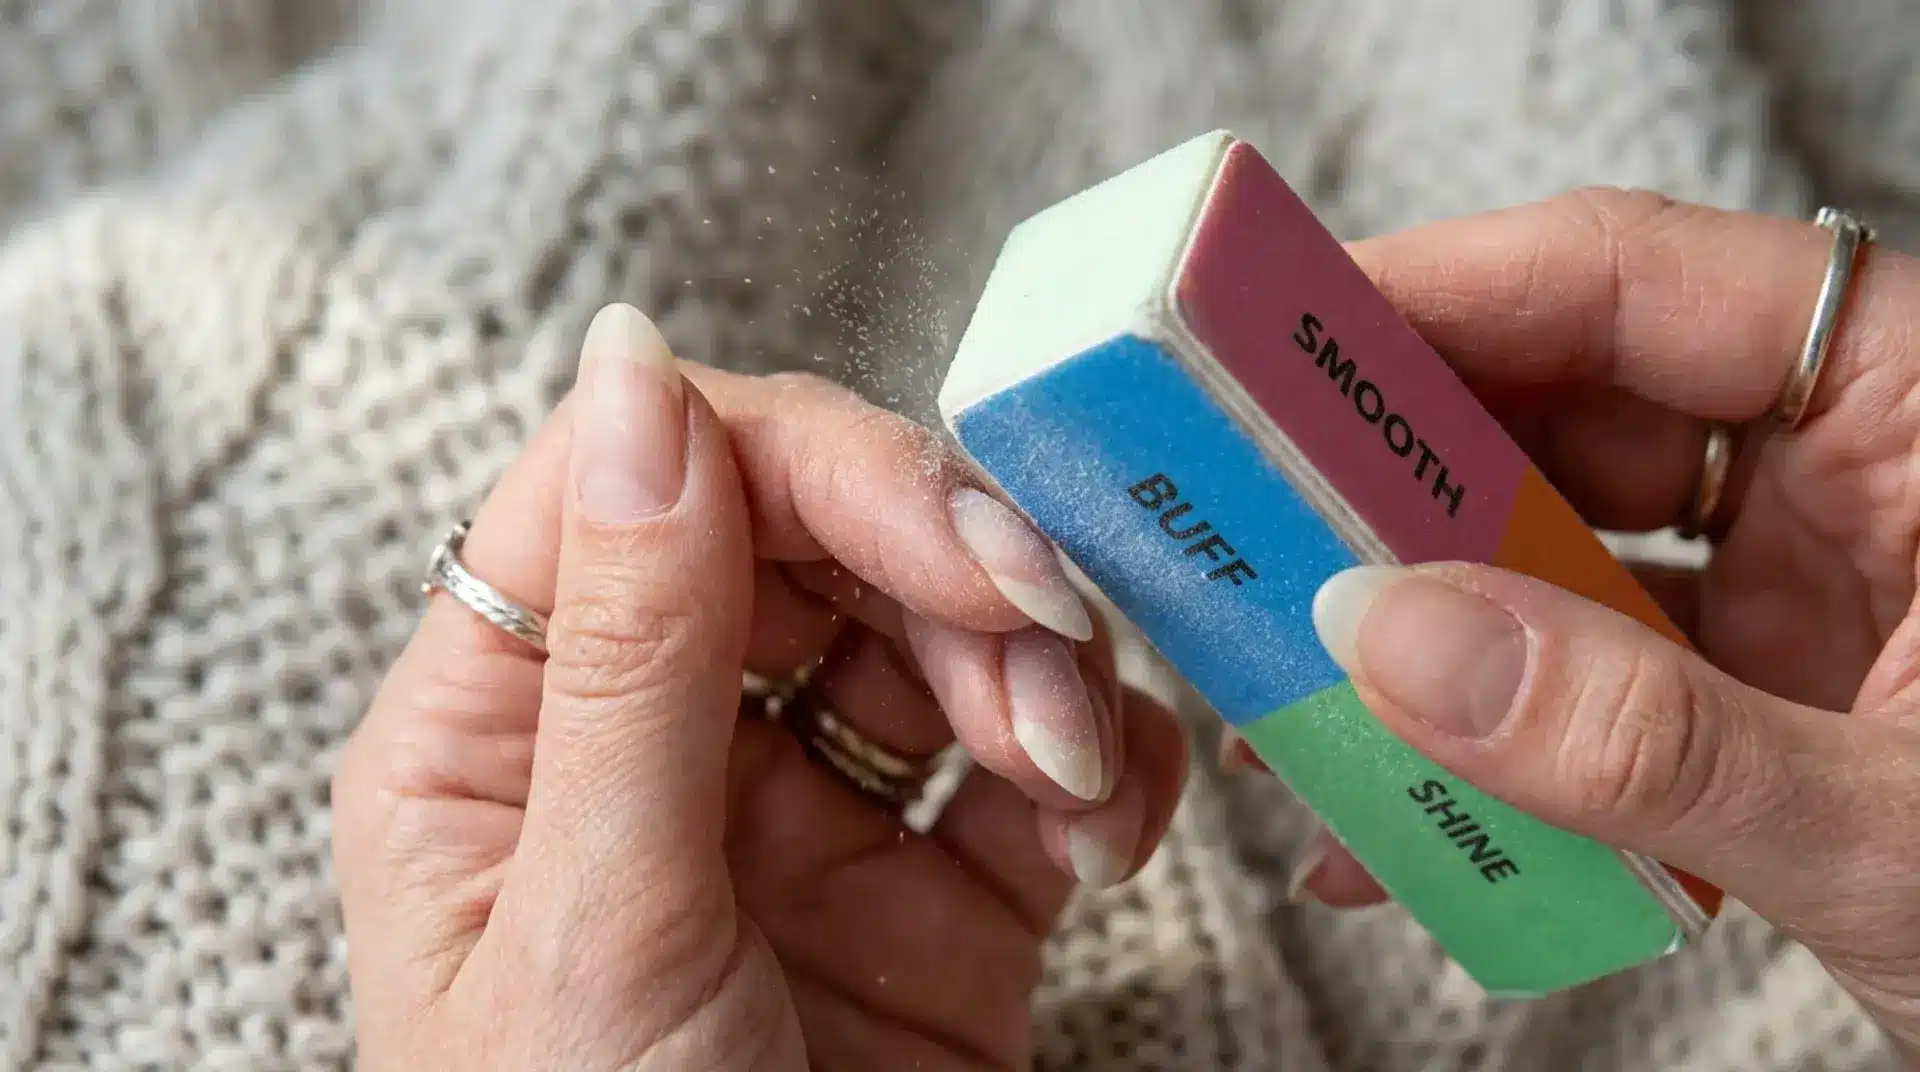
Filing the acrylic layer down can make the removal process easier, especially when combined with soaking methods.
Use a nail file to gradually reduce the thickness of the acrylic surface. Filing helps expose the inner layer and allows water to penetrate more easily.
After filing, lightly buff the surface to smooth rough areas. Work slowly to avoid reaching the natural nail underneath.
Once the acrylic becomes thinner, soaking the nails in warm water can help loosen the remaining material.
5. Cuticle Stick Method
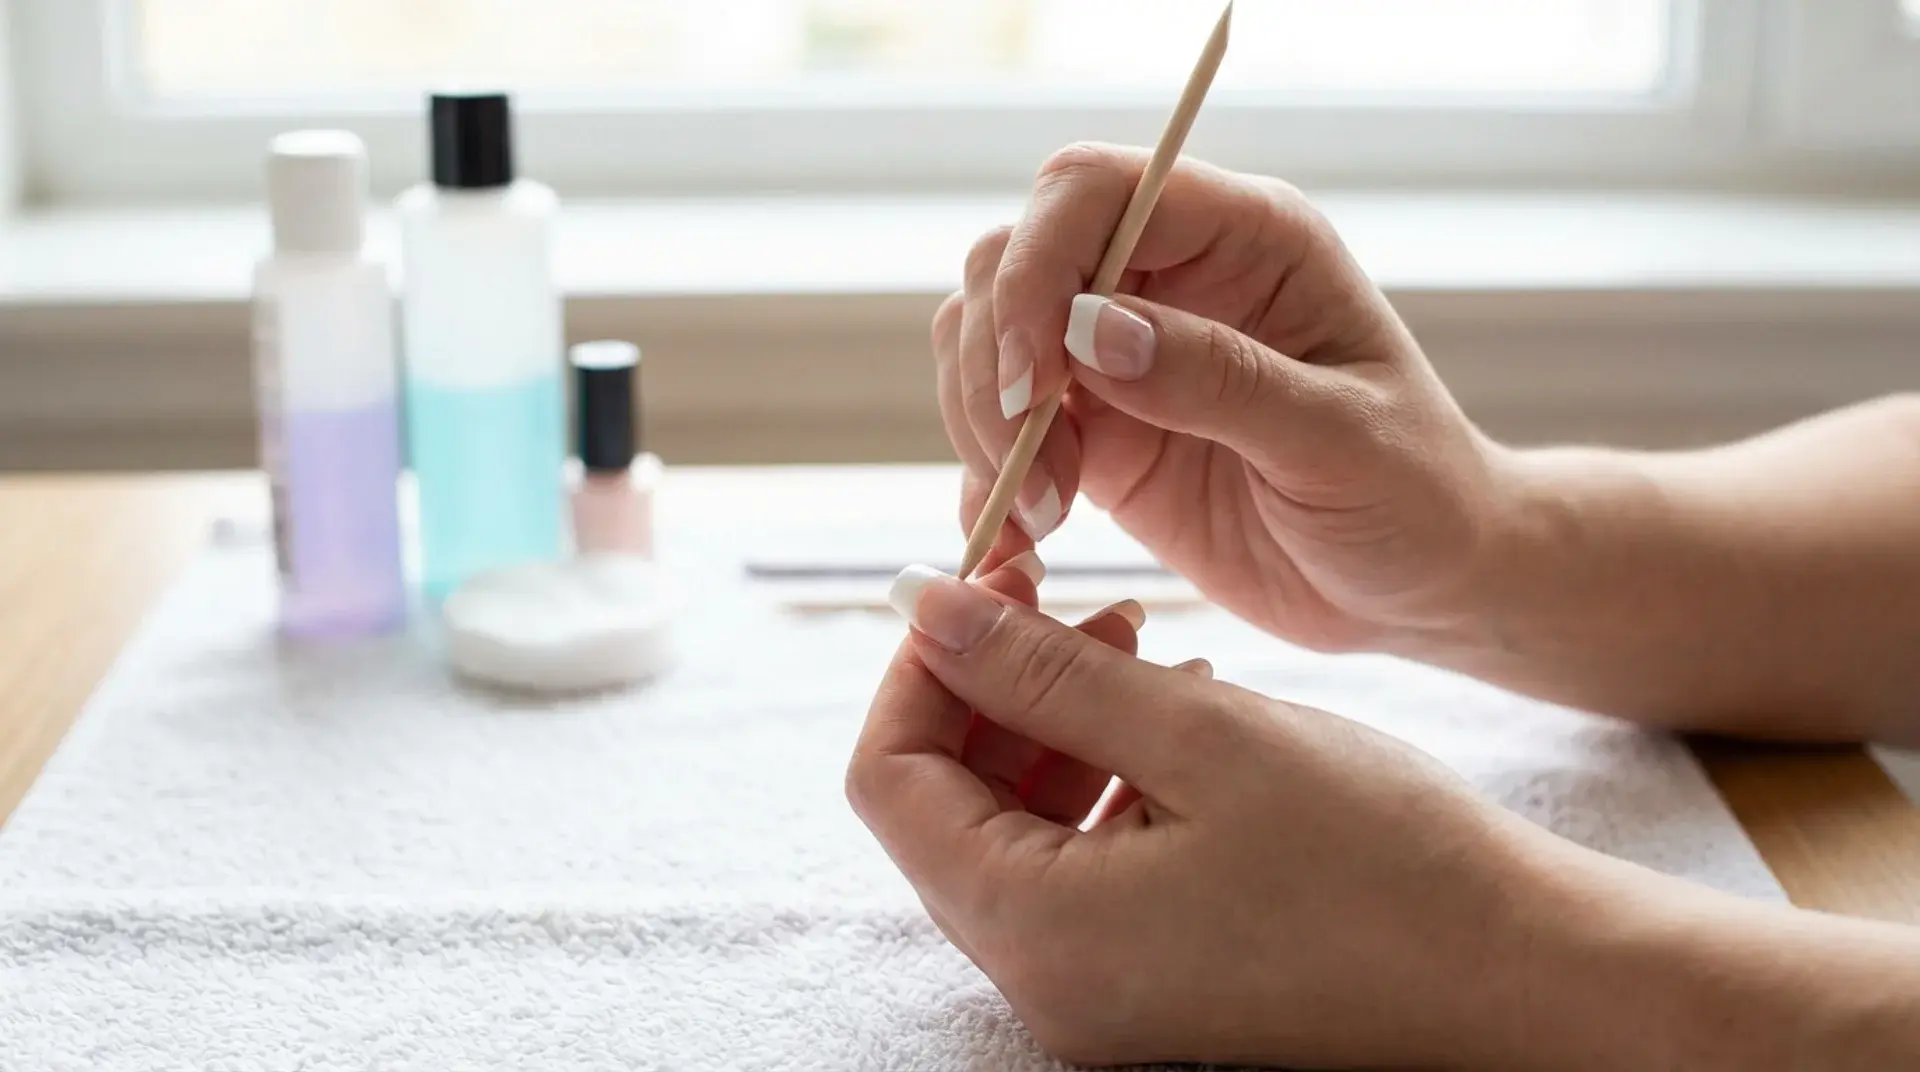
This method works best once the acrylic nail has already started to loosen from soaking or filing.
Take a wooden cuticle stick and gently slide it under the lifted edge of the acrylic nail. Move the stick slowly across the nail plate.
The goal is to guide the acrylic upward rather than forcing it off. Slow movement reduces stress on the natural nail.
If resistance is still strong, place the nails back in warm water and continue soaking before trying again.
6. Non-Acetone Nail Polish Remover Method
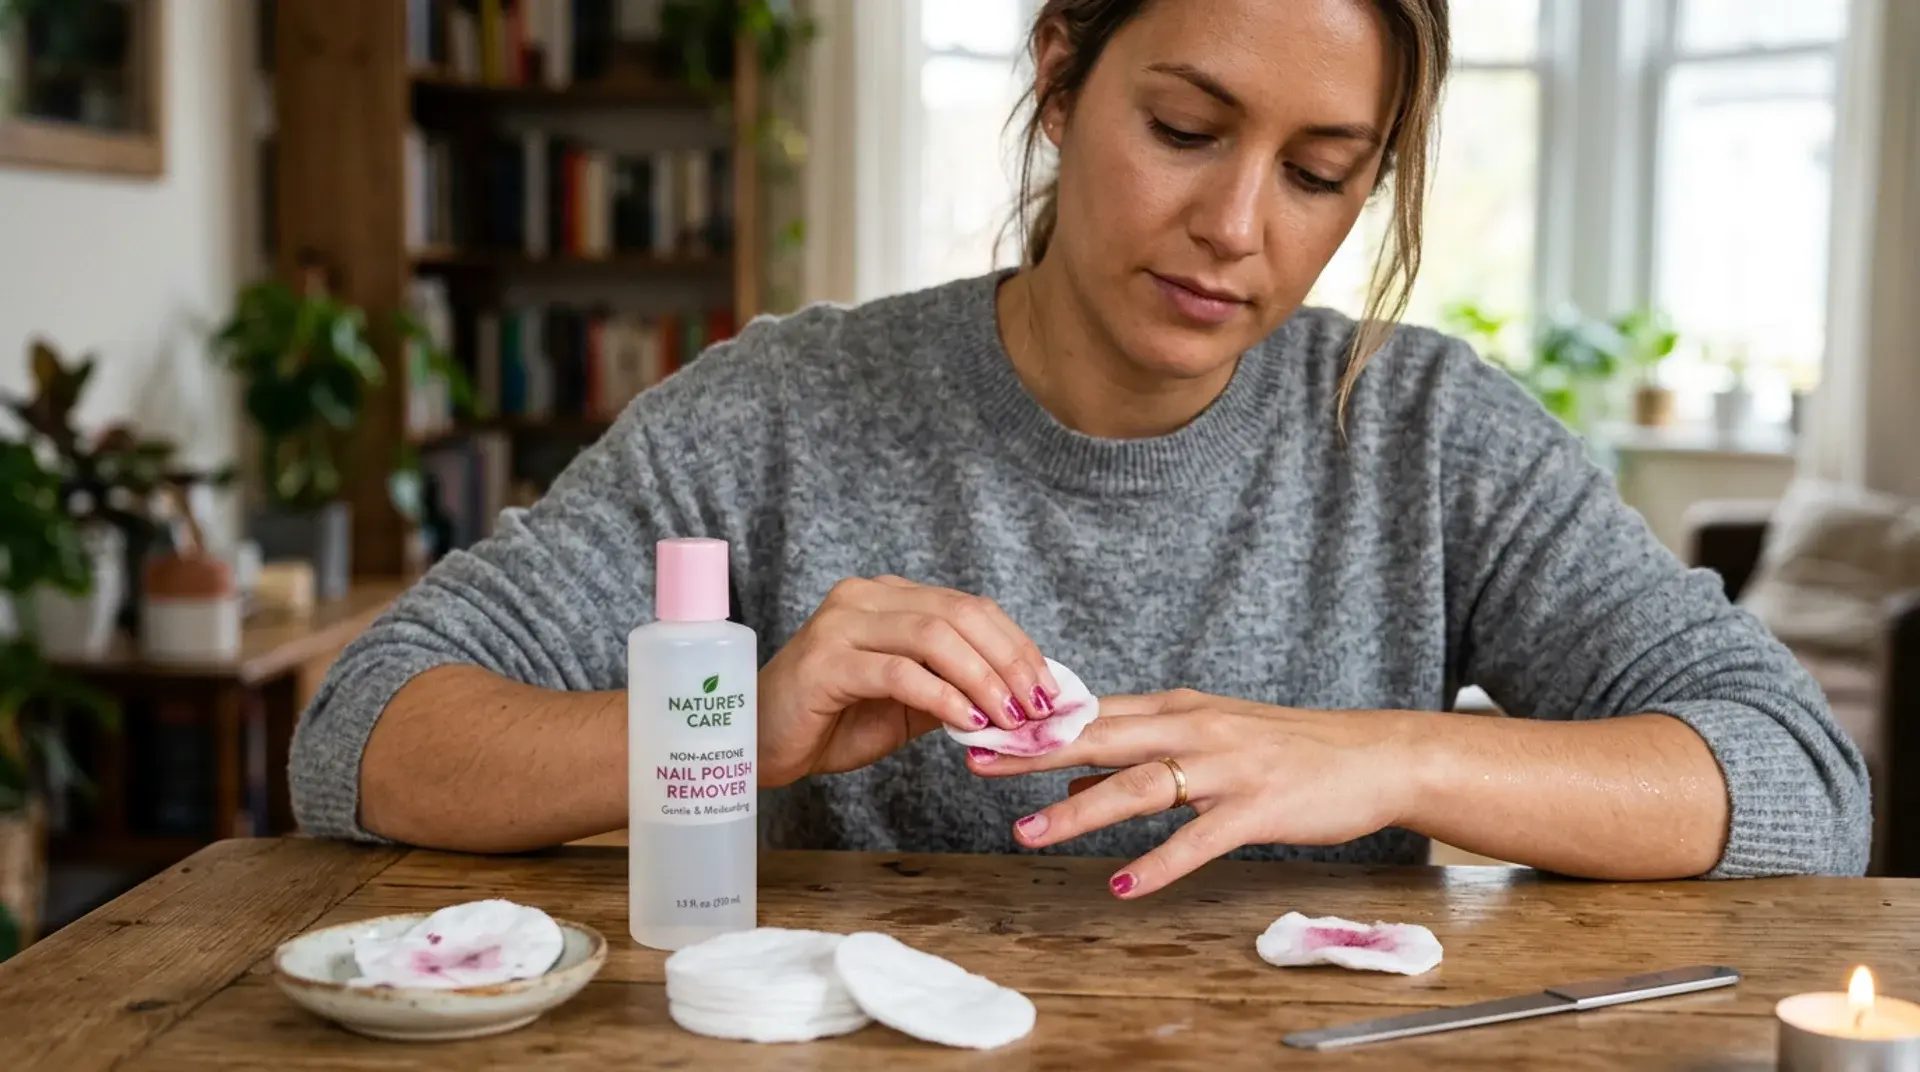
Non-acetone nail polish remover is an alcohol-based solution that is less harsh than pure acetone but can still help dissolve the adhesive holding acrylic nails in place.
It is widely available at drugstores and beauty supply stores and is a practical option for people who want a chemical-assisted method without the harshness of full acetone.
Start by trimming and filing the acrylic nails down as short as possible. The thinner the acrylic layer, the more effectively the remover can work through it.
Pour enough non-acetone nail polish remover into a bowl to fully submerge the nails. Soak the nails for 30 to 40 minutes, checking occasionally to see whether the edges have begun to loosen.
Once the acrylic starts to separate, use a wooden cuticle stick to gently press the loosened areas upward. If the nail still feels firmly attached, add fresh remover and continue soaking before trying again.
This method works more slowly than acetone but tends to be gentler on the surrounding skin and cuticles, making it a useful middle-ground option.
How to Take Acrylic Nails Off Safely Without Damaging Natural Nails
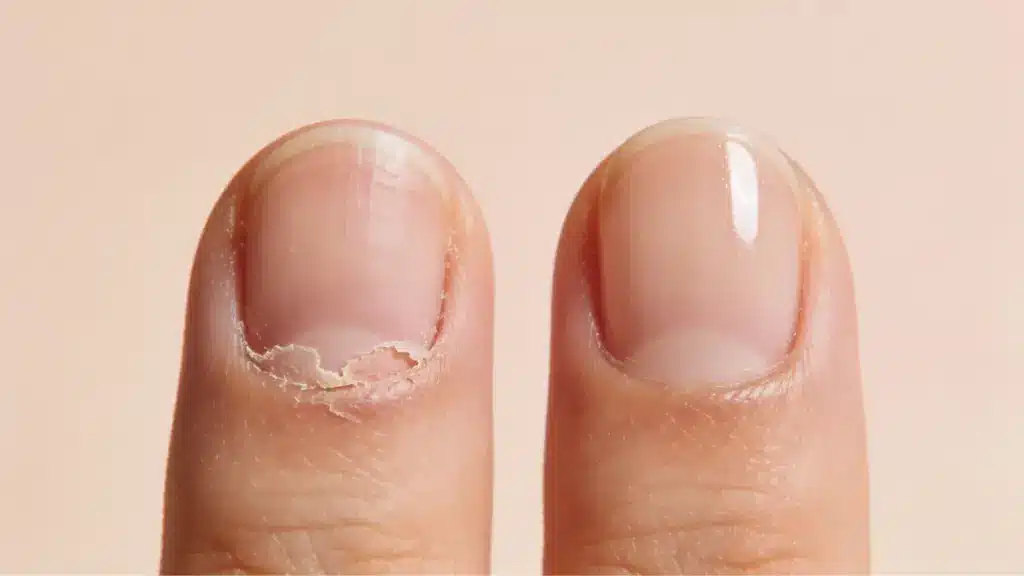
Learning how to take acrylic nails off safely is just as important as choosing the removal method. Natural nails are delicate, and rough removal can cause long-term weakness or peeling.
Avoid pulling or ripping acrylic nails away from the nail bed. Forceful removal can remove layers of the natural nail along with the acrylic.
Work slowly and allow soaking methods to soften the adhesive first. This reduces the pressure required to lift the acrylic.
Use gentle pressure when lifting the edges. If the natural nail begins to bend or feels sensitive, stop and continue soaking.
Patience is the most important part of the process. Taking extra time helps protect the natural nail and supports healthier regrowth.
Nail technicians generally recommend setting aside at least 30 to 40 minutes for any acetone-free removal session, since these methods rely on gradual loosening rather than fast chemical breakdown.
Mistakes to Avoid When Removing Acrylic Nails at Home
Some common mistakes can make acrylic nail removal much harder or even damage the natural nails underneath.
One common mistake is forcefully peeling acrylic nails off. This can tear the top layers of the natural nail, leaving the nail plate thin and fragile.
Skipping soaking steps is another issue. Without enough soaking time, the adhesive remains strong, and the acrylic becomes difficult to lift safely.
Over-filing the nail is also risky. Filing too deeply can reach the natural nail and cause sensitivity or thinning.
Using sharp metal tools under the nail plate can lead to injury. Wooden sticks are usually safer for gentle lifting.
Finally, rushing the removal process often leads to damage. A slow, careful approach helps maintain healthier natural nails.
Nail Care Tips after Removing Acrylic Nails
Once the acrylic nails are removed, natural nails may feel slightly dry or weak. Proper aftercare helps restore moisture and keeps nails healthy while they recover.
- Wash Hands And Remove Residue: Start by washing hands with mild soap and warm water. This helps remove leftover adhesive, oils, or small acrylic particles from the nail surface.
- Apply Cuticle Oil to Restore Moisture: Cuticle oil helps bring moisture back to the nails and surrounding skin. Regular application can improve nail flexibility and prevent dryness.
- Use Nail Strengthener if Nails Feel Weak: A nail-strengthening formula can help nails that feel thin or fragile after acrylic removal. It creates a protective layer while the nail grows naturally.
- Keep Nails Short for a Few Days: Shorter nails are less likely to bend or break while they regain strength. Trimming them also reduces pressure on the nail plate.
- Allow Natural Nails Time to Recover: Natural nails need time to regain their normal texture and strength. Giving them a short break from acrylics or heavy nail products can support healthier growth.
Reddit Tips For Removing Acrylic Nails Without Acetone
Community discussions across Reddit beauty threads offer some specific insights that go beyond the standard method guides.
Several users recommend warming the oil slightly before soaking, noting that gently warmed oil loosens the adhesive noticeably faster than oil used at room temperature.
Others suggest applying a thin layer of petroleum jelly or barrier cream around the skin before soaking, to protect the surrounding area from prolonged moisture or product exposure.
A frequently repeated tip in these communities involves breaking the filing step into multiple short sessions rather than doing it all at once. This approach reduces the risk of accidentally filing through to the natural nail.
Some users also note that acrylic sets that have been on for more than three weeks tend to respond better to soaking methods than fresher applications, because the adhesive bond weakens slightly over time.
The most consistent takeaway across these posts is that attempting to rush the process almost always results in some degree of damage.
Users who reported healthy, natural nails after DIY removal most commonly credited multiple short soaking sessions spread over time, rather than a single extended attempt.
When to Skip DIY and See a Nail Technician?
Most at-home removal goes smoothly when the methods above are followed with care. There are situations, however, where visiting a nail salon is the safer choice.
If the acrylic nails were applied more than five or six weeks ago and still feel very firmly bonded at the base, the adhesive may be too strong for gentle home methods to break down without risking nail damage.
If pain or unusual sensitivity is felt at the nail bed during any removal attempt, stopping immediately is advisable.
Forcing tightly bonded acrylics in this situation can strip away the top layer of the natural nail, which takes several weeks to recover.
People with already thin or damaged natural nails should consider professional removal, since home methods carry a higher risk of causing further weakness in nails that are already compromised.
A nail technician can also check for any lifting, discoloration, or early signs of infection that may have developed beneath the acrylic during wear, which is difficult to assess at home.
Conclusion
Acrylic nails look great, but removing them does not have to turn into a stressful nail disaster.
The good news is that it is completely possible to remove acrylic nails without acetone using simple, gentler DIY methods.
Warm-water soaking, oils, gentle filing, and patient lifting can slowly loosen the acrylic without exposing the nails to harsh chemicals.
The key is patience and a soft approach rather than rushing the process. When done carefully, these techniques can help protect nail health while still getting the job done at home.
If someone is figuring out how to take acrylic nails off without acetone, these methods offer practical options worth trying.
Have a trick that worked surprisingly well? Drop it in the comments because someone else might need that lifesaver tip.
Frequently Asked Question
Can Warm Water Alone Remove Acrylic Nails?
Warm water can help loosen acrylic nails, but it usually works slowly. Combining warm water with soap, oils, or light filing often helps soften the adhesive more effectively and makes removal easier.
Does Removing Acrylic Nails Without Acetone Damage Natural Nails?
Removing acrylic nails without acetone usually causes less dryness than acetone-based removal. However, damage can still happen if the acrylic is pulled off forcefully. Gentle soaking and slow lifting help protect the natural nail surface.
How Long Does It Take to Remove Acrylic Nails Without Acetone?
Most acetone-free methods require between 30 and 50 minutes of total time, including soaking, loosening, and lifting. Non-acetone nail polish remover soaks typically take 30 to 45 minutes. Warm water and oil methods vary depending on the thickness of the acrylic and how long it has been worn. Older sets of three weeks or more tend to loosen faster than freshly applied ones.
Is Non-Acetone Nail Polish Remover Safe for Sensitive Skin?
Non-acetone removers are gentler than pure acetone and less likely to cause immediate skin irritation. However, prolonged soaking in any solvent can cause some dryness or mild sensitivity, especially for those with very sensitive skin. Applying petroleum jelly or a barrier cream around the skin edges before soaking helps reduce direct product contact and protects the surrounding skin during the process.