Different types of nail enhancements have come a long way, and honestly, this is one of the best times to try them out.
Things are simpler now, and there are more options that actually last and feel comfortable. If you want extra length, more strength, or just nails that stay neat for days, there is something that fits.
It really depends on your daily routine and how much effort you want to put into maintenance.
If you are in a hurry, here is a quick way to choose. Need something that can handle heavy work like scrubbing dishes? Go for Acrylic or Dip Powder. Want a clean and natural finish? Gel or Builder Gel is best.
Always on the move and needing flexibility, Polygel is the best choice. Dealing with a sudden nail break: Fiberglass Wraps. This should give you a clear starting point before getting into the details.
What are Nail Enhancements
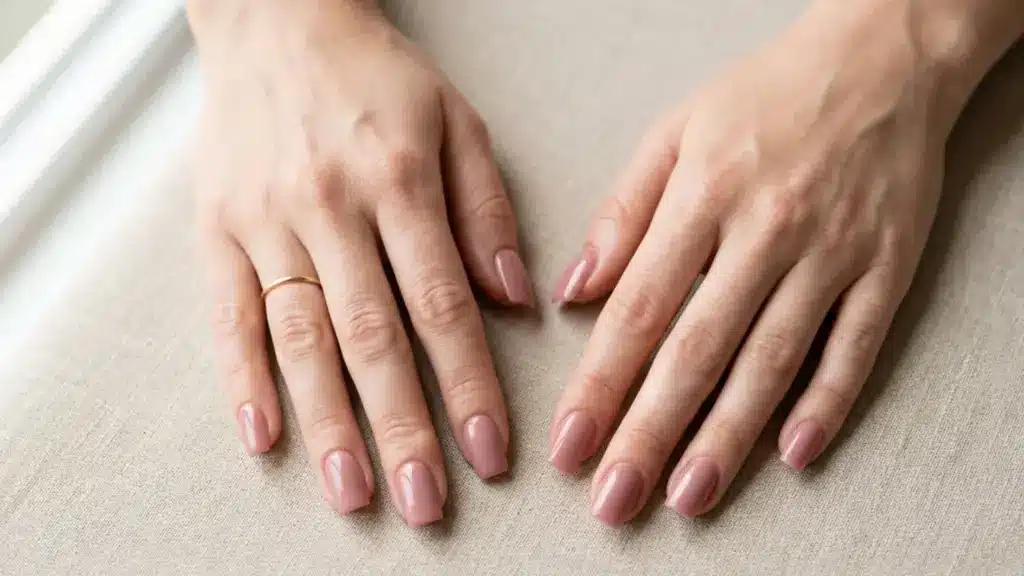
Nail enhancements are products applied to natural nails to add length, shape, or strength. They are not just polished sitting on the surface.
They actually change how the nail is built and how it performs day to day. Some are shaped directly on the nail to create length.
Some need soaking before removal. Others are applied in layers and sealed to stay in place. Even though the methods differ, the goal is simple.
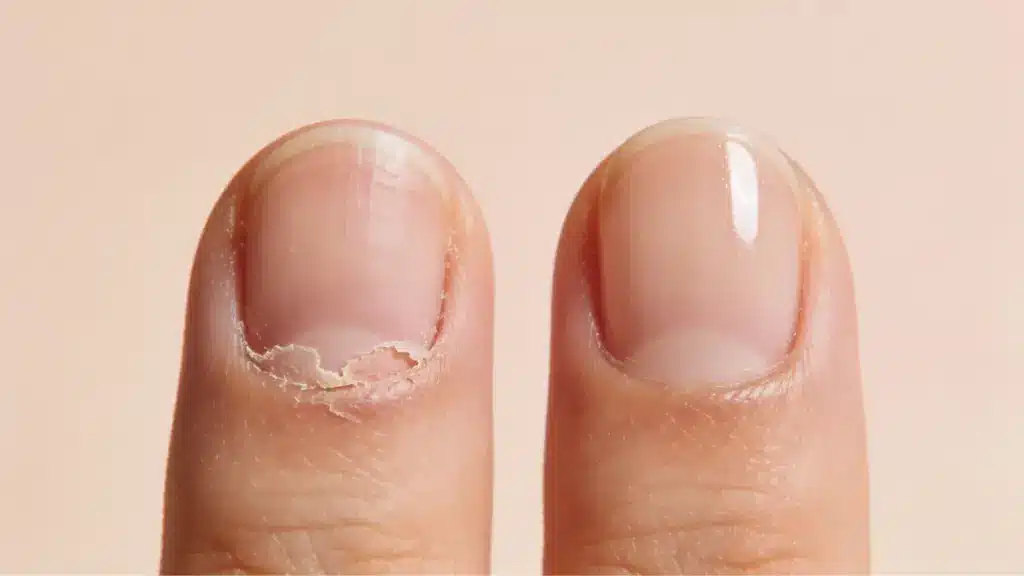
A nail that looks better and lasts longer. It helps to think of the natural nail as a base. The enhancement forms a layer that needs to stick properly to that base.
When that bond is done right, the nails stay strong and intact. When it is not, you start to see lifting, cracks, or early wear.
That is why prep and application matter so much. It is not just about the product you choose, but how well it is applied in the first place.
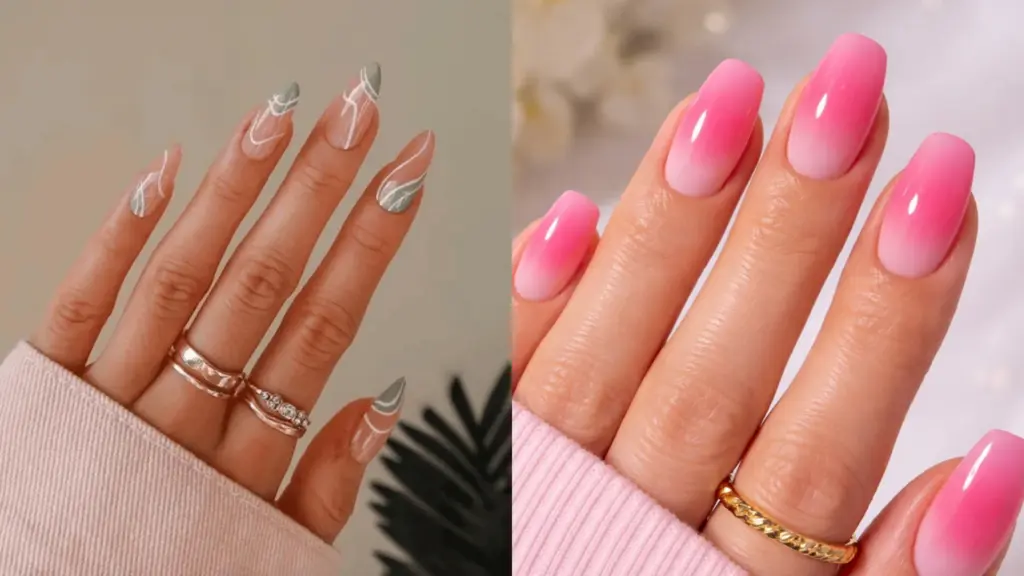
If you are still figuring out what finish or look you want, going through some nail style inspiration before booking an appointment can make the decision much easier.
Types of Nail Enhancements
Choosing the right nail enhancement depends on how long you want it to last, how natural you want it to look, and how much upkeep you are comfortable with.
1. Acrylic Nails
Acrylics are made by mixing liquid and powder to form a thick layer that hardens in the air. Once set, they create a solid outer shell that adds both length and strength.
They are known for their durability and can withstand daily wear and tear. They are also widely available, making them easy to find at various price points.
The downside is the strong smell during application, and if not shaped well, they can look bulky or feel heavy.
How to apply:
- Prep the natural nails by cleaning, buffing, and applying primer.
- Apply tips if needed, then place and shape the acrylic mixture over the nail.
- Let it dry, then file, shape, and finish with polish or top coat.
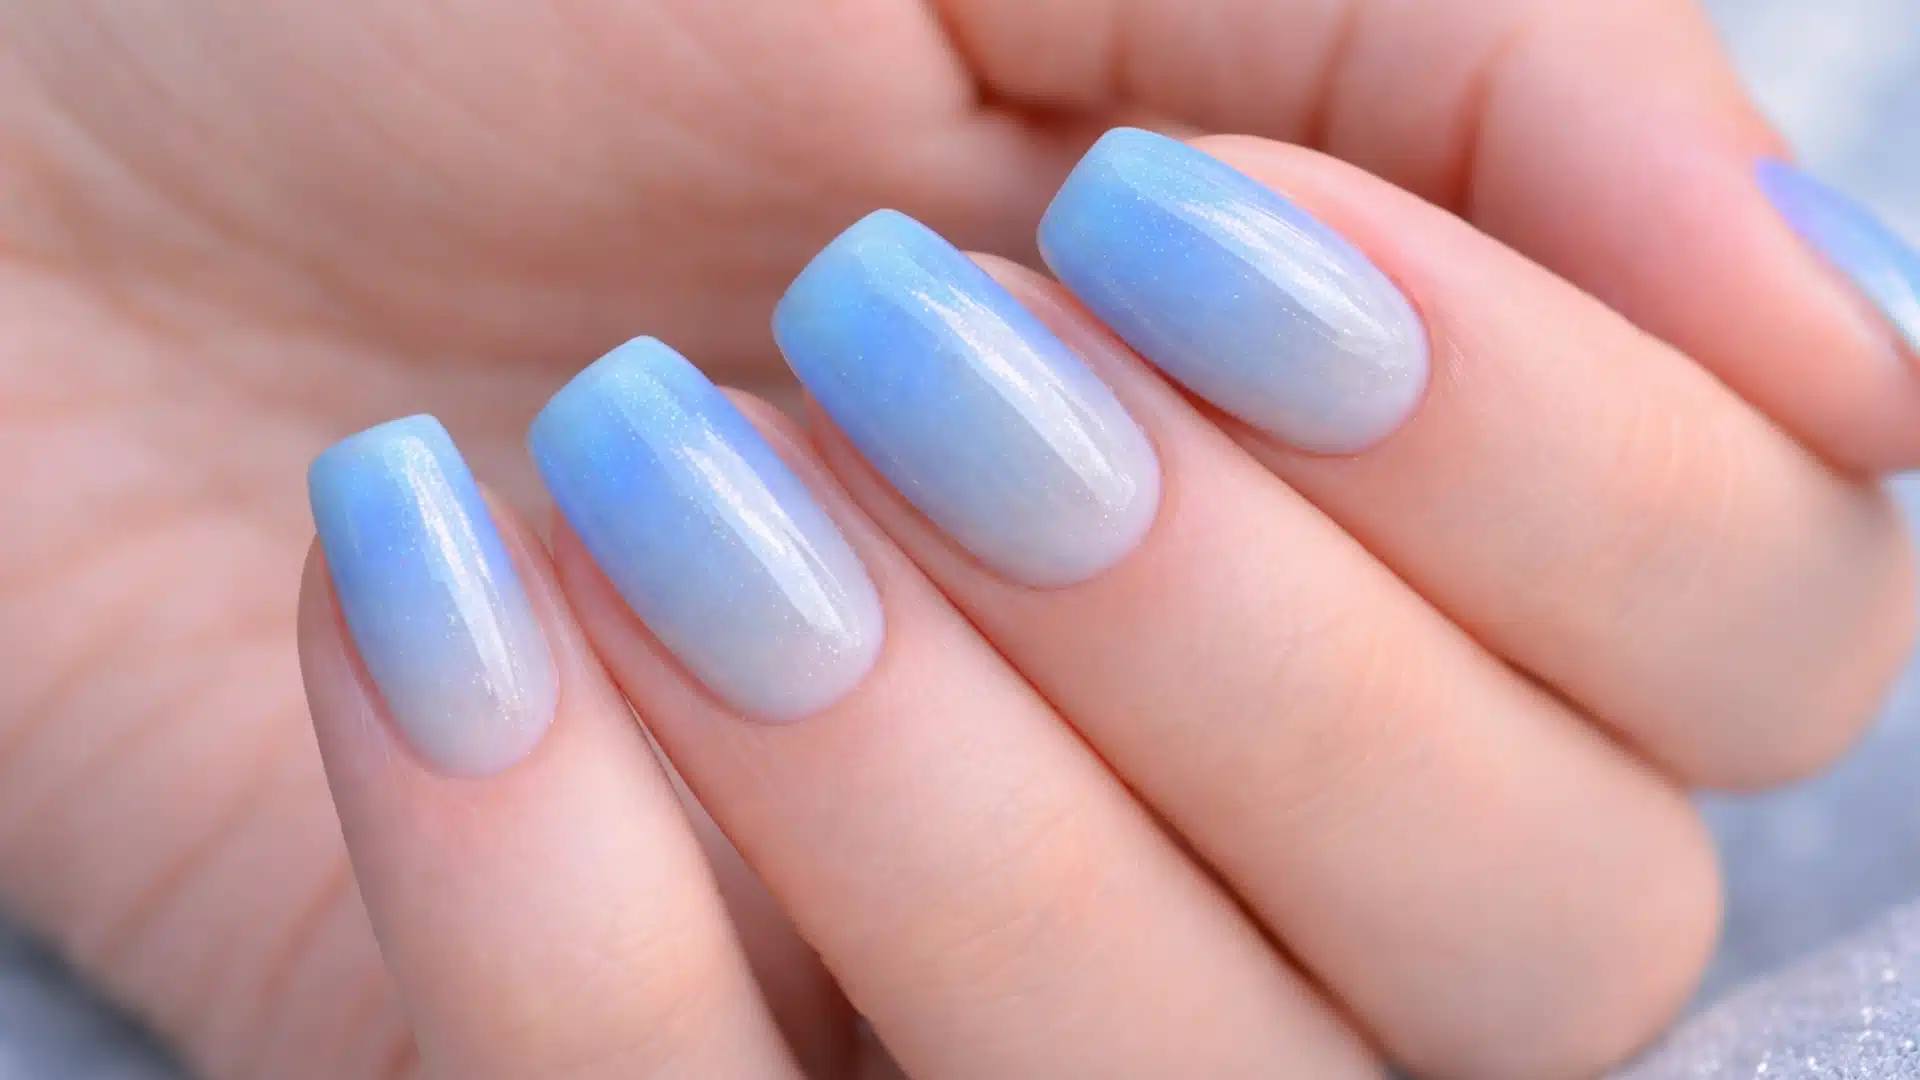
2. Gel Nails
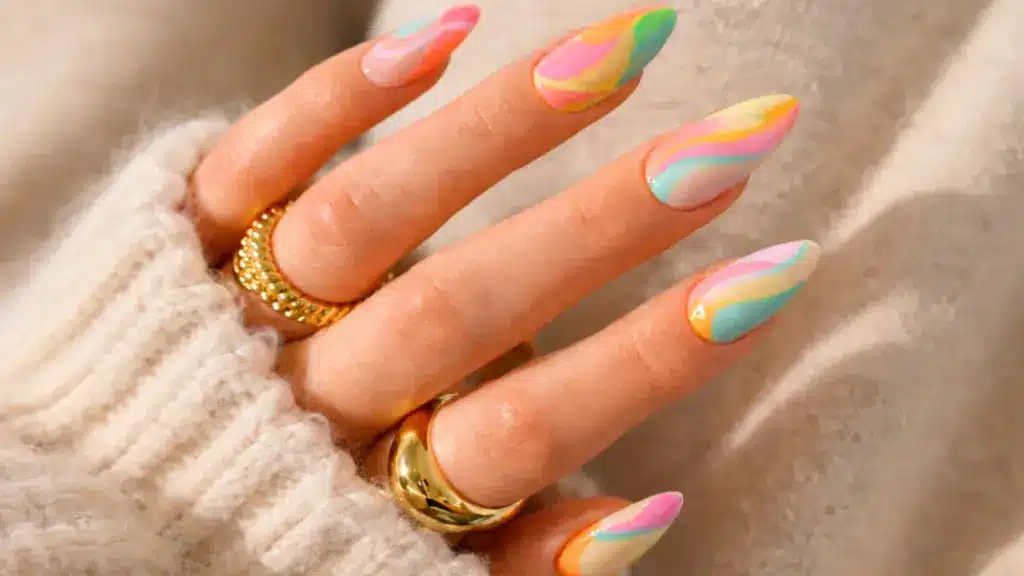
Gel stays soft until it is cured under a UV or LED lamp, at which point it hardens into a smooth layer. It gives a clean, glossy finish that looks close to natural nails.
The lightweight feel makes it comfortable for everyday use. However, removal can take more effort, and fixing damage at home is not always easy.
With the right tools and a little practice, it is entirely possible to do gel nails at home and get results that hold up well.
How to apply:
- Clean and buff the nails, then apply a base coat.
- Add gel layers and cure each one under a UV or LED lamp.
- Shape if needed, then seal with a top coat and cure again.
3. Press On Nails
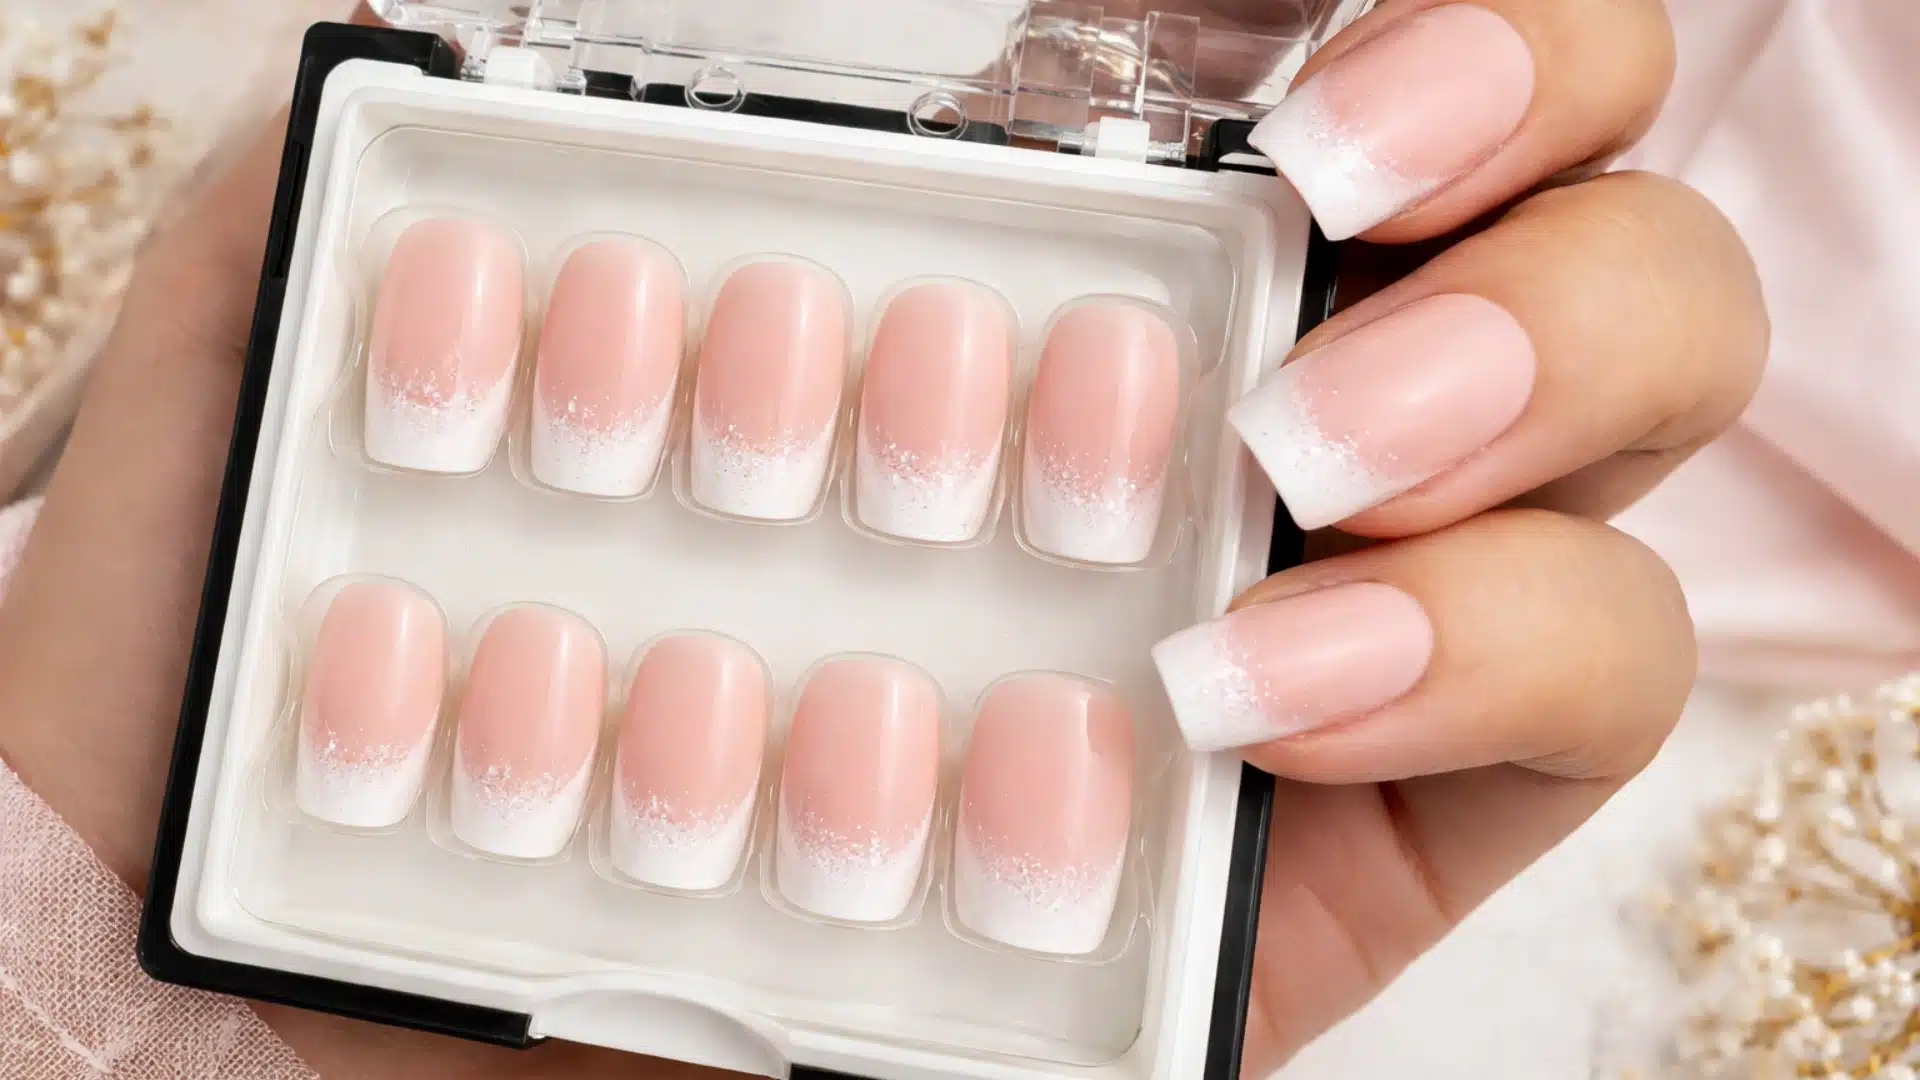
Press-ons are pre-shaped nails that are applied using glue or adhesive tabs. They are quick to apply and can be reused if handled carefully.
This makes them a great option for short-term use or last-minute plans. The main issue is that they may not fit every nail perfectly, and if the surface is not prepped well, they can come off sooner than expected.
How to apply:
- Clean, dry, and lightly buff the natural nails.
- Choose the right size for each nail and apply glue or adhesive tabs.
- Press each nail firmly into place and avoid water for a short time.
4. Dip Powder Nails

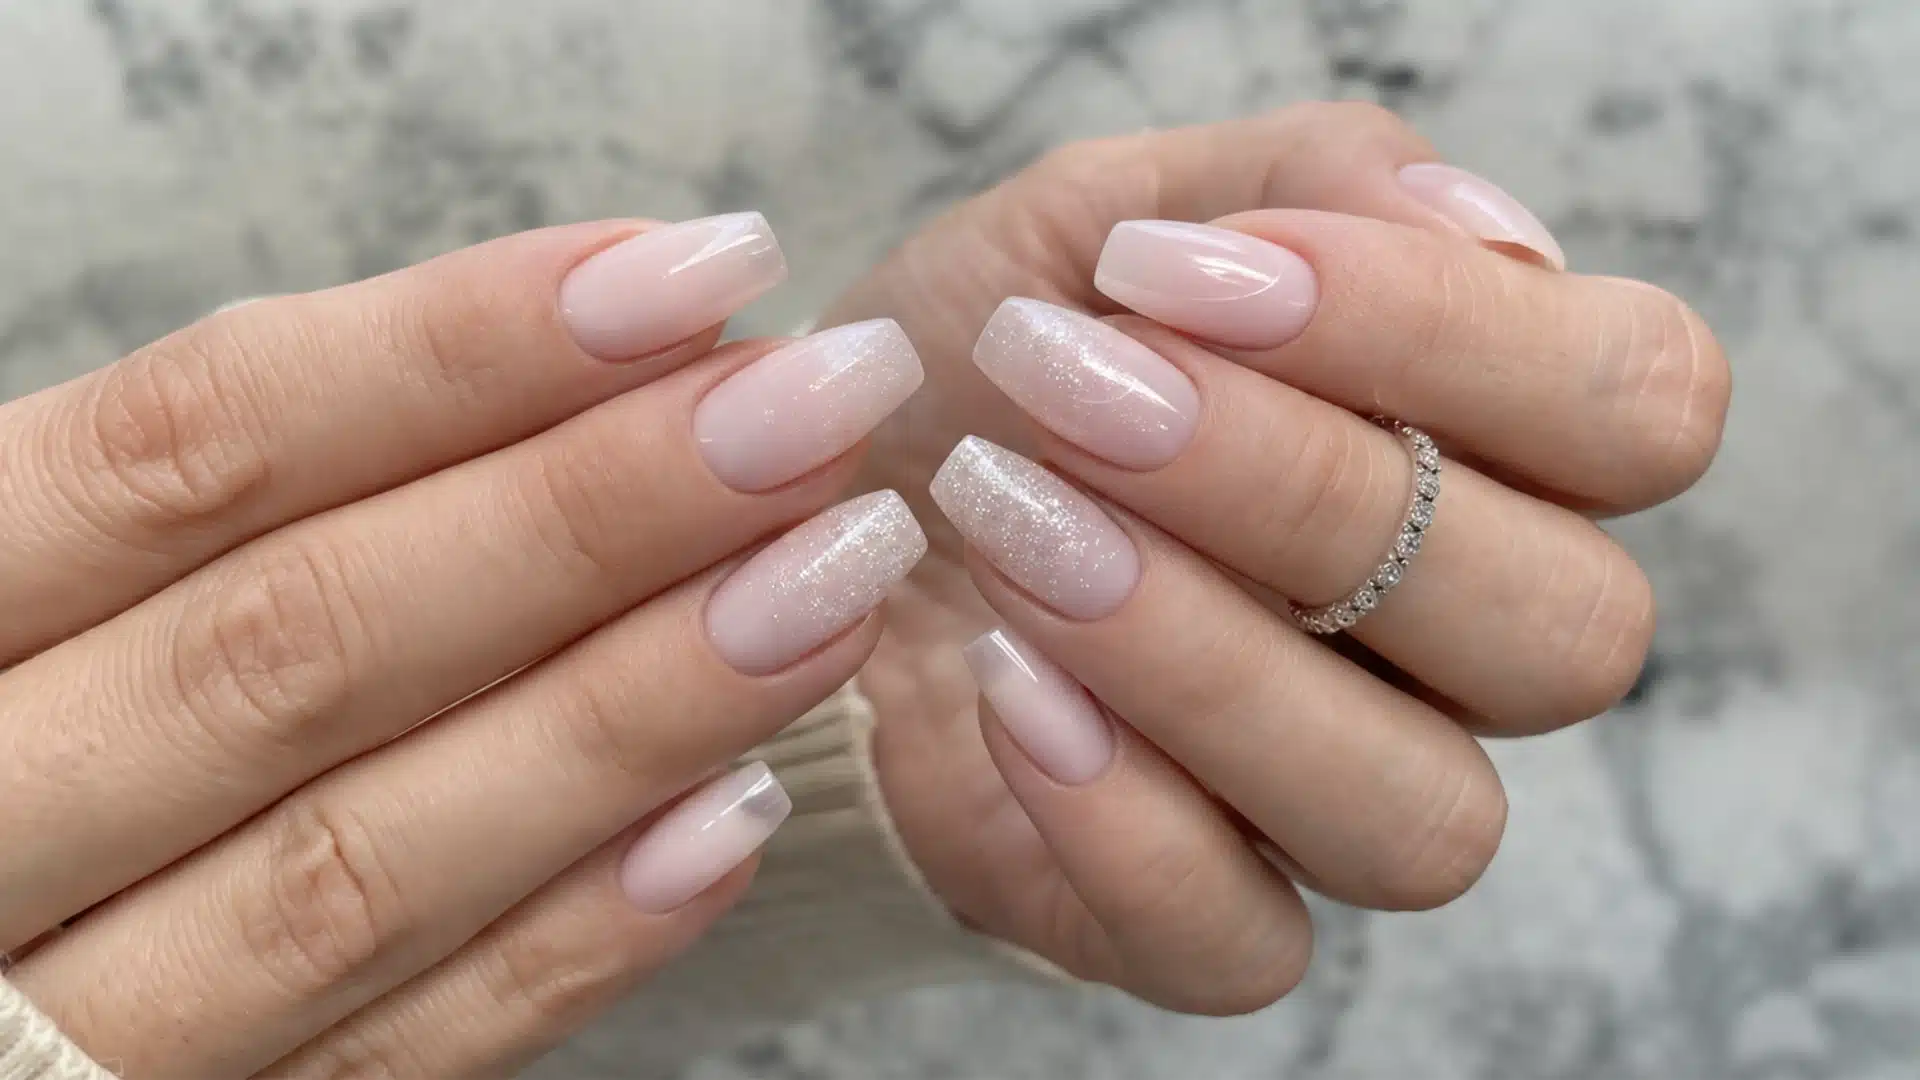
Dip powder involves applying a resin layer and then dipping the nail into colored powder. This builds a strong coating that can last for weeks.
It does not require a lamp for the color layers, which makes the process a bit simpler. However, removal can leave nails feeling dry, and hygiene is important if the powder is shared. Proper prep helps avoid lifting or early breakage.
How to apply:
- Clean, shape, and prep the nails before applying a base coat.
- Dip each nail into powder and repeat for extra coverage.
- Apply activator, then file and finish with a top coat.
5. Polygel Nails
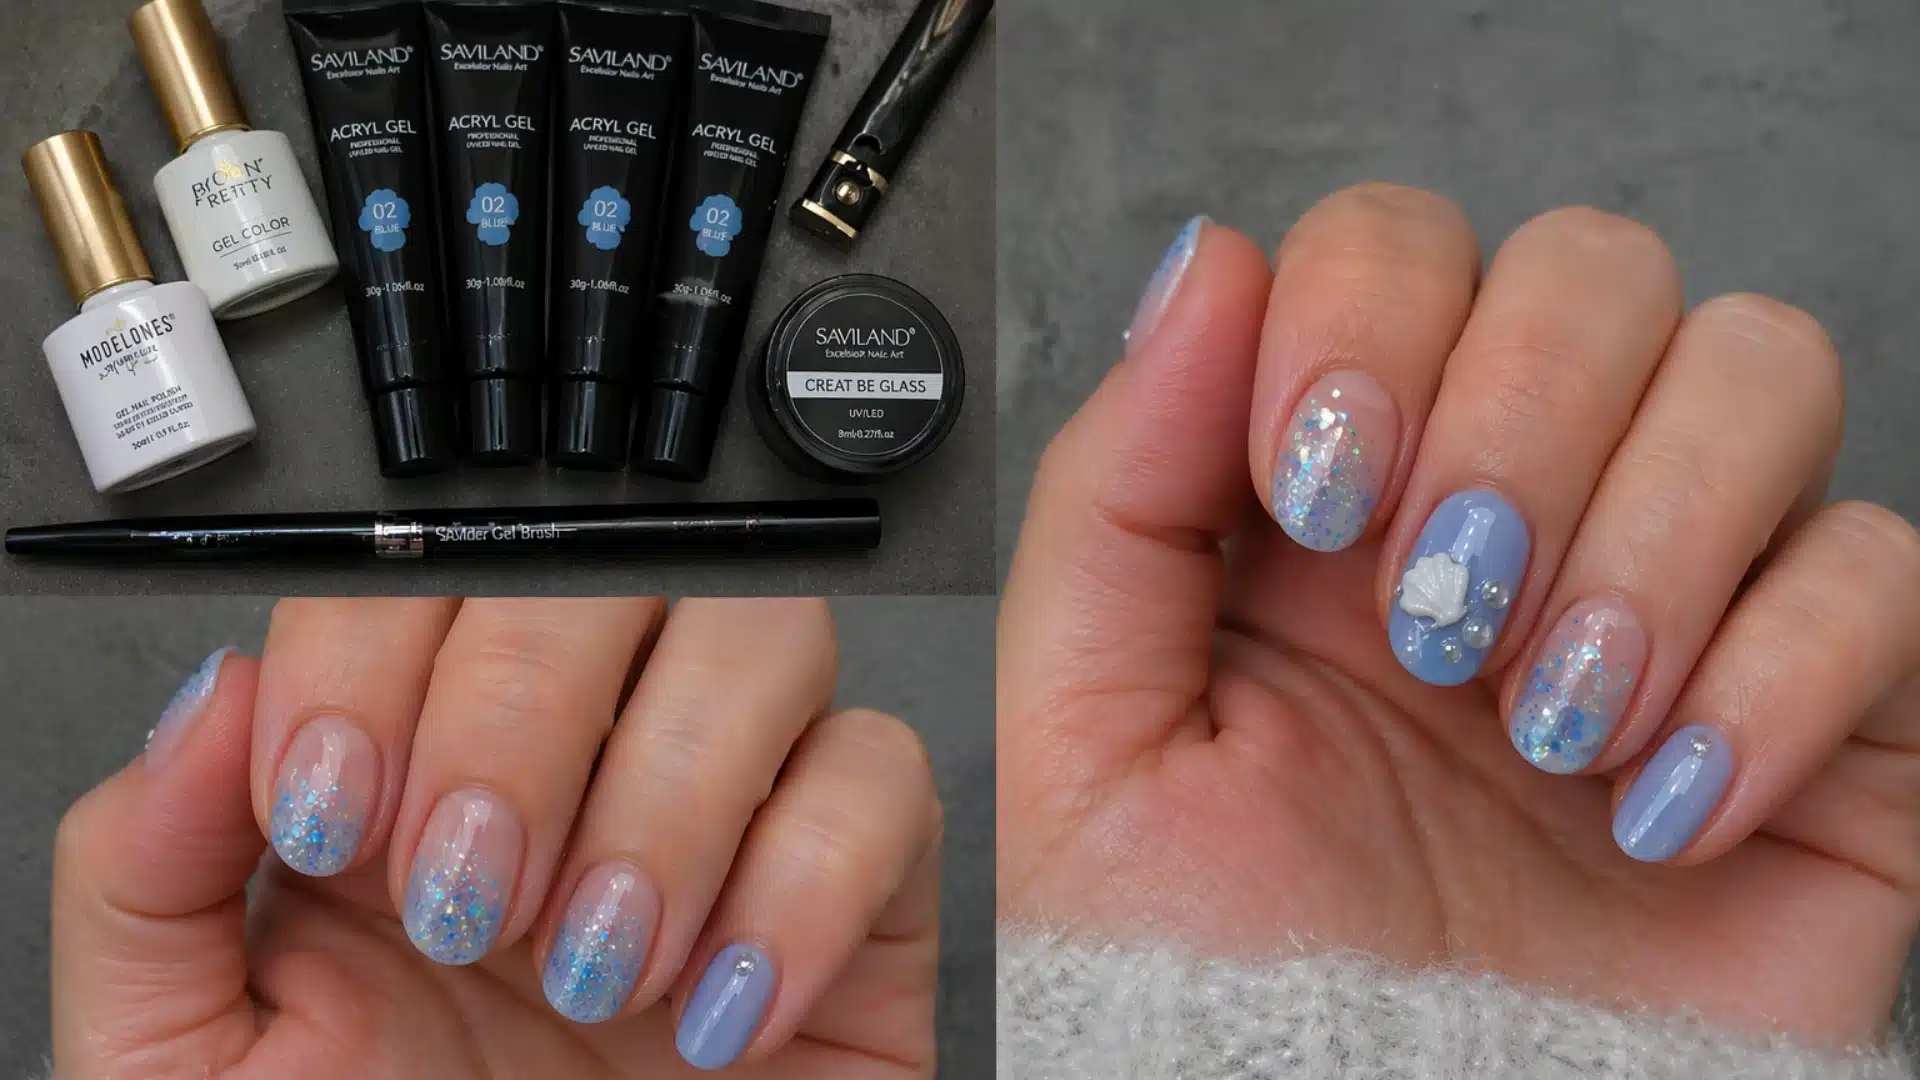
Polygel combines features of both acrylic and gel. It has a thick, moldable texture that is shaped on the nail and then cured under a lamp.
It feels lighter than acrylic but still offers good strength. This balance makes it a comfortable option for longer wear.
The process does require some skill and additional products, which can make it slightly more expensive.
How to apply:
- Prep the nails, apply a base coat, and cure it.
- Place and shape the polygel using a brush and slip solution.
- Cure under a lamp, then file and seal with a top coat.
6. Builder Gel
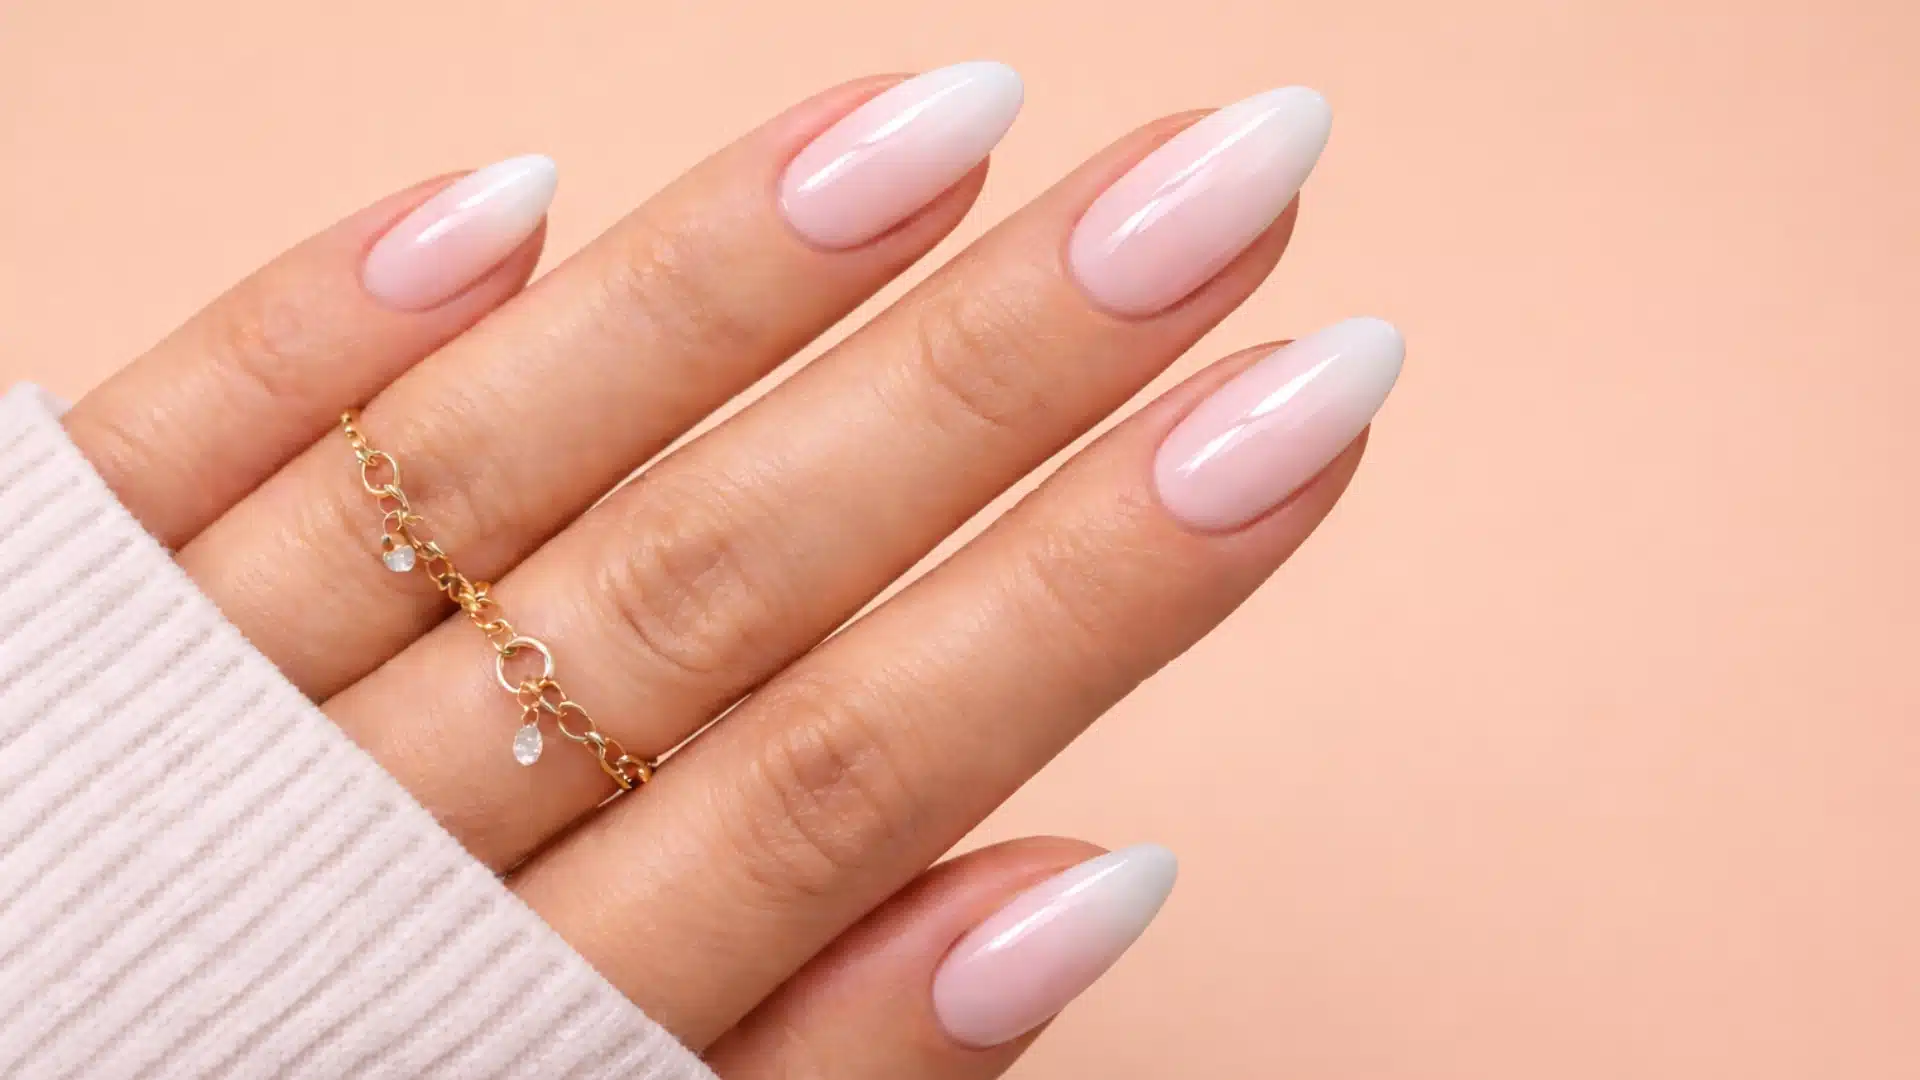
Builder gel is used to strengthen natural nails instead of creating long extensions. It is applied in layers to add structure while keeping a natural look.
It can be filled as the nails grow, which makes maintenance easier. Since it can also be soaked off, it offers flexibility in removal.
It works well for anyone who wants stronger nails without adding too much length or weight.
How to apply:
- Prep the nails by cleaning, buffing, and applying a base coat, then cure.
- Apply builder gel in layers to build thickness and shape, curing each layer.
- File and refine the shape, then seal with a top coat and cure again.
Nail Enhancements Comparison Table
If you are trying to pick the right option without getting confused, this table breaks things down simply so you can compare them at a glance.
| Type | Strength | Feel on Nails | Finish Look | Application Style | Removal Process | Best For |
|---|---|---|---|---|---|---|
| Acrylic Nails | Very high | Heavy | Slightly thick | Air-dry, no lamp | Soak off | Long length and durability |
| Gel Nails | Medium | Light | Smooth and glossy | UV or LED lamp | Soak or file | Natural and shiny look |
| Press On Nails | Low to medium | Light | Depends on design | Glue or adhesive tabs | Peel or soak | Quick and temporary use |
| Dip Powder Nails | High | Medium | Matte to glossy | Dip into powder layers | Soak off | Long wear without a lamp |
| Polygel Nails | High | Light | Natural and smooth | Sculpt and cure in a lamp | File and soak | Balance of strength and comfort |
| Builder Gel | Medium | Very light | Clean and natural | Layered gel with lamp | Soak off | Strengthening natural nails |
Aftercare Tips for Longer Lasting Nails
Consistent nail care habits help prevent damage, maintain flexibility, and ensure nail enhancements last longer while keeping their appearance neat and strong
- Daily care matters: Small habits directly affect how long nail enhancements last and how they look
- Use cuticle oil regularly: Apply twice a day to keep nails flexible and prevent dryness that leads to lifting
- Avoid using nails as tools: Do not use them to open cans or scrape surfaces, as this weakens their structure
- Protect during cleaning: Wear gloves to prevent harsh chemicals from breaking down the bond of the enhancements
- Maintain gentle hand use: Reducing pressure on nails helps them stay intact and strong for a longer time
Conclusion
Nail enhancements give you more control over how your nails look and last, without needing constant touch-ups.
From acrylics that offer strong structure to gels that feel light and glossy, each option fits a different need. Dip powder offers long wear, while polygel balances strength and comfort.
Press-ons are quick and simple, and builder gel is great for keeping natural nails strong without adding length.
The right choice depends on your routine, how much effort you want to put into upkeep, and the finish you prefer.
Once you understand the basics, it becomes much easier to pick what works for you.
Which type do you think fits your lifestyle the best? Drop your thoughts or experience in the comments below.
Frequently Asked Questions
How Do I Know if Acrylic Nails are Right for Me?
Acrylic nails are a good choice if you want strong, long-lasting nails that can handle daily wear. They work well if you like added length and do not mind regular fills. If you prefer something lighter and more natural, gel or builder gel may feel better.
Are Gel Nails a Good Option if I Want a Natural Look?
Yes, gel nails are one of the best options if you want a glossy, natural-looking finish. They feel lighter than acrylic and look less bulky, which makes them easy to wear every day. They are great if you want neat nails without too much thickness.
Is Dip Powder Better for Me Than Regular Gel?
Dip powder may be better for you if you want stronger nails and longer wear without using a lamp for every layer. It usually lasts well and resists chipping. If you want a softer, glossier, and more flexible finish, regular gel may suit you more.
Is Builder Gel Good if My Natural Nails Feel Weak?
Yes, builder gel can be a great choice if your natural nails break easily or feel thin. It adds structure and support while still keeping the look soft and natural. If you do not want long extensions but need extra strength, builder gel is often worth considering.
How Can I Choose the Right Nail Enhancement Without Regretting It?
Start by thinking about your lifestyle, budget, and the level of upkeep you are comfortable with. If you want low commitment, press-ons are easy. If you want durability, acrylic or dip powder works well. If comfort and a natural finish matter most, gel or builder gel makes more sense.