
Standing in front of the mirror with a box of dye in hand can feel like a gamble.
One part of you is excited for a fresh new look. The other is already picturing uneven roots, dry ends, or a color that looks nothing like the photo on the box.
That fear is why many people think hair coloring should only be done in a salon.
Working in a barbershop, I have seen plenty of DIY color jobs go wrong. Most problems were not caused by the dye itself, but by small mistakes during the process. Skipping prep, applying color unevenly, or choosing the wrong technique often results in disappointing outcomes.
The good news is that at-home coloring does not have to ruin your hair. With the right method and a little planning, it is possible to get clean, professional-looking results.
This guide breaks down the most useful hair-coloring techniques step by step, along with what works, what does not, and the mistakes to avoid.
Before You Touch Dye: What You Need to Know First
Before jumping into hair coloring techniques, take a minute to understand your starting point. Your hair type plays a big role.
Picking the right color is not just about what looks good on the box. Stay within a few shades of your natural color for safer results. Your skin tone matters as much as your starting shade.
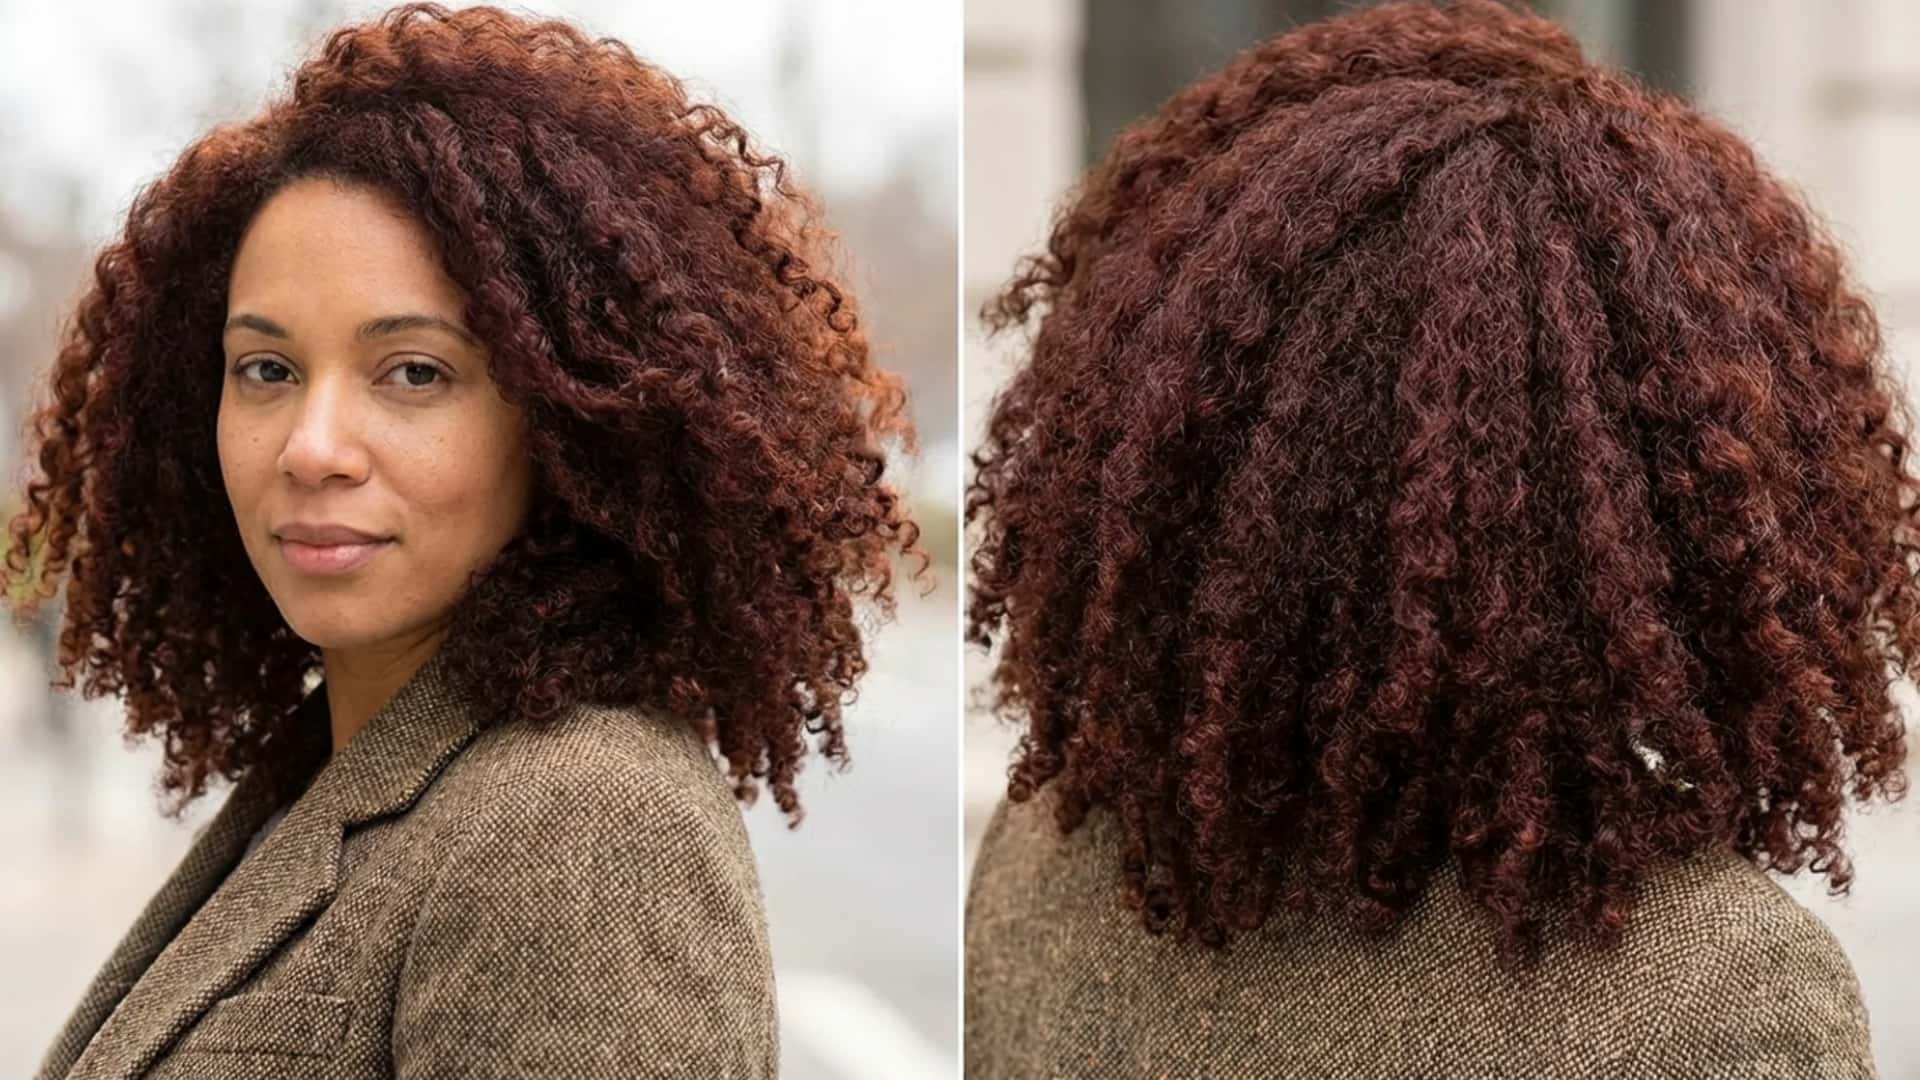
If you lean toward warmer shades like copper or a deep autumn color palette, for which specific tones suit warm complexions, before you commit to a box.
Always do a patch test to check for reactions and a strand test to preview the final color.
The American Academy of Dermatology (AAD) recommends a 24-hour patch test for new skincare products at home. Apply a small amount behind the ear or on the inner arm and check for irritation before full use
Hair porosity is the other variable most at-home guides ignore, and it directly predicts how your color will turn out.
Also, make sure you are in a well-ventilated room. Hair dye fumes can cause dizziness, especially in a closed bathroom. Open a window or run the fan before you begin; this is not optional.
Understanding Color Types Before You Choose a Technique
One of the biggest pre-technique mistakes is picking an application method without understanding what type of color you are actually using.
- Temporary color coats the outside of the hair shaft and rinses out in 1–2 washes. It works best on already-lightened hair and is ideal for testing a shade before committing.
- Semi-permanent color lasts 4–8 washes. It contains no ammonia and deposits color without lifting, so it only works to go darker or add tone, not lighter.
- Demi-permanent color lasts 4–6 weeks and fades gradually, which means softer, less visible regrowth lines. It uses a low-volume developer (typically 6 or 10 volume), causes minimal damage, and is a good middle-ground for regular use.
- Permanent color penetrates the cortex of the hair shaft, alters the natural pigment, and can both deposit and lift color depending on the developer strength used. It provides full grey coverage and lasts until new growth appears, but requires precise timing.
Hair Coloring Techniques You Can Start With
The key is understanding how each method works and applying it with patience. Below are some of the most reliable techniques you can try at home.
1. All-Over Single Color
- Difficulty: Beginner
This is the most straightforward hair coloring technique, in which you apply a single shade to your entire hair. It works well for beginners, especially if you want full coverage or need to hide greys.
Since the goal is even color, the process is simple but requires proper sectioning and timing to avoid patchy results.
Step-by-step:
- Section hair into 4 quadrants
- Mix color as directed; apply to roots first
- Work color down the hair shaft in sections
- Set timer per instructions; rinse thoroughly
2. Root Touch-Up
- Difficulty: Beginner
This technique focuses only on the new hair growth near the scalp. It is perfect for maintaining your existing color without redoing your entire head. The key here is precision.
You want to blend the roots into the rest of your hair without overlapping too much onto already colored strands.
This is the technique I recommend most to clients who want to maintain a tidy look between visits.
Step-by-step:
- Part your hair along your natural line
- Apply color only to the regrowth area
- Avoid overlapping onto previously colored hair
- Process and rinse
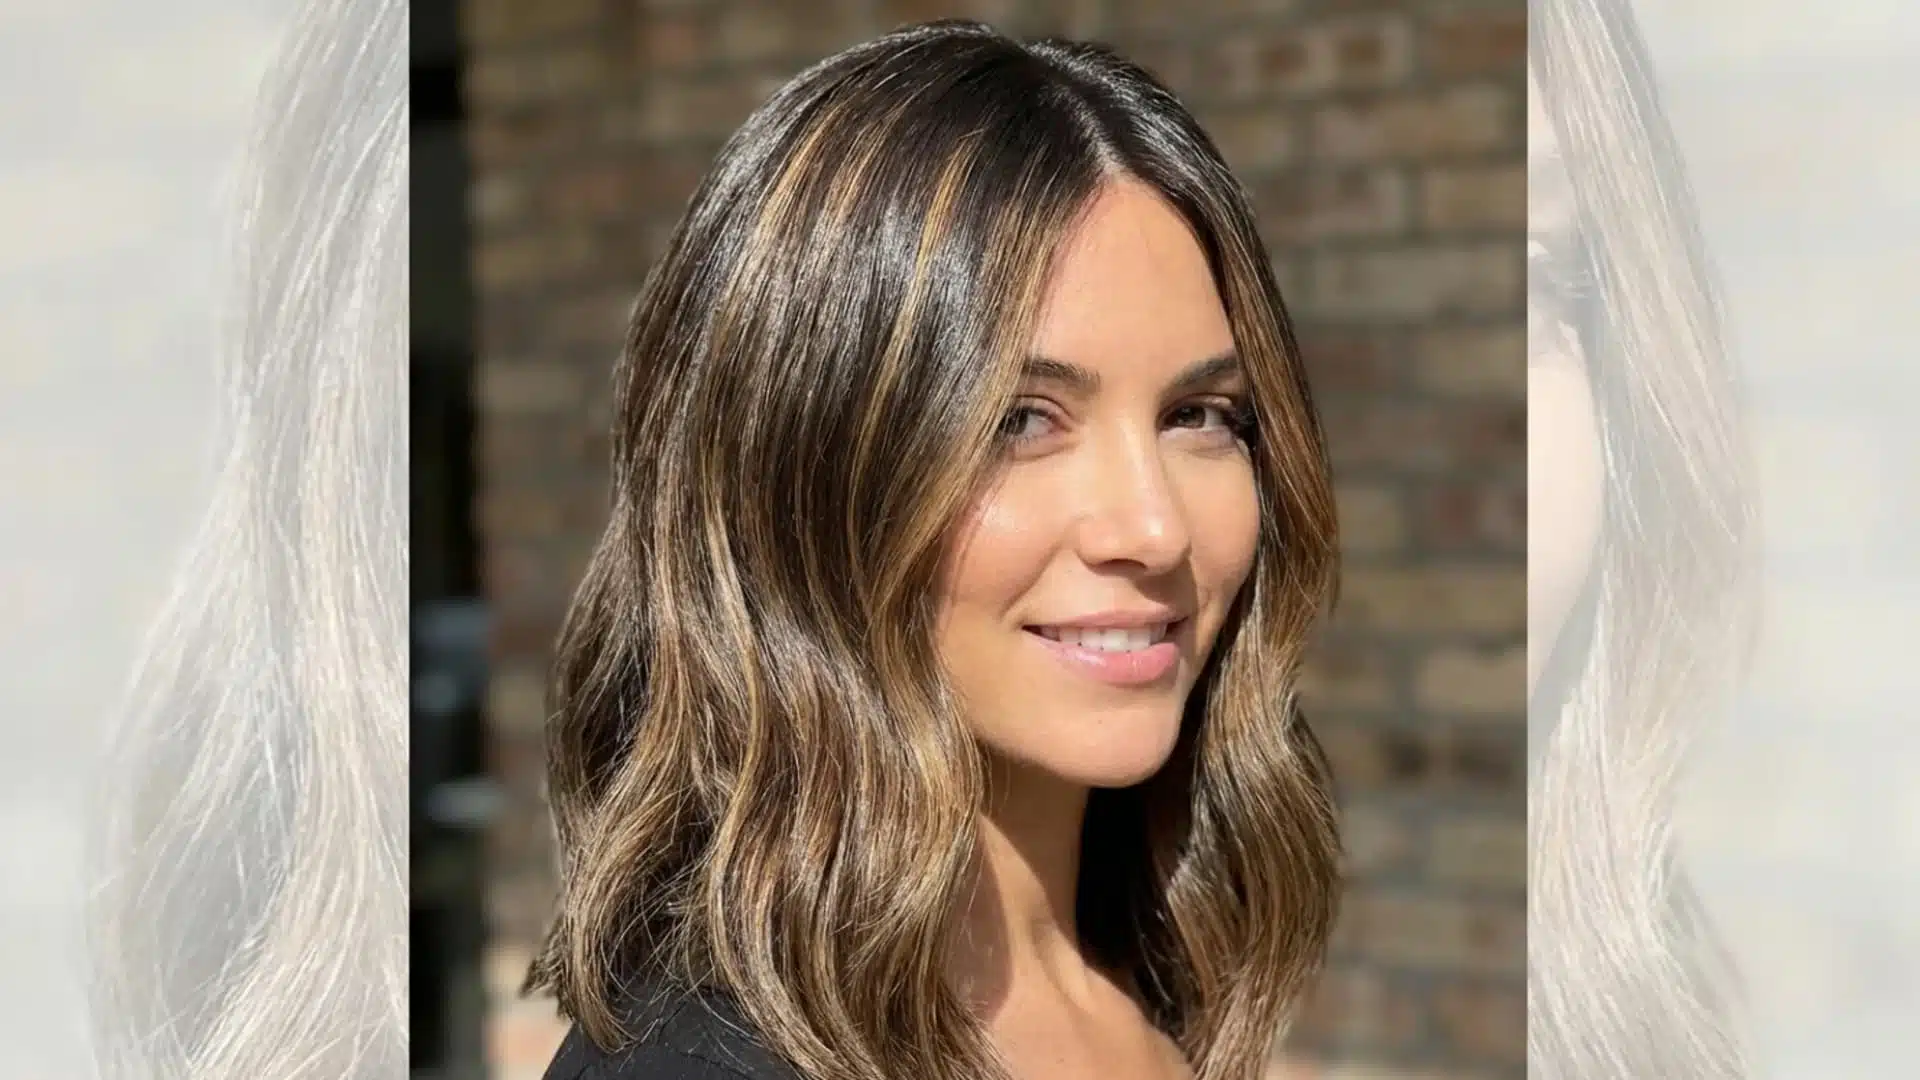
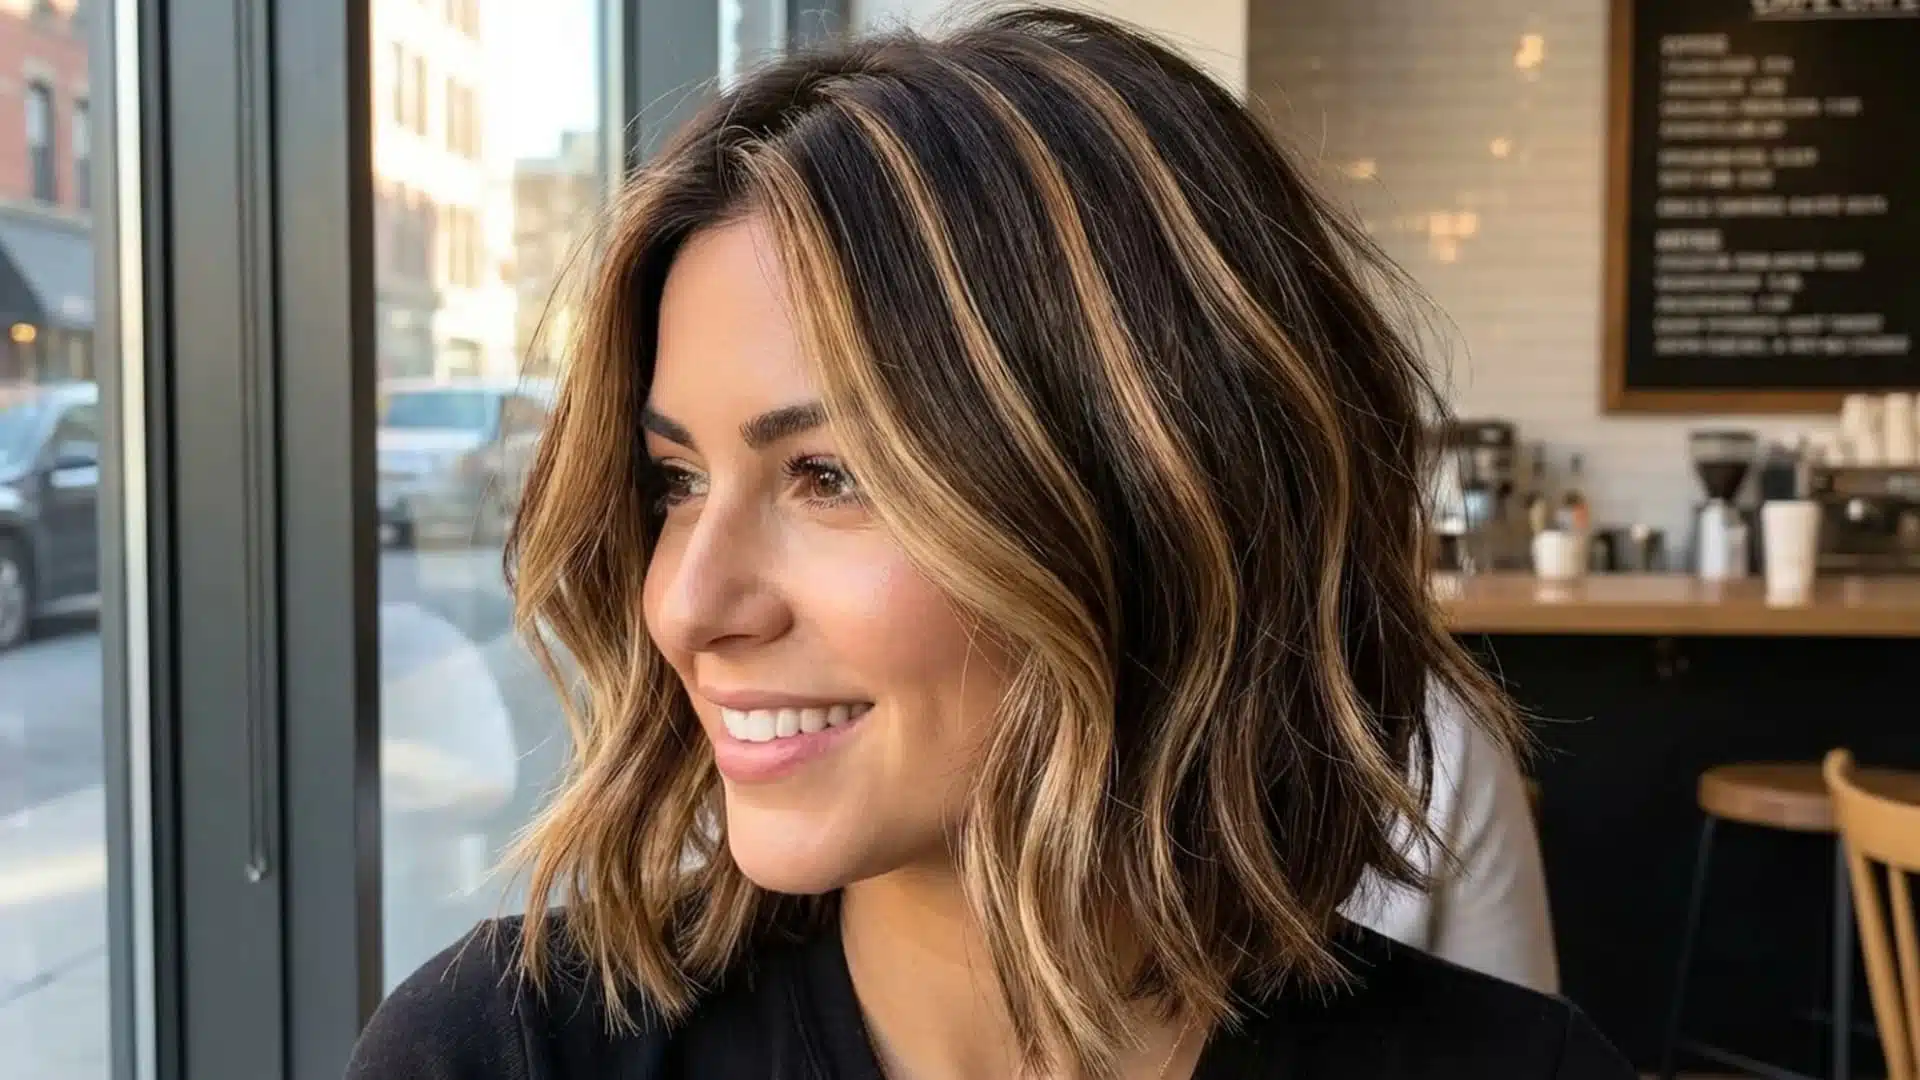
3. Highlights
- Difficulty: Intermediate
Highlights add lighter strands to your hair, creating depth and dimension. The foil method helps isolate sections so the color does not spread.
It takes a bit more effort than basic coloring, but if done right, it yields a clean, structured result.
For those who want lighter, brighter results than standard foil highlights can give at home, there is an advanced hybrid called foilyage.
It is not beginner territory, but it is worth knowing the term when you are ready to level up or consult a professional.
Step-by-step
- Section hair and weave out thin strands
- Place foil underneath each section
- Apply the lightener or color and fold the foil
- Repeat across sections; process and rinse
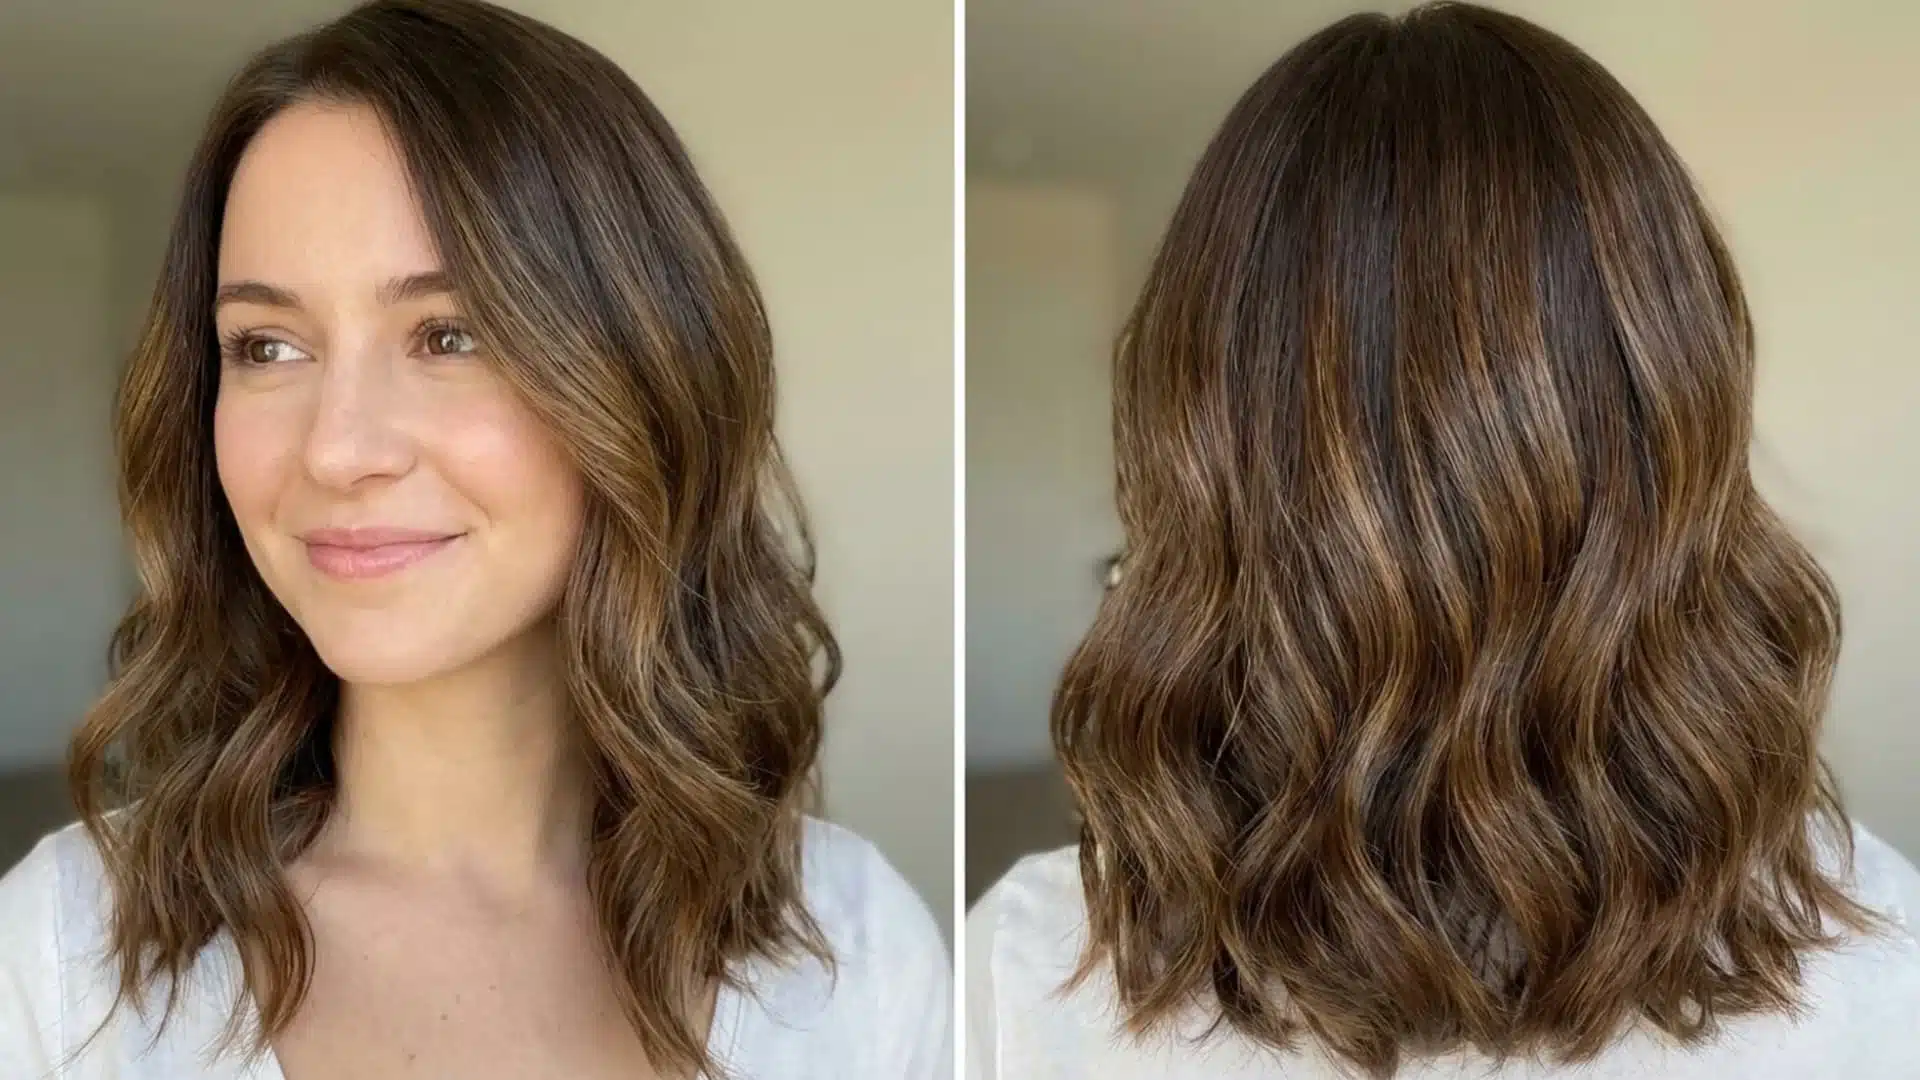
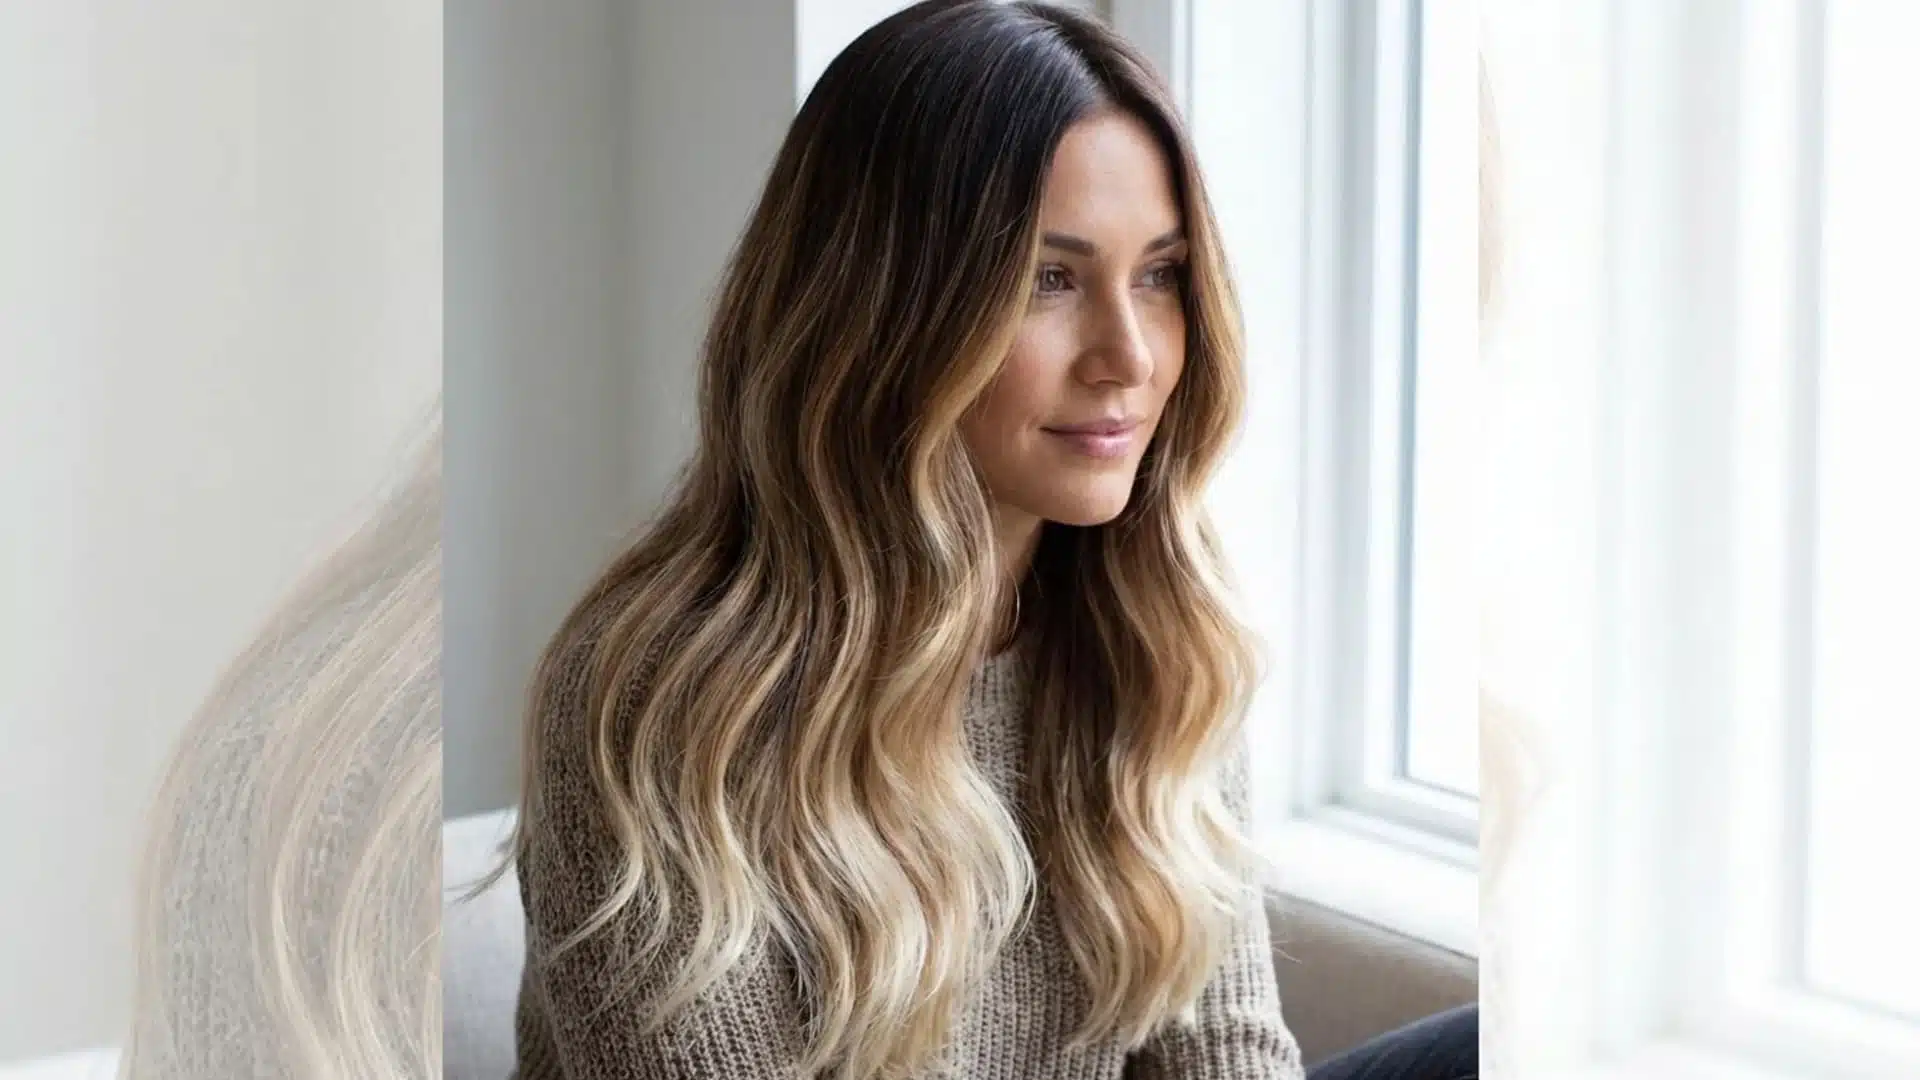
4. Balayage
- Difficulty: Advanced
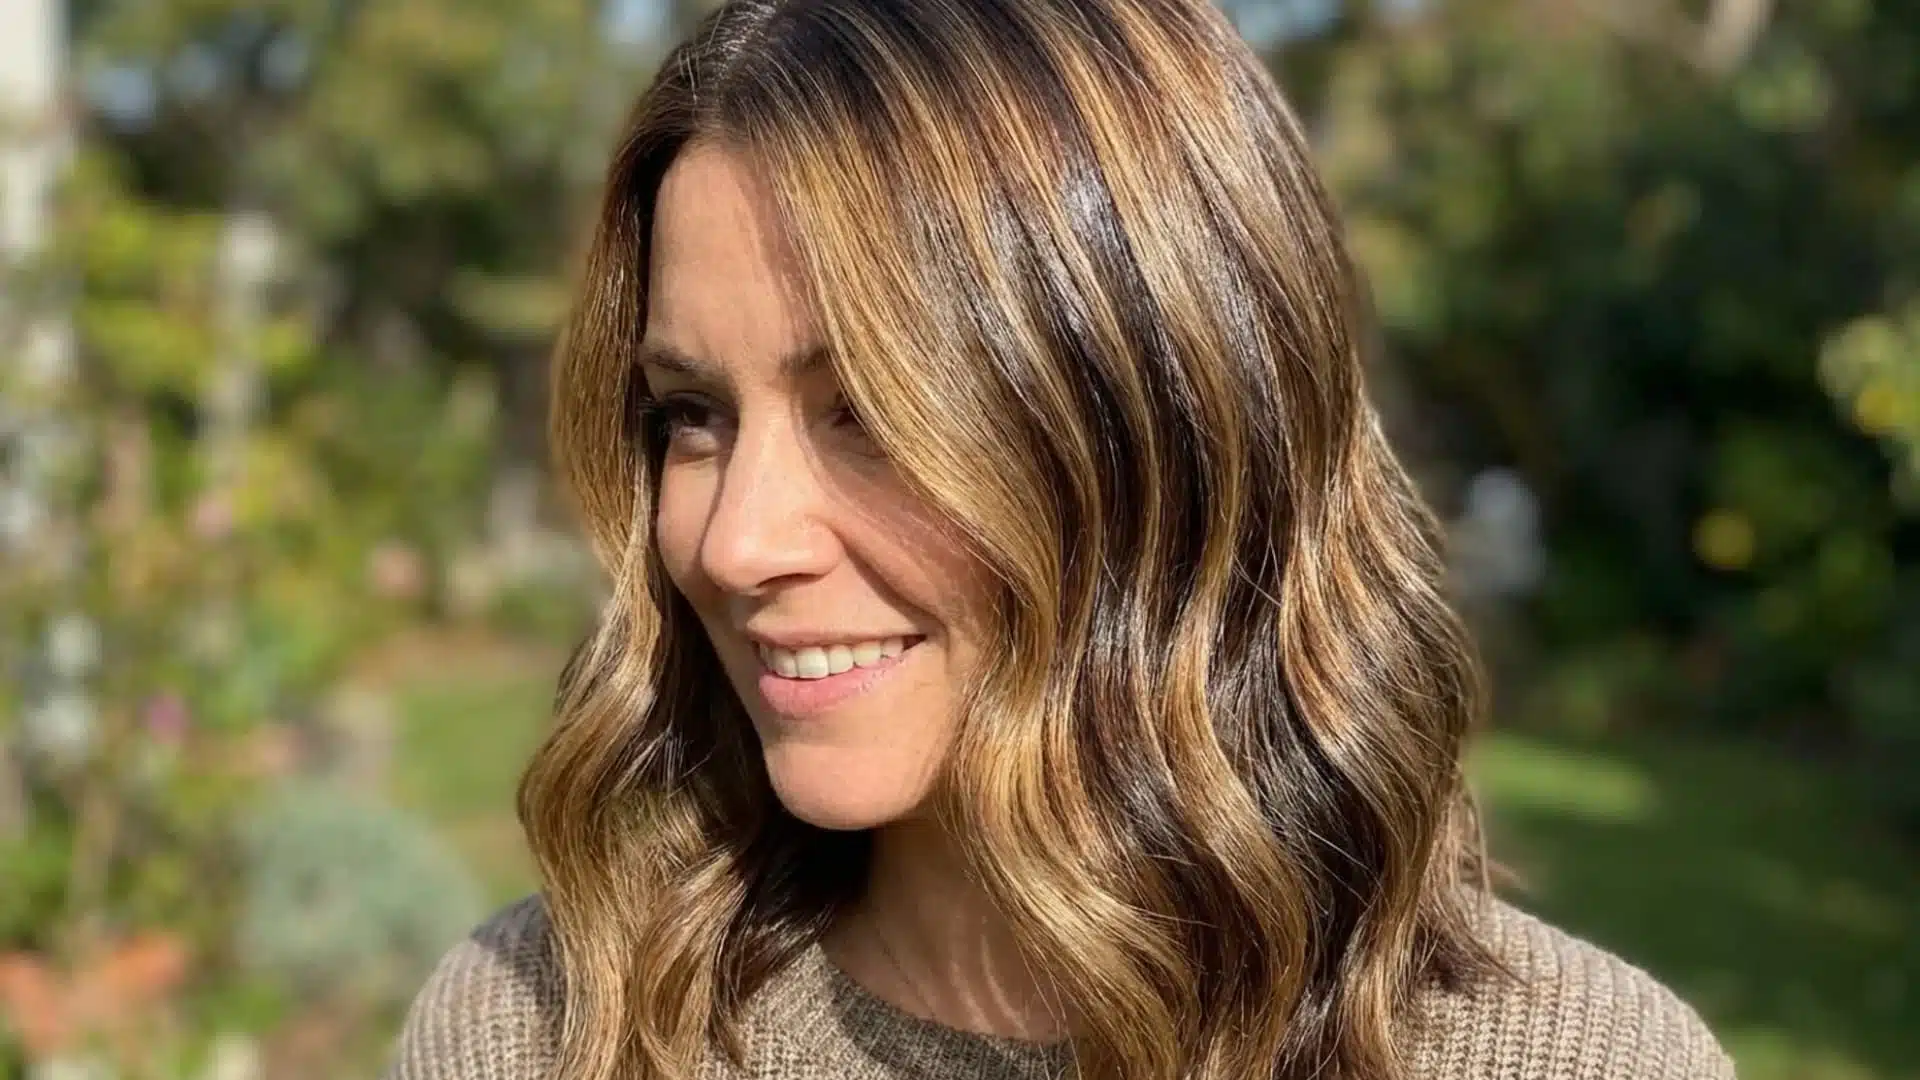
Balayage is a freehand technique where color is painted onto the surface of the hair. It gives a softer, more natural finish compared to traditional highlights.
This method is less about precision lines and more about controlled placement for a blended look.
Lighter pieces painted near the temples and around the hairline frame the face. Heavier placement through the back and mid-lengths adds the illusion of volume.
Step-by-step:
- Section hair into layers
- Paint color onto mid-lengths and ends using a brush
- Keep roots softer and less saturated
- Leave unwrapped; process and rinse
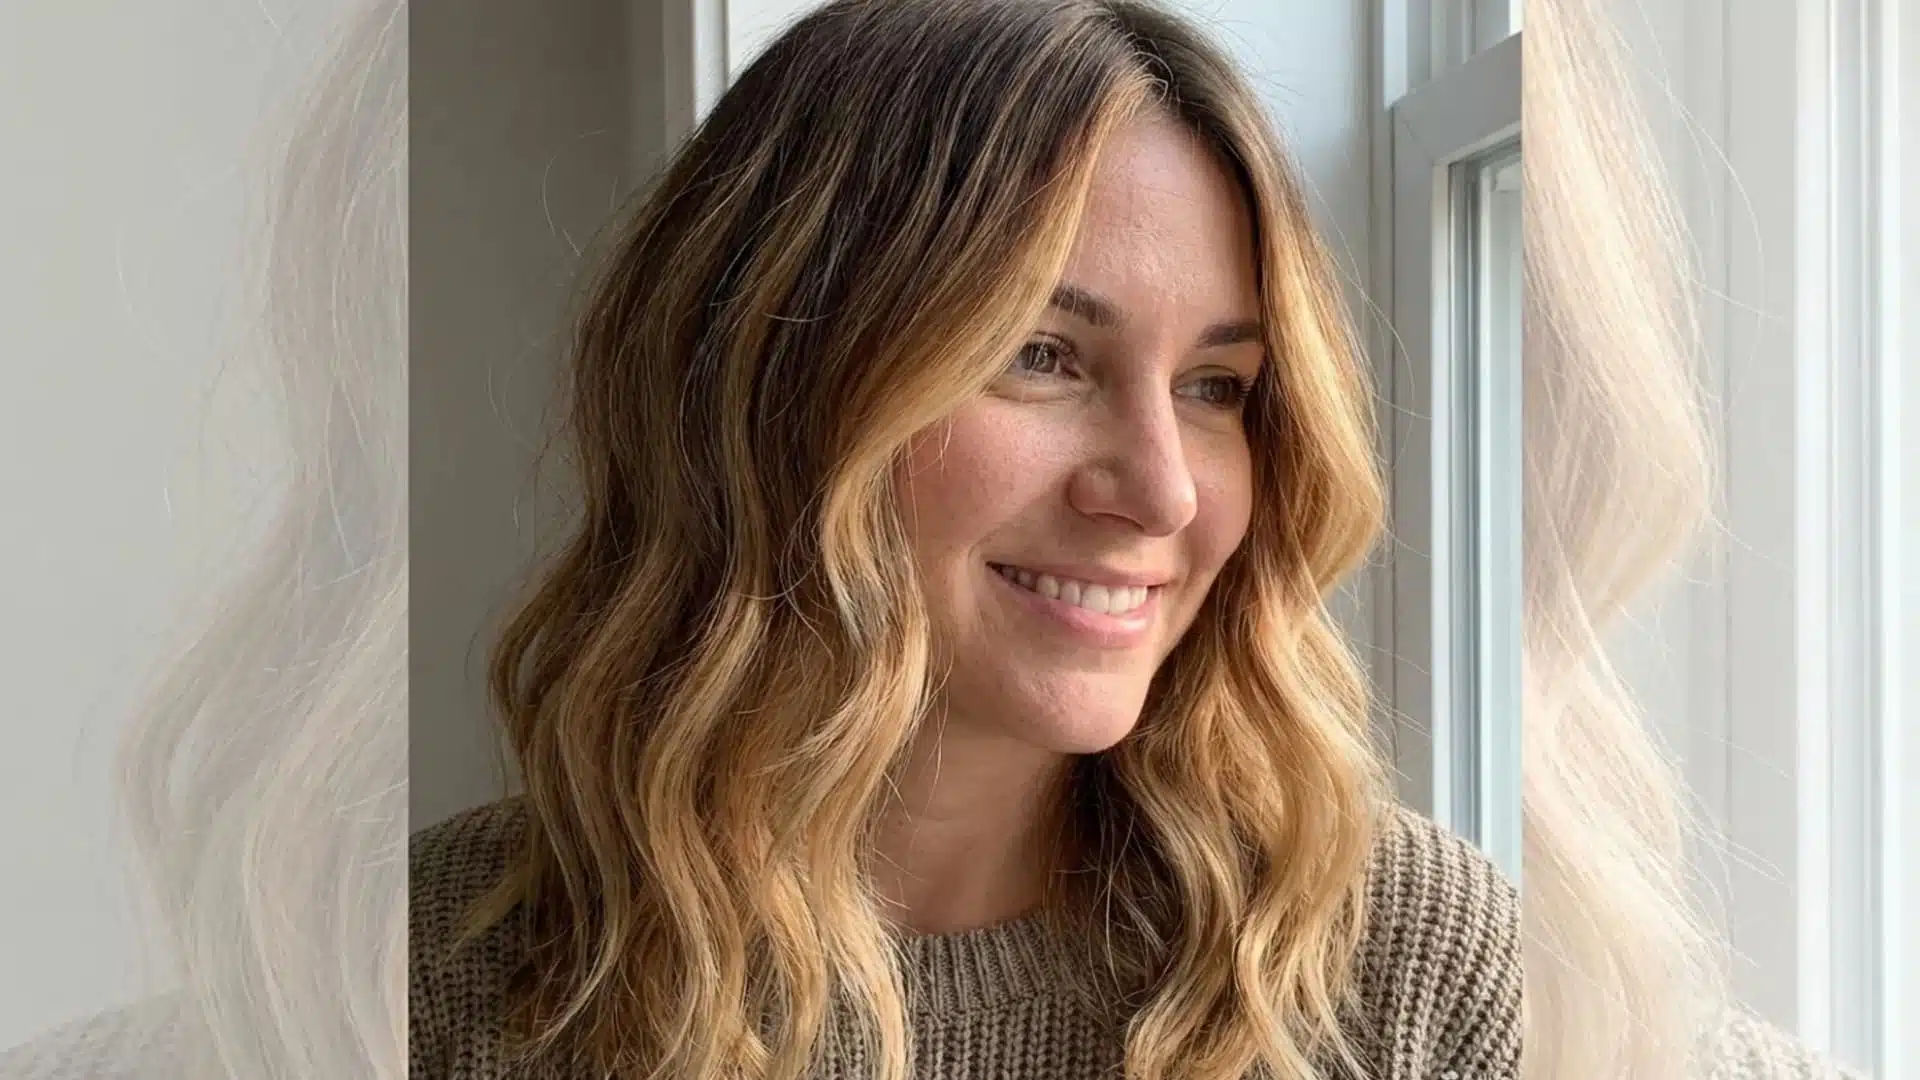
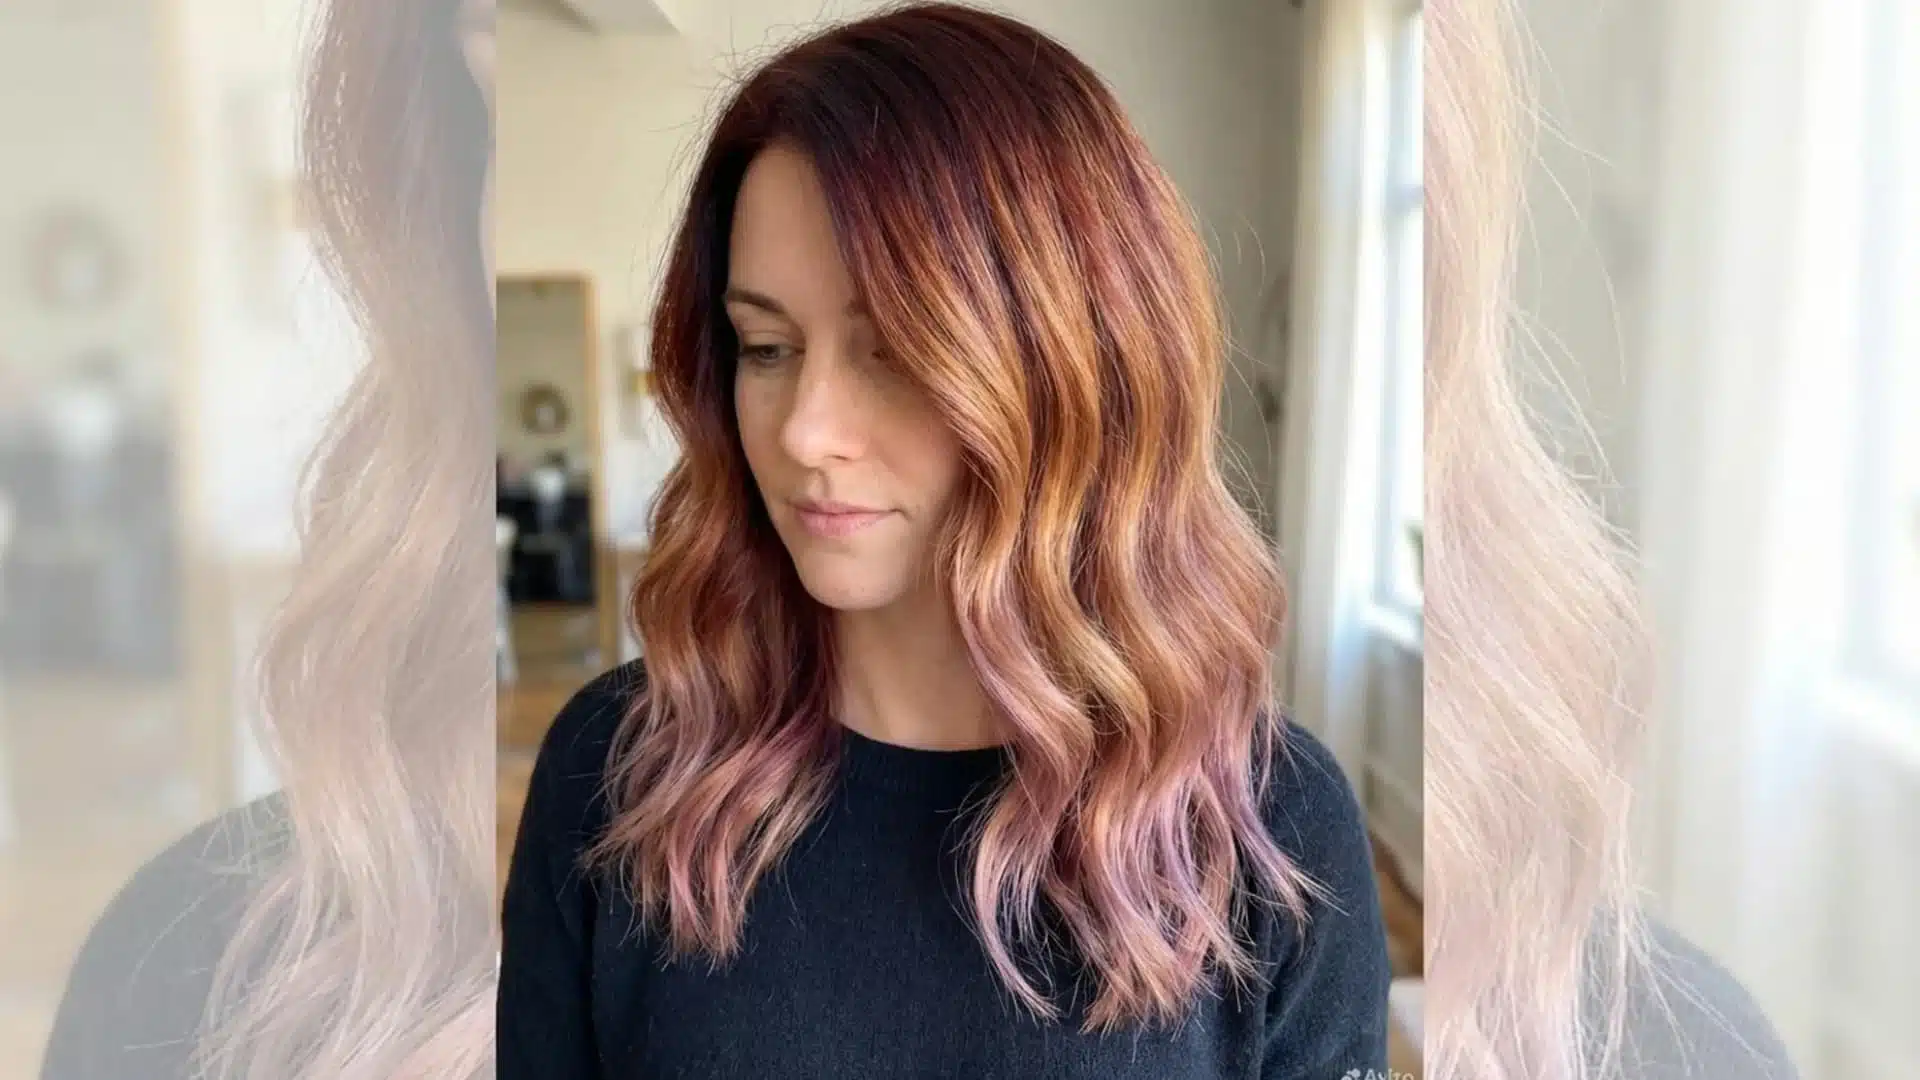
5. Ombré and Sombré
- Difficulty: Intermediate
This technique creates a gradient effect from darker roots to lighter ends. Ombré is more noticeable, while sombré is softer and more subtle.
Because the scalp emits heat, the inch or two of hair closest to the roots will process faster than the rest.
Always apply bleach to the mid-lengths and ends first, let it develop for a while, then apply it to the roots for a shorter time.
Skipping this step is one of the most common reasons home ombré results look uneven or brassy near the crown.
Step-by-step:
- Tie your hair and mark the transition point
- Apply lightener below that line, mid-lengths, and ends first
- After partial development, apply the lightener closer to the roots for less time
- Blend upward at the transition point to soften
- Process, rinse, and tone if needed
6. Color Melting
- Difficulty: Advanced
Color melting blends multiple shades seamlessly, so there are no harsh lines. It is useful if you want depth and a more natural flow between tones. Timing and blending while the dye is still wet are important here.
Step-by-step:
- Choose 2 to 3 complementary shades
- Apply the darkest shade at the roots
- Overlap the next shade to blend at the transition point
- Finish with the lightest shade at the ends
- Use a brush or gloved fingers to feather the overlapping zones while wet
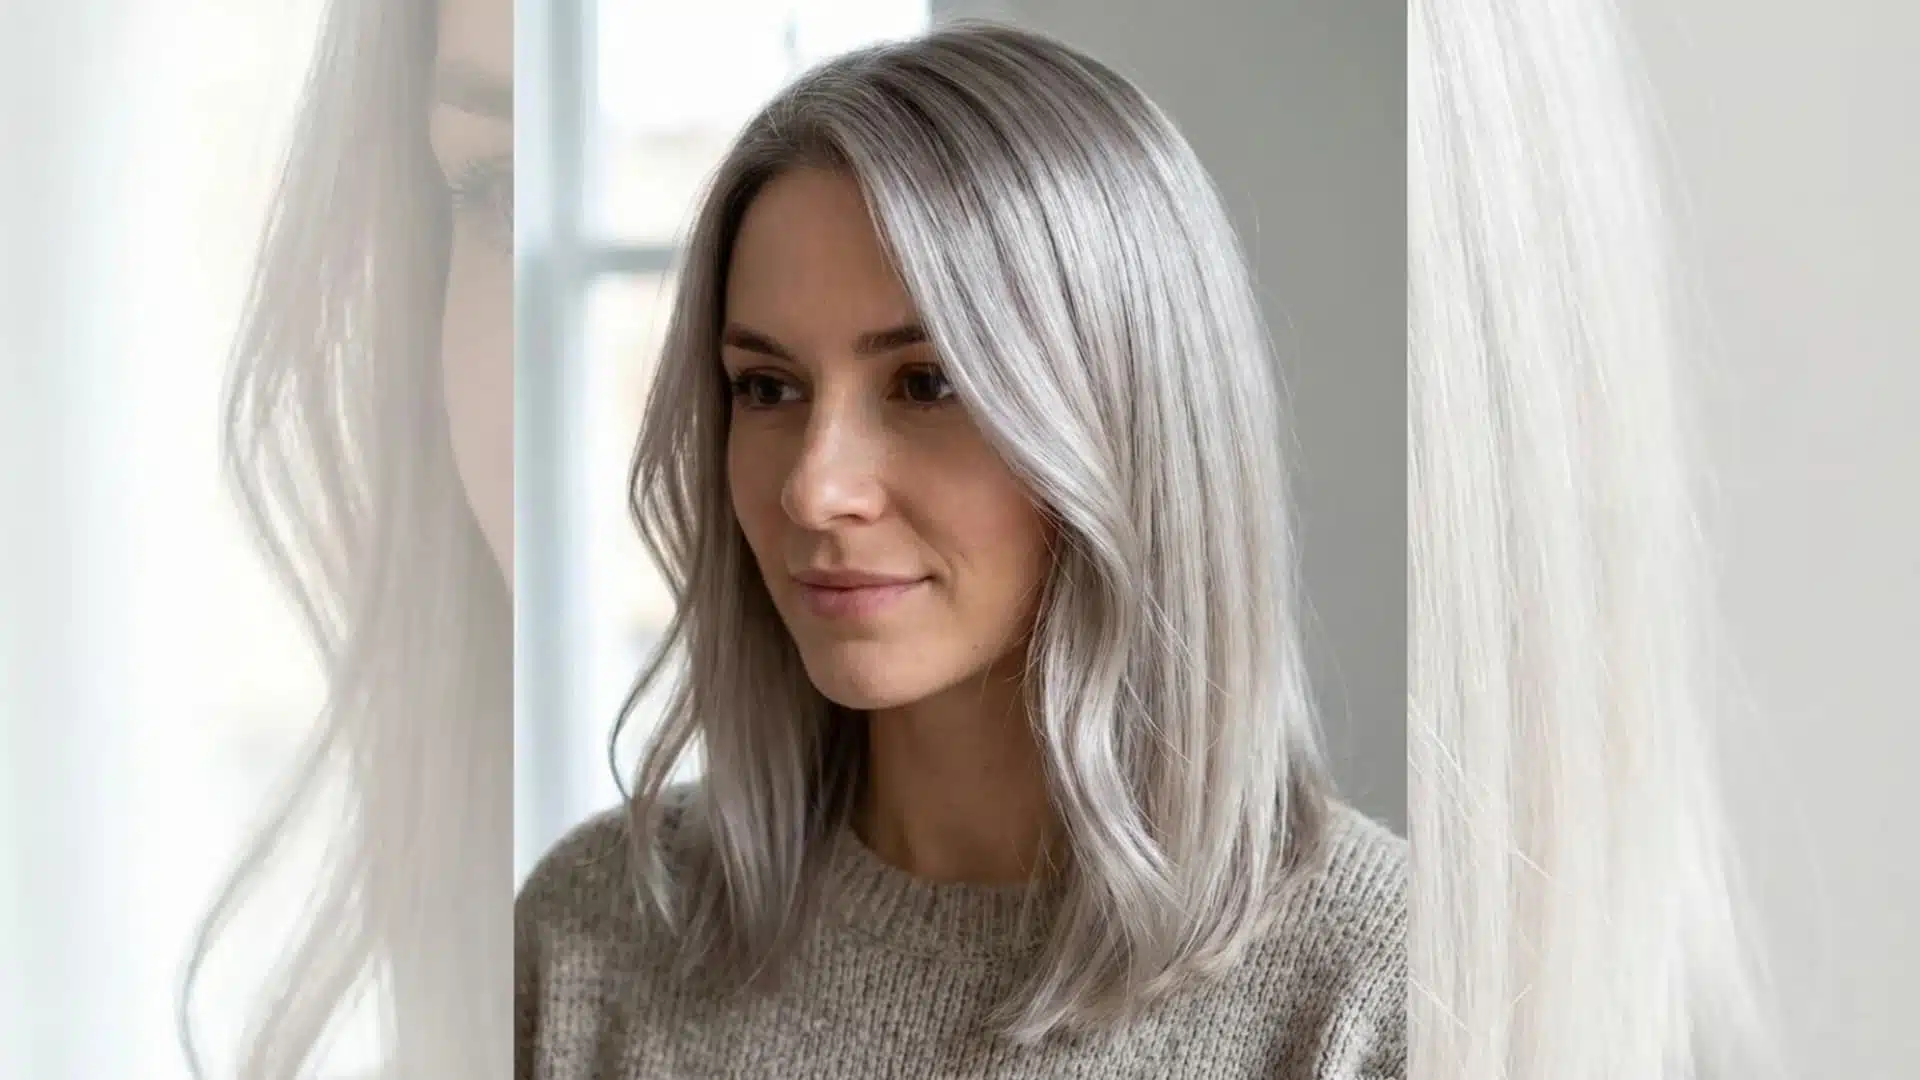
7. Toning and Glossing
- Difficulty: Beginner
This technique is used to adjust or refresh your existing hair color. It does not drastically change your hair but helps remove unwanted tones like brassiness or dullness. It is simple and often used after coloring.
Toner color choice matters: use a blue or blue-violet toner to cancel out orange tones (common after lifting dark hair), and a purple or violet toner to cancel out yellow or brassy-blonde tones. Using the wrong undertone will not neutralize; it will just add a different unwanted cast.
Step-by-step:
- Shampoo and towel-dry hair to damp, not wet
- Apply toner evenly from roots to ends
- Leave for 10 to 30 minutes, checking every 5 minutes
- Rinse with cool water and condition
8. Chunky Highlights / Color Blocking
- Difficulty: Easy–Intermediate
This method uses bold, thicker sections of color to create contrast. It is more noticeable than subtle highlights and works well if you want a great visual change.
Placement is crucial in this technique. For reference on bold, high-contrast placement, goth hairstyles are a strong visual source; they frequently use chunky color sections with stark darks and deliberate lights as a core part of the aesthetic.
Step-by-step:
- Decide where to place color sections; front pieces create the most visual impact
- Separate larger strands and secure the surrounding hair away
- Apply color fully to those sections using a brush or foil
- Process, rinse, and tone if needed
9. Henna and Natural Hair Coloring
- Difficulty: Easy–Intermediate
This is a plant-based alternative to chemical dyes. It is ideal for people who prefer natural options or have sensitive scalps. The process takes longer, but the result is conditioning and long-lasting.
Important warning: Henna coats the hair shaft with a layer that chemical dye cannot properly penetrate. If you plan to switch to chemical dye in the future, including for lightening or highlights, existing henna on the hair can cause unpredictable reactions, including green or khaki tones and uneven lift.
Commit to henna fully, or be prepared to grow it out before transitioning to any chemical formula.
Step-by-step:
- Mix henna powder into a smooth, lump-free paste using warm water or tea
- Let it rest for dye release, typically 2 to 8 hours, depending on the brand
- Apply to dry, clean hair in sections
- Wrap hair in cling film or a shower cap; leave for 2 to 6 hours
- Rinse thoroughly without shampoo; shampoo the following day
10. Lowlights
- Difficulty: Intermediate
Lowlights are the direct counterpart to highlights; instead of lightening sections, you are adding darker shades to create depth, richness, and dimension.
They work by applying a shade one to two levels darker than your base color to select strands, using the same foil sectioning technique used for highlights.
Lowlights are particularly effective for hair that has become over-highlighted or flat-looking blonde, adding contrast to restore a more natural, multi-tonal appearance.
They also work well on fine hair, where the illusion of shadow creates the appearance of thickness and volume. No bleach is involved; lowlights only deposit color, never lift.
Step-by-step:
- Section hair and weave out thin strands, same process as highlights
- Place foil underneath each section
- Apply a darker shade (1–2 levels below your base) to the weaved strands
- Fold the foil and repeat throughout, intersperse with un-colored sections for a natural look
- Process per product instructions; rinse and condition
11. Babylights
- Difficulty: Advanced
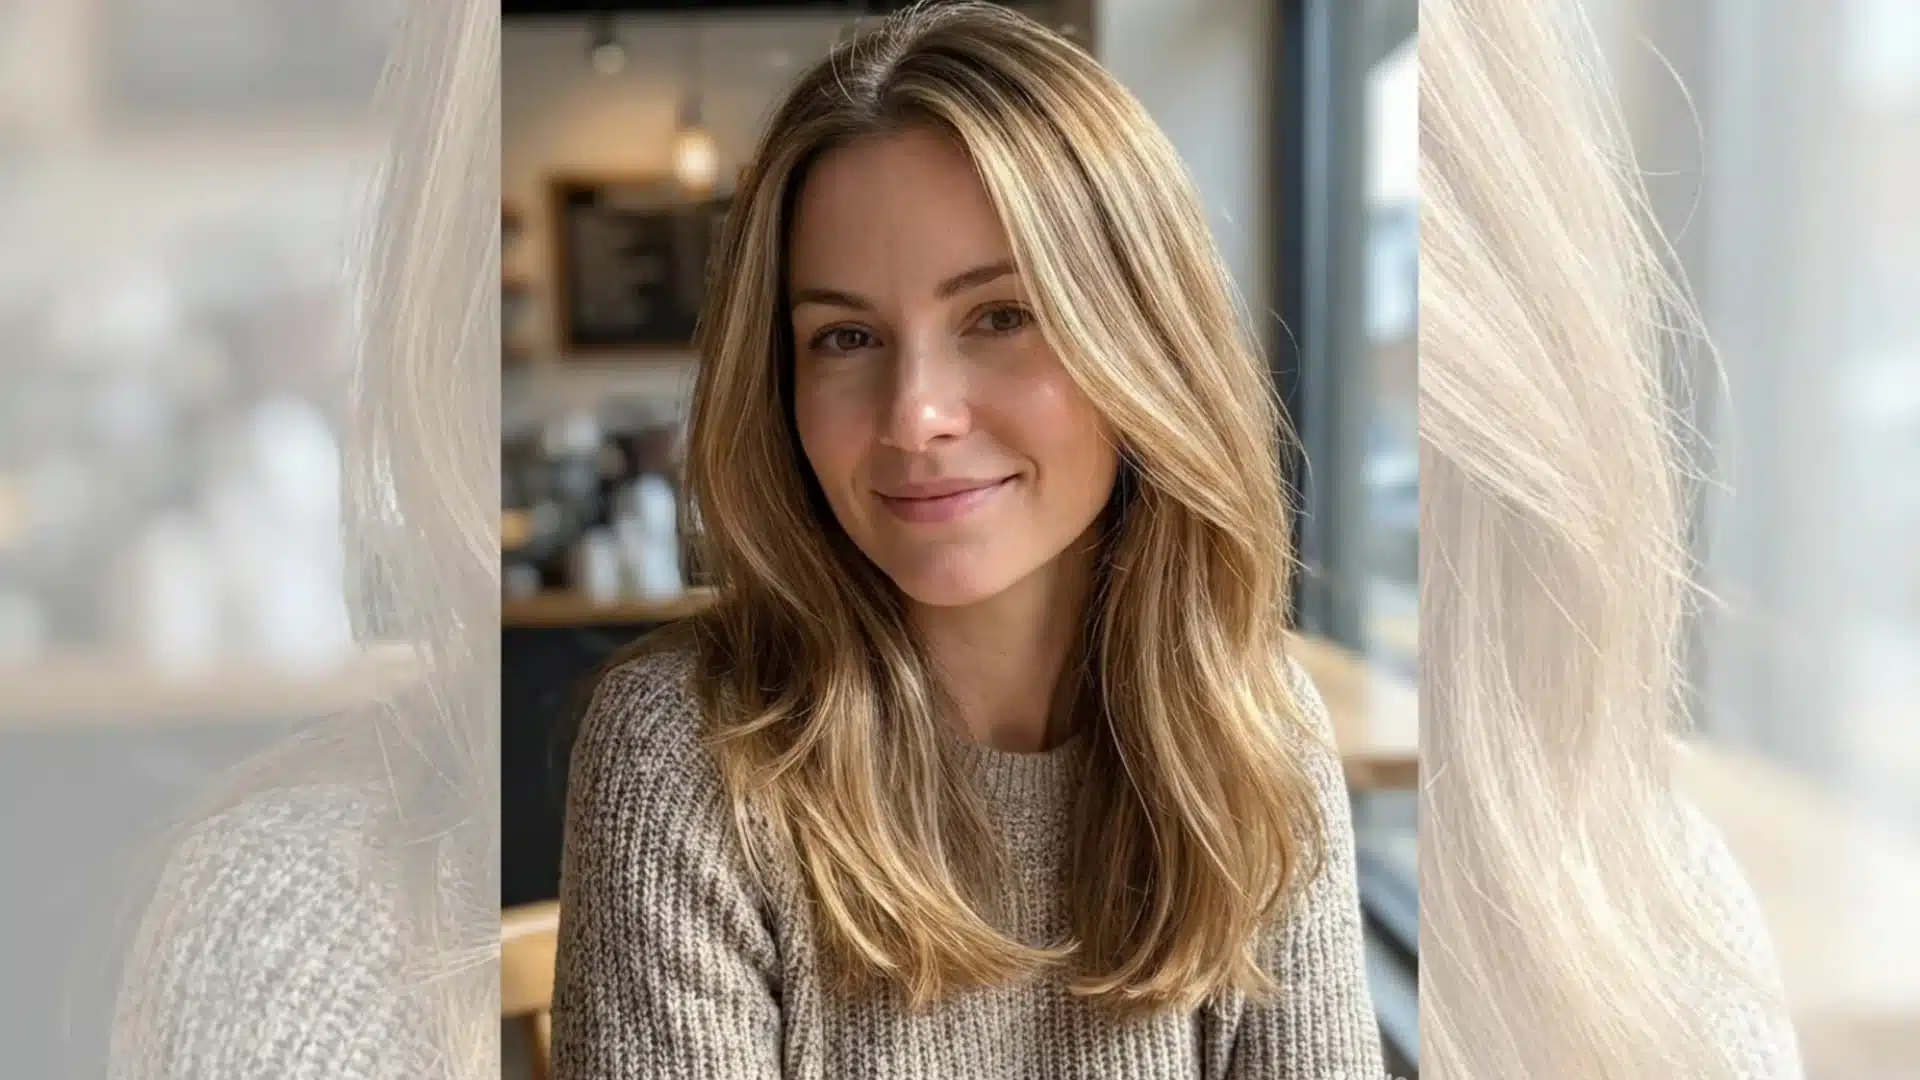
Babylights are ultra-fine, delicate highlights placed throughout the hair to mimic the soft, natural brightness children’s hair often has.
The result is a subtle, all-over brightness rather than obvious streaks, and the blend with the base color is nearly seamless.
They are ideal for fine hair (the subtle dimension adds the appearance of thickness), for anyone wanting to brighten without noticeable regrowth lines, and as a first step into lightening for those nervous about a drastic change.
At home, patience and very thin sectioning are non-negotiable; rushing the foil placement defeats the entire purpose.
Step-by-step:
- Section hair into quadrants for manageability
- Using a tail comb, weave out very fine, thin strands, considerably thinner than standard highlights
- Place a foil underneath each weaved section
- Apply lightener or color to each fine section and fold the foil
- Focus placement around the hairline, parting, and crown first for the most natural effect
- Process for the time indicated; rinse and tone if needed
Step-by-Step: How to Apply Hair Color at Home
Regardless of which technique you are using, the following steps apply every time. Follow this process to get a clean, consistent result and avoid the most common application errors.
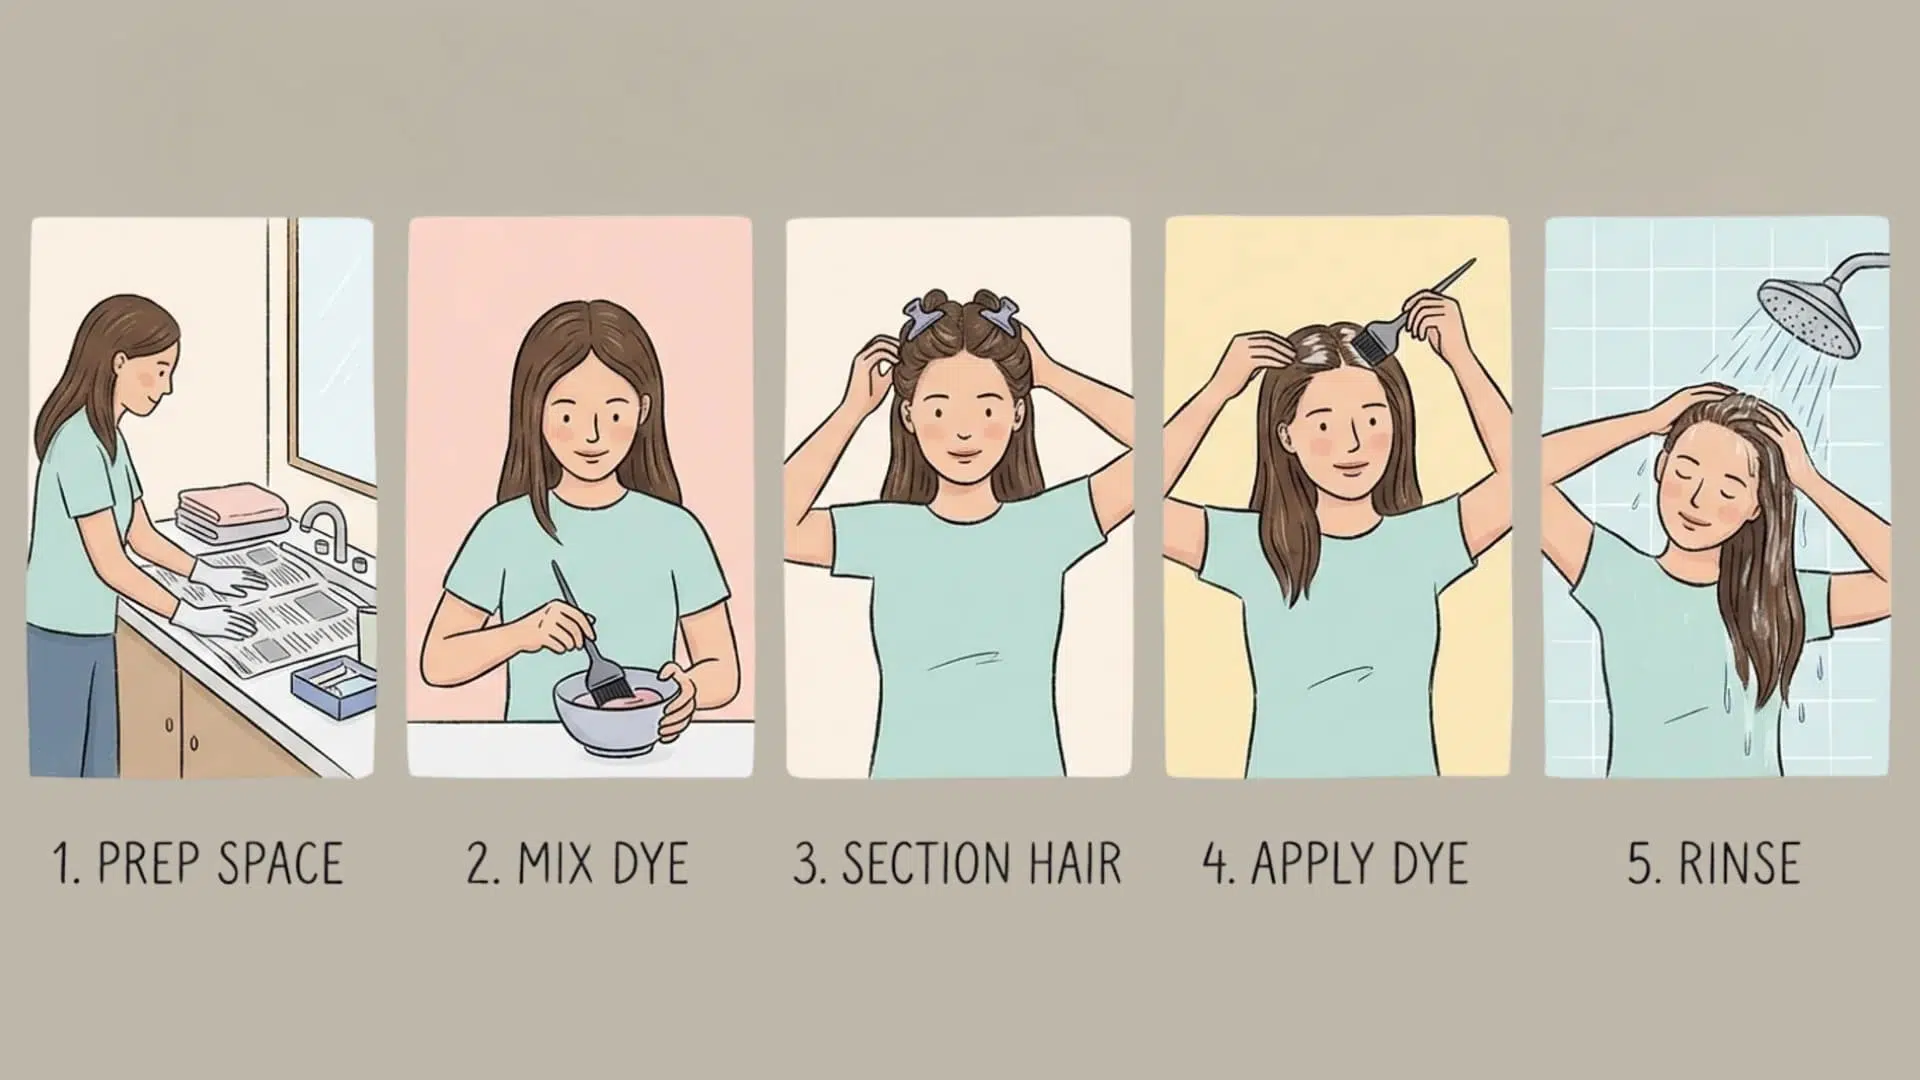
1. Prep Your Space
Set up in a clean, well-lit area where you can work without rushing. Lay down old newspapers or towels to protect surfaces from stains.
Keep all your tools within reach. Good lighting helps you see sections clearly, which is key for even application. A mirror setup with two angles also helps you see the back without having to guess.
2. Mix Dye Properly
Always follow the instructions in the kit rather than guessing. Use a non-metal bowl and mix until the consistency is smooth and fully combined with no lumps.
As a general reference, the standard mixing ratio for most at-home color kits is one part dye to two parts developer, but always defer to your specific product instructions, as some formulas vary.
Prepare the mix only when you are ready to apply immediately: once dye and developer are combined, the chemistry activates, and the clock starts. Any unused mixture must be discarded; never store it for later.
3. Application Order That Actually Works
Section your hair into four parts before applying anything. Start at the roots, which need more processing time because of the heat from the scalp. Work down to mid-lengths, then the ends.
Work in small sections to ensure every strand is coated. If you are covering grey, begin at the hairline and along the parting first; that is where resistant grey tends to concentrate, and it needs the most contact time.
4. Timing Based on Hair Type
Different hair types process color differently. Fine hair absorbs color faster, while thick or coarse hair takes longer.
Stick to the recommended time on the product, but adjust based on your hair type and what a strand test showed you earlier.
Do not leave dye on beyond the maximum time listed; longer processing does not deepen color, it dries out hair, and can lead to flat, dull results. Use a timer every time, without exception.
5. Rinse and Condition
Once processing time is complete, rinse thoroughly with lukewarm water until the water runs completely clear.
Follow up with the conditioner provided in the kit to lock in moisture and smooth the cuticle. Avoid shampooing for at least 48 hours after coloring, as it strips freshly deposited pigment before it fully sets.
Common Mistakes That Ruin Hair Color
Even simple hair-coloring techniques can go wrong if you overlook the basics, so avoiding these common mistakes is key to achieving smooth, even, and damage-free results.
- Leaving dye too long: Overprocessing does not deepen color. It dries out hair and causes dull, uneven tones, especially on already-treated strands.
- Choosing the wrong developer strength: A higher-volume developer lifts faster but causes more damage. Using a stronger developer than needed can cause uneven lift and strip integrity from already-treated hair.
- Skipping sectioning: Applying dye without proper sections leads to missed spots, uneven coverage, and patchy results that are difficult to fix afterward.
- Overlapping color on already-dyed hair: Reapplying dye to previously colored sections can cause buildup, making hair look darker, flatter, or oversaturated. Apply to new growth only during touch-up sessions.
- Ignoring strand tests: Skipping this step means you have no preview of the actual result, significantly increasing the risk of unexpected or uneven outcomes.
- Ignoring hot roots when bleaching: If you are bleaching hair to lighten it, be aware that the scalp produces heat, which speeds up root processing compared the the rest of the shaft. Apply bleach from mid-lengths to ends first, let it develop, then apply to the roots for a shorter time. Check frequently and do not rely on a fixed timer when bleaching.
When You Should Skip DIY and Go to a Salon
Not every hair coloring situation is safe to handle at home. If you are trying to bleach dark hair to a much lighter shade, it is risky without proper knowledge; uncontrolled lift leads to breakage and uneven tones that are expensive to correct.
Fixing existing uneven or patchy color is another case where DIY almost always makes things worse. Major color changes, especially dark to very light or vice versa, need professional formulation and monitoring.
I have had clients come in for a fresh cut after a home bleach job went wrong. A good cut can help disguise damage, but it cannot fix uneven lift, breakage at the ends, or banding from missed sections.
If you are planning a significant color change, book the color appointment first and have it done professionally for the initial transformation.
Maintenance from that point is far easier to manage at home once the foundation is right.
How to Maintain Your Hair Color After Dyeing?
Good maintenance keeps your color fresh, prevents fading, and reduces damage between touch-ups.
- Follow a smart washing routine: Wash less frequently and use lukewarm water to prevent color from fading quickly. Overwashing strips pigment faster than most people expect.
- Use sulfate-free shampoos: Sulfates fade color by stripping natural oils. Switch to gentle formulas designed for color-treated hair to maintain vibrancy between touch-ups.
- Limit heat styling: Excessive heat weakens colored hair and dulls the shade. Always use a heat protectant before any heat tool, not as an afterthought.
- Protect from UV exposure: Sunlight fades hair color, especially lighter shades and reds, faster than most people realize. Use a UV-protecting hair serum or spray before prolonged outdoor exposure, or cover your hair on the beach and sunny days.
- Stick to a touch-up timeline: Roots and fading need regular upkeep. Plan touch-ups every 4 to 6 weeks, depending on your hair growth rate and technique.
- Deep condition regularly: Colored hair needs extra moisture. Weekly conditioning treatments help maintain shine, softness, and overall color longevity.
Conclusion
Hair coloring techniques do not have to feel complicated or risky once you understand the basics. The key is choosing the right method for your goal and following each step carefully, rather than rushing.
Whether you are doing a simple root touch-up or attempting babylights for the first time, patience and preparation make all the difference.
Start with the technique comparison table, match it to what your hair can actually handle right now, and build from there.
Color skills compound, the more you understand how your specific hair absorbs and holds pigment, the more consistent and confident your results will be. The first successful application always makes the next one easier.
If you still have questions or want to share your experience, drop your comments below and join the conversation.
Frequently Asked Questions
How Long Should I Leave the Hair Dye In?
Follow product instructions; usually 20 to 45 minutes, depending on the dye type and hair texture. Set a timer and check before the maximum time is up, particularly on fine or previously processed hair.
Can I Color Hair without Bleach?
Yes, but only for darker shades or subtle tonal changes. Lightening hair significantly, going more than two levels lighter, requires bleach. Semi-permanent and demi-permanent dyes deposit color only; they do not lift.
How Often Can I Dye My Hair?
Every 4 to 6 weeks is a general guideline for most people, though this depends on hair condition, technique, and dye type. Low-maintenance techniques like balayage or ombré can extend that to 10–12 weeks.