Silver hair does not announce itself gradually. One day, you notice it at your temples. A few months later, it is everywhere.
After a decade behind the chair, I have watched clients fight that moment with box dye, root sprays, and monthly appointments that feel more like maintenance than style. The effort never quite stops.
Transitioning to grey hair with highlights changes the relationship.
Instead of covering silver, highlights blend it in so the grow-out becomes part of the look. Appointments drop from monthly to a few times a year. And the hair that felt like a problem starts to feel like a signature.
These tips walk you through every stage of that process, from the first consultation to long-term maintenance.
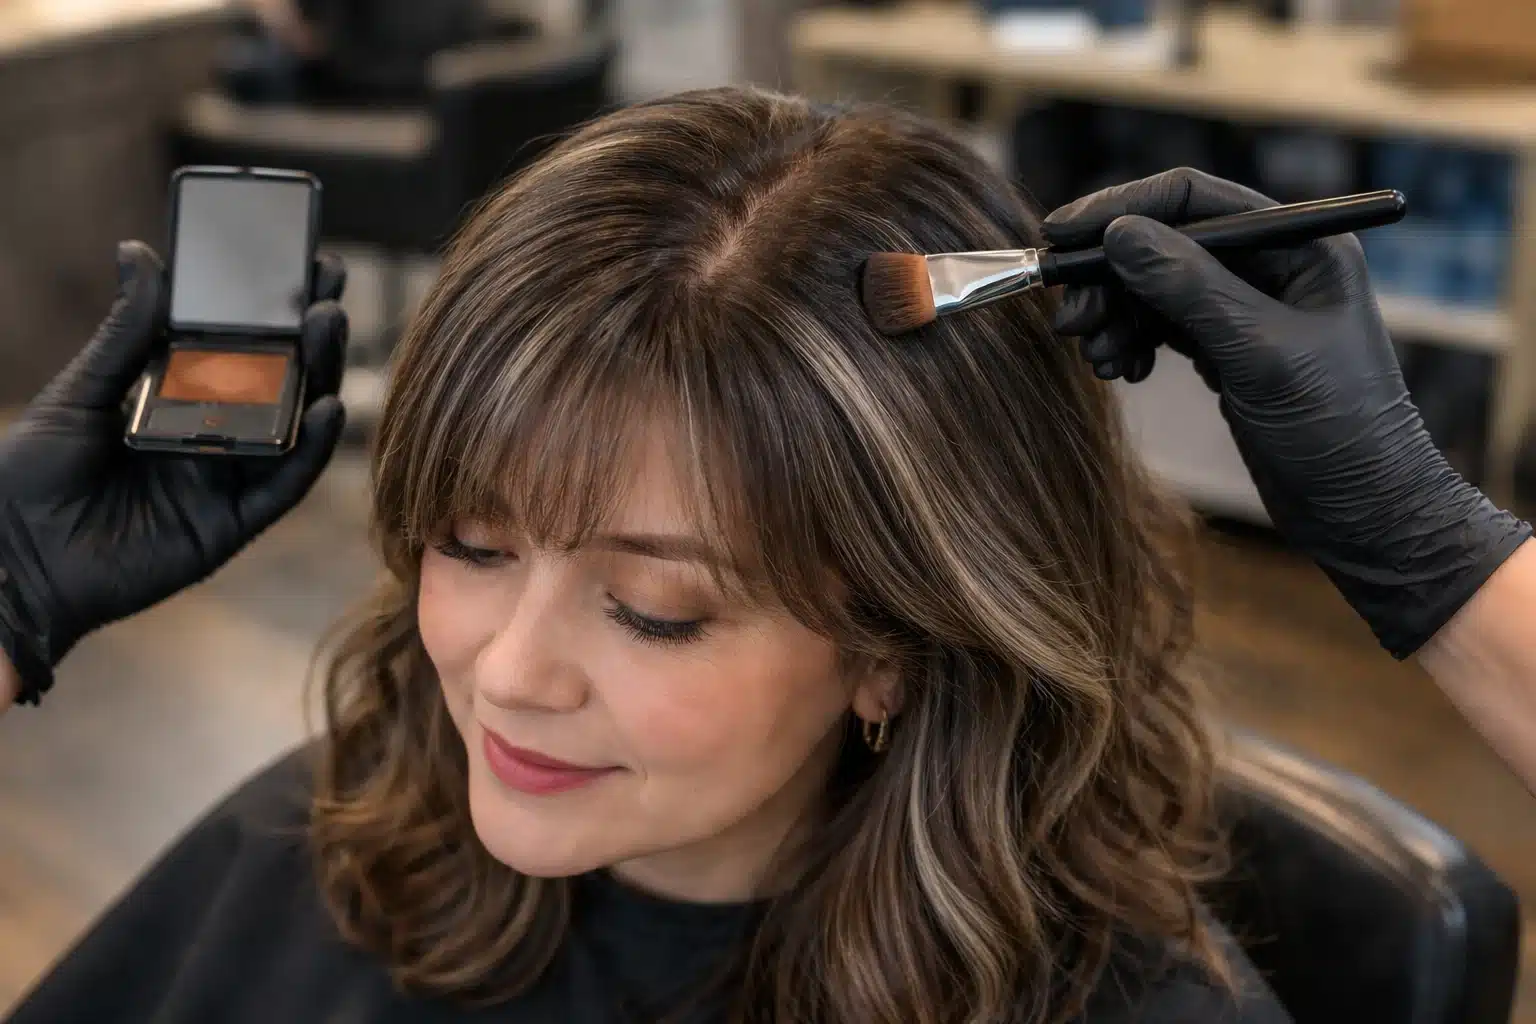
How Does Gray Blending with Highlights Work?
Gray blending is not the same as gray coverage. Coverage hides your silver completely with permanent dye.
Blending, on the other hand, uses highlights and lowlights to soften the contrast between your natural gray and your base color.
According to L’Oreal Paris, gray blending creates a multi-tonal effect.
Silver strands blend into your overall color instead of standing out. That is exactly why transitioning to grey hair with highlights has become the go-to method.
On a practical level, the reason this works ties back to melanin.
Hair turns gray because melanocyte cells in the follicle produce less pigment over time. Up to 23% of people have 50% of their hair gray by age 50.
Highlights placed near these silver strands reduce the visual gap, making the grow-out look natural rather than harsh.
The payoff is real: longer gaps between salon visits, less chemical damage, and a finish that actually improves as your gray grows in.
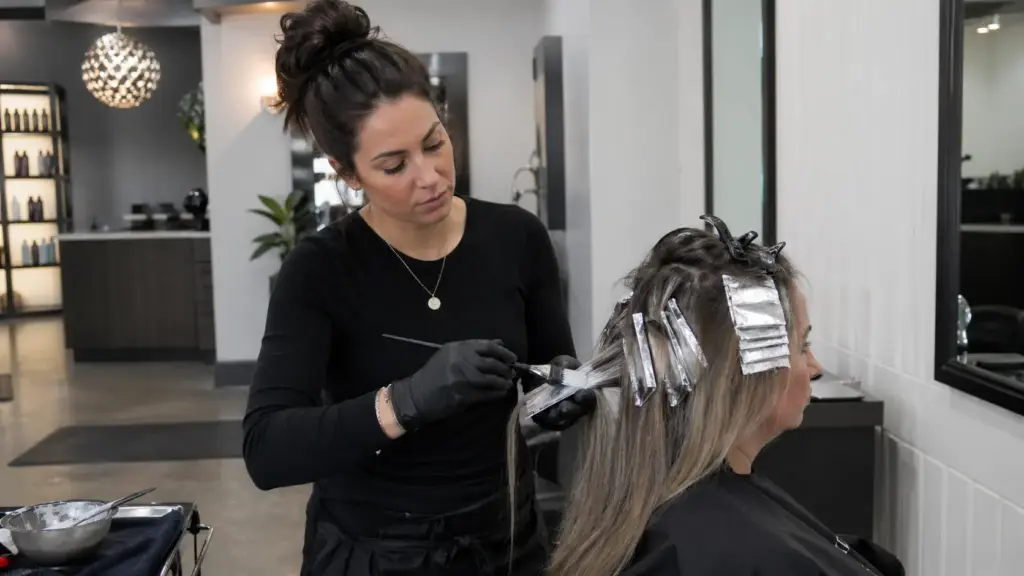
Tips for Transitioning to Grey Hair with Highlights
The technique your colorist chooses will shape how your transition looks and how often you need to be in the chair. These tips cover everything from the first foil to long-term upkeep.
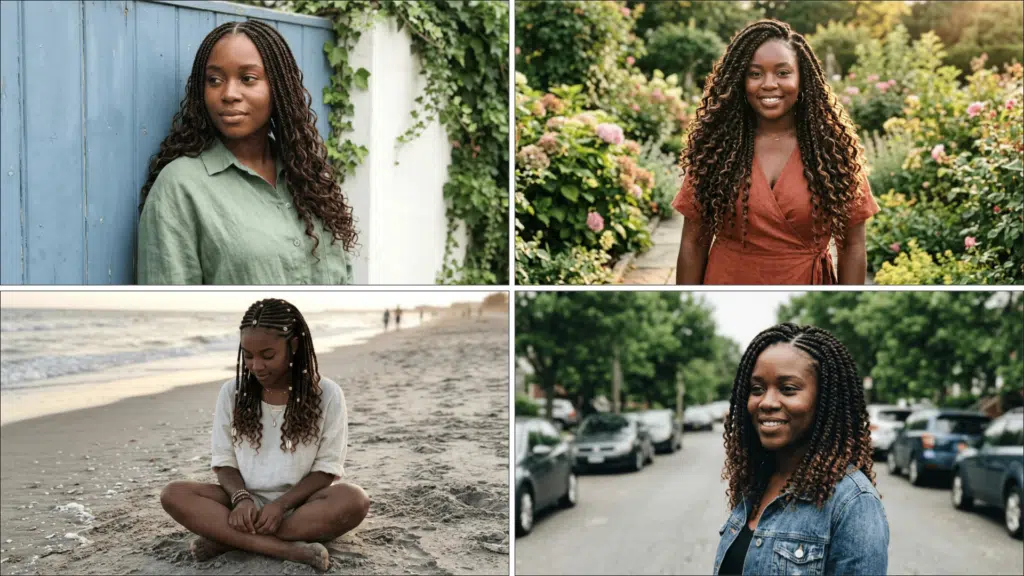
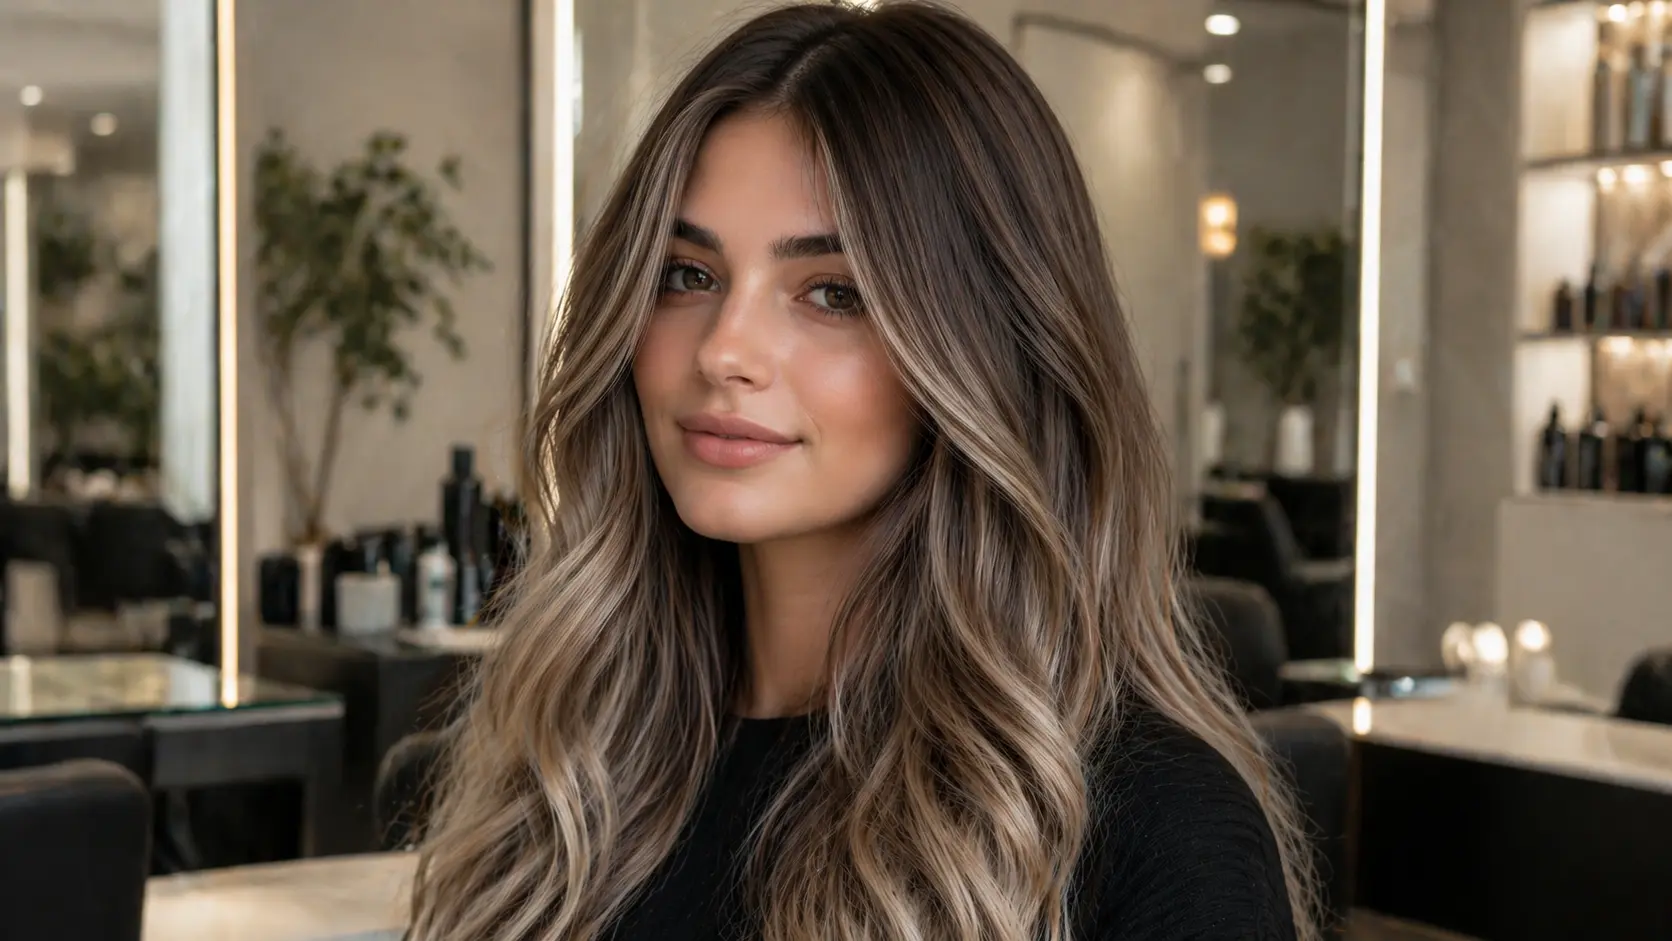
1. Try Balayage for the Most Natural Grow-Out
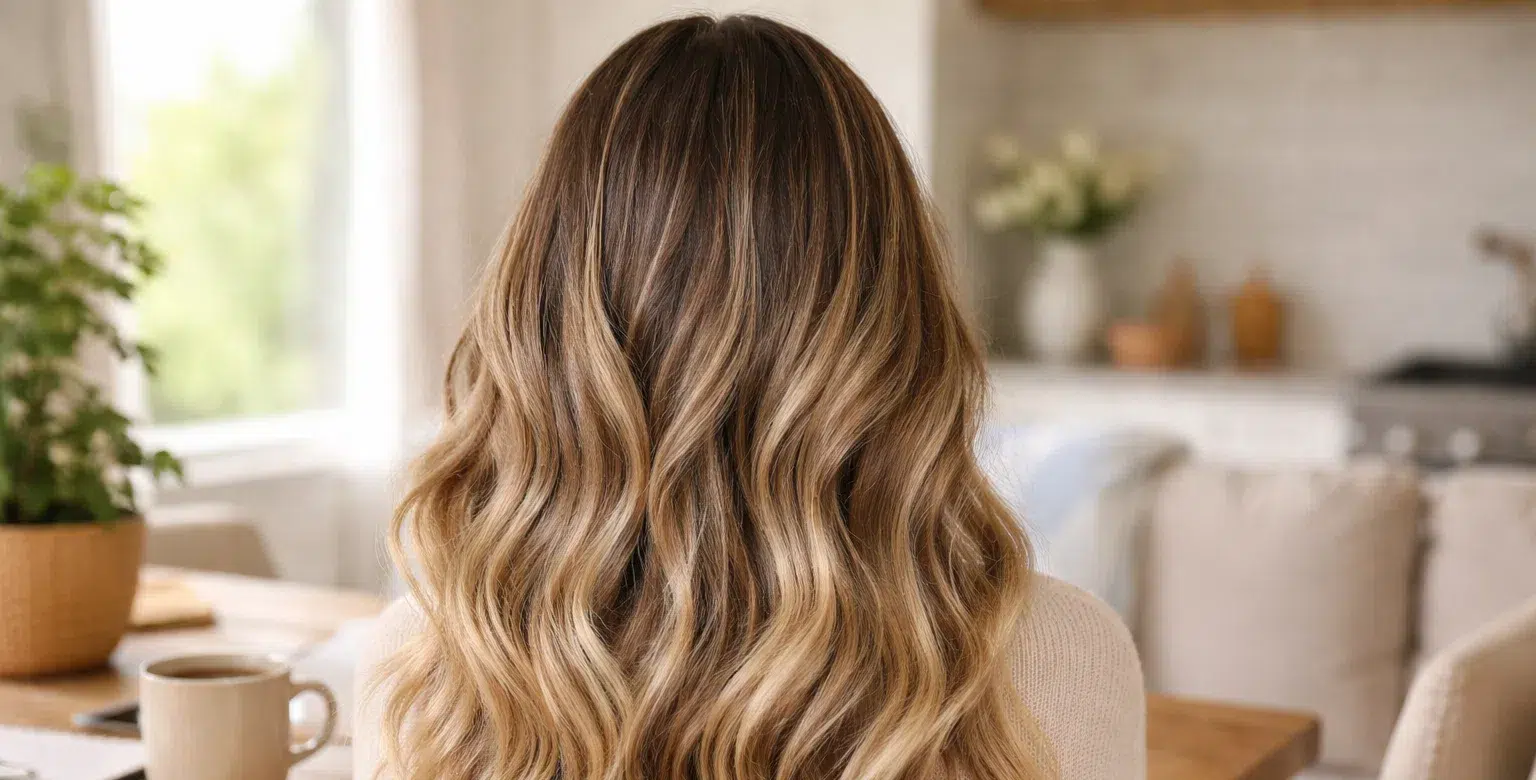
Balayage is a hair coloring technique that offers a beautifully natural look as your hair grows out.
This method involves freehand painting highlights in sweeping strokes, creating a soft, gradual color transition.
According to Hair.com, renowned Matrix ambassador George Papanikolas frequently utilizes balayage to help clients transition away from graying hair.
The artistry of balayage effectively blurs the distinction between gray strands and colored ones, creating a harmonious blend that looks effortless.
Balayage features strategic color placement away from the roots, reducing the appearance of regrowth.
Shoulder-length hair typically requires two to three sessions per year, allowing for low-maintenance, stylish gray hair management.
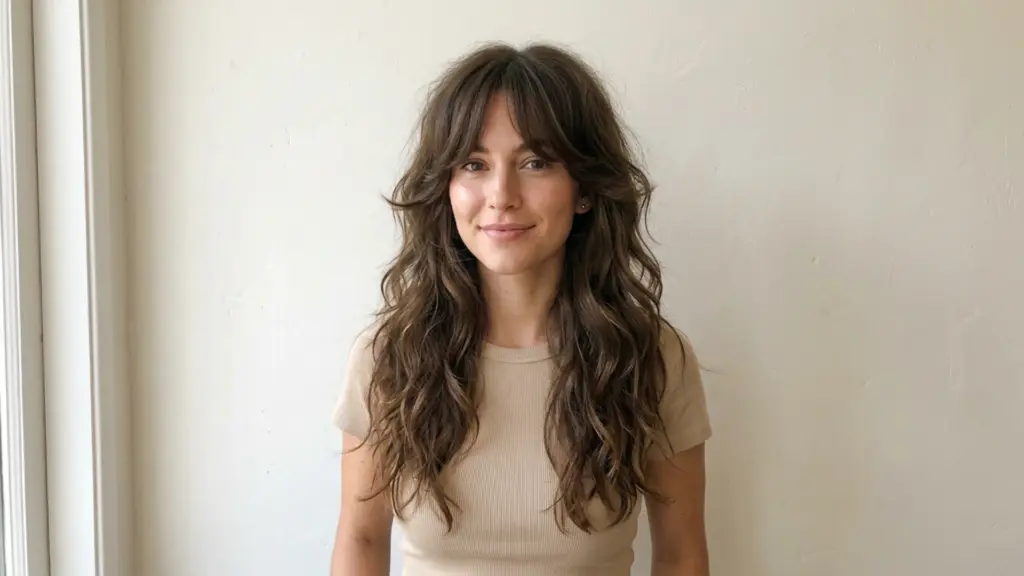
2. Ask About Babylights for a Subtle Shift
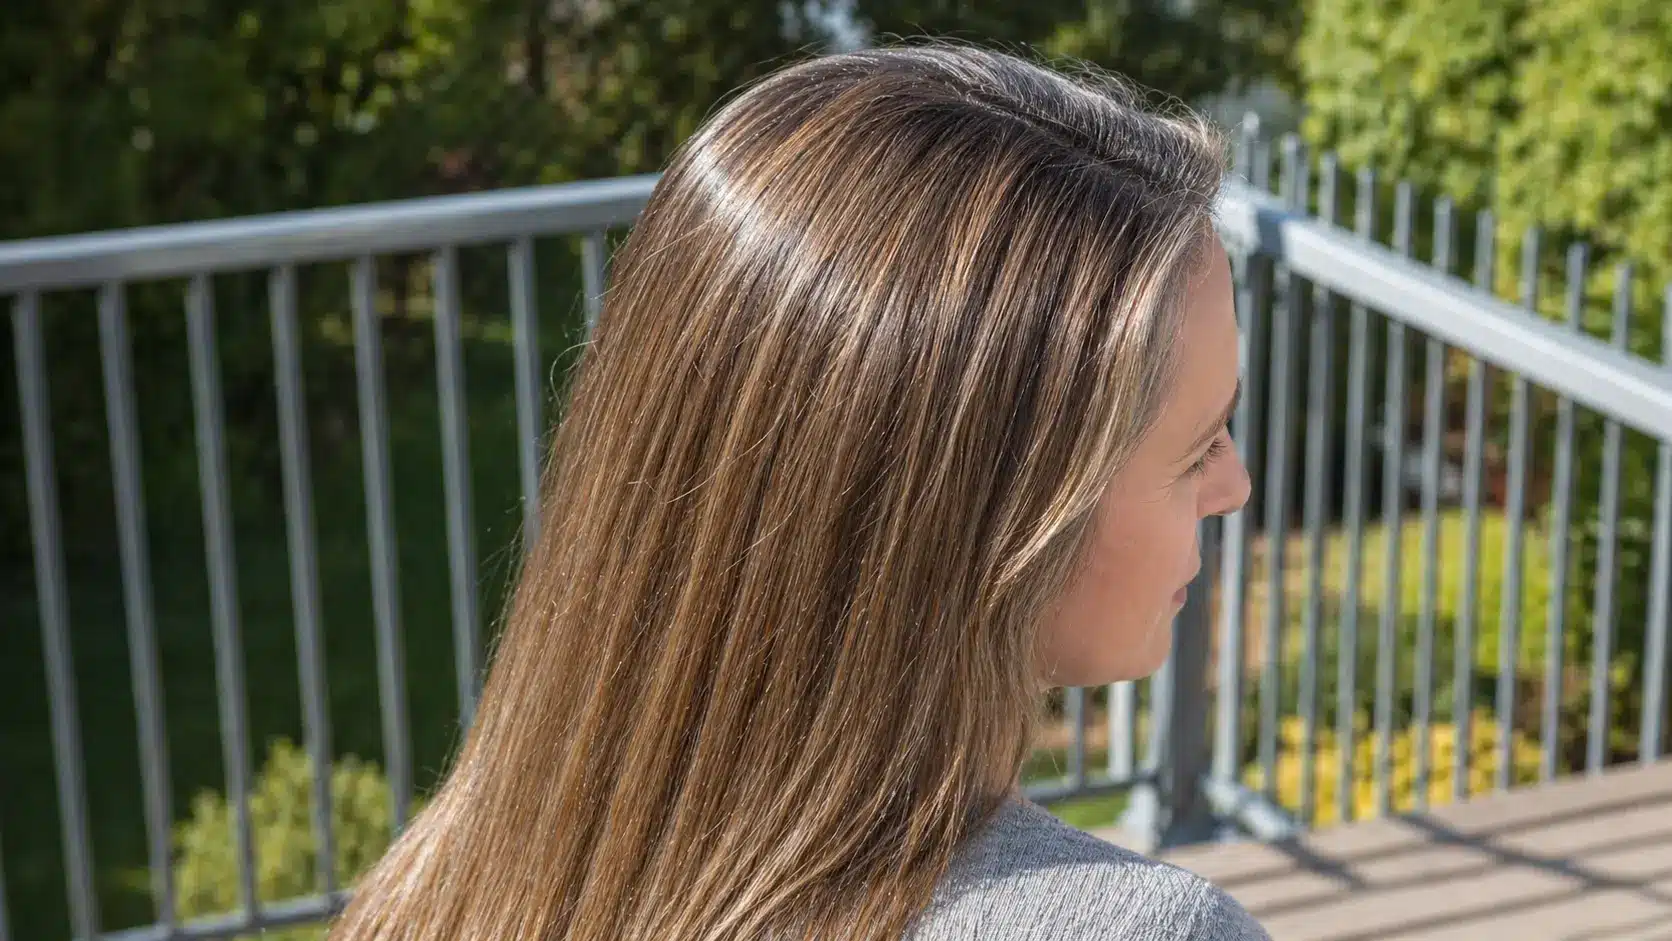
Ultra-fine highlights mimic the natural appearance of sun-kissed hair, adding a layer of soft brightness that enhances the overall look without introducing harsh contrasts.
This highlighting technique is particularly effective for clients with less than 30% gray hair who are seeking a gentle transition or a low-maintenance option.
It allows for a gradual infusion of lightness that beautifully complements their natural color, providing a subtle yet fresh update to their hair.
This approach is ideal for those who want to ease into more noticeable changes in a way that feels effortless and natural.
3. Use Foilyage for Faster Results
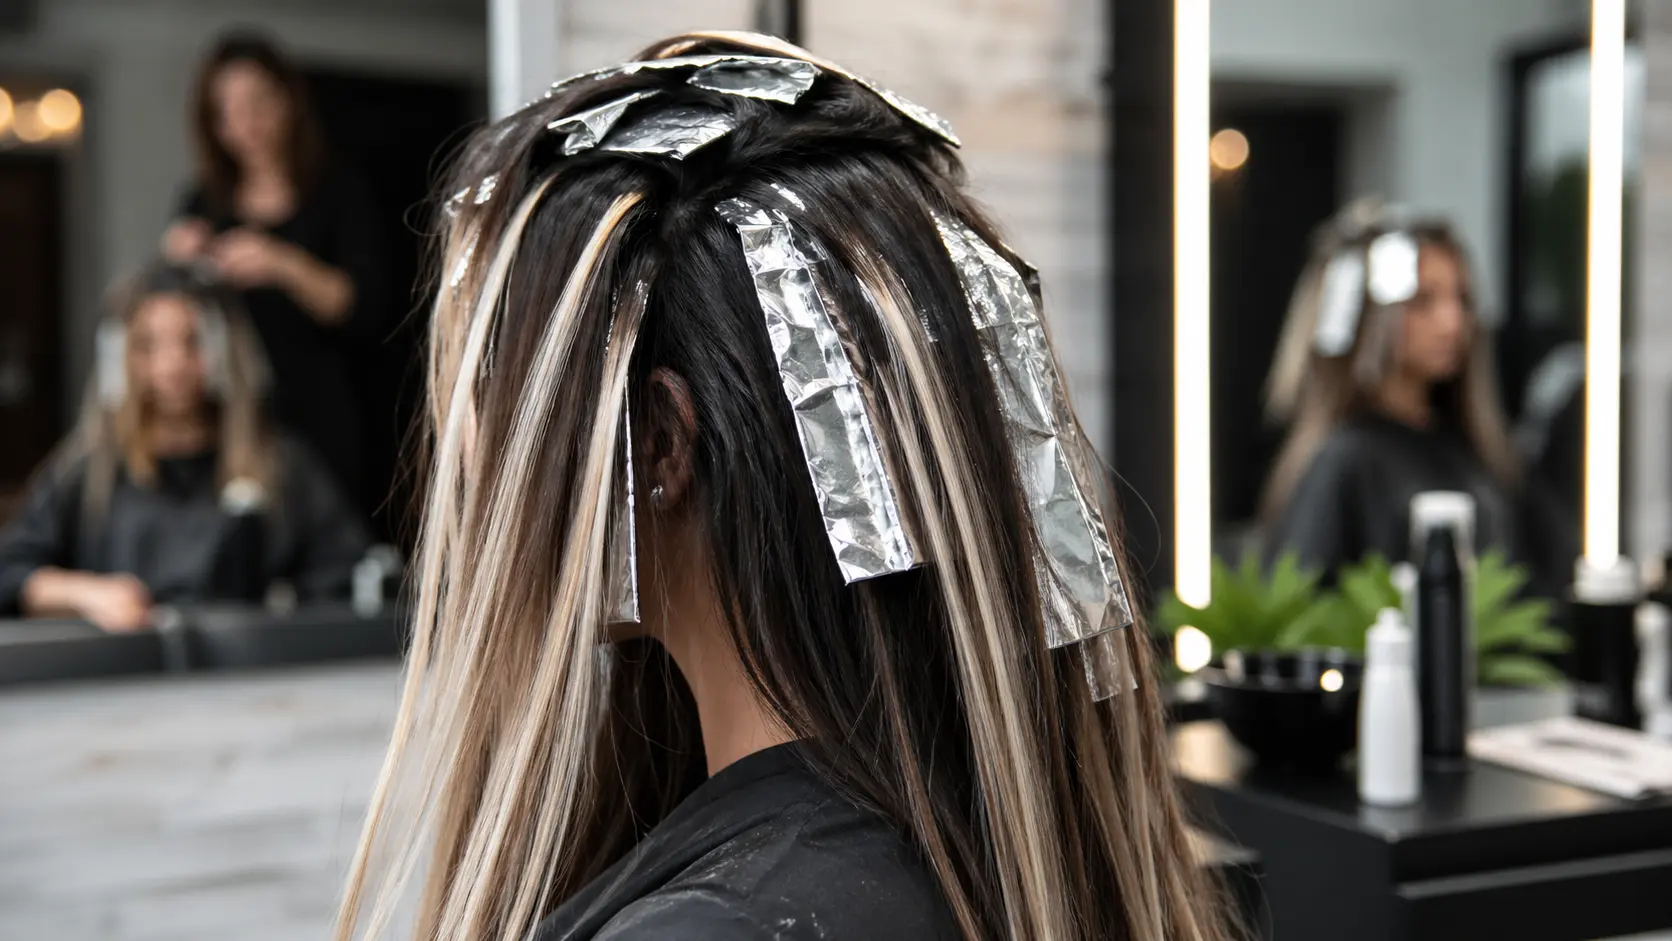
Foilyage is a technique that combines the precision of foiling with the artistic touch of balayage, offering quicker results with controlled application.
It accelerates the lifting process by trapping heat, enabling the lightener to work more efficiently and reducing salon time without sacrificing quality.
However, foilyage results in a sharper grow-out line than traditional balayage, creating a more defined contrast between natural hair color and lighter ends.
This may require more frequent touch-ups to maintain a seamless look.
When clients come to me wanting faster results, I always flag the grow-out line upfront. Foilyage delivers speed, but it is not always forgiving on the maintenance side.
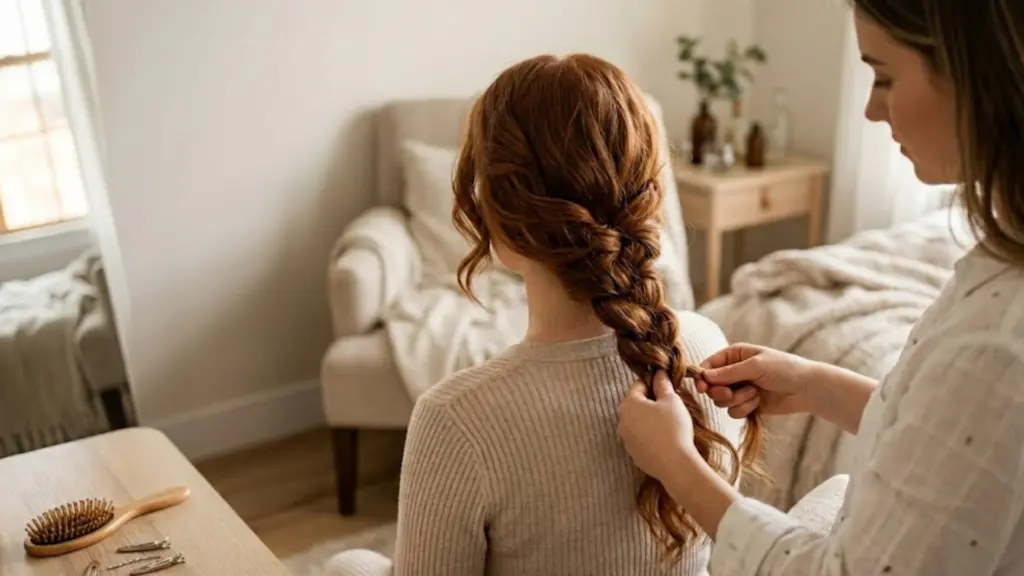
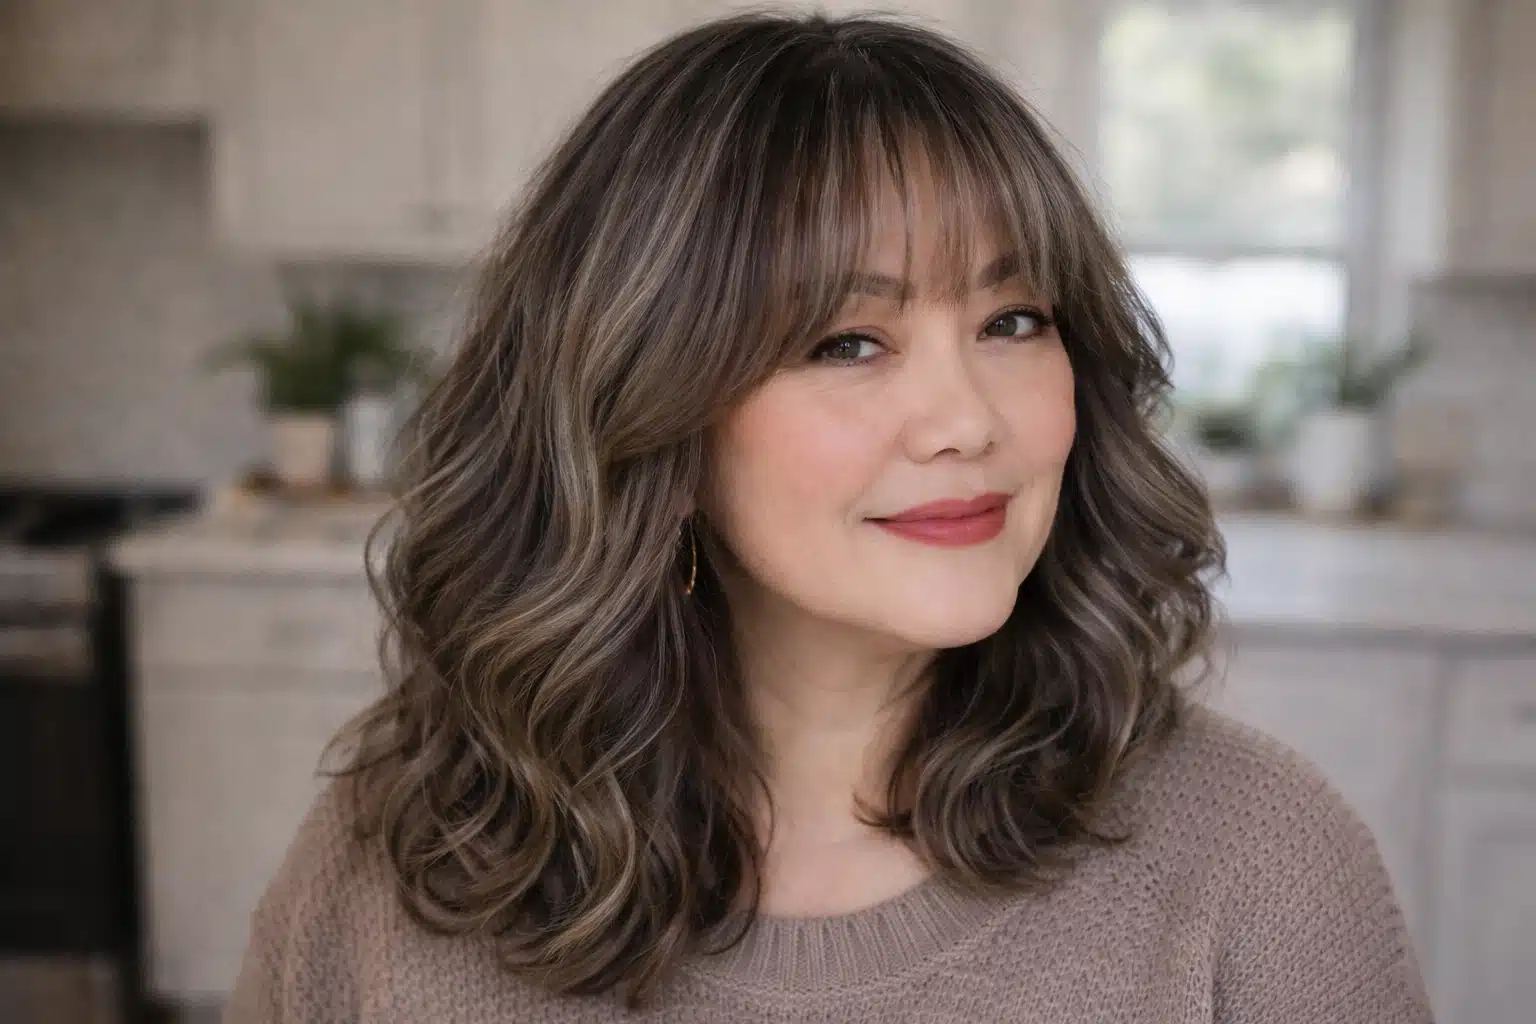
4. Combine Highlights and Lowlights for Dimension
Expert colorist Khamis Maiouf discussed the technique of using lowlights in hair coloring with Vegamour.
Unlike highlights that lighten hair, lowlights add darker shades without stripping the original hue, minimizing damage and enhancing hair health.
Lowlights add depth and dimension by placing darker shades next to lighter ones, creating a multi-faceted look.
This technique is especially beneficial for brunettes, helping to avoid the stark contrast between natural and colored hair as it grows out.
A skilled colorist typically blends two to three tones to achieve a harmonious, natural appearance, ensuring vibrant hair throughout the grow-out phase.
5. Stay Within 2 to 3 Shades of Your Base
Choosing hair colors that are too light can create an unflattering look.
To complement gray hair’s cool undertones, shades like ash blonde, silver, and platinum are ideal. These hues work well together, while red or golden highlights can clash and lead to brassiness.
Your colorist must consider your base color and skin tone to enhance your overall appearance.
Discussing your personal style with your colorist will help you find the perfect shade that suits you.
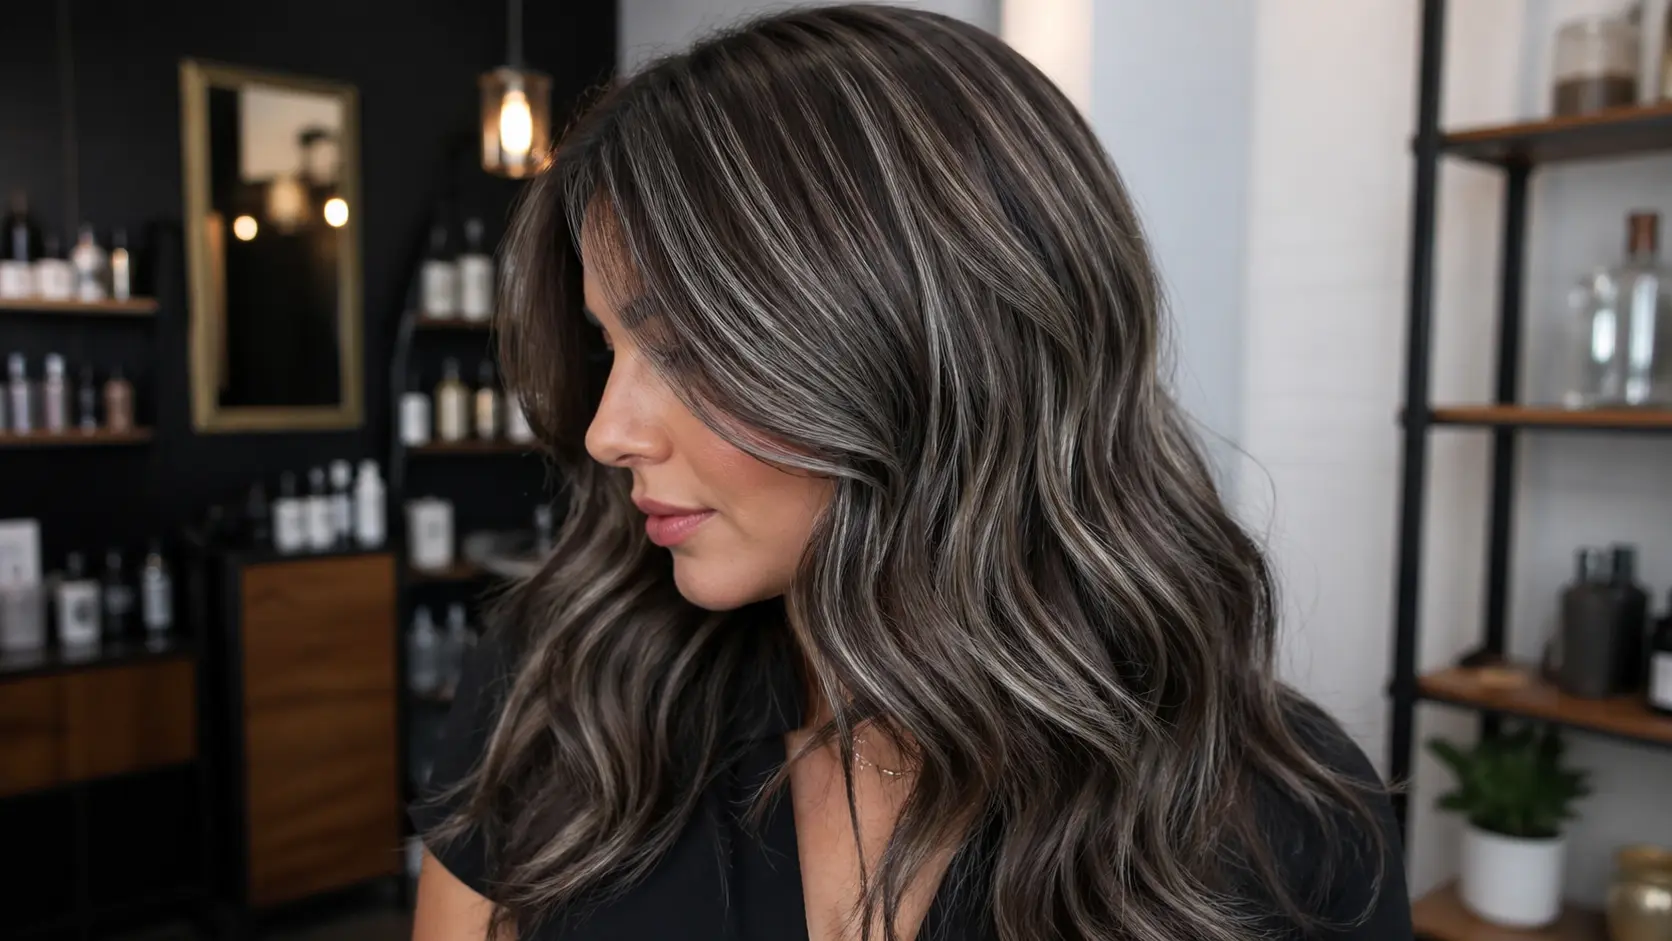
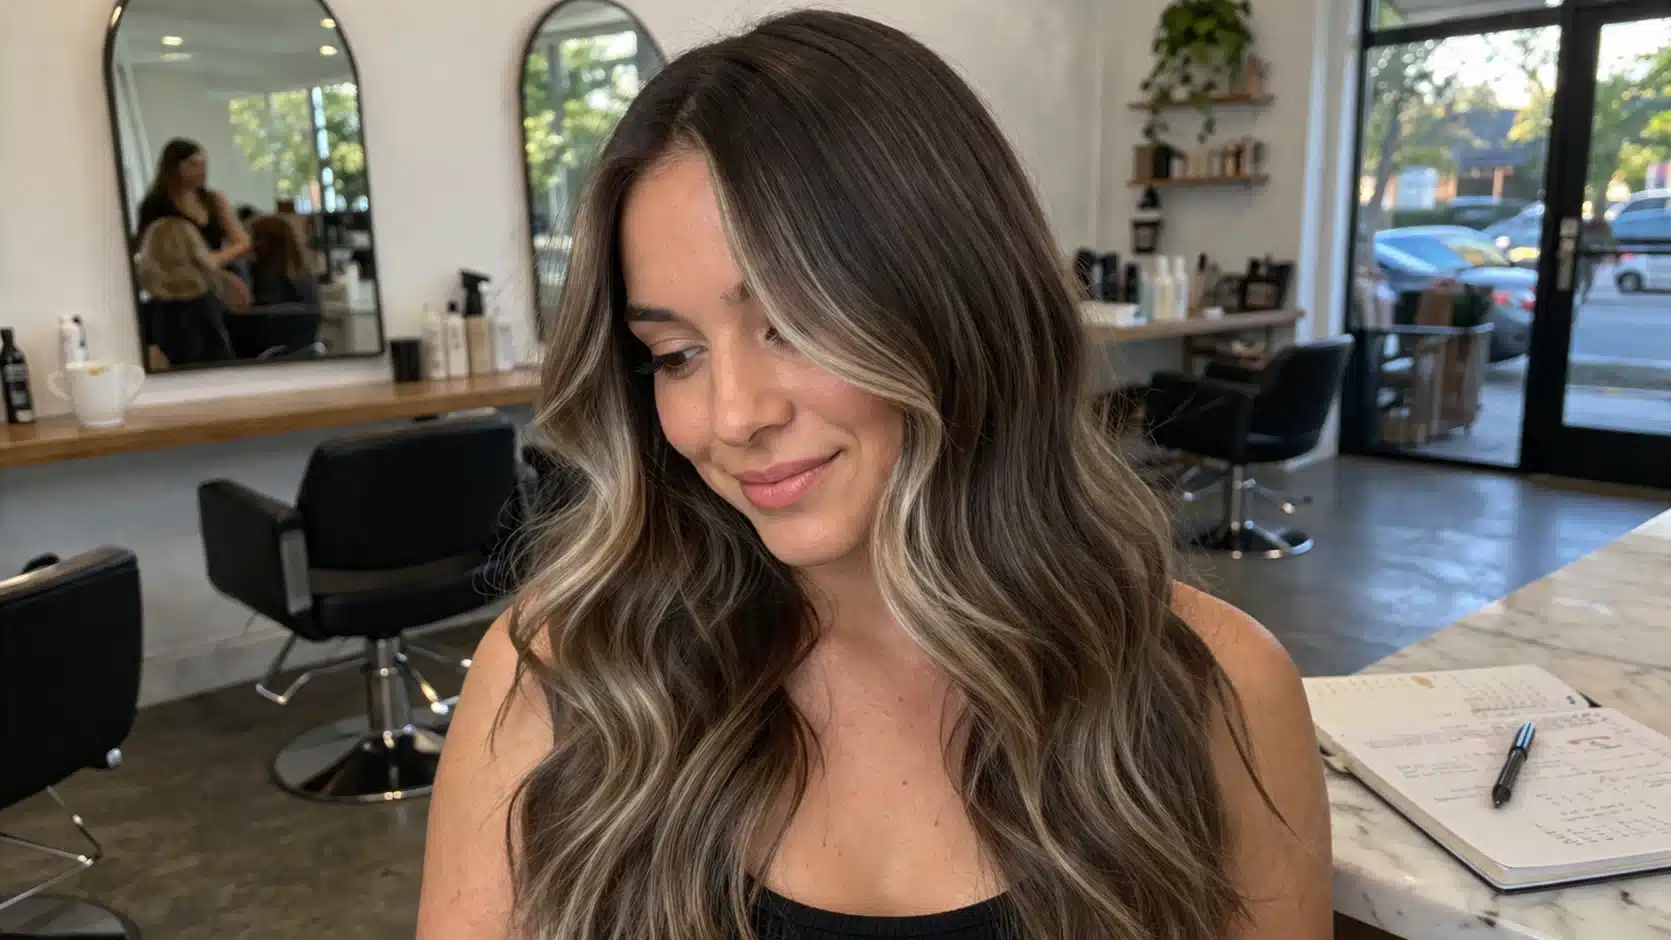
6. Start with Face-Framing Silver Highlights
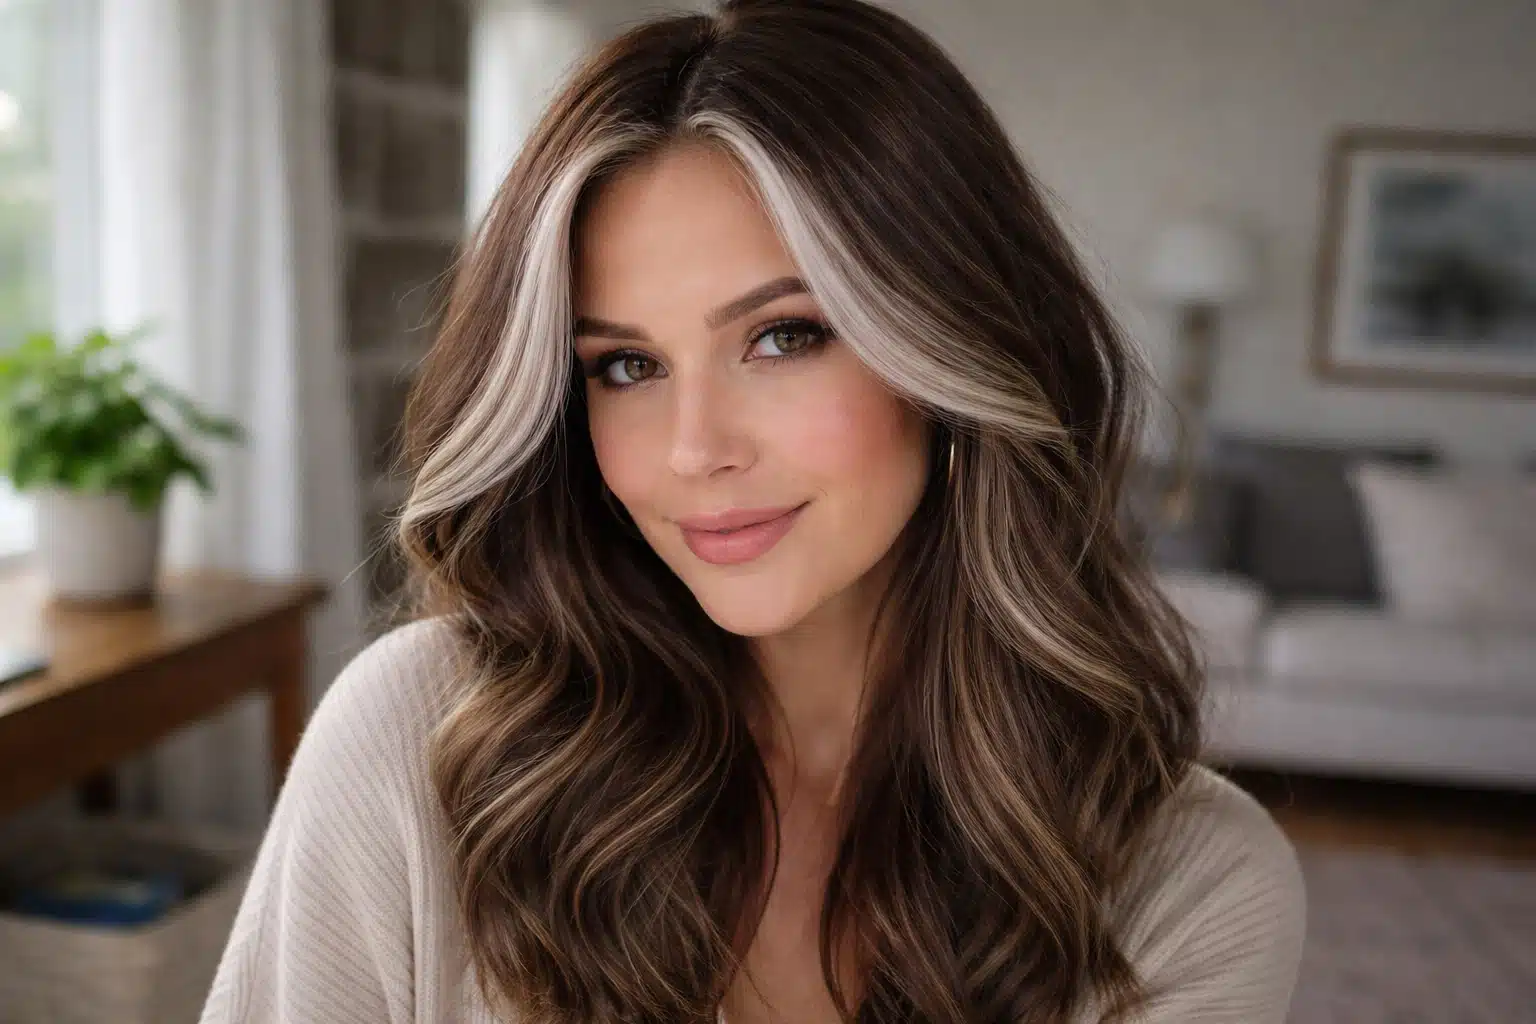
The most dramatic results come from before-and-after shots of brown hair with silver highlights. Dark brunettes often worry about contrast, but strategic placement solves this.
Place your first silver-toned highlights around the hairline.
Espresso, chestnut, and mahogany lowlights add richness alongside the lighter pieces. Expect 3 to 5 appointments over 4 to 6 months for a full blend.
Do not let any stylist over-lighten in a single session, as too much bleach on brown hair causes breakage.
From what I have seen behind the chair, gray around the temples lifts faster and takes toner differently than gray at the crown. A colorist who checks both zones separately gets a much more even result.
7. Try Demi-Permanent Color to Soften the Grow-Out
According to eSalon, demi-permanent color fades gradually over about 28 washes, making it ideal for transitioning between full color and gray hair.
It softens the contrast between dyed and natural hair, creating a more natural look.
A good strategy is to apply demi-permanent color to the roots while highlighting the mid-lengths and ends for a multidimensional effect.
As you wash your hair, the demi color blends with your natural gray, allowing it to emerge gradually without harsh lines, easing the transition to your natural color over time.
I often recommend this for clients who are nervous about committing fully. The gradual fade gives them a longer window to see how their natural silver looks before we stop all color services.
8. Use Root Touch-Up Powders Between Salon Visits
Root touch-up powders are a great way to extend your hair color between salon visits.
These convenient sprays hide regrowth lines for up to two weeks, helping you maintain a polished look without immediate chemical treatments.
Available in various shades, including ash and silver, they blend seamlessly with your hair.
A quick dusting along your hairline and part can diminish the visibility of regrowth, enhancing your overall appearance while saving you time and money before your next color appointment.
9. Cut Shorter to Speed Things Up
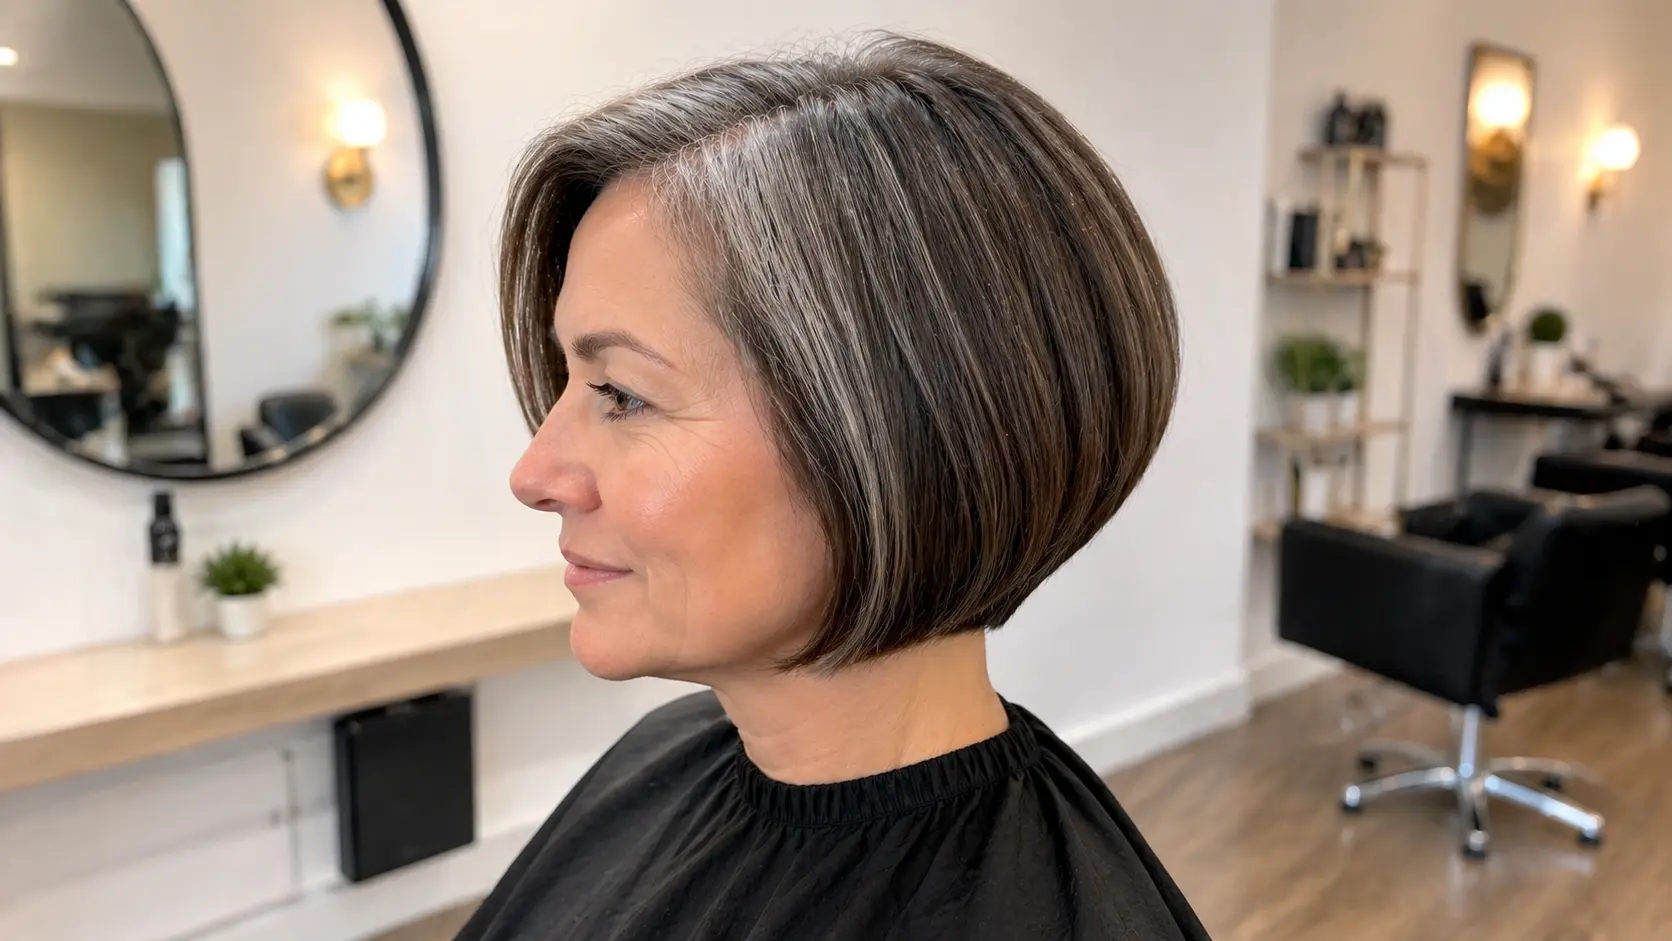
To promote healthier hair, consider a pixie or bob haircut, which can eliminate dyed ends in two to three appointments.
For a balance between length and damage control, a lob (long bob) is a great option, retaining enough length for versatility while removing older, compromised color-treated ends.
Additionally, regular trims every 6 to 8 weeks are crucial for maintaining healthy growth and keeping silver strands neat.
This combination of a strategic cut and consistent upkeep can greatly improve the hair’s appearance and condition over time.
Cutting with intention accelerates the transition more than most clients expect. It is one of the first things I suggest to anyone who is impatient with the process.
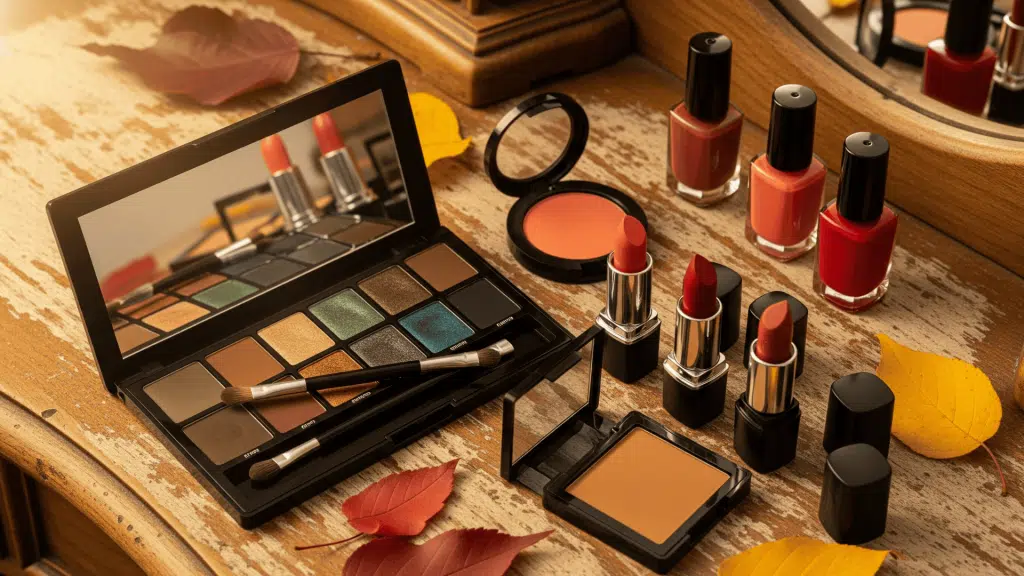
10. Invest in Purple Shampoo
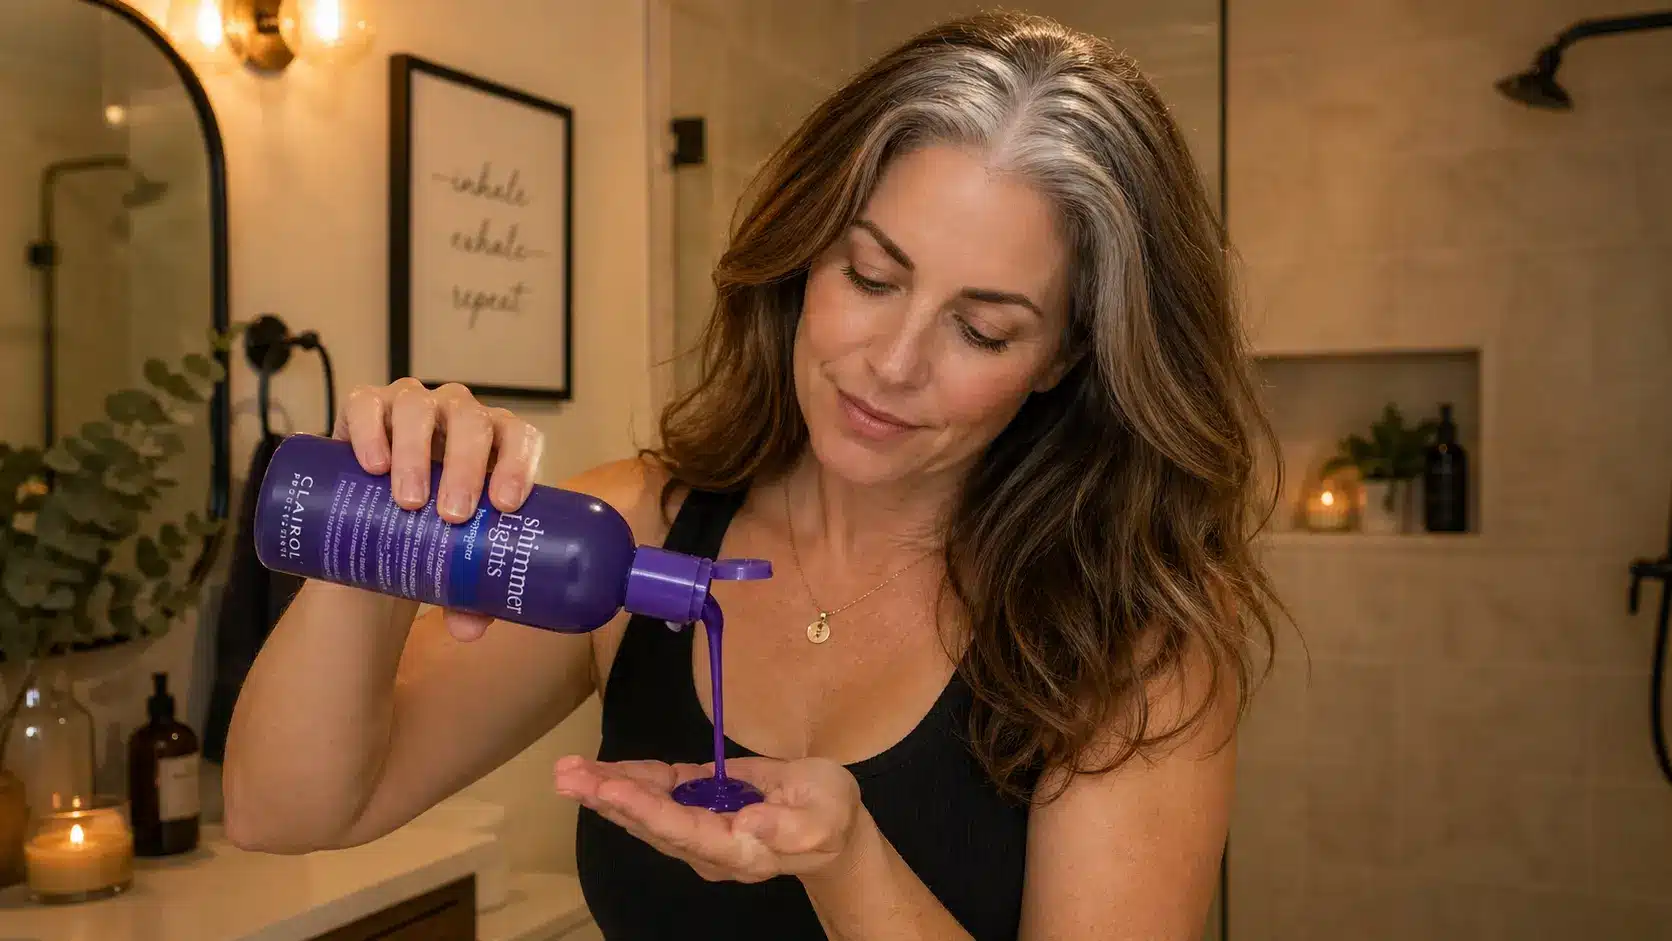
Purple shampoo neutralizes yellow and brassy tones in silver highlights.
Use it 1 to 2 times per week, not daily, as overuse can leave a violet cast. I tell clients to leave it on for 3 to 5 minutes, then follow with a deep conditioner.
Gray hair tends to be coarser and drier because the follicle produces less oil as melanin decreases.
A sulfate-free shampoo, a weekly hydrating mask, and a UV-protection spray round out the basics. Limit heat styling to protect strands that have already been processed.
11. Return Every 6 to 8 Weeks for a Glaze
To keep your silver hair vibrant, schedule a toning glaze treatment every 6 to 8 weeks.
This lightweight treatment refreshes your color and adds shine by neutralizing brassiness without the damage of full hair color services.
It’s essential to maintain tone and brightness after transitioning to silver hair.
Many salons offer standalone glaze services priced between $40 and $80, making them a cost-effective option for maintaining your hair’s health and appearance.
Regular glazes enhance color and promote overall hair health.
In my experience, clients who stay on a glaze schedule consistently end up with the best-looking silver of the whole group.
What to Tell Your Stylist at the First Appointment
Before your first appointment, be ready to discuss your goals and ask questions about the transition process.
- Tell your colorist that you want to grow into your natural gray rather than continue covering it.
- Ask them to assess your gray percentage, underlying pigment level, and overall hair condition.
- Request a recommendation on the best blending technique for your current hair color and growth pattern.
- Bring reference photos of your desired result. Salt-and-pepper blends, full silver transitions, and dimensional gray blends all require different approaches.
- Ask about the expected timeline. For most people with mid-length to long hair, the process takes between 6 and 18 months.
- Discuss how many sessions may be needed and what maintenance will look like between appointments.
As a stylist, one thing I always tell clients is that the first session rarely looks dramatic, and that is intentional. A gradual transition protects the hair and usually delivers a much better result after several months than trying to achieve everything in a single appointment.
Watch: Stylist’s Tips for Transitioning to Grey Hair
Hairstylist Mirella Manelli demonstrates a gray hair highlight process using only 16 foils of babylights in a tutorial on her channel.
She starts at the hairline in a diagonal-back placement.
The result is a cool, silver-toned finish that blends natural gray with colored hair. Watch it before your next appointment.
How Much Does a Gray Transition with Highlights Cost?
A gray-blending transition is an investment, but over time it becomes more affordable than ongoing root touch-ups.
| Service | Typical Cost |
|---|---|
| Single highlighting session | $150–$350 |
| Balayage session | Usually higher than traditional foils due to the extra time required |
| Full gray transition (3–5 sessions) | $500–$1,500 total |
| Monthly root touch-ups | $80–$120 per visit |
| Toning glaze between sessions | $40–$80 per visit |
While the upfront cost may seem high, a gray transition often ends up costing less than maintaining full-coverage color with monthly root touch-ups. It can also be significantly less expensive than many other hair restoration or cosmetic hair procedures.
After the Full Transition: What Comes Next
Once the last bit of dyed hair is trimmed away, the maintenance routine shifts completely.
Full-color appointments stop. Toning glazes every 6 to 8 weeks becomes the main service to keep silver bright and brass-free.
Some clients add a few face-framing highlights even after going fully gray.
This adds brightness near the face without a full color service. Silver-enhancing shampoos and conditioners also become weekly staples to maintain that clean, cool tone.
Gray hair texture tends to change over time as well. It often gets coarser and wavier. A moisturizing leave-in product and a silk pillowcase can help manage frizz and keep strands smooth between washes.
Some women also notice a change in density alongside the graying process. If that sounds familiar, it is worth considering other hair restoration options in a separate conversation with a specialist.
What I notice most in clients who have fully transitioned is how much more relaxed they are about their hair. The anxiety of the grow-out is gone, and the routine becomes genuinely simple.
Conclusion
Going gray does not mean giving up on style. Transitioning to grey hair with highlights keeps the look polished and intentional at every stage.
The first session will not be the final result, and that is fine.
Gray blending is a process that gets better with each visit. The ones who commit to a plan and trust the timeline end up loving their silver more than any box color they ever used.
After years of working with clients growing out their color, the pattern I see is consistent: patience and the right colorist make all the difference.
The before-and-after results of brown hair with silver highlights prove it every time.
So bring these tips to your next salon appointment and start the conversation. Have you already started your gray transition?
Drop a comment below and share your experience!
Frequently Asked Questions
Do Highlights Damage Gray Hair?
Highlights can cause dryness, but modern bond-building formulas and deep conditioning help minimize damage. For coarser gray hair, ask your stylist about Olaplex or similar treatments.
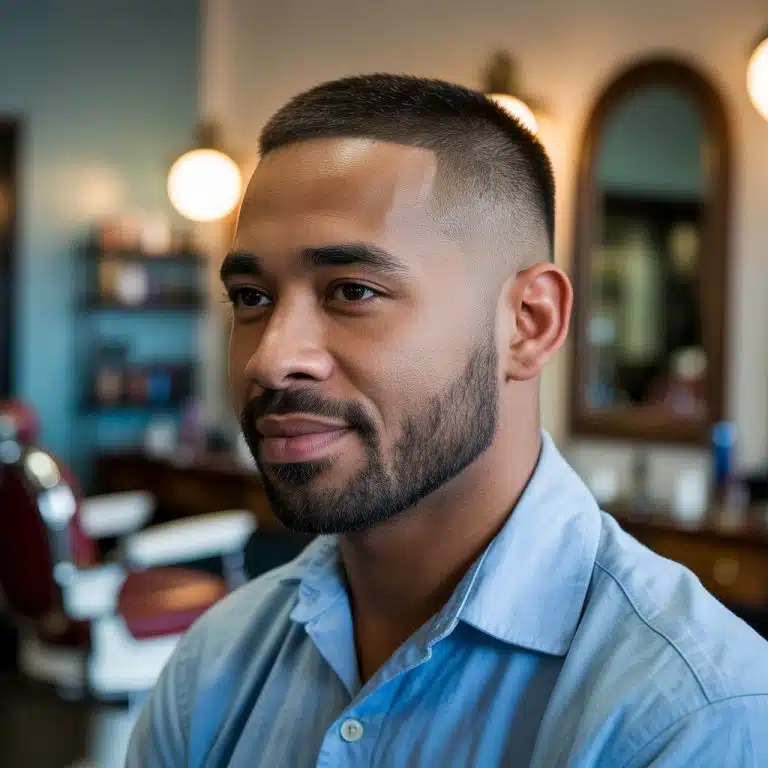
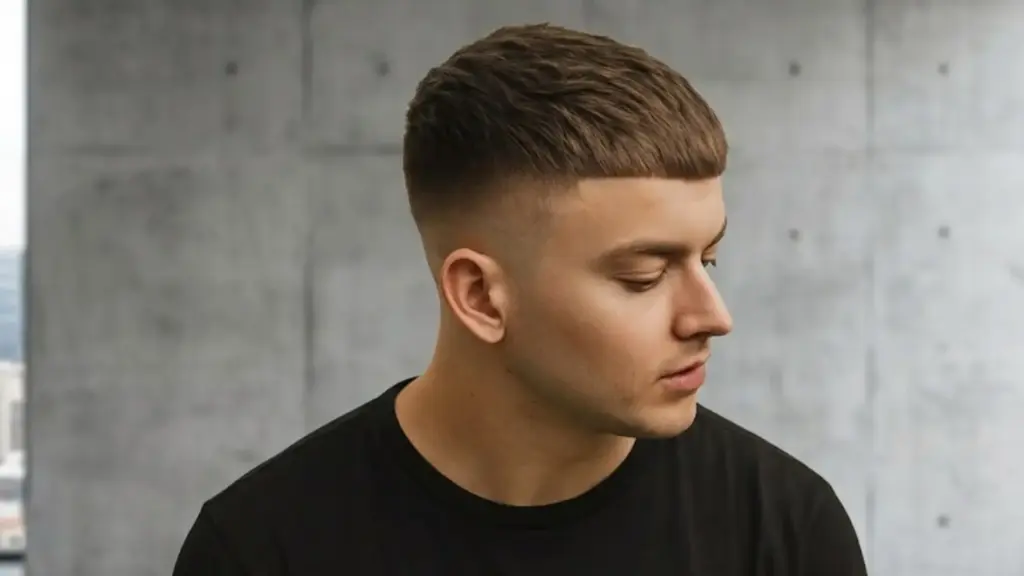
Can Men Use Highlights to Transition to Gray?
Men with short to medium hair can achieve a salt-and-pepper look by blending gray with base color using babylights or subtle balayage for lasting results between cuts.
Should I DIY Highlights at Home?
Box-dye kits and at-home highlight caps can create patchy color, especially on gray hair, which absorbs dye differently. A professional colorist can assess your gray pattern and provide more consistent results.