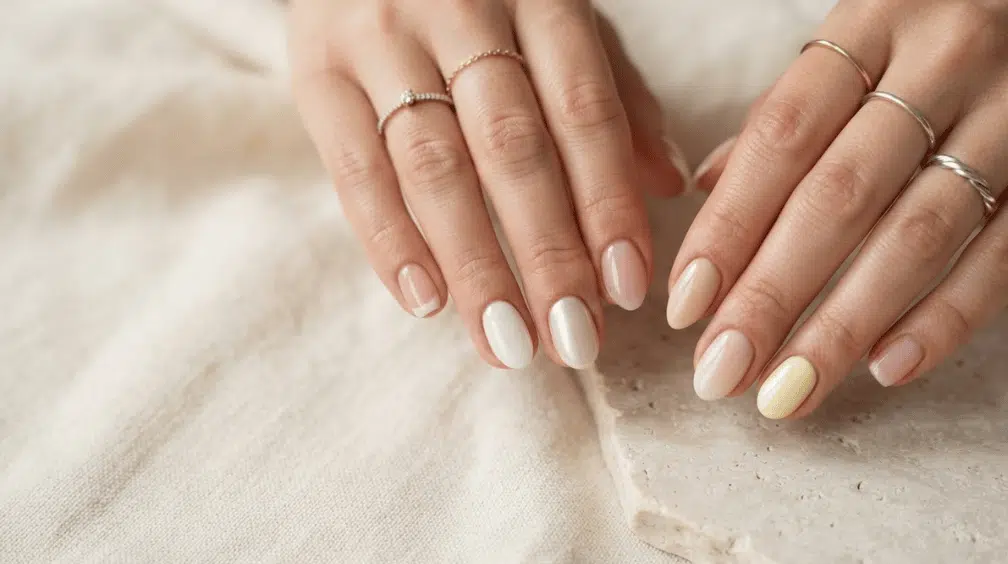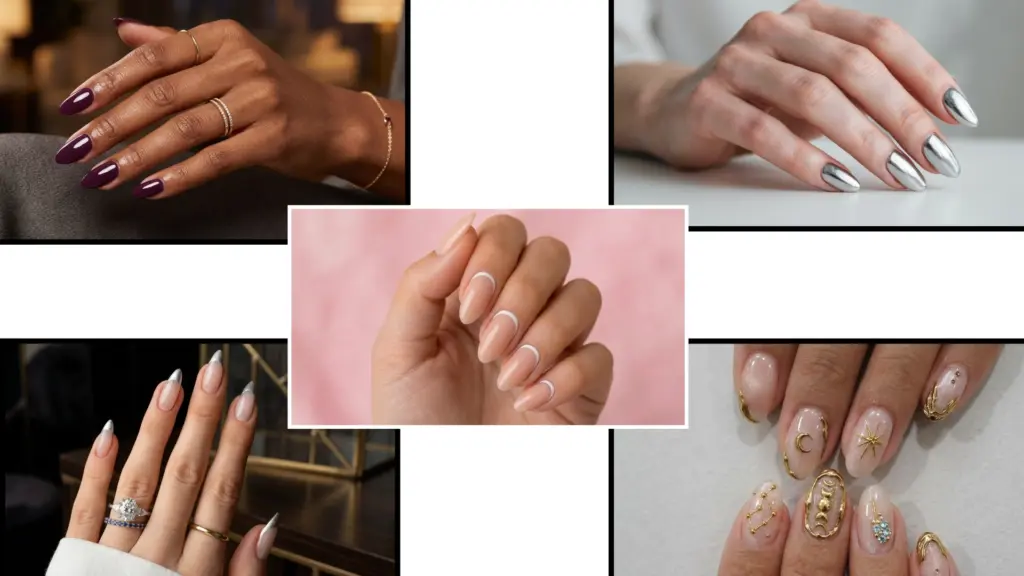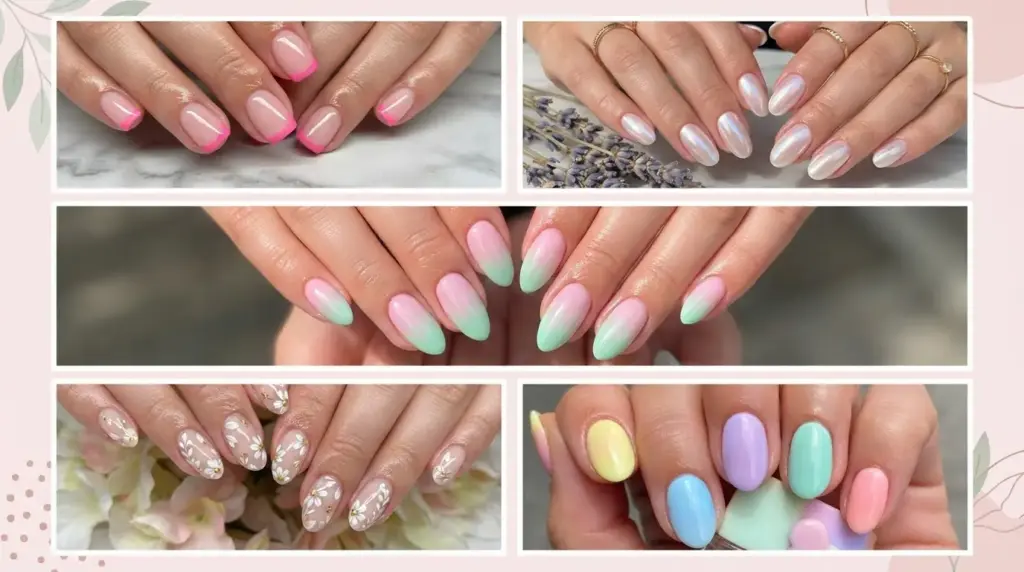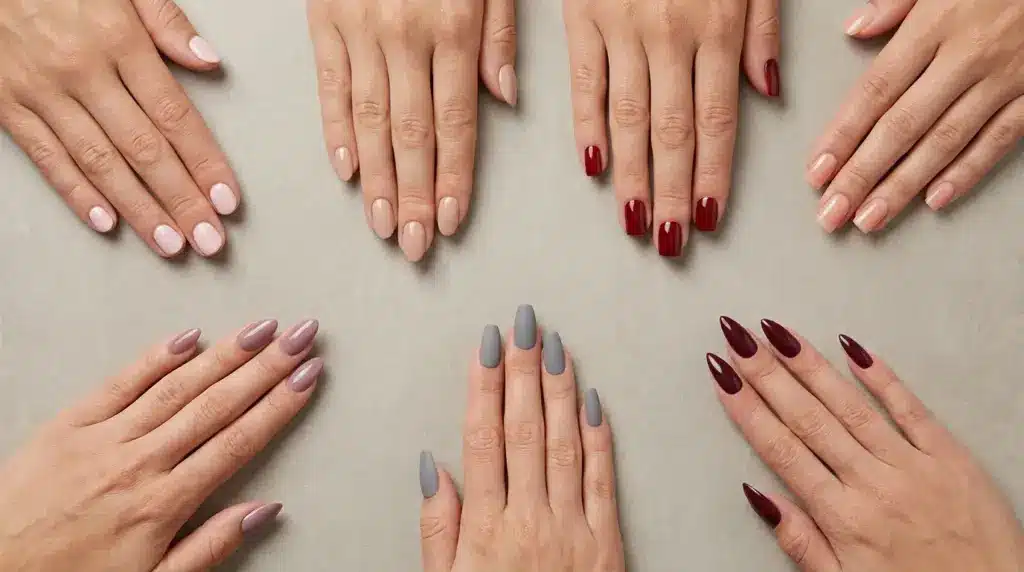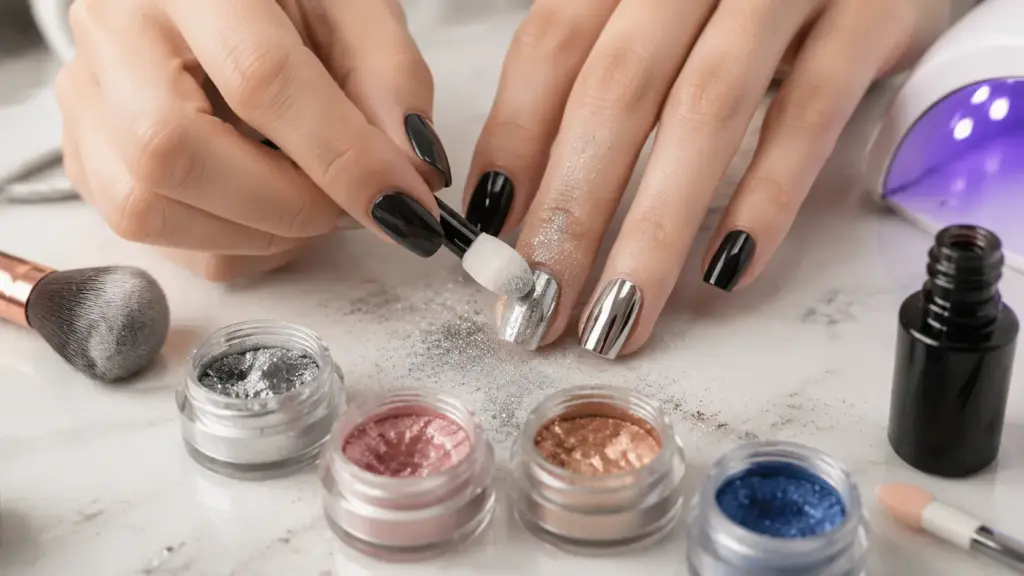
Chrome nails can look difficult to recreate at home, but the right technique makes the process much easier. The final result depends on proper nail preparation, suitable gel products, and applying chrome powder correctly to create a smooth reflective finish.
If you want to learn how to apply chrome powder to nails, you need the right tools, a compatible top coat, and careful application steps. From bold mirror chrome to soft pearl and glazed finishes, chrome powder can create different styles using the same basic method.
Learn how to prepare your nails, apply the powder correctly, avoid common mistakes, and maintain a long-lasting chrome manicure with a smoother, more professional-looking finish.
What is Chrome Powder?
Chrome powder is a finely milled nail pigment used to create a reflective metallic effect on nails. Unlike regular nail polish, it is not painted directly onto the nail. Instead, the powder is buffed onto a prepared surface to create a smooth chrome-like finish.
Chrome powder is commonly used withgel manicures because gel products provide the right surface for the pigment to blend and adhere properly.
Depending on the powder type and base color, the final look can range from a bold mirror chrome effect to a soft glazed finish.
The overall result depends on the chrome shade, base color, application technique, and how evenly the pigment is worked into the nail surface.
What You Need Before Applying Chrome Powder
Before you touch any powder, get your setup right. Nothing on this list is expensive or hard to find, and if you’re used to prepping nails yourself, you’ve probably got most of it sitting in a drawer somewhere. Here’s exactly what each piece does before you start.
| Products | What It’s For |
| Gel base coat | Seals the nail and gives everything else something to grip |
| Gel polish color | Dark or nude shades make chrome look strongest |
| Chrome pigment powder | Silver, gold, rose, or a color-shift blend |
| No-wipe gel top coat | Non-negotiable, a regular top coat will not work here |
| UV or LED lamp | For curing every layer along the way |
| Applicator | Sponge tip, silicone tool, or a clean fingertip |
| Soft fluffy brush | For sweeping off loose powder afterward |
| Regular top coat | To seal the chrome once it’s fully applied |
Once you’ve got these eight things laid out in front of you, you’re not missing anything. None of this is expensive or hard to find. Most of it, you probably already have sitting in a drawer.
The Key Step Before Chrome Application
The chrome effect depends on the surface underneath the powder. A properly prepared gel layer helps the pigment spread evenly and creates a smoother reflective finish.
The FDA’s overview of nail care products is a good reference for using gel systems and their ingredients safely at home.
After curing your no-wipe top coat, follow the instructions for your specific gel system. Cure times can vary based on the brand, lamp, and products used, so avoid relying on a fixed timing rule.
A smooth surface allows the chrome powder to blend better and helps prevent a patchy, dull, or uneven finish. Proper preparation is one of the most important steps for achieving a clean chrome manicure.
How to Apply Chrome Powder to Nails: Step by Step
This is the part everyone skips ahead to, and for good reason. Follow these five steps in order, and pay close attention to the timing in Step 3, since that’s where most chrome sets actually go right or wrong.
Step 1: Prep Your Nails and Apply Base Coat
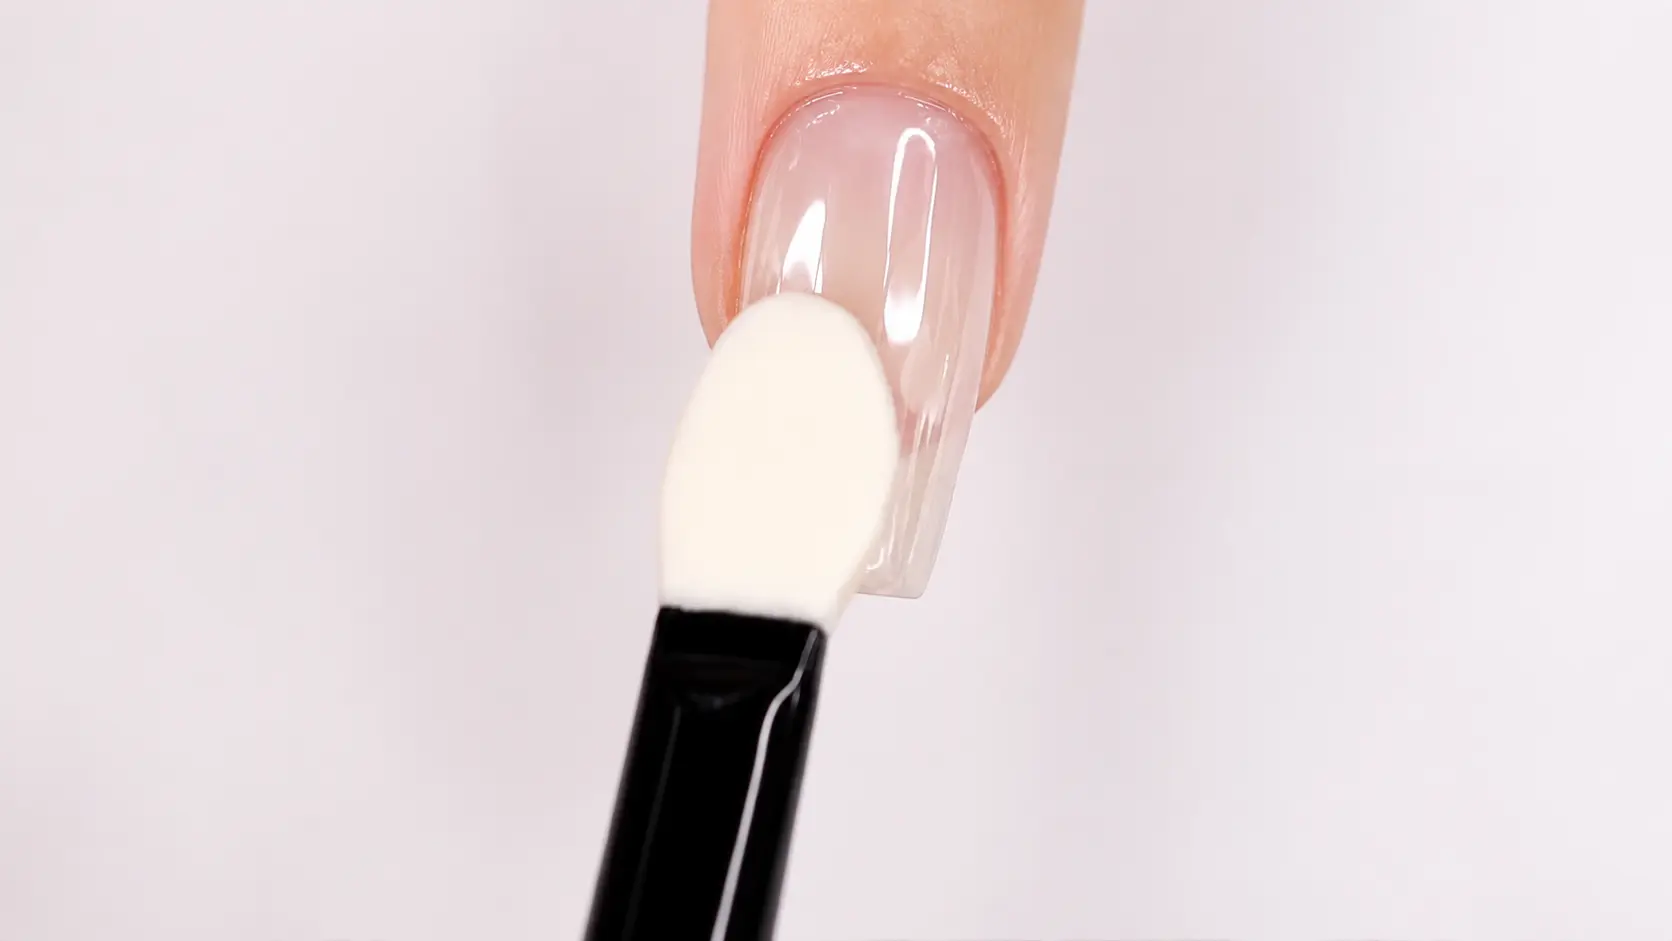
Start with clean, shaped nails and gently push back your cuticles. Lightly buff the nail surface to create a smooth base for your gel products to grip.
Apply a thin layer of gel base coat and cure it completely under your UV or LED lamp. A properly prepared base helps the manicure last longer and prevents early lifting.
Step 2: Apply Your Gel Color
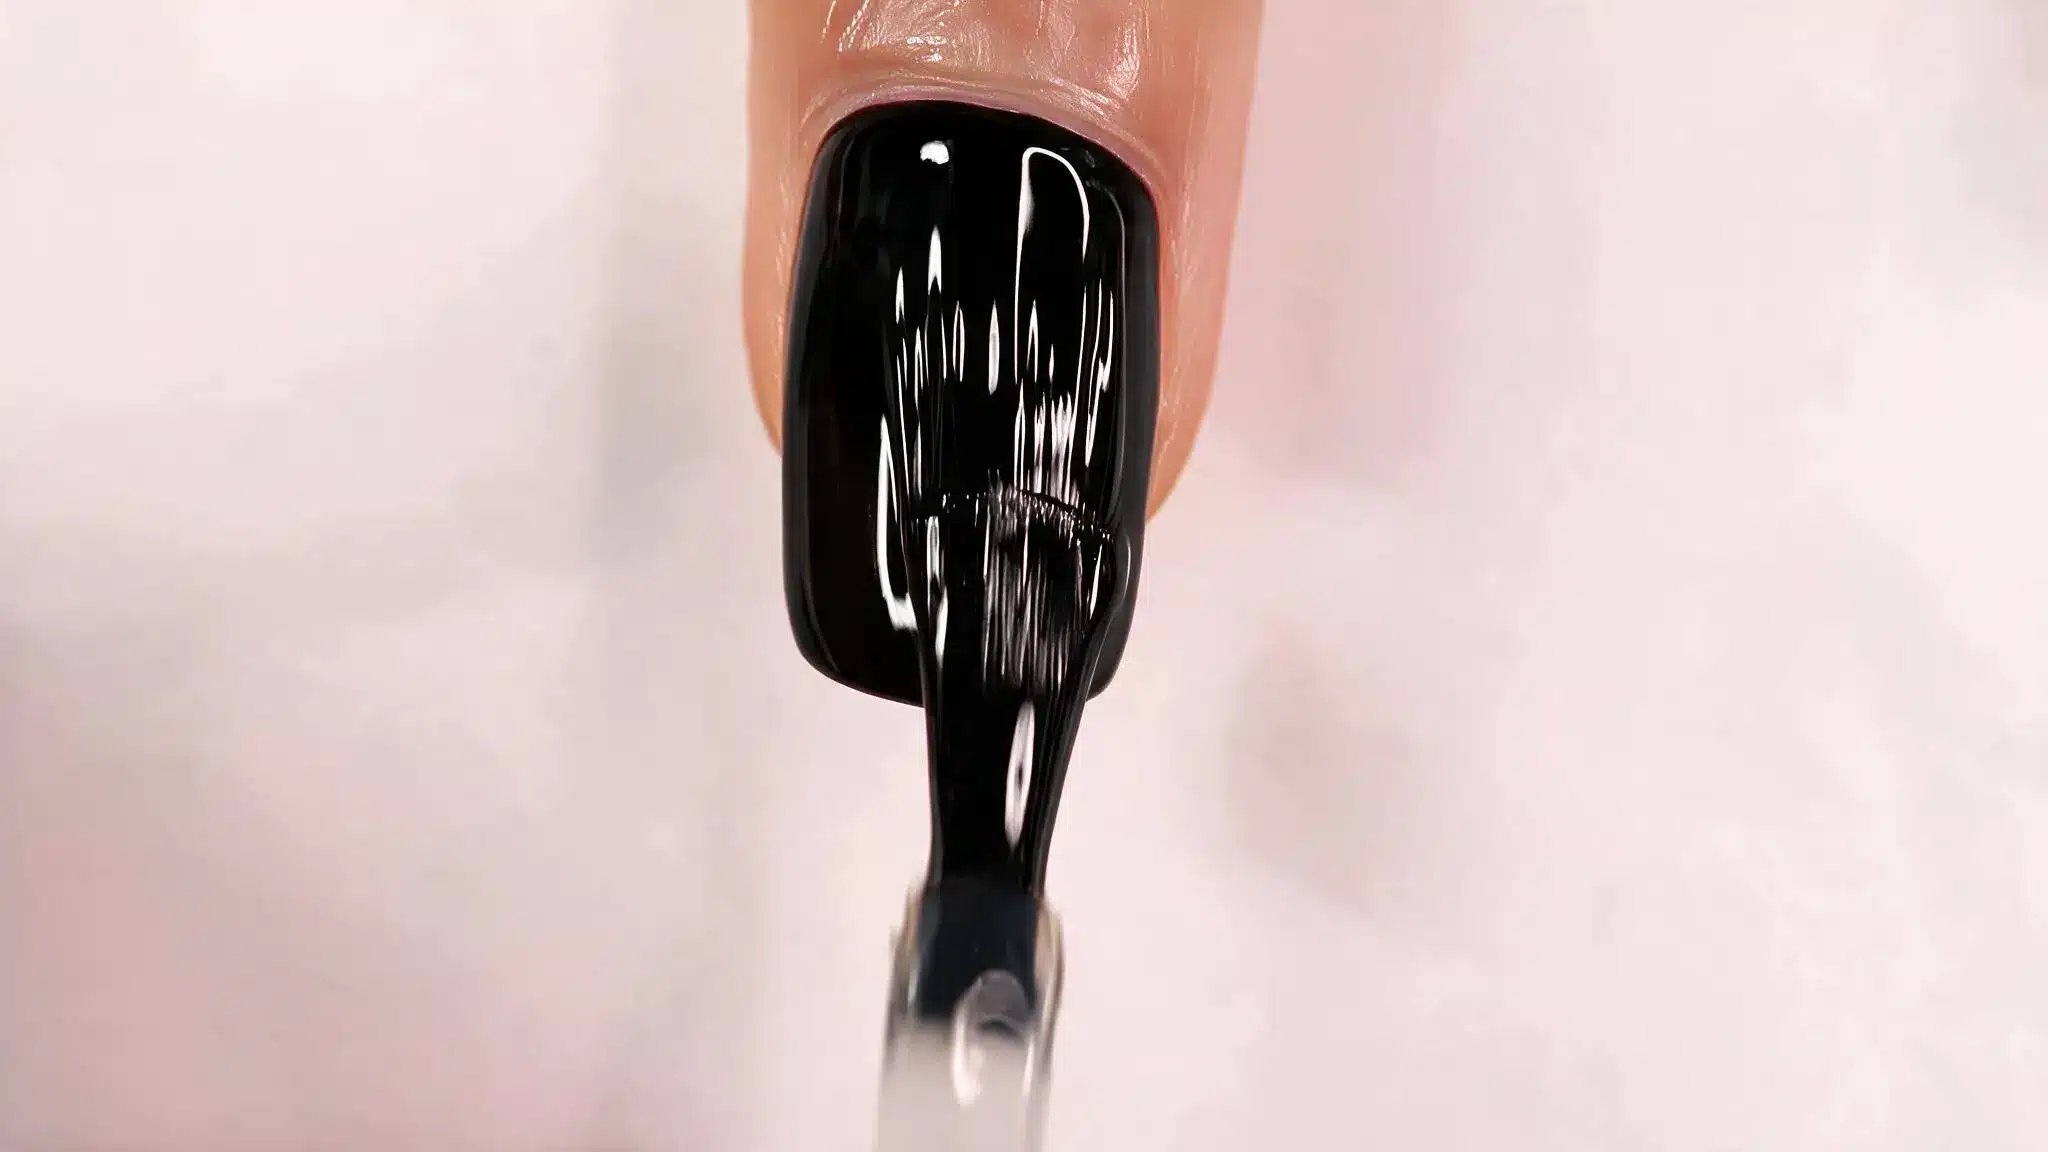
Select your preferred gel polish shade and apply it evenly across the nails. Dark colors like black usually create a stronger mirror chrome effect, while lighter shades create a softer glazed appearance, and even muted green nail tones can work well as a chrome base if you want something less conventional.
Build the color gradually with smooth coverage, curing each coat completely before moving forward to prevent uneven texture under the chrome powder.
Step 3: Apply and Cure the No-Wipe Top Coat
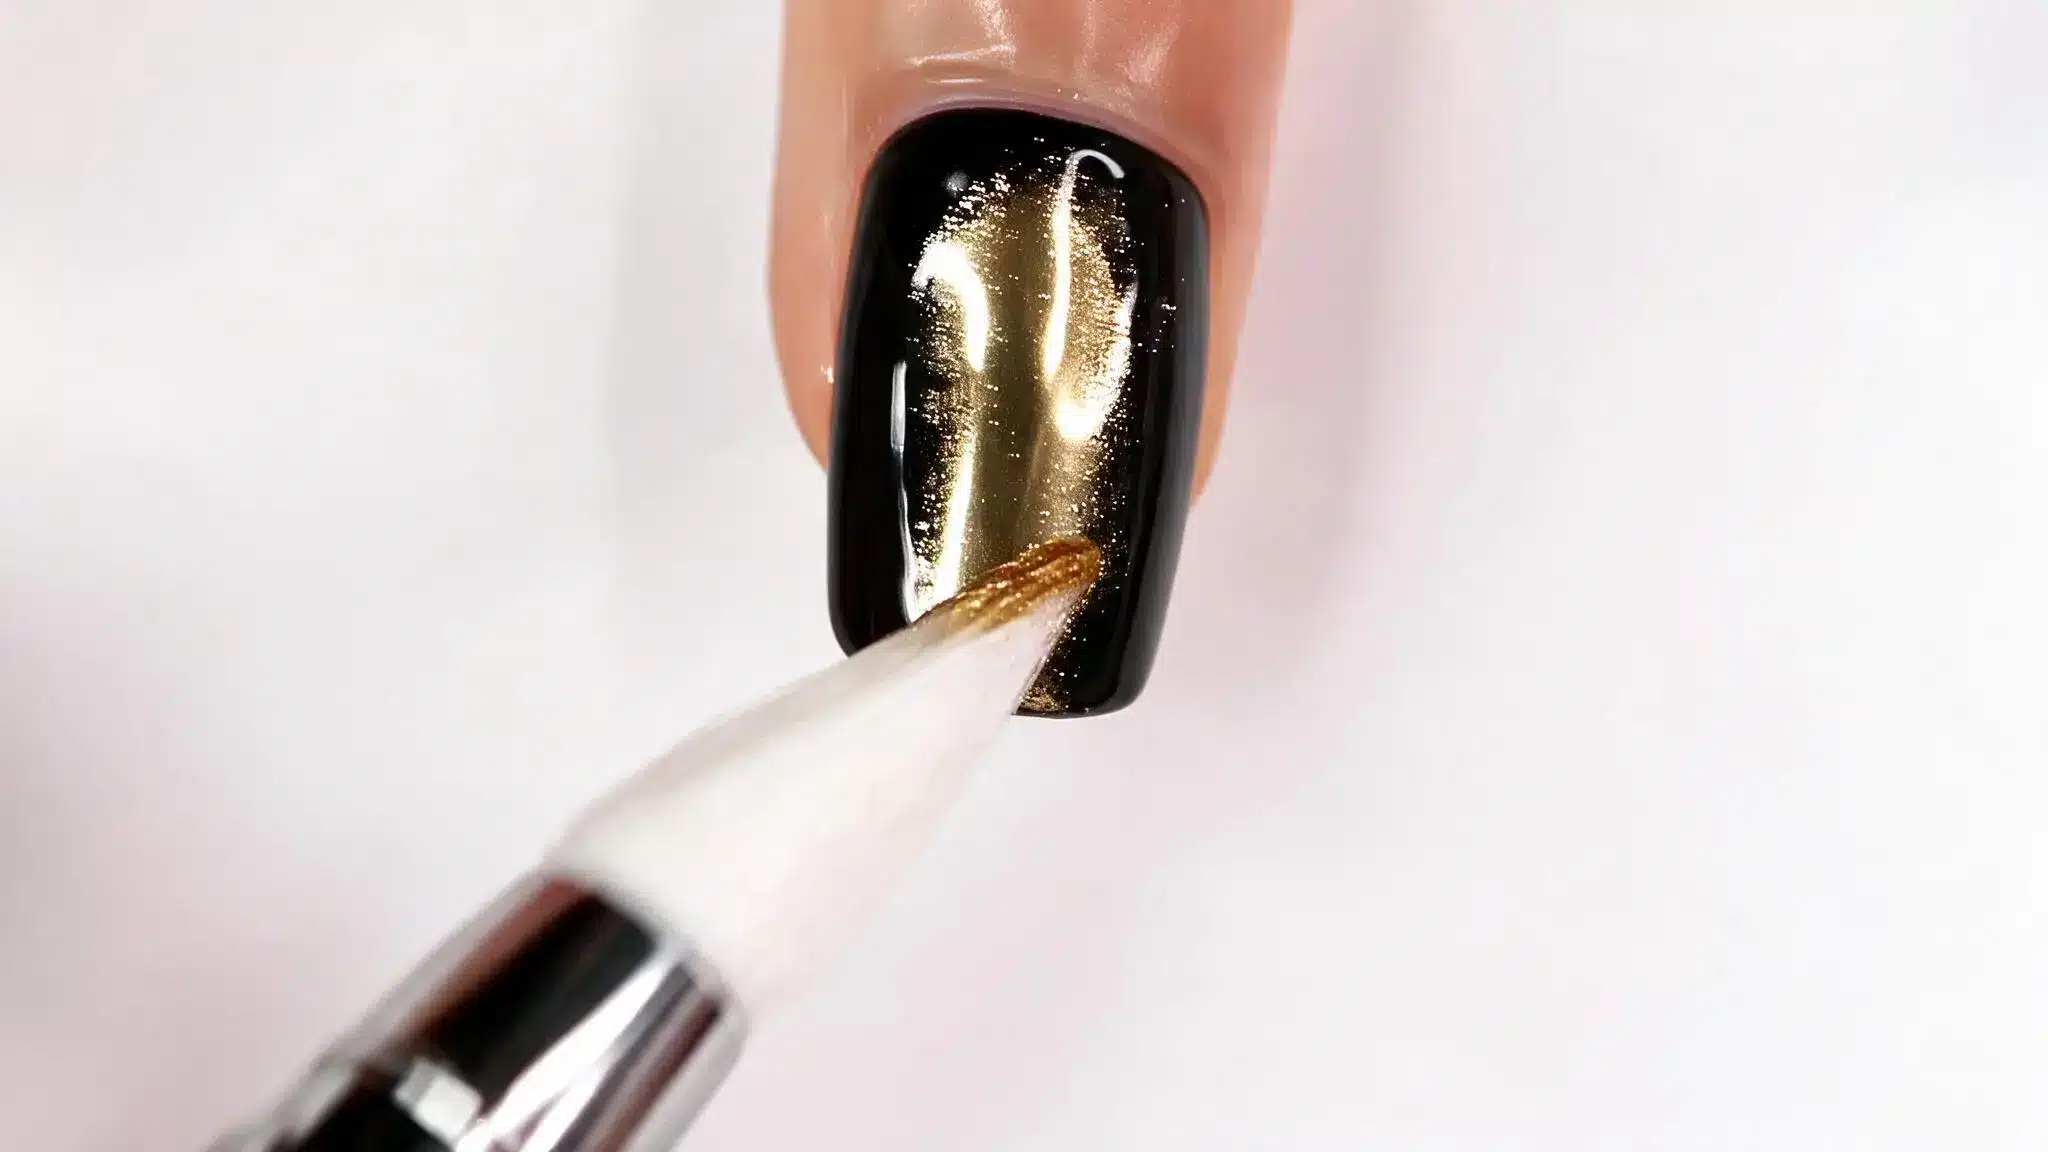
Add a smooth coat of no-wipe gel top coat over the cured color layer. This creates the surface needed for the chrome pigment to blend properly and develop its reflective finish.
Cure the top coat based on your product instructions, then avoid touching the nails because oils from your fingers can affect powder application.
Step 4: Buff Chrome Powder Onto the Nail
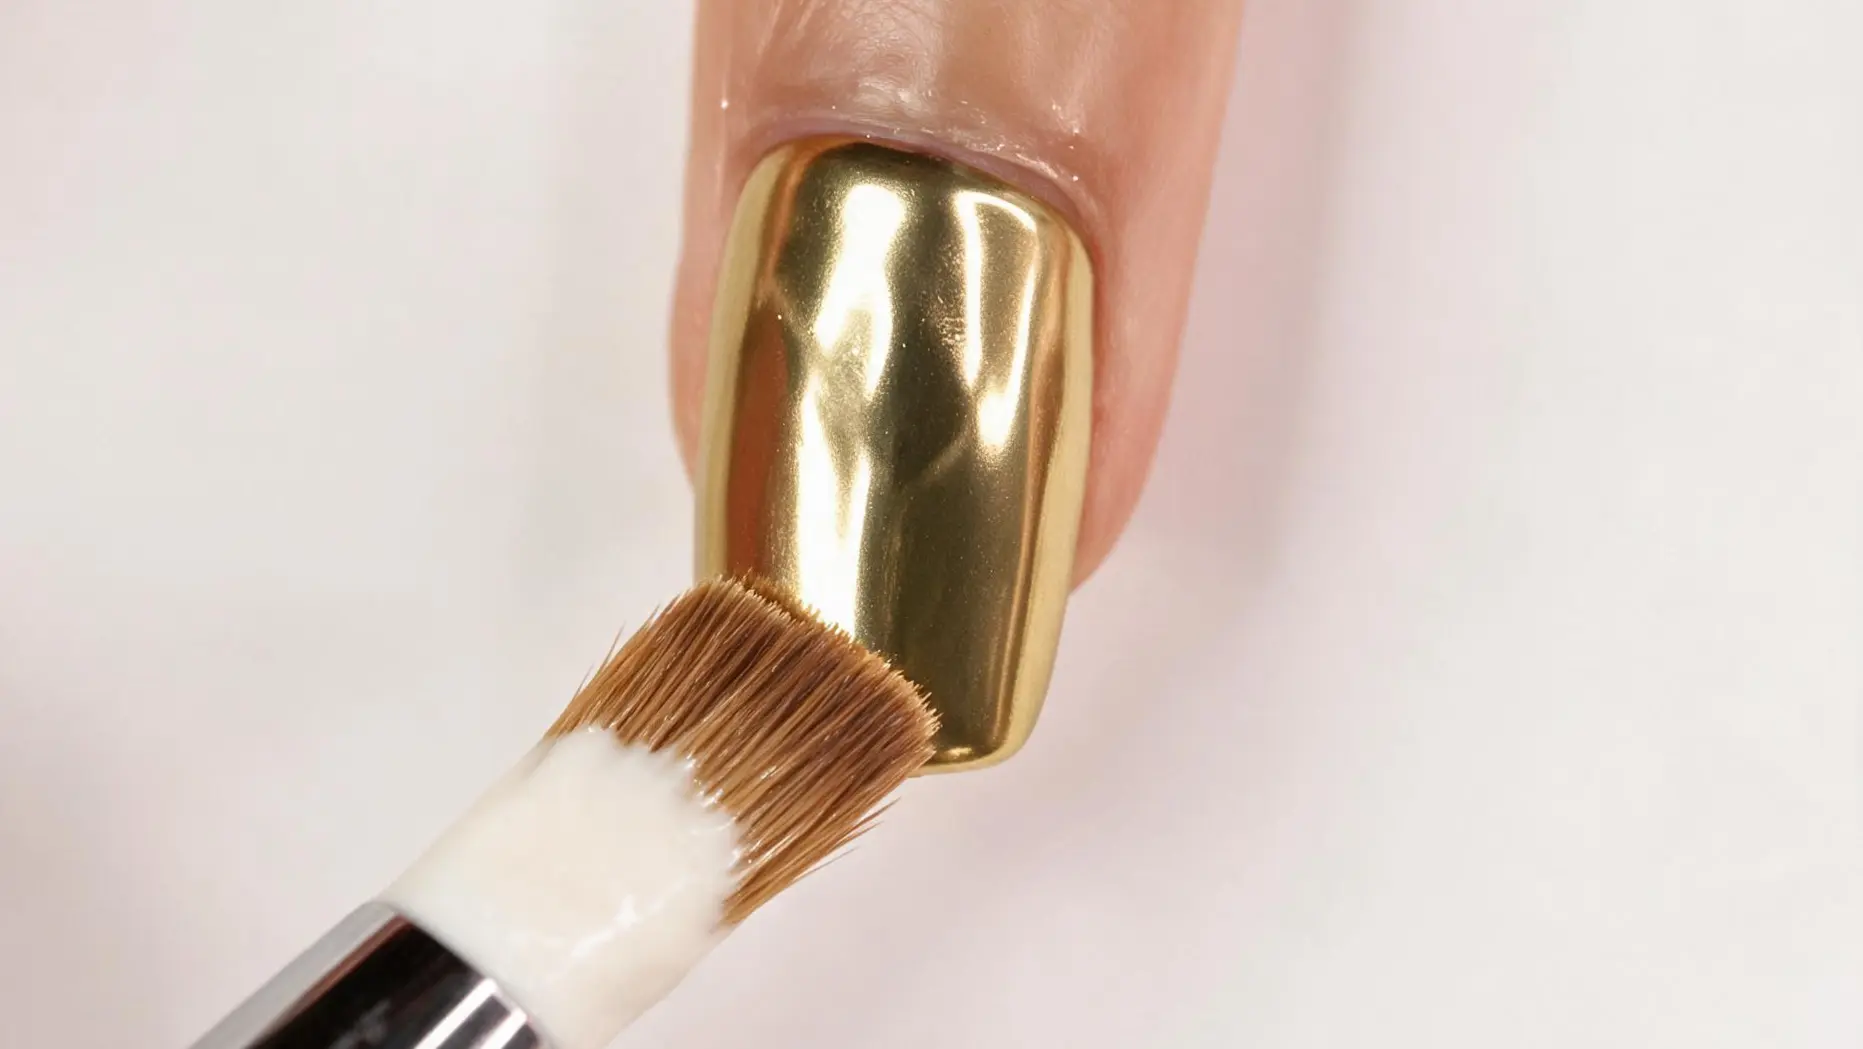
Use a sponge applicator, silicone tool, or similar applicator to pick up a small amount of chrome powder. Press and rub the pigment onto the nail using gentle circular motions until the metallic effect appears.
Add more powder gradually if needed, as applying too much at once can create a patchy or uneven finish.
Step 5: Remove Excess Powder and Add Your Design
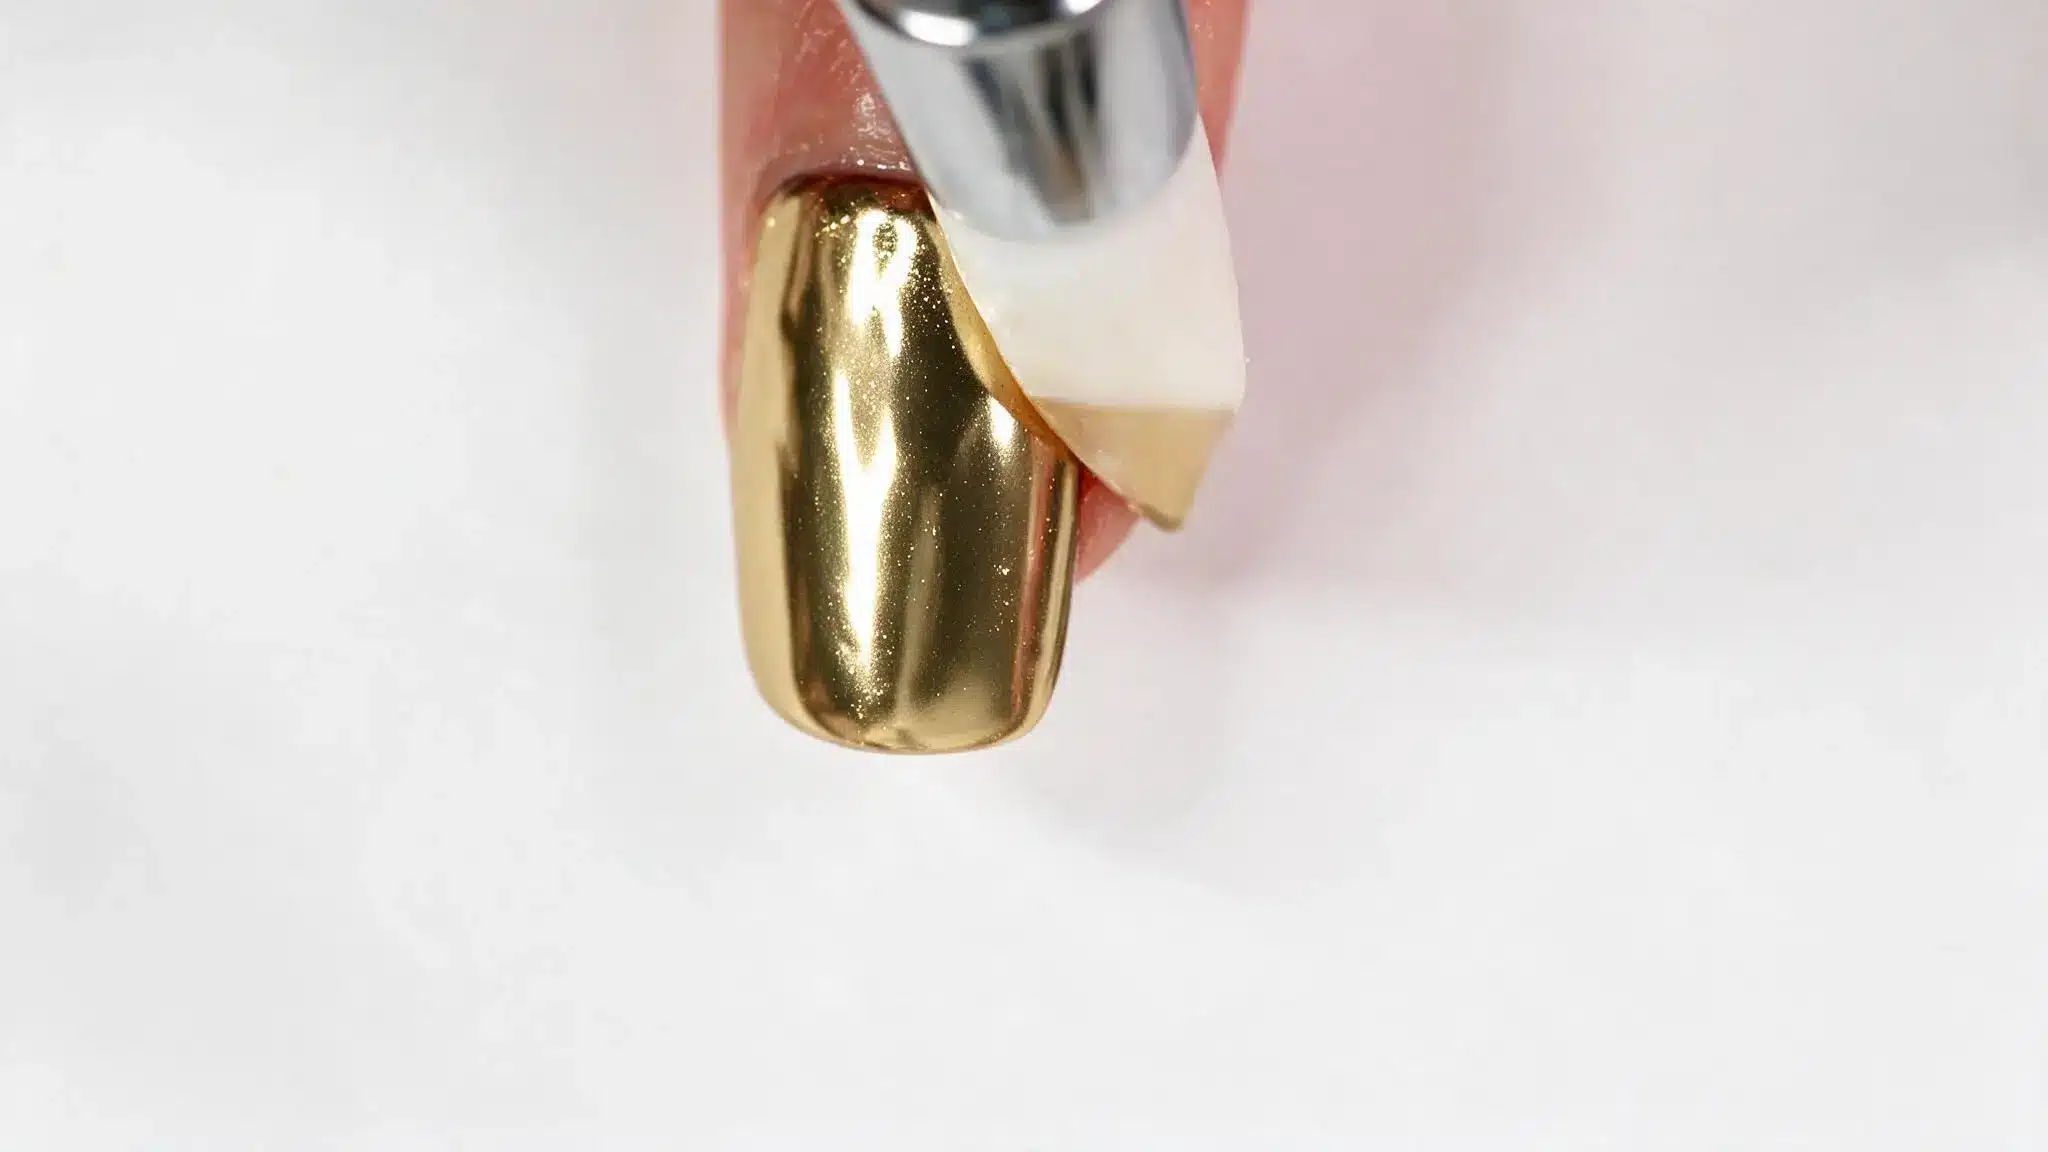
After achieving the desired chrome effect, use a soft brush to remove extra pigment around the nails and cuticle area. Keep your movements gentle to avoid disturbing the reflective surface.
For chrome nail art designs, apply your chosen design with gel polish or top coat, cure it, and add powder only to those specific areas.
Step 6: Seal the Chrome Finish
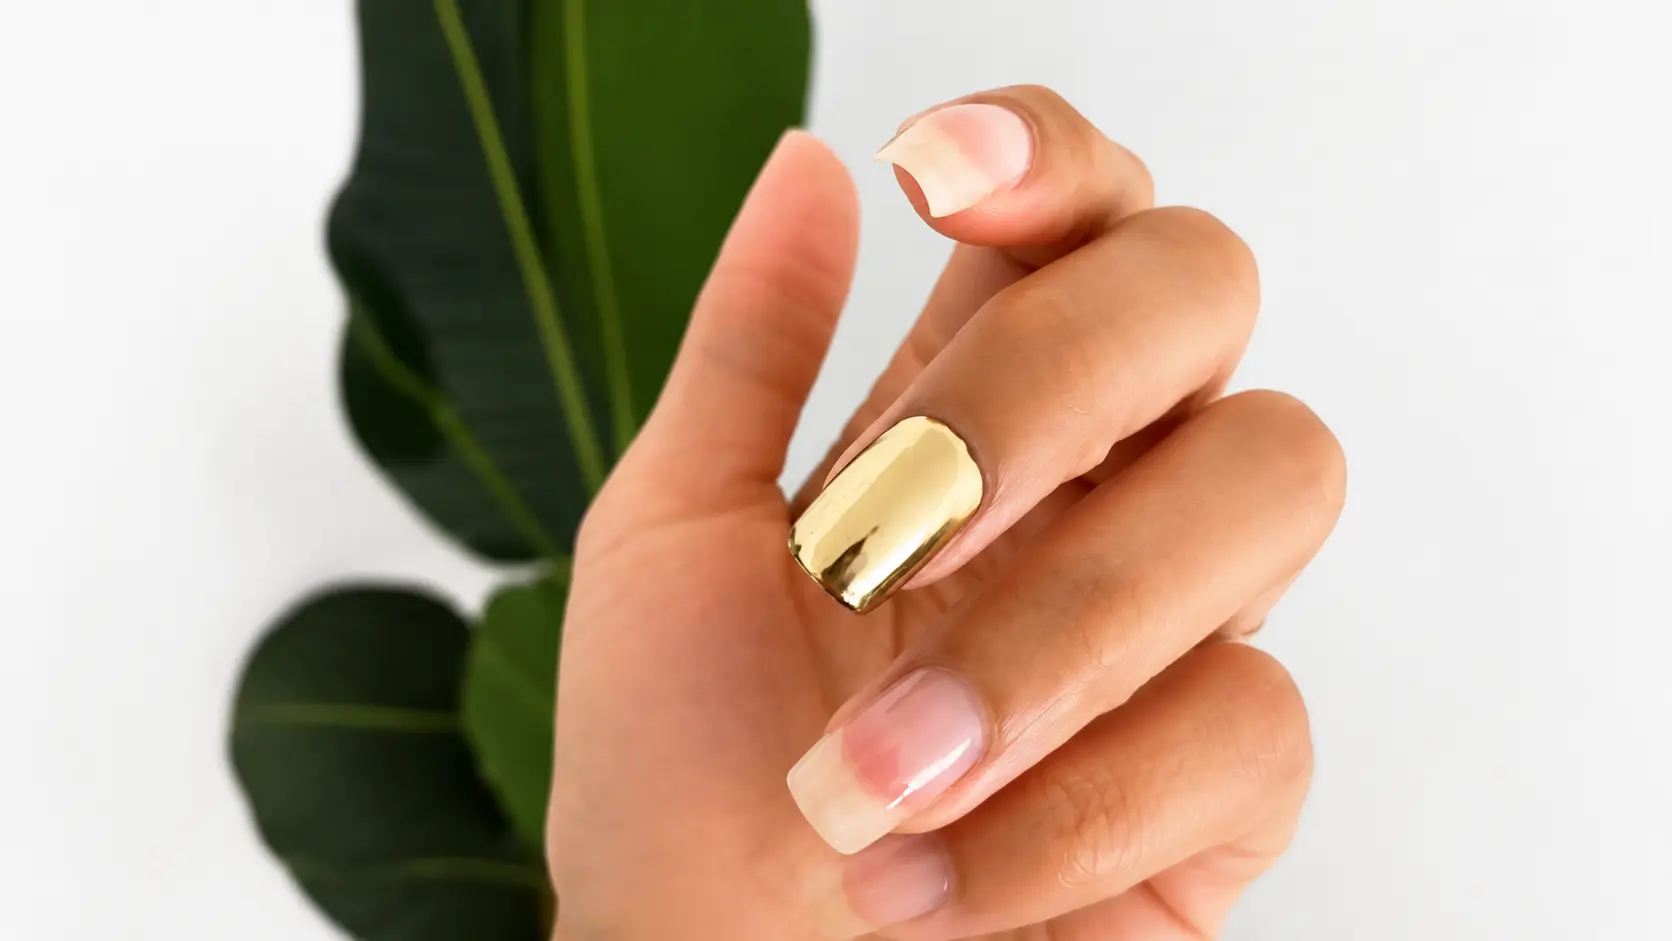
Protect the chrome design by applying a final gel top coat across the entire nail, including the free edge. This helps prevent early chipping and keeps the metallic effect intact.
Cure the final coat completely under your lamp according to the product instructions, then avoid harsh activities that may damage the finished manicure.
Because curing relies on repeated close-range exposure under a lamp, Harvard Health’s overview of LED nail lamp safety is a useful read if you’re curious about how that exposure compares with everyday UV sources.
Visual Representation Of The Chrome Powder Application Process:
The following video by @GabbyAngelique shows the complete chrome powder application process from nail preparation to the final reflective finish.
Watching each step visually can make it easier to understand the correct application technique, powder buffing motion, and sealing process needed to achieve a smooth chrome effect at home.
Pro tip: Keep your lamp timer visible while you work. Chrome fails more often from guessing the cure time than from doing the actual buffing wrong, so timing each step exactly, instead of eyeballing it, saves you from redoing a set.
Choosing the Right Chrome Powder Applicator
The tool you use can affect how evenly the chrome pigment spreads across the nail. While different applicators can work, some options give more control depending on your experience level.
| Applicator | Result | Best For |
|---|---|---|
| Sponge applicator | Soft, even coverage | Beginners and occasional use |
| Silicone tool | More controlled application | Frequent chrome users |
| Clean fingertip | Quick touch-ups | Small corrections |
For most beginners, a sponge applicator is the easiest option because it distributes the powder gradually. If you create chrome nails often, a silicone tool can provide more precision and reduce wasted product, and pairing your setup with some trusted polish brand options can make the whole process more consistent.
Different Types Of Chrome Nail Finishes
Chrome powders create different effects depending on the pigment, base color, and finish. Each style offers a unique look, from bold mirror shine to soft glazed glow.
1. Mirror Chrome Nails
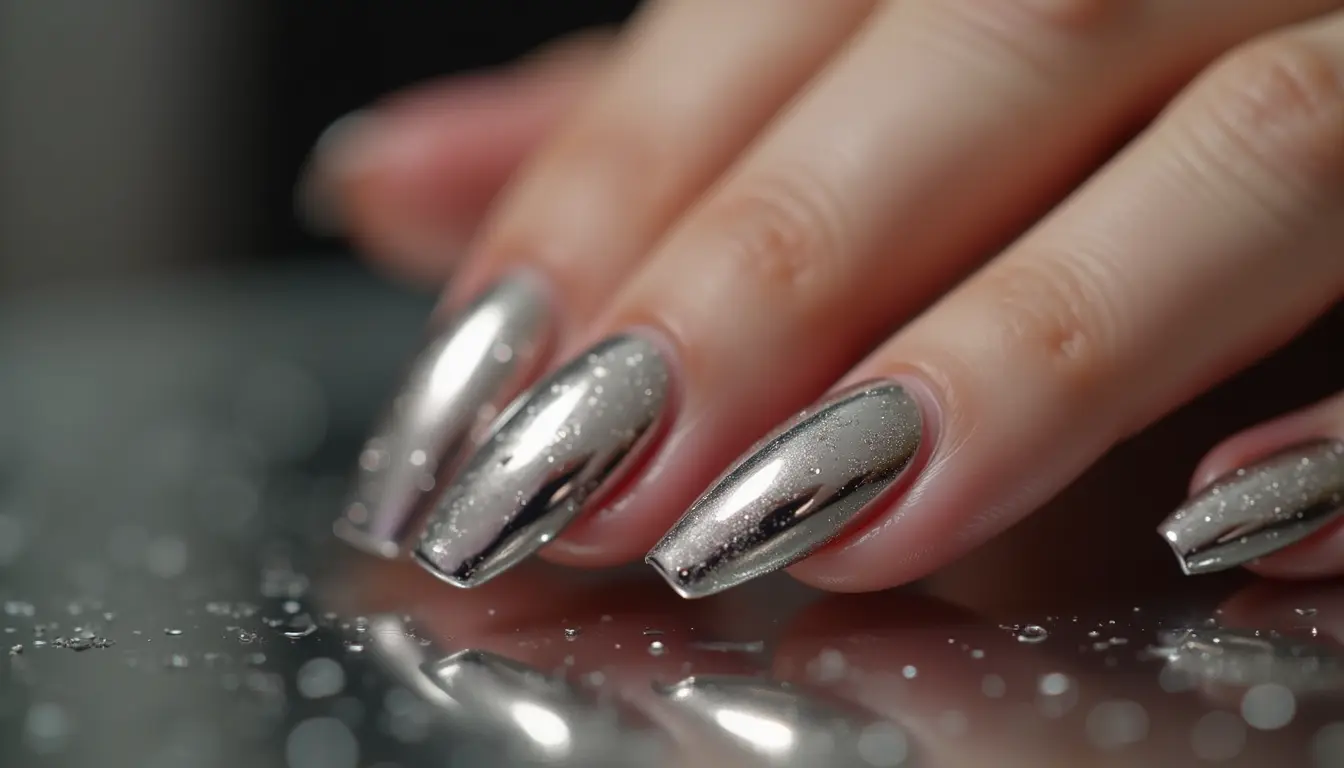
Mirror chrome creates the strongest metallic effect with a highly reflective surface that resembles polished metal. It gives nails a bold, eye-catching appearance and highlights the smoothness of the base underneath. Since it reflects light strongly, proper preparation and an even application are important for achieving a cleaner, more professional-looking finish.
- Best for: Statement manicures
- Works well with: Dark gel bases for stronger reflection
2. Pearl Chrome Nails
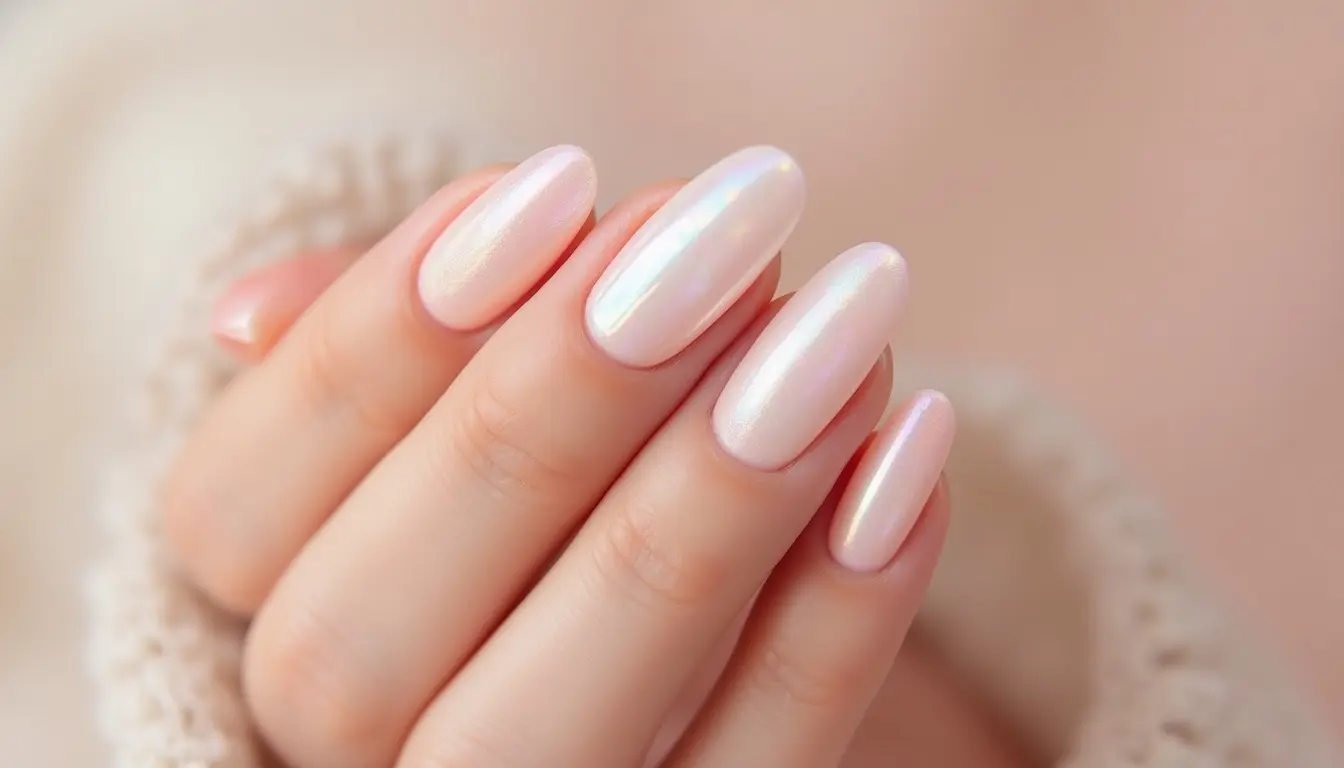
Pearl chrome creates a softer glow compared with traditional mirror chrome. It adds a delicate shine that looks polished without appearing too intense, making it suitable for everyday manicures. The finish is more forgiving and works well for anyone who wants a subtle metallic effect with a smooth, elegant appearance.
- Best for: Soft and elegant looks
- Works well with: White, nude, and pastel bases
3. Satin and Glass Chrome Nails
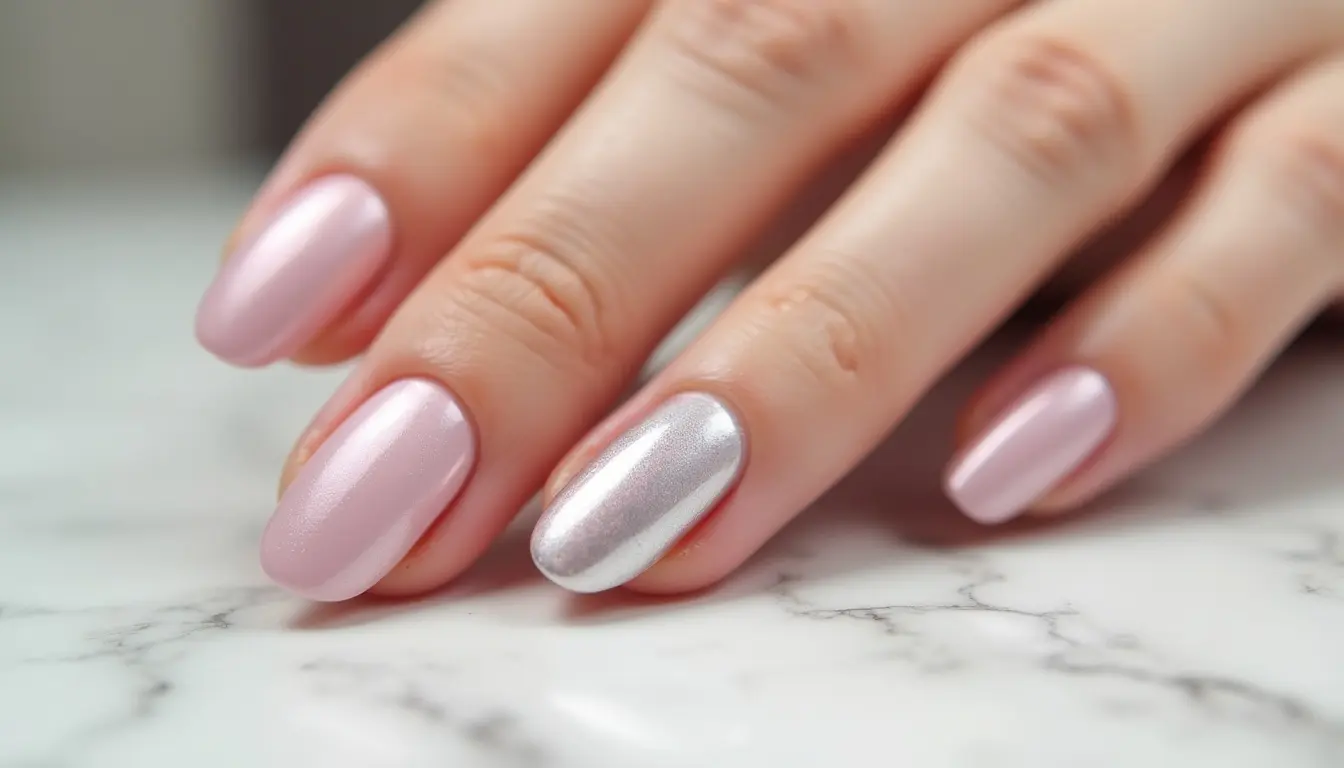
Satin and glass chrome create a balanced finish between full metallic shine and a softer reflective effect. Satin chrome has a smoother, muted appearance, while glass chrome allows more of the base color to show through. Both styles add depth and dimension without creating an overly bold manicure.
- Best for: Minimal chrome styles
- Works well with: Neutral shades and simple designs
4. Aura and Glazed Donut Chrome Nails
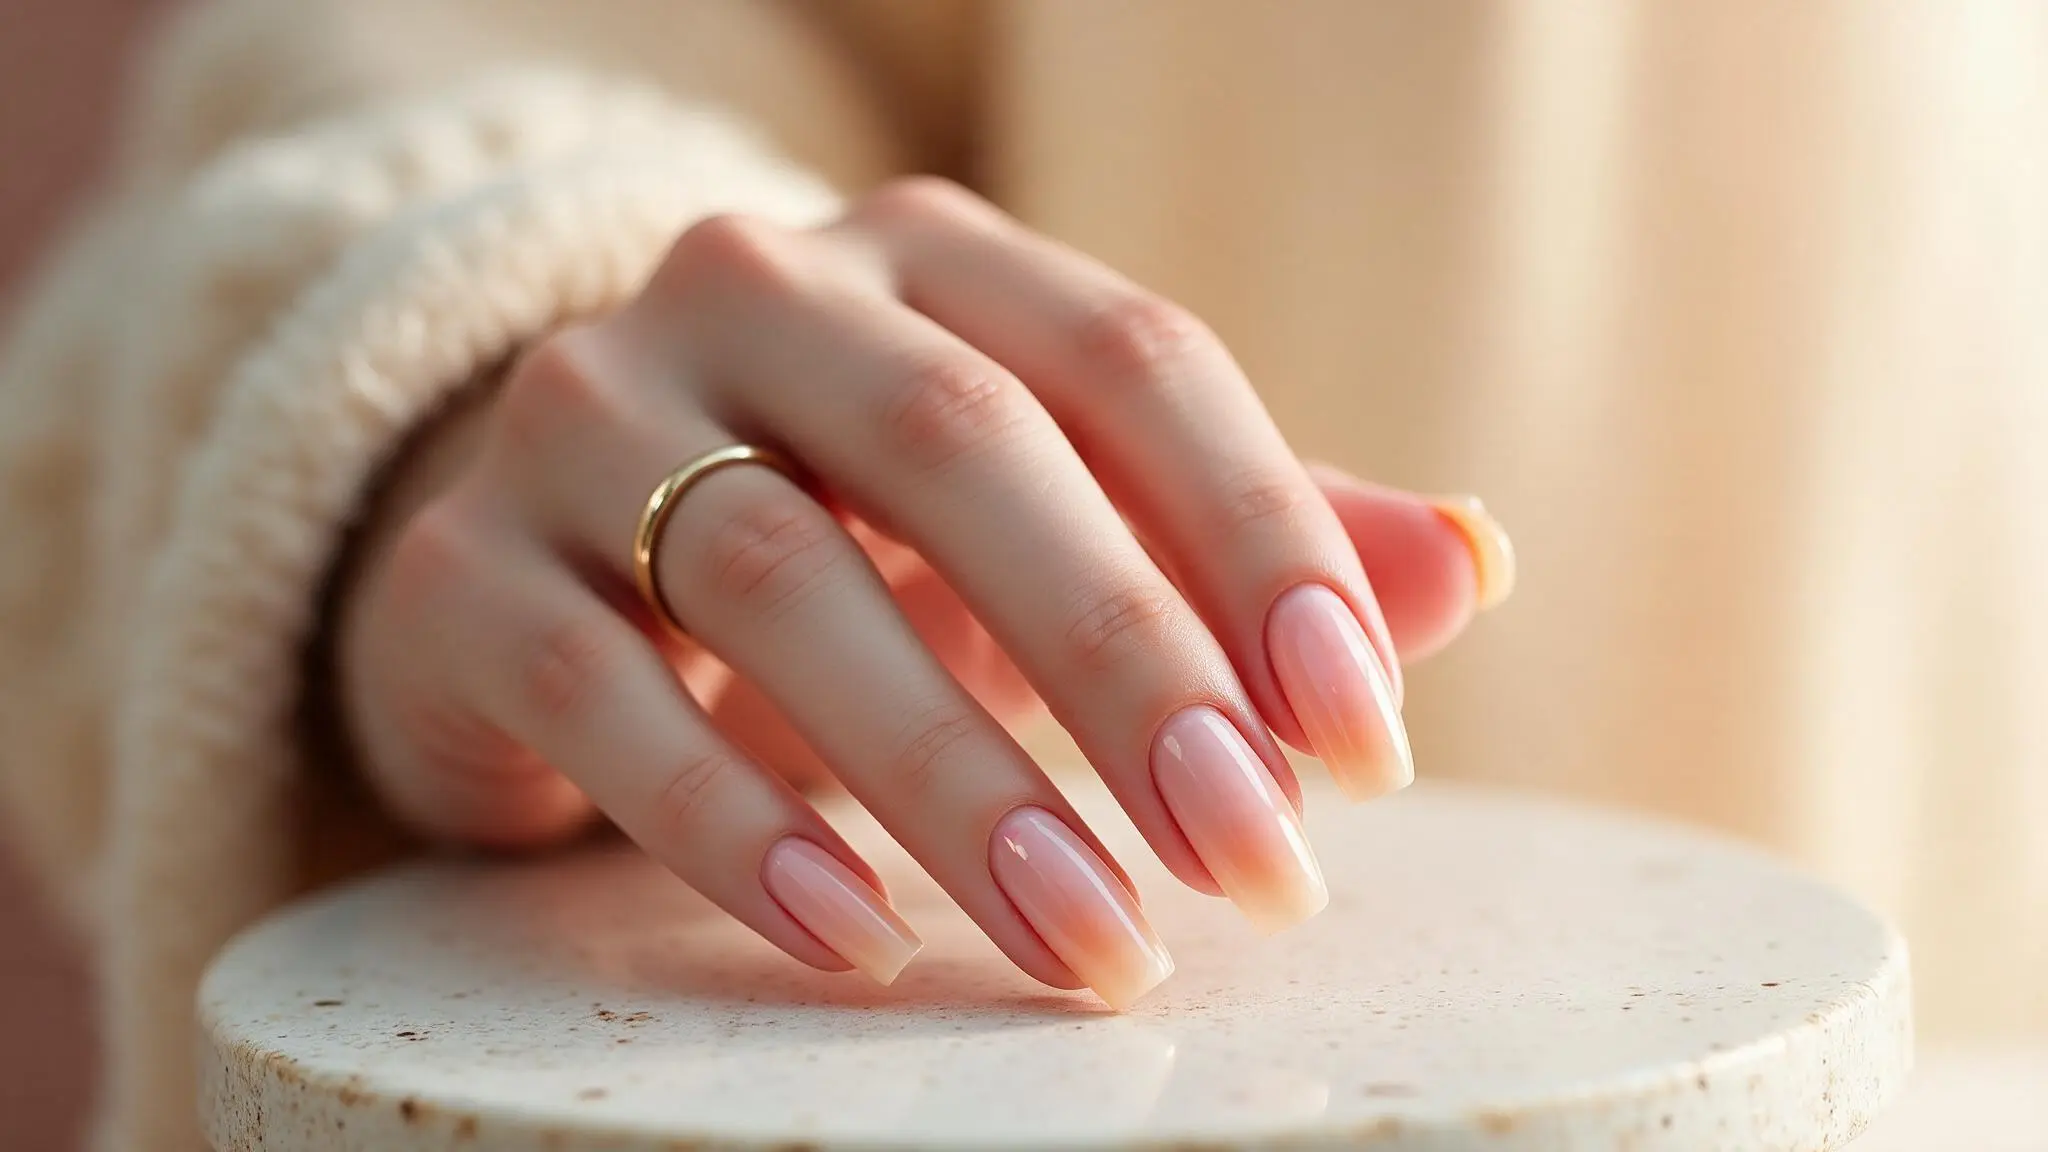
Glazed chrome creates a smooth, milky finish with a gentle reflective glow. It gives nails a polished appearance while keeping the overall look soft and natural. This style is less intense than mirror chrome, making it a good choice for anyone who wants a subtle shine with an effortless finish.
- Best for: Natural-looking manicures
- Works well with: Sheer pink, beige, and white bases
5. Holographic and Multichrome Nails
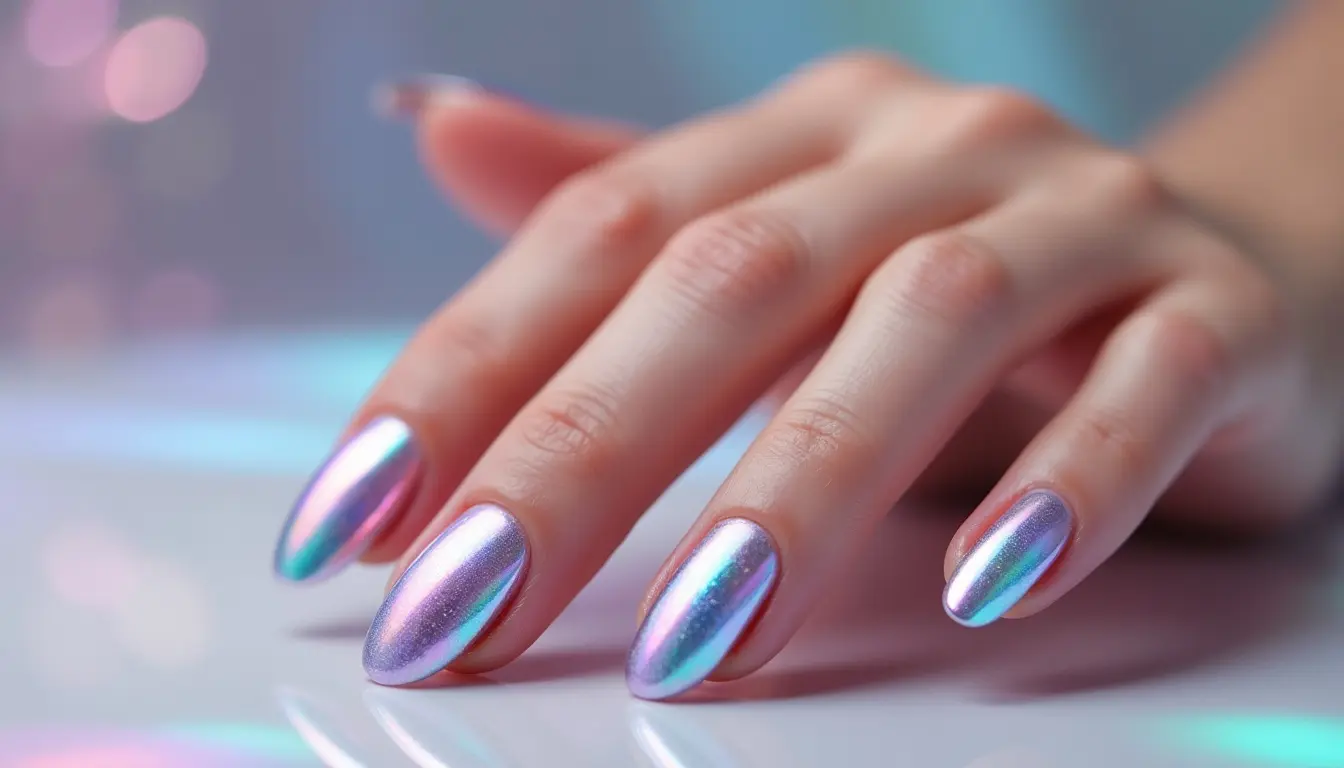
Holographic and multichrome powders create shifting color effects that change depending on lighting and movement. Unlike traditional chrome finishes, they add more dimension and visual interest by showing different shades from different angles. These styles are ideal for creating creative manicures that stand out.
- Best for: Creative nail art
- Works well with: Colorful and eye-catching designs
None of these types are better than the others; they serve different moods. If you’re new to chrome, start with mirror or pearl before trying the trickier finishes.
How Long Do Chrome Nails Last?
A properly applied chrome gel manicure can usually last around two to three weeks, depending on the products used, application method, and daily care. The chrome powder itself does not typically wear away quickly; the protective layers around it affect how long the shine remains.
To help maintain the finish:
- Apply cuticle oil regularly: Helps keep the surrounding skin comfortable and reduces dryness.
- Wear gloves during cleaning: Limits exposure to water and harsh cleaning products.
- Avoid picking at lifted edges: Prevents damage to the manicure and natural nails.
- Follow proper removal methods: Helps avoid weakening the nail surface.
With proper care, chrome nails can maintain their reflective appearance throughout the manicure’s wear period.
Common Chrome Nail Problems and Fixes
Small application issues can affect the final chrome effect, but most problems can be corrected by identifying what went wrong. Checking the base, products, and sealing process can help create a smoother and longer-lasting manicure.
| Problem | Possible Reason | Fix |
|---|---|---|
| Powder looks patchy | Uneven base or inconsistent application | Smooth the surface and buff the powder evenly |
| Chrome looks dull | Uneven sealing or unsuitable top coat | Apply a proper finishing coat and follow product instructions |
| Powder does not stick | Incorrect surface preparation | Check product compatibility and curing process |
| Chrome wears away quickly | Weak sealing around the edges | Cover the free edge with top coat |
A smooth base, compatible products, and careful application technique usually make the biggest difference in achieving a cleaner chrome finish.
How to Remove Chrome Powder Nails Safely
Chrome powder does not damage natural nails by itself, but incorrect removal can weaken the nail surface. Avoid peeling, scraping, or forcing the manicure off because this may remove layers of the natural nail.
For safer removal:
- Follow the removal method recommended for your gel system.
- File the top layer carefully if required before using removal products.
- Allow enough time for the gel to soften.
- Remove the product gently without forcing it away.
If the manicure does not come off easily, repeat the removal process instead of scraping aggressively. The American Academy of Dermatology’s tips for healthy nails cover this same principle in more depth, including why soaking just the fingertips is gentler than forcing gel off.
Final Thoughts
Learning how to apply chrome powder to nails becomes easier once you understand the importance of preparation, suitable gel products, and careful application.
The powder creates the metallic effect, but the final result depends on the smoothness of the base and how well the finish is sealed.
Whether you prefer mirror chrome, pearl finishes, or softer glazed styles, the same basic technique can help you create different looks at home. Start with a simple finish, practice your method, and adjust your technique based on the results.
Choose a chrome style that matches your nail shape and personal preference, then enjoy a polished manicure with a reflective finish.
Frequently Asked Questions
Does Chrome Powder Damage Natural Nails?
No. Chrome powder itself is only a pigment applied over cured gel products. Damage usually happens from improper preparation or removal, such as peeling or scraping the manicure instead of following a safe removal process.
Can Chrome Powder Be Used on Acrylic Nails?
Yes. Chrome powder can be applied over acrylic nails when the surface is properly prepared and sealed with a suitable gel top coat. The final appearance depends on the base products, application method, and finish selected.
Why Does My Chrome Powder Look Patchy?
Patchy chrome usually happens because of an uneven base, incorrect product combination, or inconsistent buffing. Preparing the nail properly and applying powder gradually can help create a smoother and more reflective finish.
Can I Apply Chrome Powder Without Gel Polish?
Chrome powder works best with gel systems because they provide the surface needed for proper adhesion. Other methods may produce different results, so check product compatibility before trying alternative application methods.