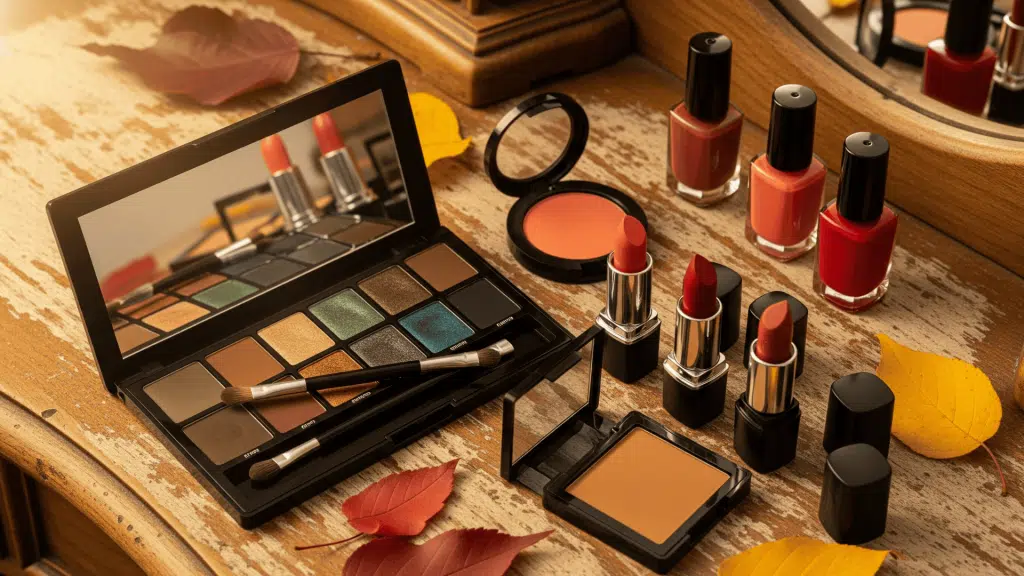
Doing gel nails at home can feel tricky at first, but it’s easier than you think once you know the right steps.
I’ve put together a simple guide that walks you through the whole process, from removing your old set to adding a fresh design.
You’ll see exactly what tools to use, how to prep your nails so the gel lasts longer, and ways to get a smooth, salon-like finish without spending hours or lots of money.
I’ll also share tips to help you avoid common mistakes, so your nails stay strong and look neat for weeks.
By the end, you’ll know how to give yourself a professional-looking set right at home, and it’ll feel simple enough to do anytime you want.
Why Choose to do Gel Nails at Home?

Doing gel nails at home is an easy way to save money while still getting salon-quality results.
You have full control over your colors, designs, and schedule without waiting for an appointment.
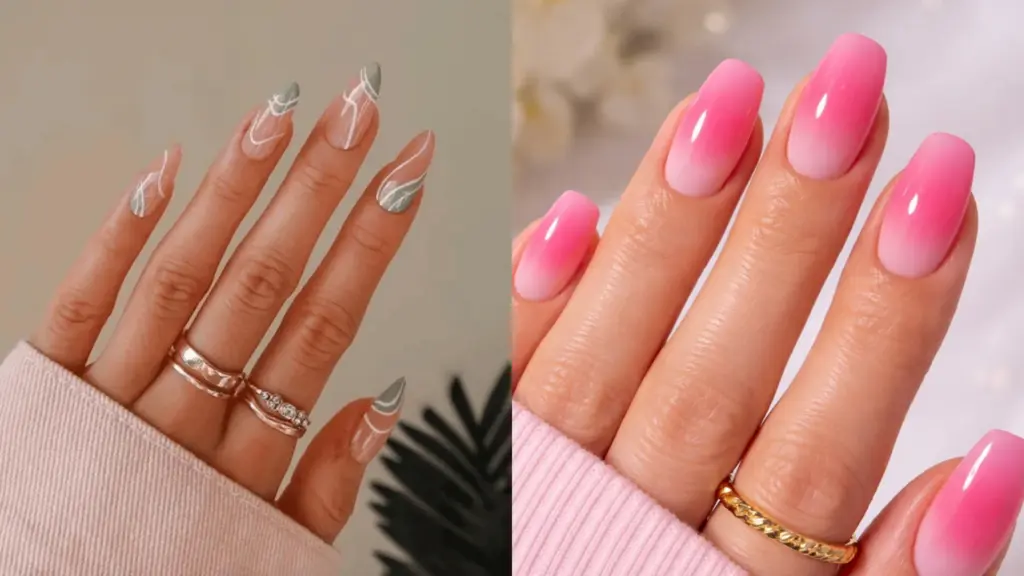
Gel nails are strong, chip-resistant, and can last up to 4–5 weeks, making them great for both daily wear and special events.
You can keep them simple or add creative touches like glitter or gems to match your style. The best part is the satisfaction of doing it yourself.
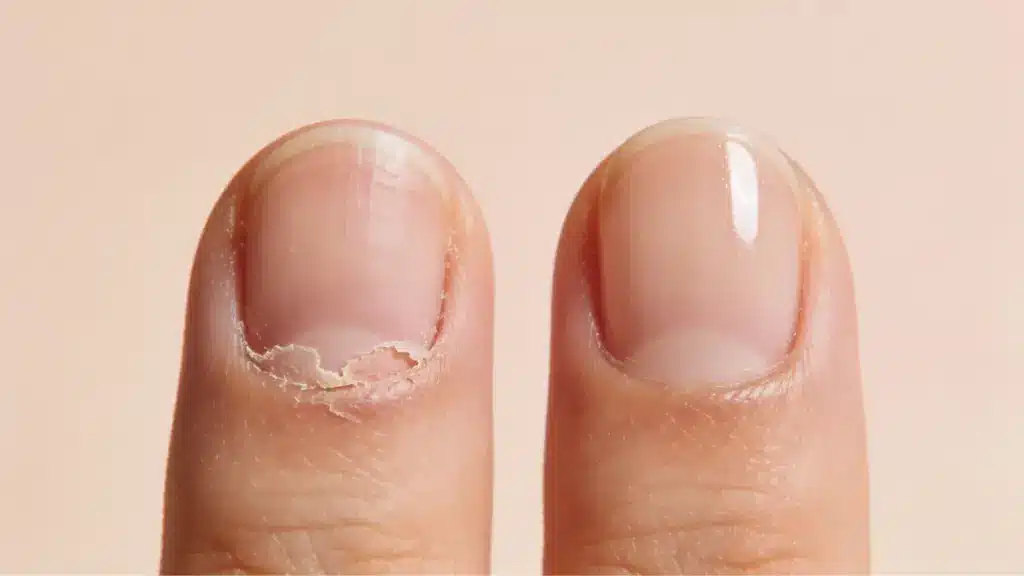
To keep your natural nails healthy, always use the right steps for prep and removal.
Gentle care will help your gel nails last longer and prevent damage, so you can enjoy fresh, beautiful nails anytime you want.
What You Need to Start Your Gel Nails at Home
Before you begin, having the right tools will make the process easier and help your gel nails last longer. Gather these items so you can work smoothly from start to finish.
- Nail drill
- Ceramic drill bit
- Sanding band
- Cuticle bit
- Rubbing alcohol
- Nail dehydrator
- Builder gel
- Liner brush
- Top coat
- UV/LED lamp
How to do Gel Nails at Home
With the right steps, you can get smooth, long-lasting gel nails without leaving your house. Follow these simple instructions to achieve a salon-like finish every time.
Step 1: Remove Old Gel Nails

Start by clipping your nails short and removing any charms or decorations. This makes filing much easier.
Use a nail drill with a ceramic bit to gently file down the old gel. Work slowly and avoid pressing too hard so you don’t damage your natural nails.
Leave a thin layer of the old gel on the nail-this helps the new gel grip better. After filing, use a sanding band to smooth the surface so your nails are even.
This step is important because a clean, smooth base makes your gel manicure last longer and look more professional.
Step 2: Prepare Your Nails

Good prep is key to making your gel nails last. Start by pushing back your cuticles with a cuticle bit or a cuticle pusher.
This clears space for the gel to stick and prevents lifting. Next, lightly clean around the edges of your nails to remove any dead skin.
Sanitize your nails by wiping them with rubbing alcohol. Use a nail brush to sweep away any dust or leftover debris.
Taking a few extra minutes here ensures your gel will adhere properly and look neat.
Skipping this step can cause peeling or chipping within days, so don’t rush it.
Step 3: Apply the Base Layer

Once your nails are prepped, apply a nail dehydrator to remove any oils from the surface. This helps the gel stick better.
Next, brush on a thin, even layer of builder gel over each nail. Avoid flooding the cuticle area to keep the finish neat.
Place your hand under a UV/LED lamp and cure for the recommended time, usually around 60 seconds.
This base layer gives your nails strength and helps the color last longer.
If you don’t cure it enough, the gel may stay soft, so make sure the light reaches all parts of your nails.
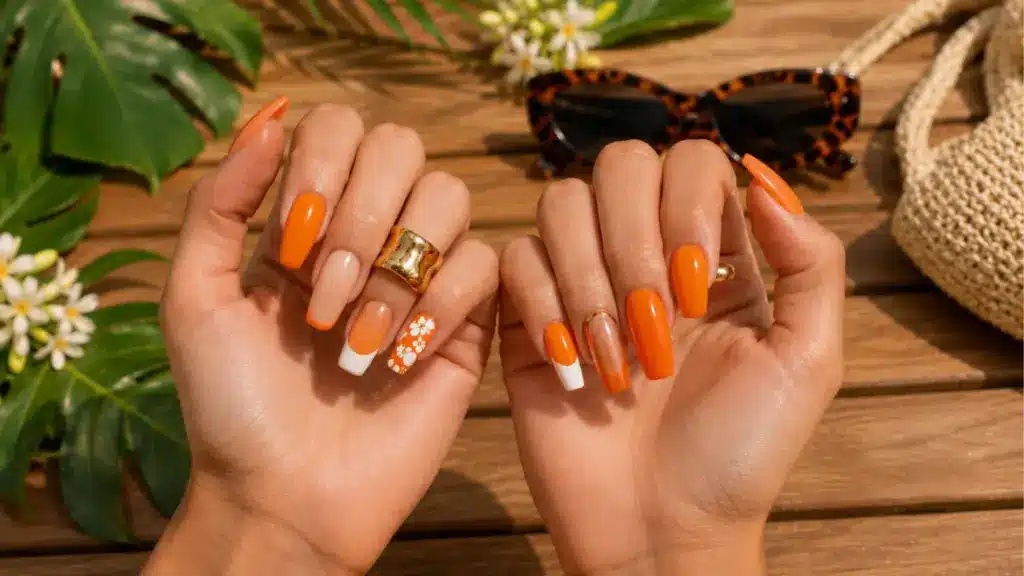
Step 4: Add Gel Color and Design

Choose your favorite gel polish color and apply a thin coat to each nail. Cure under the UV/LED lamp, then apply a second coat for full coverage.
Always keep coats thin to prevent bubbling or wrinkling. If you want extra style, now’s the time to add designs.
You can use glitter, gems, or nail art tools to create patterns. Each design layer should also be cured before moving on.
Keeping your layers neat and fully cured helps the final look last longer without chipping.
This is where you can get creative and make your nails match your mood or style.
Step 5: Seal and Finish

Finish your manicure by applying a thin layer of top coat over your gel color or design.
This seals everything in, adds shine, and protects against chips. Make sure you cover the tips of your nails as well-this step is called capping, and it helps prevent peeling.
Cure the top coat under the UV/LED lamp for the full time. Once cured, wipe your nails with rubbing alcohol to remove any sticky layer left behind.
This leaves a smooth, glossy finish. With this final step, your gel nails are ready to go and should last for weeks with proper care.
If you want to see these steps in action, check out the video from @Sion K-it’s a clear, easy-to-follow guide that makes the whole process even simpler.
Tips for Long-Lasting Gel Nails at Home
A few simple habits can make a big difference in how long your gel nails last. Follow these tips to keep your manicure looking fresh and chip-free for weeks.
- Avoid over-filing: This prevents your natural nails from thinning and breaking.
- Clean nails thoroughly: Remove all dust and oils before applying gel.
- Cure each layer fully: Use the UV/LED lamp to ensure maximum durability.
- Store gel products properly: Keep them away from sunlight to prevent hardening in the bottle.
Conclusion
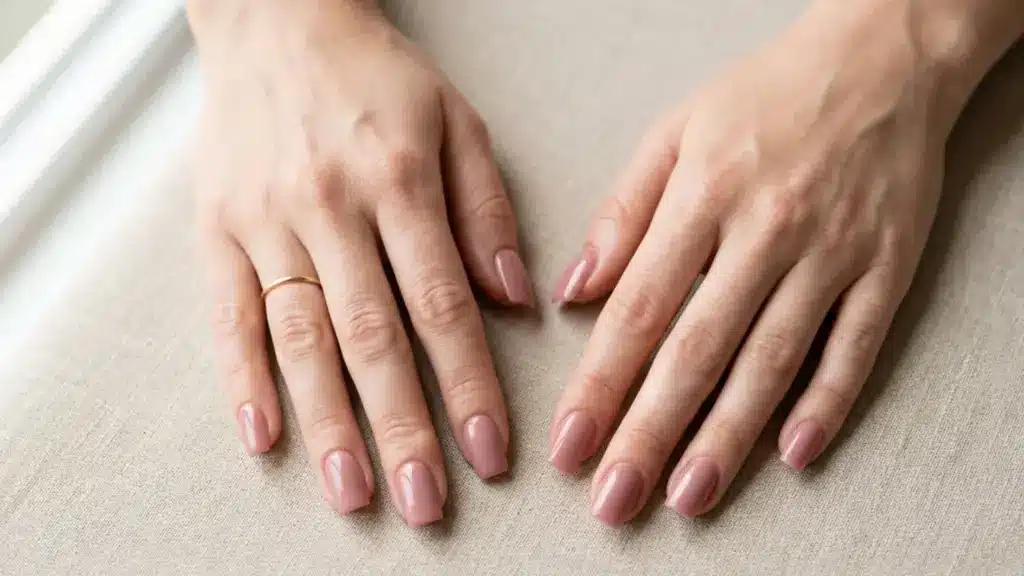
Doing gel nails at home is a great way to save money and still get nails you’re proud of.
I enjoy being able to choose my own colors, designs, and timing without having to book an appointment.
It also feels rewarding to create something that looks professional right at my own table.
The secret to making them last is taking your time, using good-quality products, and caring for your natural nails in between sets.
Once you get comfortable with the process, it becomes a relaxing and creative part of your routine.
I find it’s also a fun way to try new styles without spending extra. With a little practice, you can keep your nails looking fresh and chip-free for weeks.