Removing gel nails at home can feel like a guessing game. You wrap your fingers in foil, keep checking the clock, and then one nail starts lifting while another still refuses to move.
This moment often leads to scraping, and even a little force can peel away layers from the natural nail.
The result may be weak tips, rough patches, soreness, and nails needing extra time to recover before the next manicure.
Safe gel removal comes down to more than waiting with acetone on your nails.
The product type, thickness, topcoat, and removal method all affect the process. Some gels soften quickly, while some gels need more time.
In this guide, you will learn soak timing, signs of softened gel, when to rewrap, and how to care for dry nails.
Why Soak Time Matters for Your Nails
Acetone breaks down cured gel, dip powder, and some acrylic products by softening the layers on the nail surface, so they can be removed with light pressure instead of scraping.
The problem is that acetone is also drying. It draws moisture from the nail plate and the surrounding skin. If the nails sit in acetone for too long, the result can be dryness, peeling, white patches, and rough cuticles.
Under soaking leaves, gel is firmly attached to the natural nail. Pulling or scraping too soon can strip thin layers of the nail, often leaving nails weak after removal.
The FDA outlines how acetone and other solvents interact with skin and nails in its overview of nail care product safety, which is worth a read if you want to understand the chemistry behind removal.
The goal is balance. The product needs enough time to loosen, but the nail should not be soaked longer than needed. This is why timing matters so much when learning how long to soak nails in acetone.
How Long to Soak Nails in Acetone by Gel Type
The right soak time depends on the product used, the number of coats, and the thickness of the application. Filing the glossy top layer first can also alter the timing, as acetone reaches the gel faster.
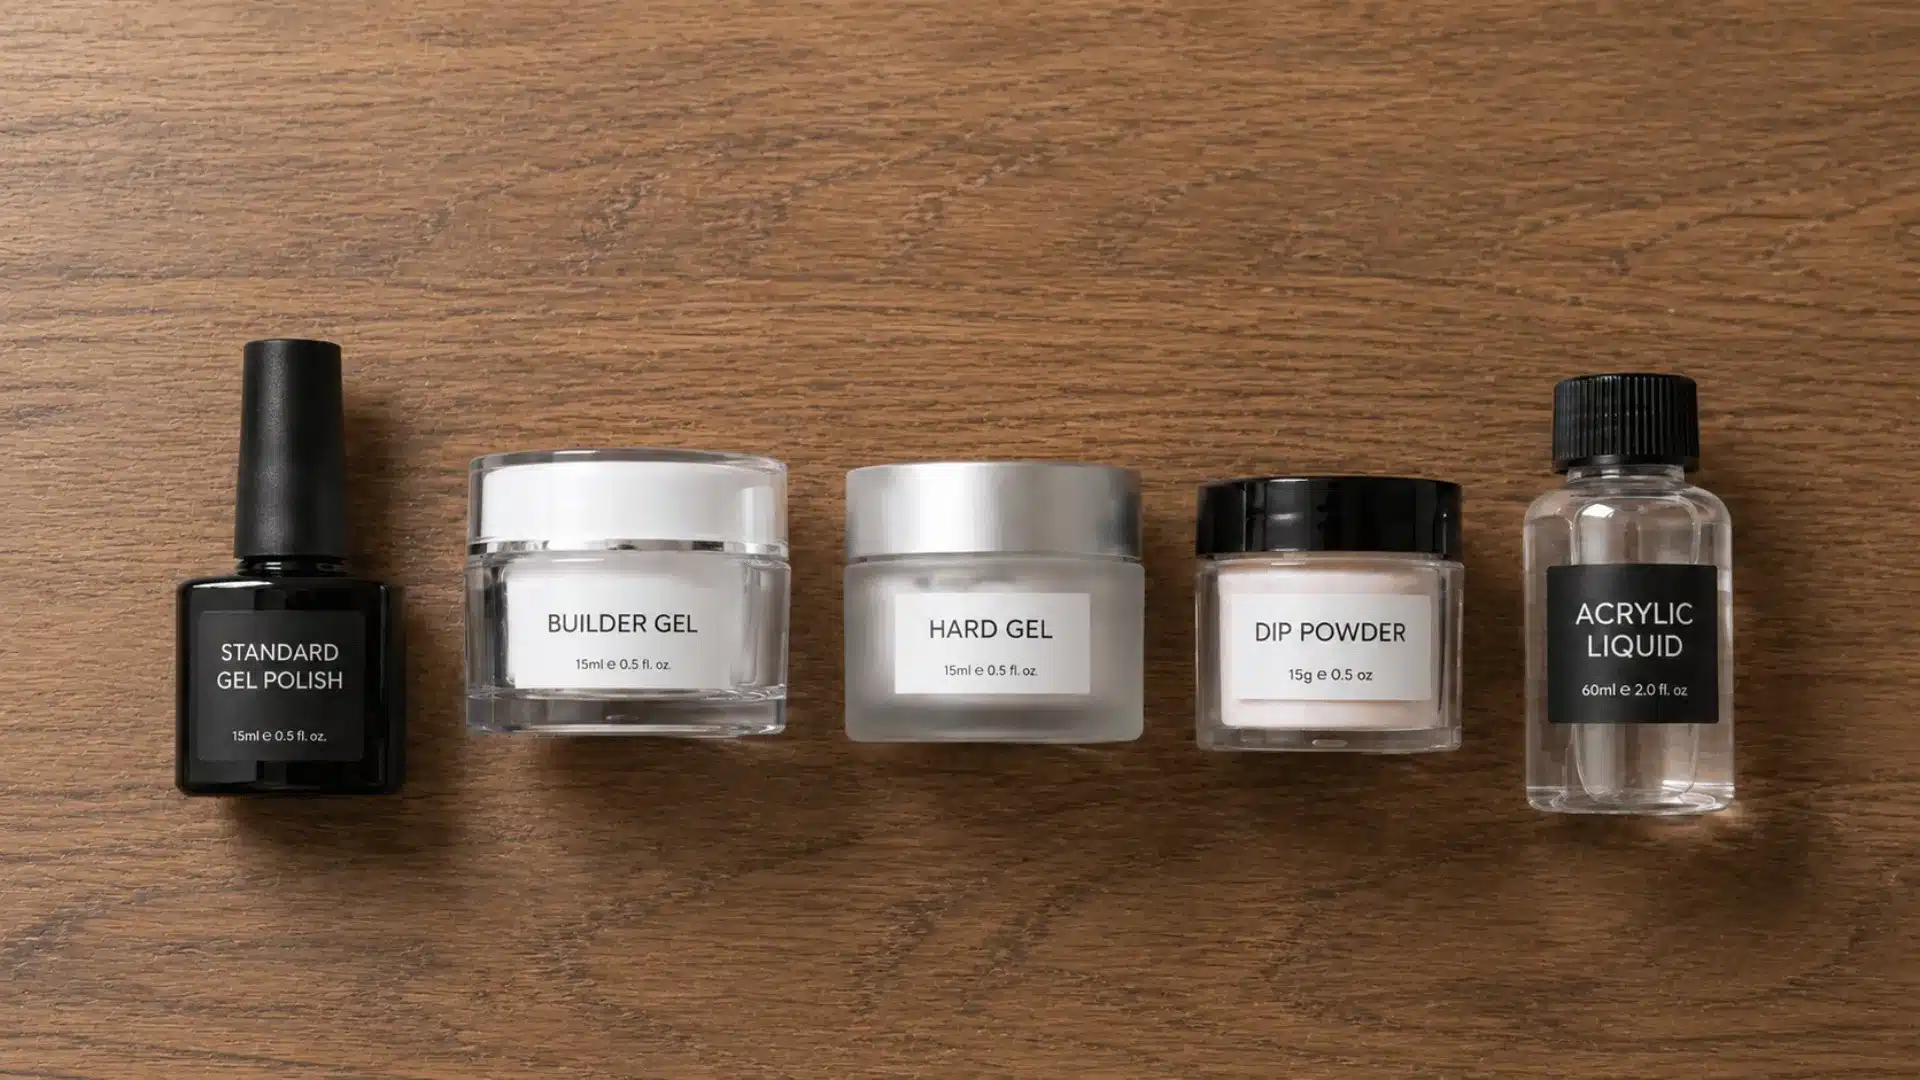
1. Standard Gel Polish
Standard soak-off gel polish usually takes 10 to 15 minutes. This is the type used in many regular gel manicures.
It has a thinner finish and is made to soften with acetone. Start by filing the shiny topcoat. Then, place acetone-soaked cotton on the nail and wrap it with foil or plastic wrap.
Check one nail after 10 minutes. If the gel looks lifted around the edges or feels soft, it is ready.
2. Builder Gel
Builder gel often needs 20 to 30 minutes, especially if it was applied thickly. Some builder gels are soak-off formulas, while others act more like hard gel.
That means results can vary. Filing off some of the thickness before soaking helps a lot.
The aim is not to file down to the natural nail. The goal is only to thin the product so that acetone can reach deeper layers.
3. Hard Gel
Hard gel usually does not fully soak off with acetone. It is designed to stay firm and is often removed with careful filing.
Some people mistake hard gel for gel polish, which leads to long soaking sessions with little change.
If the product stays glossy, firm, and attached after repeated soaking, hard gel may be the reason. A nail professional can file it down safely without digging into the natural nail.
4. Dip Powder Nails
Dip powder usually takes 15 to 20 minutes. Thick sets or nails with extensions may take longer.
Since dip powder is built with layers of powder and resin, acetone needs time to break through the surface. Filing the topcoat first is important.
Without that step, acetone may sit on the sealed surface and work slowly. After soaking, the product should look grainy or softened and should come away with light pressure.
5. Acrylic Nails
Acrylic removal can take 20 to 30 minutes or more, depending on thickness. Acrylic is not the same as gel polish, so it should not be treated exactly the same way.
Clipping excess length and filing down the top layer can reduce soaking time. Still, acrylic should never be pulled off. If it does not soften enough, soaking should be repeated, or removal should be handled by a professional.
If you are unsure which formula is on your nails, this guide to types of gel nail polish can help you identify it before you start.
What You Need Before Soaking Nails in Acetone
Preparation makes gel removal much easier, lowering the chance of damaging the nail plate. Use 100 percent pure acetone instead of regular nail polish remover.
The basic items needed are:
- 100% Pure Acetone
- Cotton balls or cotton pads
- Foil squares or plastic wrap
- 180-grit nail file
- Wooden cuticle stick
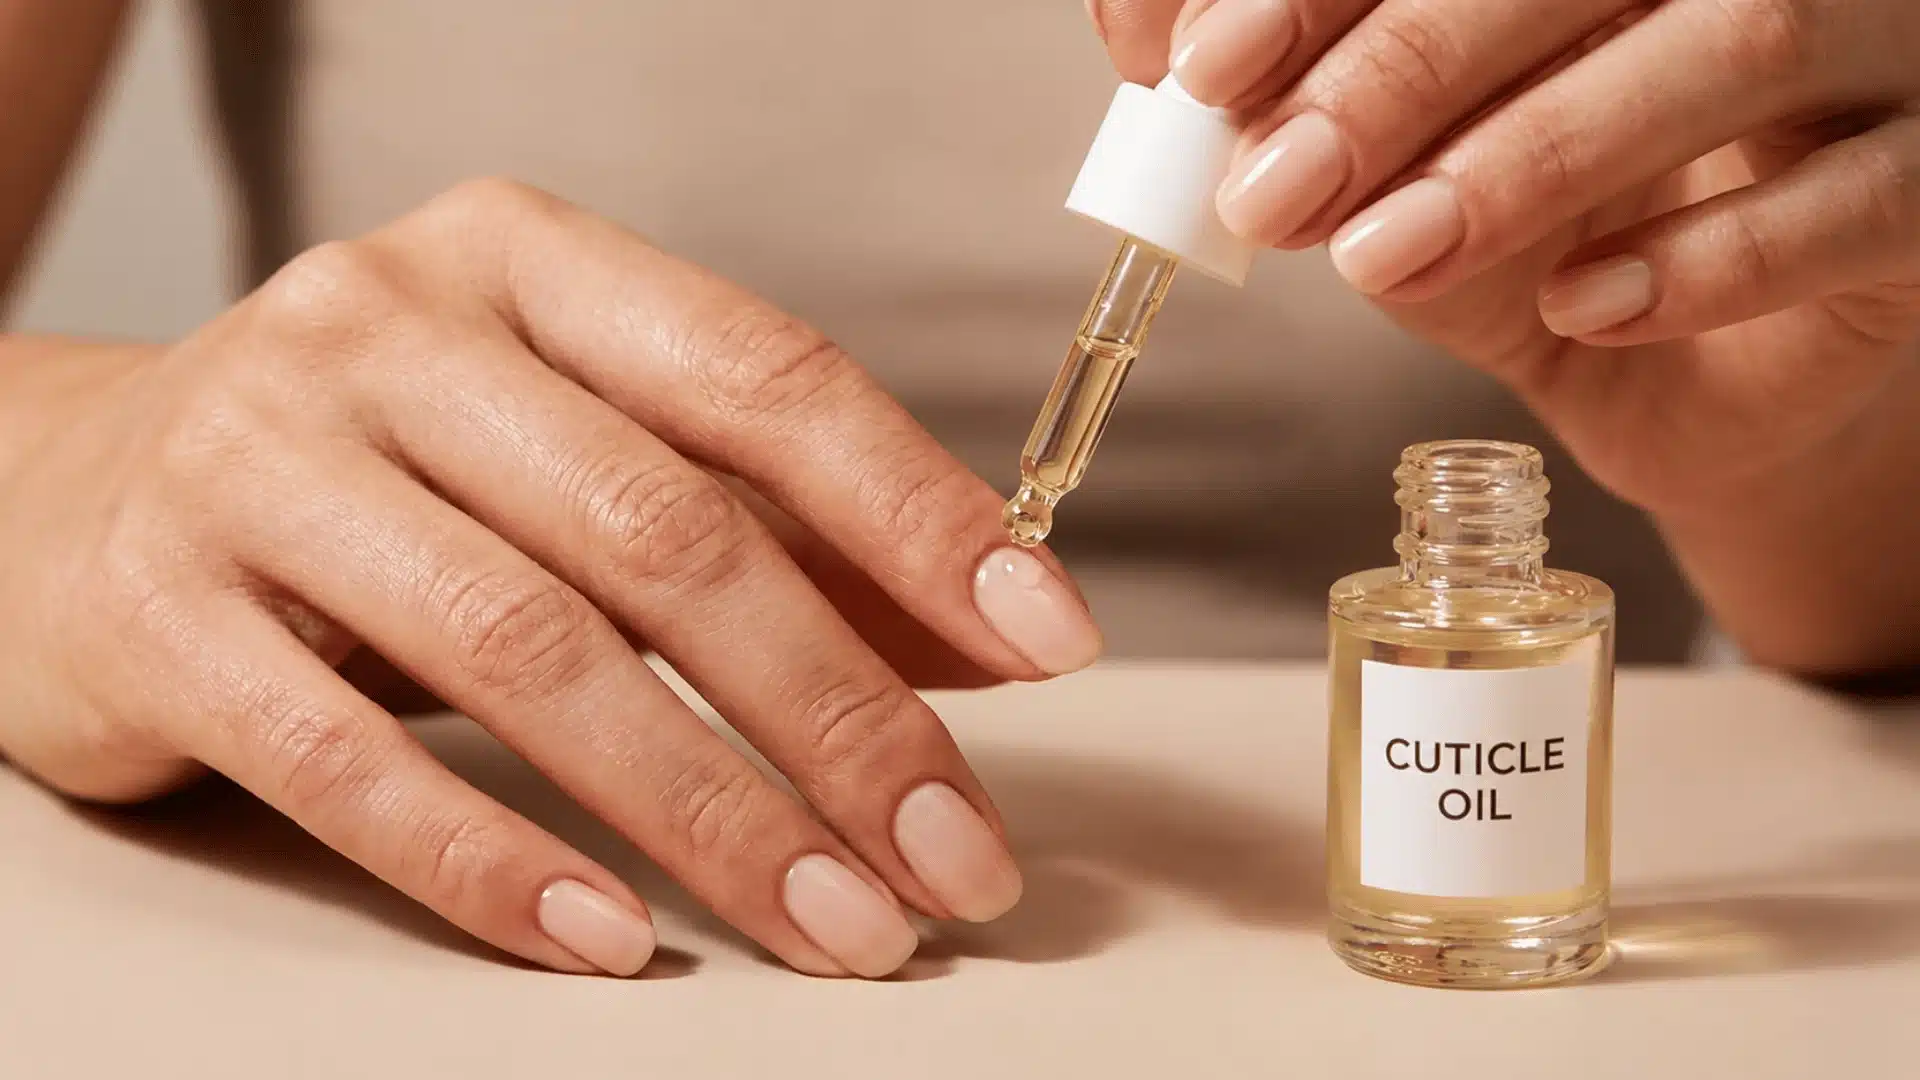
- Cuticle oil or petroleum jelly
- Hand cream
- A paper towel or an old towel for the work area
A wooden cuticle stick is safer than a metal tool because it is less harsh on the nail surface. If the gel does not move with a wooden stick, it is not ready.
Cuticle oil or petroleum jelly should be placed on the skin around the nail before soaking. Keep it off the nail plate itself because acetone needs direct contact with the gel.
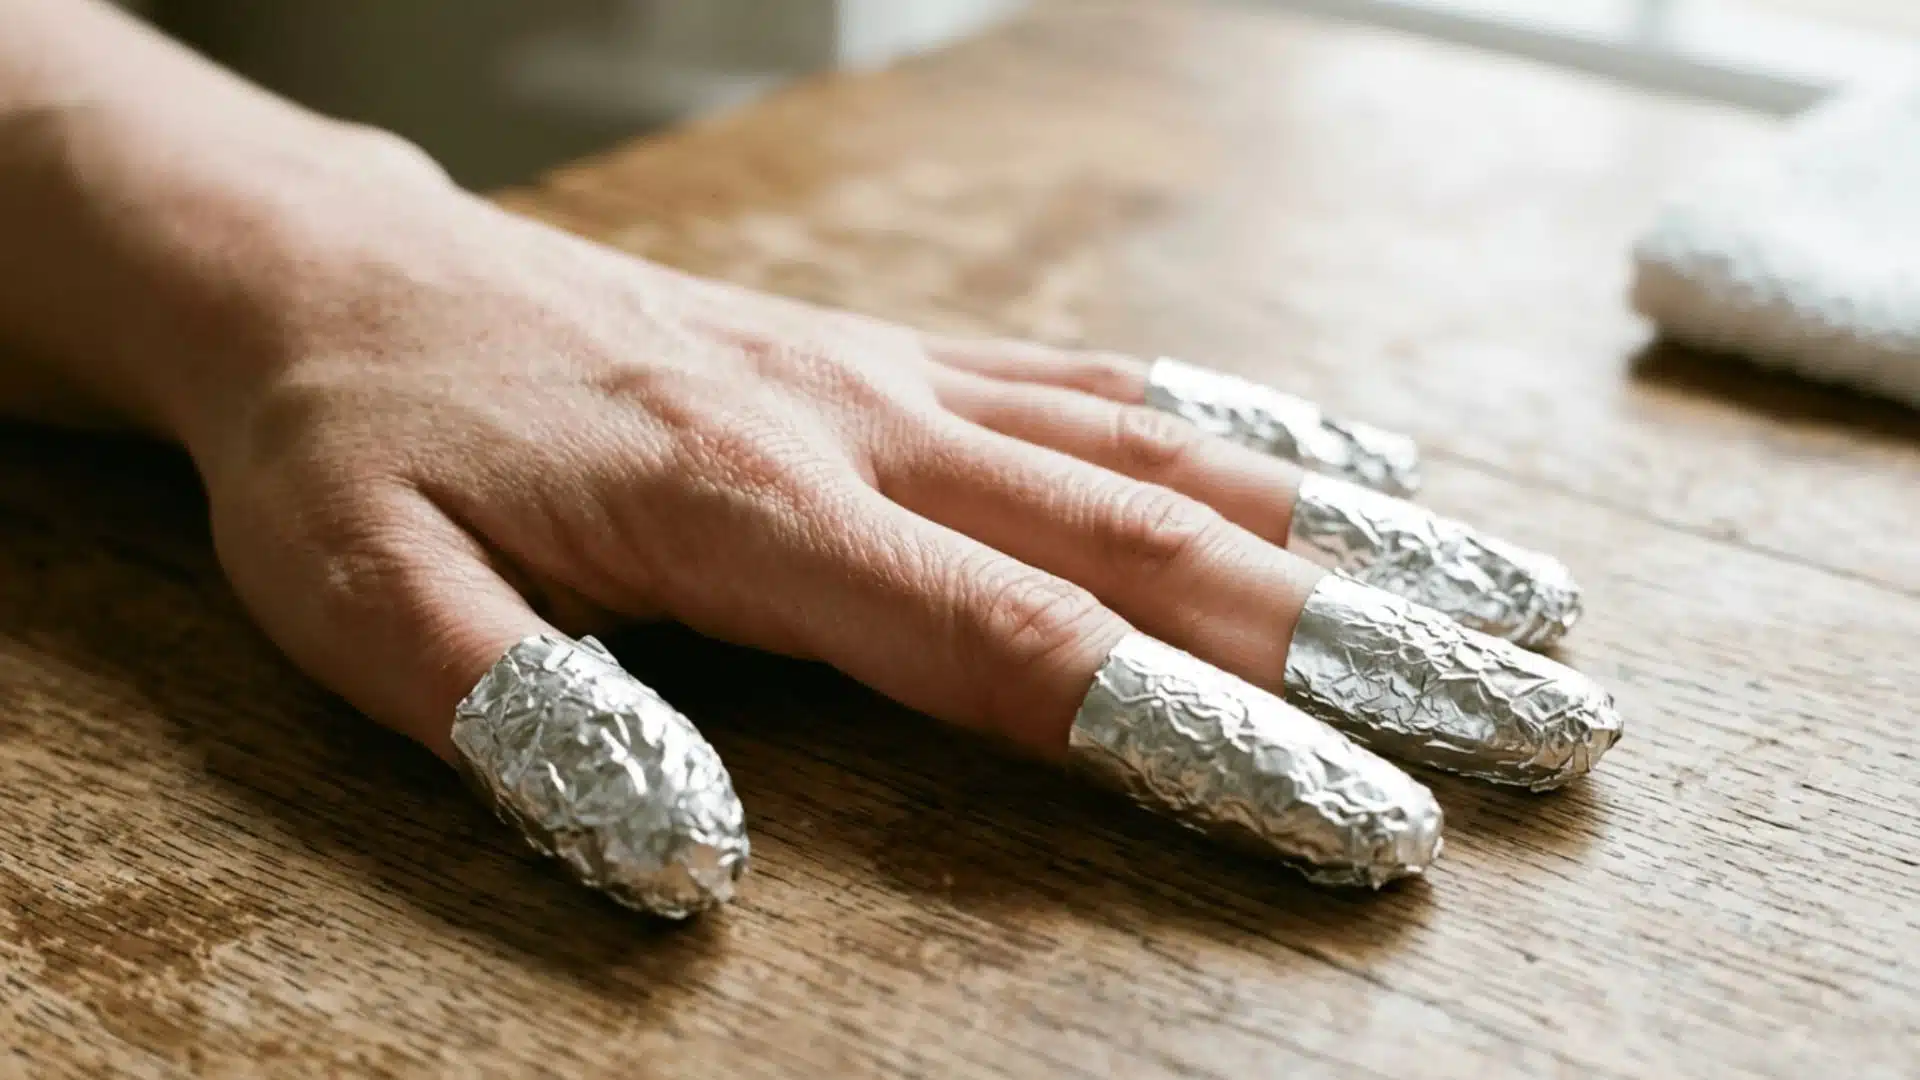
Step by Step: The Foil Wrap Method
The foil wrap method keeps acetone focused on the nail rather than soaking the entire fingertip. This makes it a better option than placing fingers in a bowl of acetone.
1. File the Topcoat
Start with a medium-grit file and gently remove the shine from each nail. The glossy layer seals the gel, so acetone has a hard time getting through it.
File only until the shine is gone. Do not file into the natural nail. Over-filing before soaking can thin the nail and make it sore.
2. Protect the Skin
Apply cuticle oil or petroleum jelly around each nail before soaking begins. This helps reduce dryness of the surrounding skin and cuticle.
Avoid applying oil on top of the gel or nail surface, as it can prevent direct contact with the product. If the nail plate is oily, acetone will not work as well or soften the gel evenly.
3. Soak the Cotton
Cut cotton pads into small pieces that fit each nail properly. Soak each piece with acetone until it is wet but not dripping heavily.
The cotton should cover the full gel surface from side to side. If part of the nail is not covered, that area may stay hard.
4. Wrap and Wait
Place the acetone-soaked cotton on the nail, then wrap it securely with foil or plastic wrap. Make sure the cotton stays pressed against the nail surface.
For standard gel, wait 10 minutes before checking the first nail. For thicker products, start with 20 minutes before testing softness.
5. Test and Remove
Remove one wrap at a time, then check the gel before unwrapping each nail. If it has lifted or softened, use a wooden cuticle stick to push it gently toward the tip of the nail.
The gel should slide away in soft flakes or small pieces. If it feels stuck, stop and wrap the nail again for five more minutes.
6. Rewrap If Needed
Rewrapping is better than scraping when the gel still feels firmly attached. A few extra minutes can prevent weeks of weak, peeling nails.
If the cotton has dried out, add more acetone before wrapping again. Dry cotton will not continue softening the product effectively.
Signs the Gel is Ready to Come Off
The timer can guide you, but the nail shows the real sign. The gel should come off only when it feels soft and moves easily.
- Lifting Around The Edges: The gel may look raised, cracked, or loose near the sides or base of the nail. This means acetone has started breaking the bond.
- Soft Feel Under The Wrap: Press gently over the wrap before removing it. If the gel feels rubbery or soft, it is likely ready to come off.
- Sticky Cotton Residue: When the wrap comes off, the cotton may have a gel color or sticky residue. This shows the acetone is working.
- Easy Movement With A Wooden Stick: The gel should slide or push away without force. If it feels like chipping or digging, stop right away.
If the gel still feels hard or stuck, wrap the nail again and soak it longer. Forcing it off can damage the nail plate.
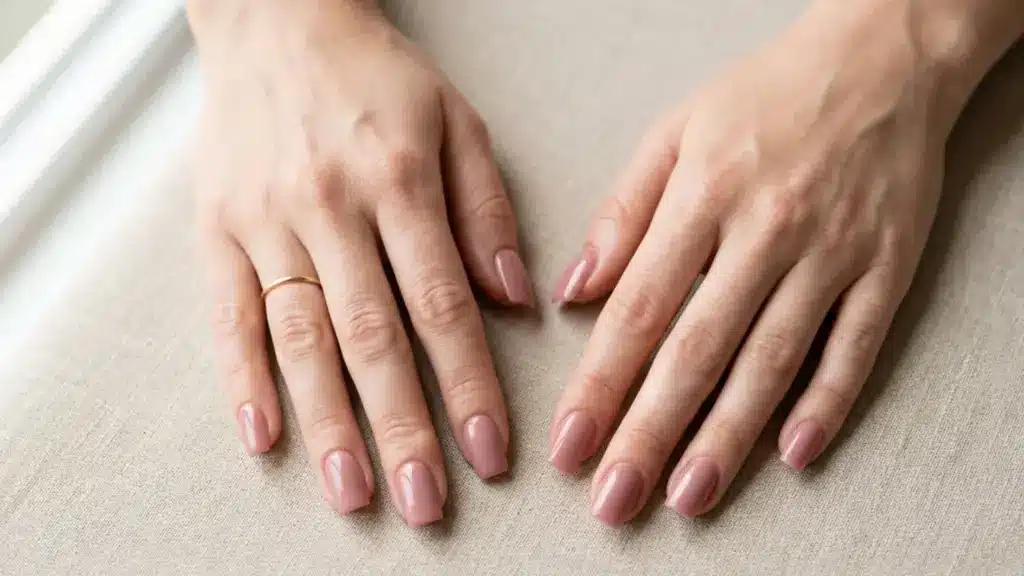
How to Care for Nails After Acetone Removal
After soaking, the nail plate needs moisture. Acetone can leave nails looking white, chalky, or dry. This does not always mean permanent damage, but it does mean the nails need care.
After gel removal, nails need gentle care, moisture, and a short break if they feel weak, thin, or sore.
- Wash Gently and Dry: Wash your hands with mild soap and warm water after removal. This clears leftover acetone, gel dust, and petroleum jelly. Dry the nails well, as trapped moisture under future polish or gel can cause problems.
- Apply Cuticle Oil Immediately: Use cuticle oil after acetone to soften dry skin and improve the look of the nail plate. Jojoba oil, vitamin E oil, or basic nail oil can work well. Massage it into the nails and cuticles, then let it absorb.
- Use a Rich Hand Cream: Apply a thick hand cream after the oil. This helps hold moisture in the skin around the nails. A light lotion may not be enough after acetone, so a richer cream works better.
- Skip New Gel If Nails Feel Weak: Wait before applying gel again if the nails feel bendy, thin, sore, or rough. A short break gives the nail plate time to recover. Keep nails trimmed and use oil daily during that time.
- Add a Nail Strengthener If Needed: Use a nail strengthener if the nails feel soft after removal. Pick a gentle formula and avoid overusing hardeners, as some can make nails brittle over time.
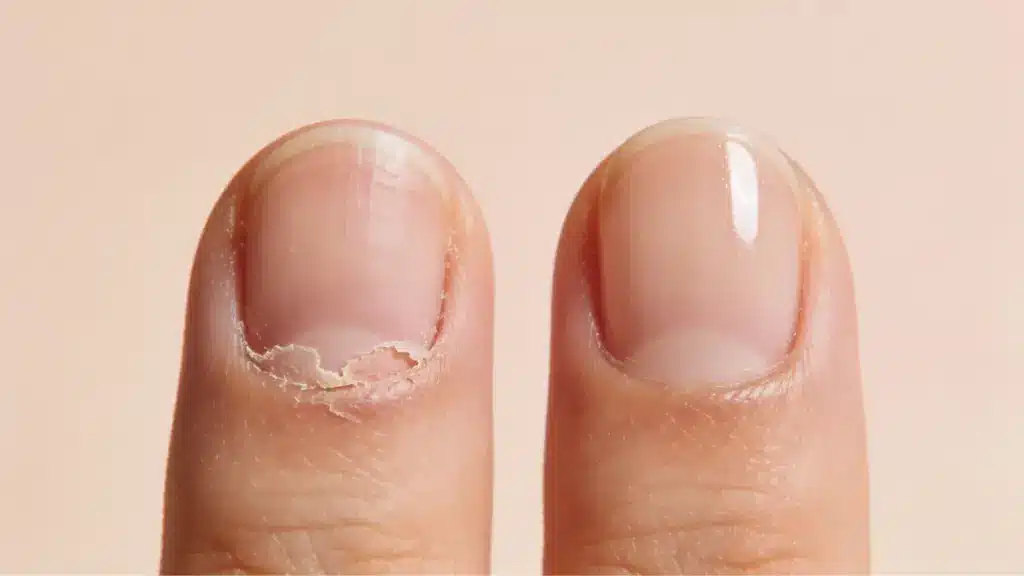
What Common Mistakes Lead to Nail DamageMost gel nail damage happens during removal, not during the manicure itself. Small mistakes can leave nails thin, rough, or sore.
- Peeling the gel off: It’s one of the fastest ways to damage natural nails. Gel bonds tightly to the nail plate, so pulling it off can remove nail layers with it, causing ridges, weak spots, and peeling until the nail grows out.
- Skipping the filing step: Acetone cannot work well if the topcoat is still sealed. Skipping this step often leads to longer soaking and more frustration. Filing the shine off gives acetone a better path into the gel layers.
- Using weak nail polish remover: Regular polish remover is too weak for most gel manicures. It may soften the surface, but the gel often stays stuck, leading to scraping.
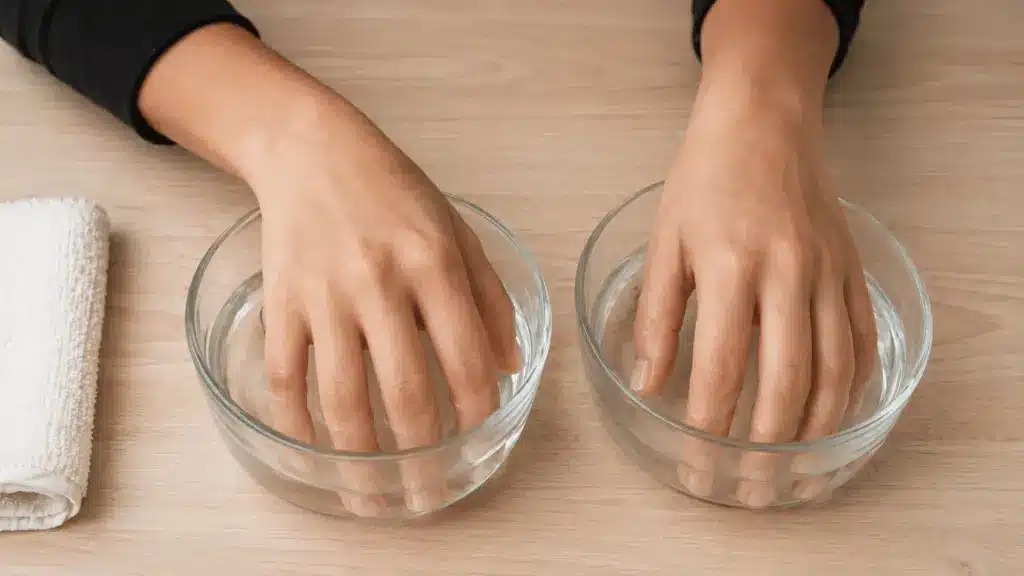
- Soaking the whole finger: Bowl soaking works, but it exposes more skin to acetone. This can dry fingertips, cuticles, and surrounding skin. The wrap method is more focused because acetone stays mostly on the nail.
- Buffing too much after removal: A little buffing can smooth leftover residue. Too much buffing can thin the nail plate. After gel removal, the nail is already dry from acetone, so heavy buffing can weaken it.
Choosing a formula designed to release cleanly makes a real difference over time, and these soak-off gel nail options are worth considering if your current gel always takes longer than expected.
When to Stop and See a Nail Professional
At home, gel removal is not always the best choice. Some products are too thick, too hard, or not made to soak off.
Stop if the nail starts to hurt. Pain is not normal during acetone removal. Burning, throbbing, bleeding, or lifting from the nail bed means the process should end.
A nail professional should also handle removal if the product stays hard after repeated soaking. This can happen with hard gel, thick builder gel, or mixed salon products.
Green marks, swelling, redness, or a bad smell around the nail may point to infection or trapped moisture. In that case, do not keep covering the nail with the product. Let the area be checked before applying anything new.
Seeing a professional is also smart before a new set of nails if they look very thin, bend easily, or feel sore after removal.
Conclusion
Gel removal may seem minor until it goes wrong. Rushed minutes can mean weeks of brittle, peeling nails no polish can hide. But done with patience, it is also one of the simplest ways to protect the nails you already have.
Think of removal as part of the manicure, not the end of it. The care you put in between sets shapes what your nails look like going into the next one.
Nails that come off cleanly, rest well, and get a little oil each day tend to hold gel longer and look better for it.
If this walk-through helped, drop a comment below and tell me which gel type gave you the most trouble. Your experience might be exactly what someone else needs to read.
Frequently Asked Questions
Can Acetone Damage the Skin Around My Nails?
Yes, acetone can dry out the skin around the nails, especially if it sits there too long. Applying petroleum jelly or cuticle oil around the nail before soaking can help reduce dryness and irritation.
Should Nails Be Cut Short Before Gel Removal?
Yes, trimming long nails before removal can make the process easier. Shorter nails are easier to wrap, and there is less product for the acetone to break down.
Can I Reuse the Same Acetone for Both Hands?
It is better to use fresh acetone for each hand if the cotton dries out or becomes full of gel residue. Fresh acetone works better and helps soften the remaining product more evenly.
How Soon Can I Wash Dishes After Acetone Removal?
Wait at least a few hours before washing dishes without gloves. Nails and cuticles can feel extra dry after acetone, so gloves help protect them from hot water, soap, and more dryness.