Years of coaching swim teams taught me more about skin sensitivity than most of my early esthetics training did.
Chlorine, sun, goggles pressing into the same spot every day- you learn fast which areas of the face react first, and the brow line is one of them.
That’s the lens I bring to eyebrow tinting: it’s a small area, but it’s close to the eyes, and it deserves the same care you’d give any product used near them.
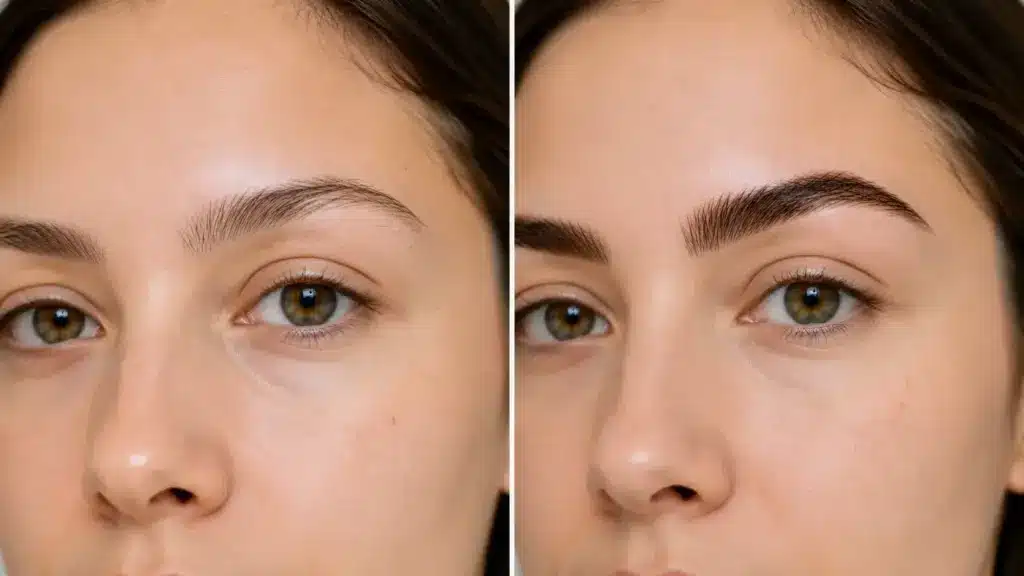
Eyebrow tint can add fuller, more defined brows and cut down on daily makeup. When done carefully at home, it works well for many people. Here’s how to do it with fewer surprises.
Can You Dye Eyebrows at Home?
Yes, many people use eyebrow tint kits at home when they follow the product instructions carefully. A DIY eyebrow tint can add temporary color to brow hairs and create a more defined appearance without relying on daily makeup.
At-home tinting requires careful preparation because the product is applied near the sensitive eye area. Avoid applying tint to irritated, damaged, or freshly treated skin, and keep the product away from your eyes during application.
At-home tinting can be convenient and cost-effective, but careful preparation and application are important because the product is used close to the sensitive eye area.
The FDA’s guidance on eye cosmetic safety notes that color additives not approved for the eye area, including some permanent tints, can carry real risks, so sticking to products made specifically for brows is worth the extra care.
What is Eyebrow Tinting?
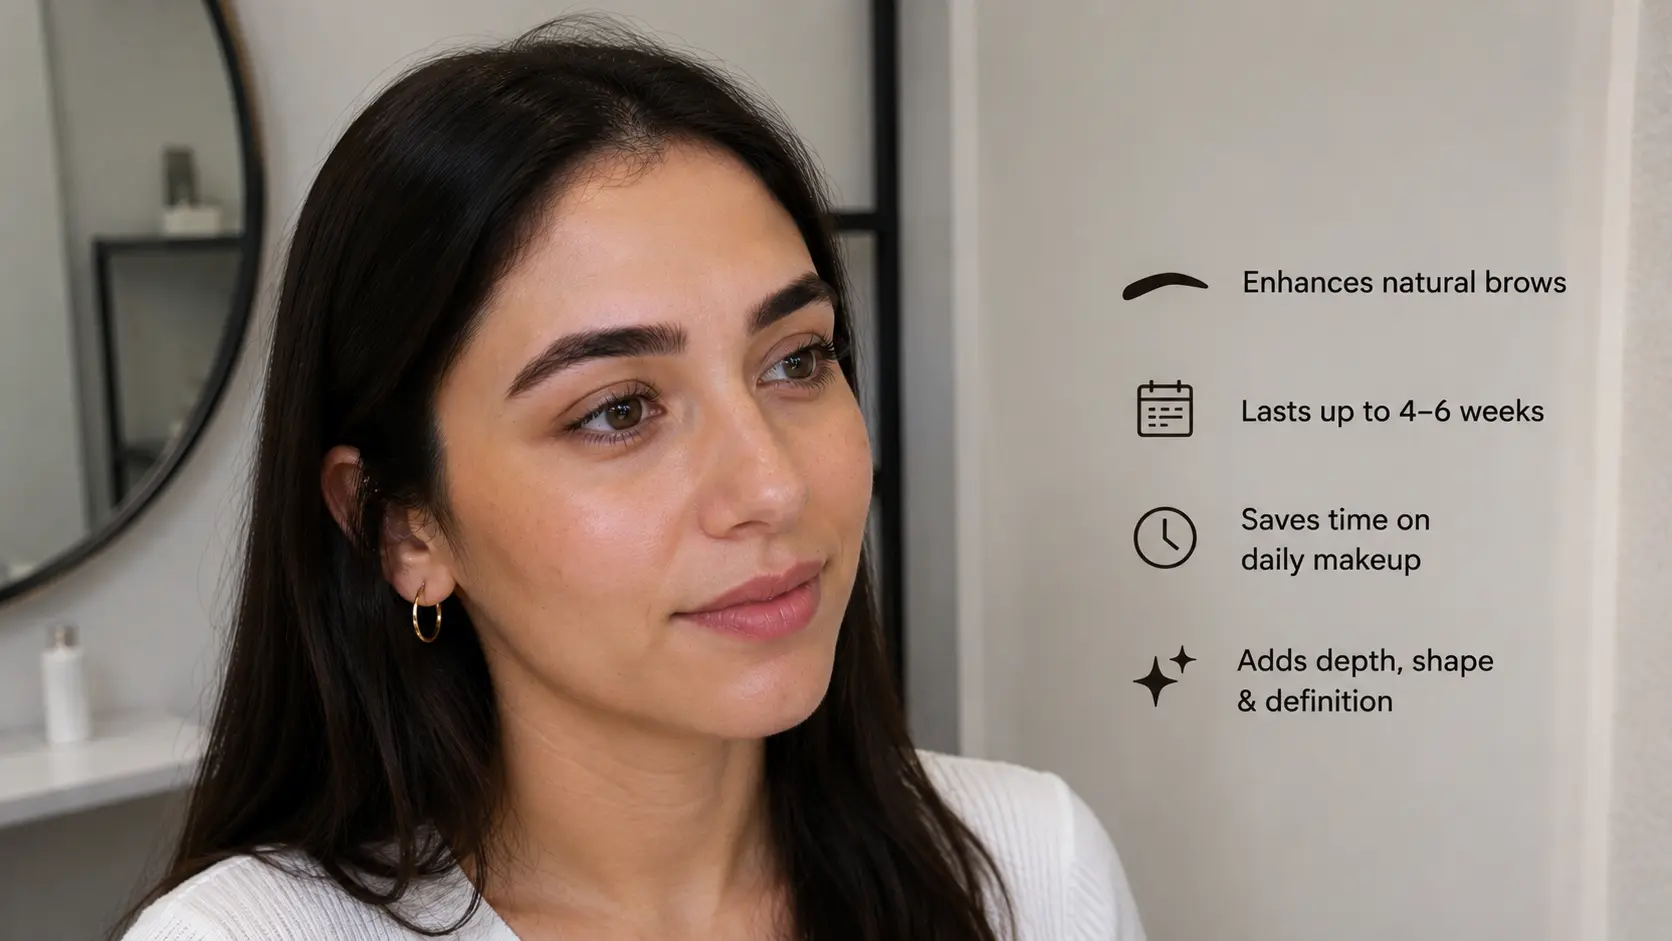
Unlike brow pencils and gels that sit on the surface of the hair, eyebrow tint changes the appearance of natural brow strands by adding temporary color that gradually fades over time.
The result can make brows appear more defined while keeping a softer look than daily makeup products.
- Fine, light brow hairs: May absorb color quickly and appear darker.
- Coarse, dark brow hairs: May show a more subtle change.
- Different formulas: Can create different levels of color intensity and fading.
Eyebrow tint usually fades gradually as brow hairs grow and shed. The lasting time depends on the product, hair type, cleansing habits, and daily routine.
Choosing Between Salon-Style and At-Home Eyebrow Tint Products
Different eyebrow tint options work in different ways, so choosing the right one depends on how much control, convenience, and lasting color you want. This quick comparison can help you understand the main differences before picking a product.
| Option | How It Works | Things To Keep In Mind |
| Salon eyebrow tint | A professional applies and matches the tint shade for your brows | Costs more and requires a salon visit |
| At-home eyebrow tint kit | Ready-made tint products are applied by following the kit instructions | Needs careful application and timing |
| Semi-permanent brow tint | Adds color to brow hairs that gradually fades over time | Results vary based on hair type and care |
| Natural-based brow tint | Uses formulas such as henna-based products to add color | Shade control may not be as predictable |
The right eyebrow tint option depends on your preferred result and comfort level. If you’re weighing a salon visit against doing it yourself, knowing the typical process and pricing can help you decide which route fits you best. Always choose products made for eyebrows and follow the usage instructions to avoid unwanted results.
How to Make Eyebrow Tint Look More Natural
Creating natural-looking tinted brows depends on controlled application and keeping the color balanced across the brow.
Applying too much product at once can make the result appear darker than expected, so building color gradually usually creates a softer finish.
Keep the front section of the brows slightly softer because this area often catches color faster and can look harsh when over-applied. After the tint develops, brush through the hairs with a spoolie to blend the color and soften any strong edges.
Avoid creating sharp outlines with tint. A balanced shape with softly blended edges usually looks more natural. If you’d like a longer-lasting version of this fuller look, some people also find semi-permanent brow treatments as an alternative to repeat tinting.
Tools and Supplies for a DIY Eyebrow Tint
Preparing your tools before starting makes the tinting process easier and helps prevent mistakes during application. Keep everything within reach before mixing the tint so the process stays organized.
| Item | Why |
| Eyebrow tint kit (facial use) | Made for skin near the eyes |
| Developer or activator | Some tints need it |
| Small mixing bowl | Stops drying mid-use |
| Angled brush | Precise application |
| Spoolie brush | Sets hair before and after |
| Cotton swabs | Wipes smudges fast |
| Petroleum jelly | Protects surrounding skin |
| Timer | Keeps timing exact |
| Gentle cleanser | Removes tint after |
Tip: Choose products labeled specifically for eyebrow or facial use instead of regular hair dye. The FDA’s guidance on hair dyes notes that certain products carry warnings against use on eyebrows or eyelashes because the eye area requires extra safety precautions.
How to Dye Eyebrows at Home Step By Step
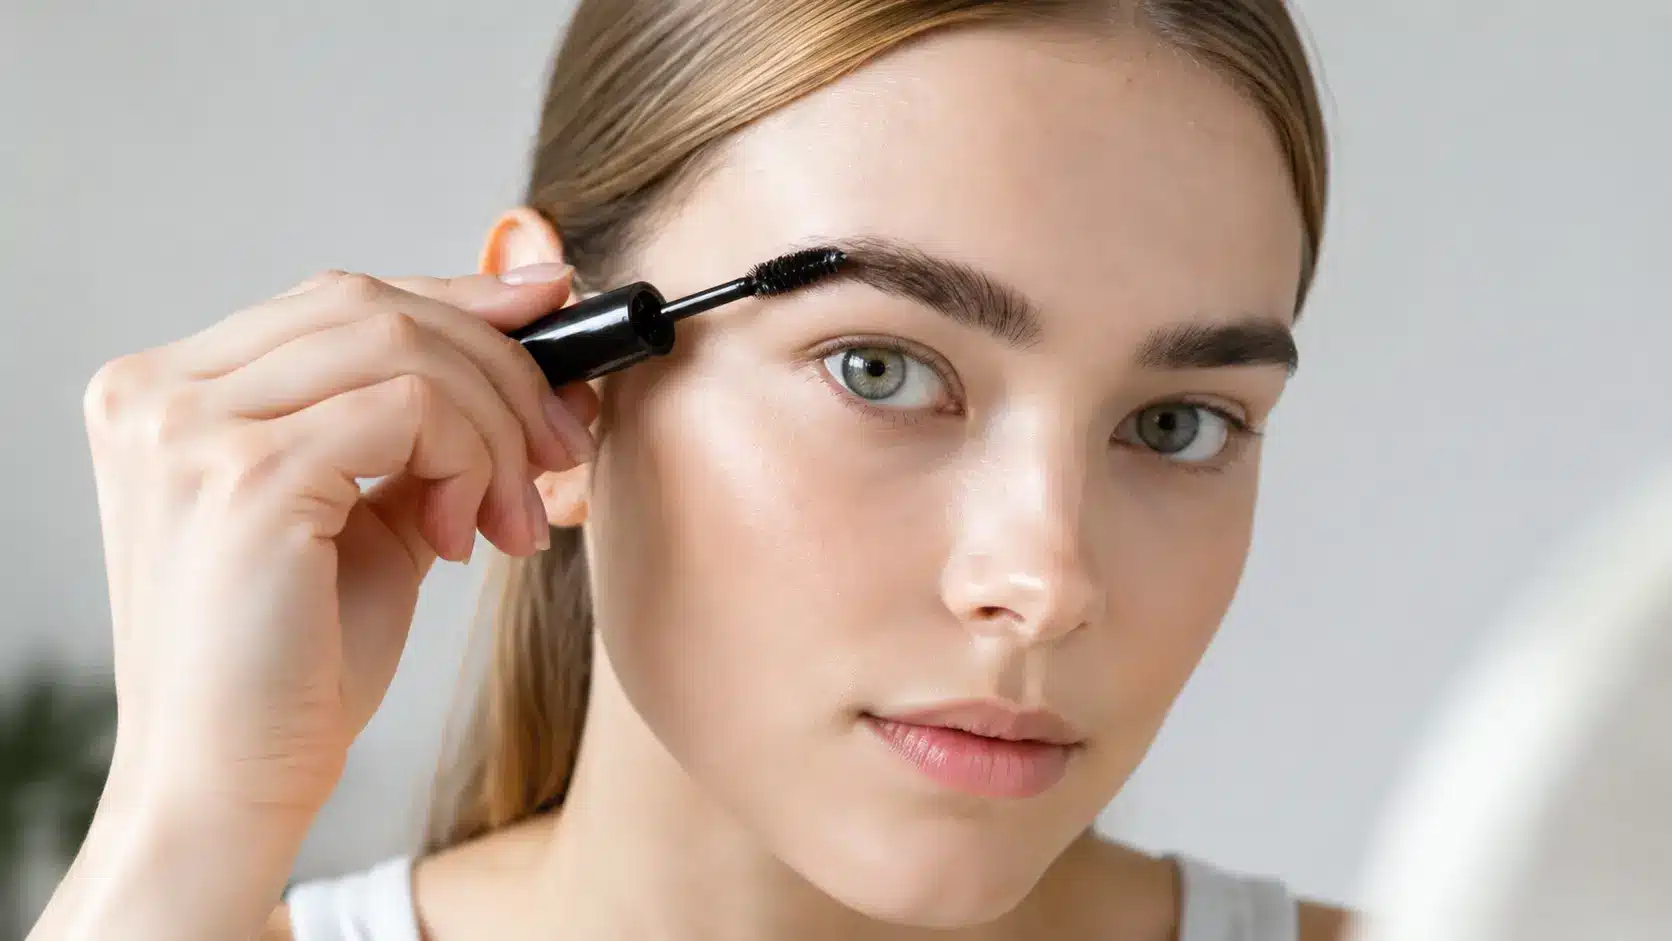
The tinting process moves quickly once you begin, but the order of each step still matters. Skipping a step here, or rushing through one, is usually how home tint jobs go wrong, leaving brows uneven or darker than planned.
Step 1: Patch Test First
Apply a small amount of tint to a recommended test area following the product instructions, then wait the suggested time before using it on your brows, since this helps identify possible sensitivity near your eyes.
If you notice redness, itching, swelling, or irritation during this waiting period, do not continue and consider trying a different tint formula instead. This step matters even more if you have sensitive skin, since brow tint sits so close to the eyes.
Step 2: Pick Your Shade
Choose a tint shade that blends with your natural brow color instead of selecting the darkest option.
A shade with too much contrast can look harsh, while a closer match usually creates a softer, more balanced result.
Step 3: Clean Your Brows First
Remove makeup, oils, and skincare products from your brows before applying tint, since clean brows help the tint apply more consistently and make the final shade easier to control.
Brushing the hairs into their natural shape beforehand also makes it easier to see exactly which areas need coverage before you start applying the product.
Step 4: Mix the Tint Correctly
Follow the product instructions for the correct mixing ratio instead of estimating the amount, and combine the tint and developer until the mixture has an even texture without clumps.
Only prepare the amount you need for one application, since activated tint should be used right away rather than saved for a later touch-up.
Step 5: Apply with a Small Brush
Apply the tint carefully using a small angled brush, starting from the outer part of the brow and moving toward the front, using controlled strokes instead of applying a heavy amount at once.
Keep the front section a bit softer than the rest, since it tends to absorb color faster and can end up looking noticeably stronger.
Step 6: Fix Mistakes Right Away
Keep cotton swabs nearby while applying tint so you can clean small mistakes before the product develops, since removing excess color early is far easier than correcting marks afterward.
Working carefully and slowly around the edges of each brow also helps you maintain a clean, balanced shape as the color processes.
Step 7: Remove and Check the Color
Follow the recommended processing time and check the color gradually instead of leaving the tint on longer than instructed; then remove the product according to the kit directions once the desired shade develops.
Clean any leftover tint from the surrounding skin and brush your brows back into place once the area has fully dried.
How Long Does Eyebrow Tint Last?
Eyebrow tint usually fades gradually as brow hairs grow and shed. Results often last around two to four weeks, but the exact duration depends on the tint formula, hair type, daily routine, and how your brows are cared for.
Several factors can affect how long the color remains visible:
| Factor | How It Affects Tint |
|---|---|
| Hair type | Brow texture affects how well hairs absorb and hold color |
| Cleansing habits | Frequent rubbing or harsh cleansers may speed up fading |
| Skincare products | Exfoliating acids and some oils may reduce color longevity |
| Sun exposure | UV exposure can gradually lighten tinted hairs |
Since fading happens gradually, results may vary between individuals depending on their brow characteristics, tint formula, and daily routine. Setting realistic expectations can help you understand how long the color may remain visible.
How to Maintain Tinted Eyebrows?
Tinted brows require simple care to keep the hairs looking neat between applications. Gentle habits can help maintain an even appearance while the color naturally fades.
Follow these tips:
- Brush brows gently after washing.
- Avoid rubbing the brow area unnecessarily.
- Use mild cleansing products around the eyebrows.
- Keep brows shaped and tidy between tint sessions.
- Avoid applying heavy products directly over the tinted hairs.
Following a consistent care routine helps tinted brows fade more evenly and keeps the overall appearance neat between applications.
DIY Eyebrow Tint Mistakes to Avoid
Small mistakes during eyebrow tinting can lead to uneven color, unwanted darkness, or skin irritation. Knowing what to avoid before starting can help create safer and more consistent results.
| Mistake | Why It Causes Problems |
|---|---|
| Skipping the patch test | May increase the risk of irritation |
| Choosing a shade that is too dark | Can make brows look harsh |
| Using products not made for eyebrows | May not be suitable for the eye area |
| Applying too much tint | Can create uneven or overly dark results |
| Leaving tint on longer than instructed | May affect the final shade |
| Applying tint on irritated skin | Can increase discomfort |
Always follow the product instructions and stop using the tint if you notice burning, swelling, strong irritation, or any unusual reaction.
Final Thoughts
A successful eyebrow tint depends on choosing the right product, applying it carefully, and understanding how the color develops over time.
With proper preparation and an eyebrow-specific formula, you can create a balanced brow look while reducing the need for frequent makeup touch-ups.
Results can vary based on brow type, product formula, and individual care habits, so setting realistic expectations is important. Taking time to follow safety steps, select a suitable shade, and maintain your tinted brows gently can help you achieve a more natural finish.
Choose a tinting method that matches your comfort level and routine for easier brow maintenance.
Frequently Asked Questions
How Often Can You Tint Your Eyebrows?
The timing depends on the product used, your brow growth cycle, and how quickly the color fades. Follow the instructions provided with your tint kit and avoid repeated applications before your skin and brow hairs are ready.
Can Eyebrow Tint Work on Very Light Brows?
Yes, eyebrow tint can add visible color to lighter brow hairs and make them appear more defined. The final result depends on the shade selected, the tint formula, and how your natural hairs absorb the color.
Does Eyebrow Tint Stain the Skin?
Some eyebrow tint products may temporarily color the skin around the brows, but the effect varies by formula and application. Applying carefully and cleaning excess product quickly can help reduce unwanted staining.
Can Eyebrow Tint Cover Gray Brow Hairs?
Yes, eyebrow tint can help darken gray brow hairs and blend them with the surrounding hairs. The result depends on the product, shade choice, and how your brows respond to the formula.
Can You Wash Your Face After Eyebrow Tinting?
It is best to avoid washing the brow area immediately after tinting so the color has enough time to develop. Follow the instructions included with your tint kit for the recommended waiting period.