Nail appointments are not always easy to fit into a busy schedule, and salon costs add up fast. That is usually when people start wondering if doing nails at home is actually worth learning.
The first attempt can feel awkward. Polish gets on the skin, one hand looks better than the other, and drying time suddenly feels endless.
Still, the process becomes much faster than expected. A few basic tools, better technique, and some patience can make a big difference.
Over time, doing nails at home starts feeling less like a chore and more like a relaxing part of a routine.
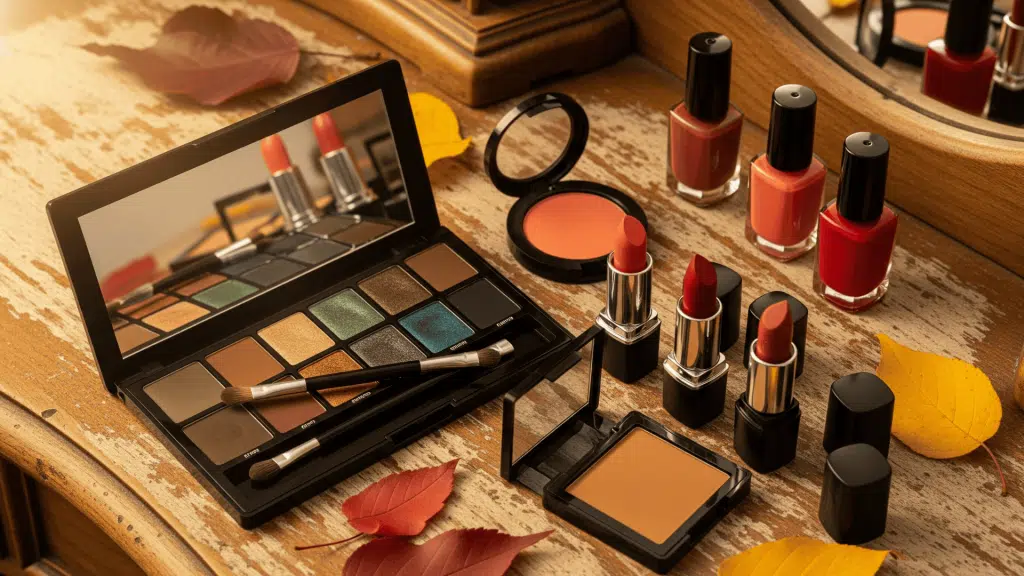
What You Need for an At-Home Manicure?
A solid at-home manicure kit starts with a few basic tools. Having the right items makes the process easier and results more consistent. You don’t need everything at once, but this is what actually gets used.
- Nail polish remover (acetone for gels; non-acetone for regular polish to reduce drying)
- Nail clipper and emery board or glass nail file (240-grit for natural nails)
- Nail buffer
- Cuticle pusher or orange wood stick
- Cuticle cream or remover
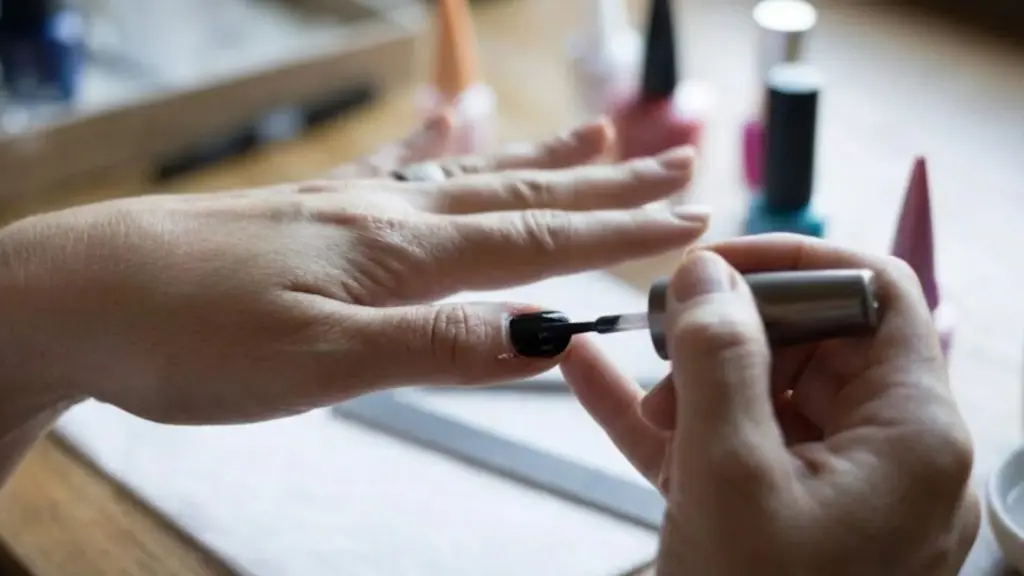
- Base coat, nail polish, top coat
- Cotton pads and rubbing alcohol
- Hand moisturizer and cuticle oil
My personal kit leans toward the budget; I use a $4 glass file that has outlasted three emery board packs.
For polish, I rotate between drugstore brands for everyday colors and keep one or two longer-wear formulas for when I need nails to survive a full work week.
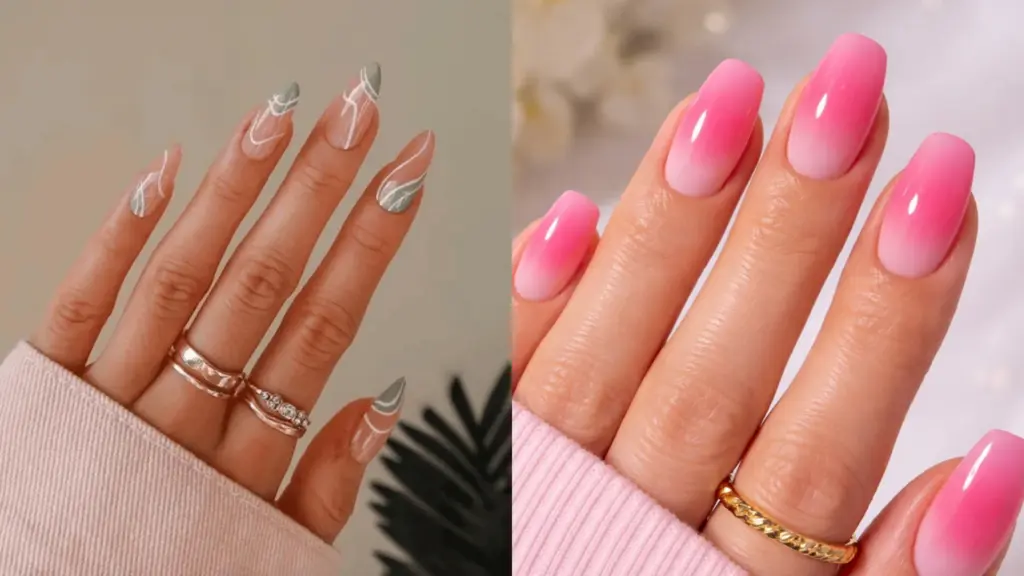
Browsing nail color inspiration before a session is a fun way to stay motivated and try something new.
How to Do Nails at Home: Step-by-Step Process
Salon visits can get expensive fast, but neat, polished nails don’t have to cost a fortune. With the right steps and alittle patience, a clean at-home manicure can look just as good and last just as long.
Step 1: Remove Old Polish and Prep the Nail Surface
Start by clearing the nail of everything. Use acetone or a gentle nail polish remover to remove leftover polish, oils, and buildup.
This step creates a clean surface so the new polish can stick properly.
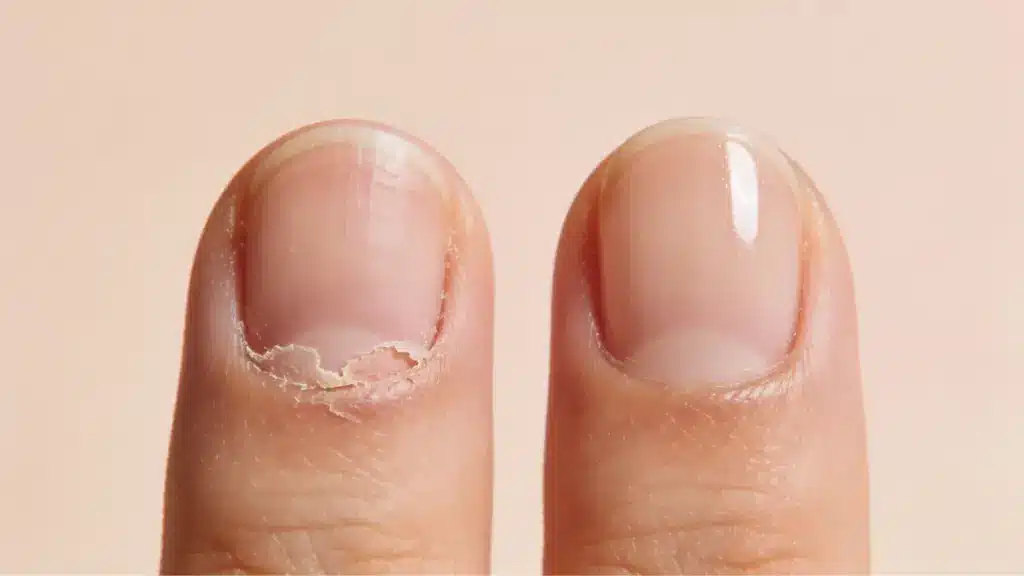
Skipping this leads to early chipping because polish cannot grip oily nails. Take time to wipe each nail thoroughly, especially around theedges.
Even if nails look clean, invisible residue can affect results. A fresh base always improves durability and gives the manicure a smoother overall finish.
Step 2: Soak Nails to Soften Cuticles
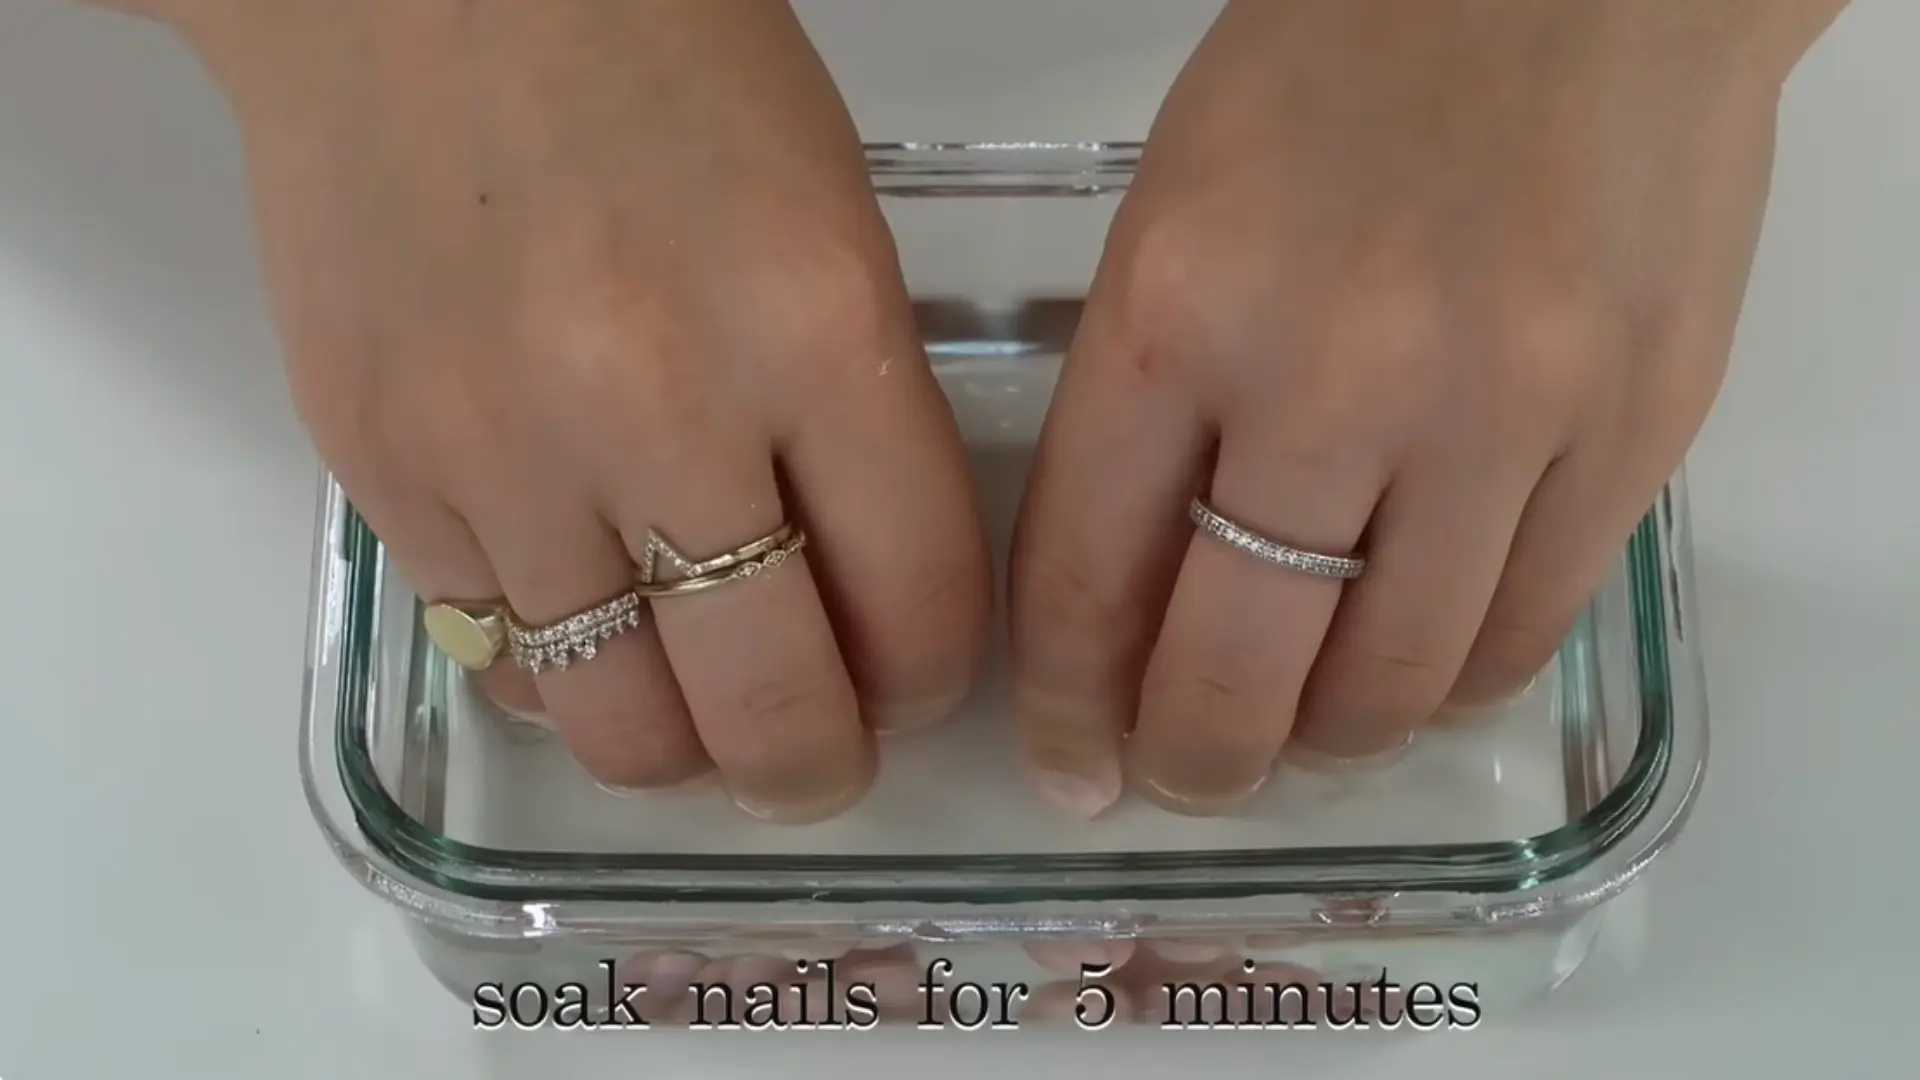
Place fingers in a bowl of lukewarm water for about five minutes. This step softens the cuticles and loosens buildup around the nail edges.
Softer cuticles are easier to manage and reduce the risk of damage during pushing or trimming. Skipping soaking often leads to rough edges and uneven polish application later.
Keep the water comfortably warm, not hot, to avoid drying out the skin. Once done, gently pat hands dry without rubbing too harshly.
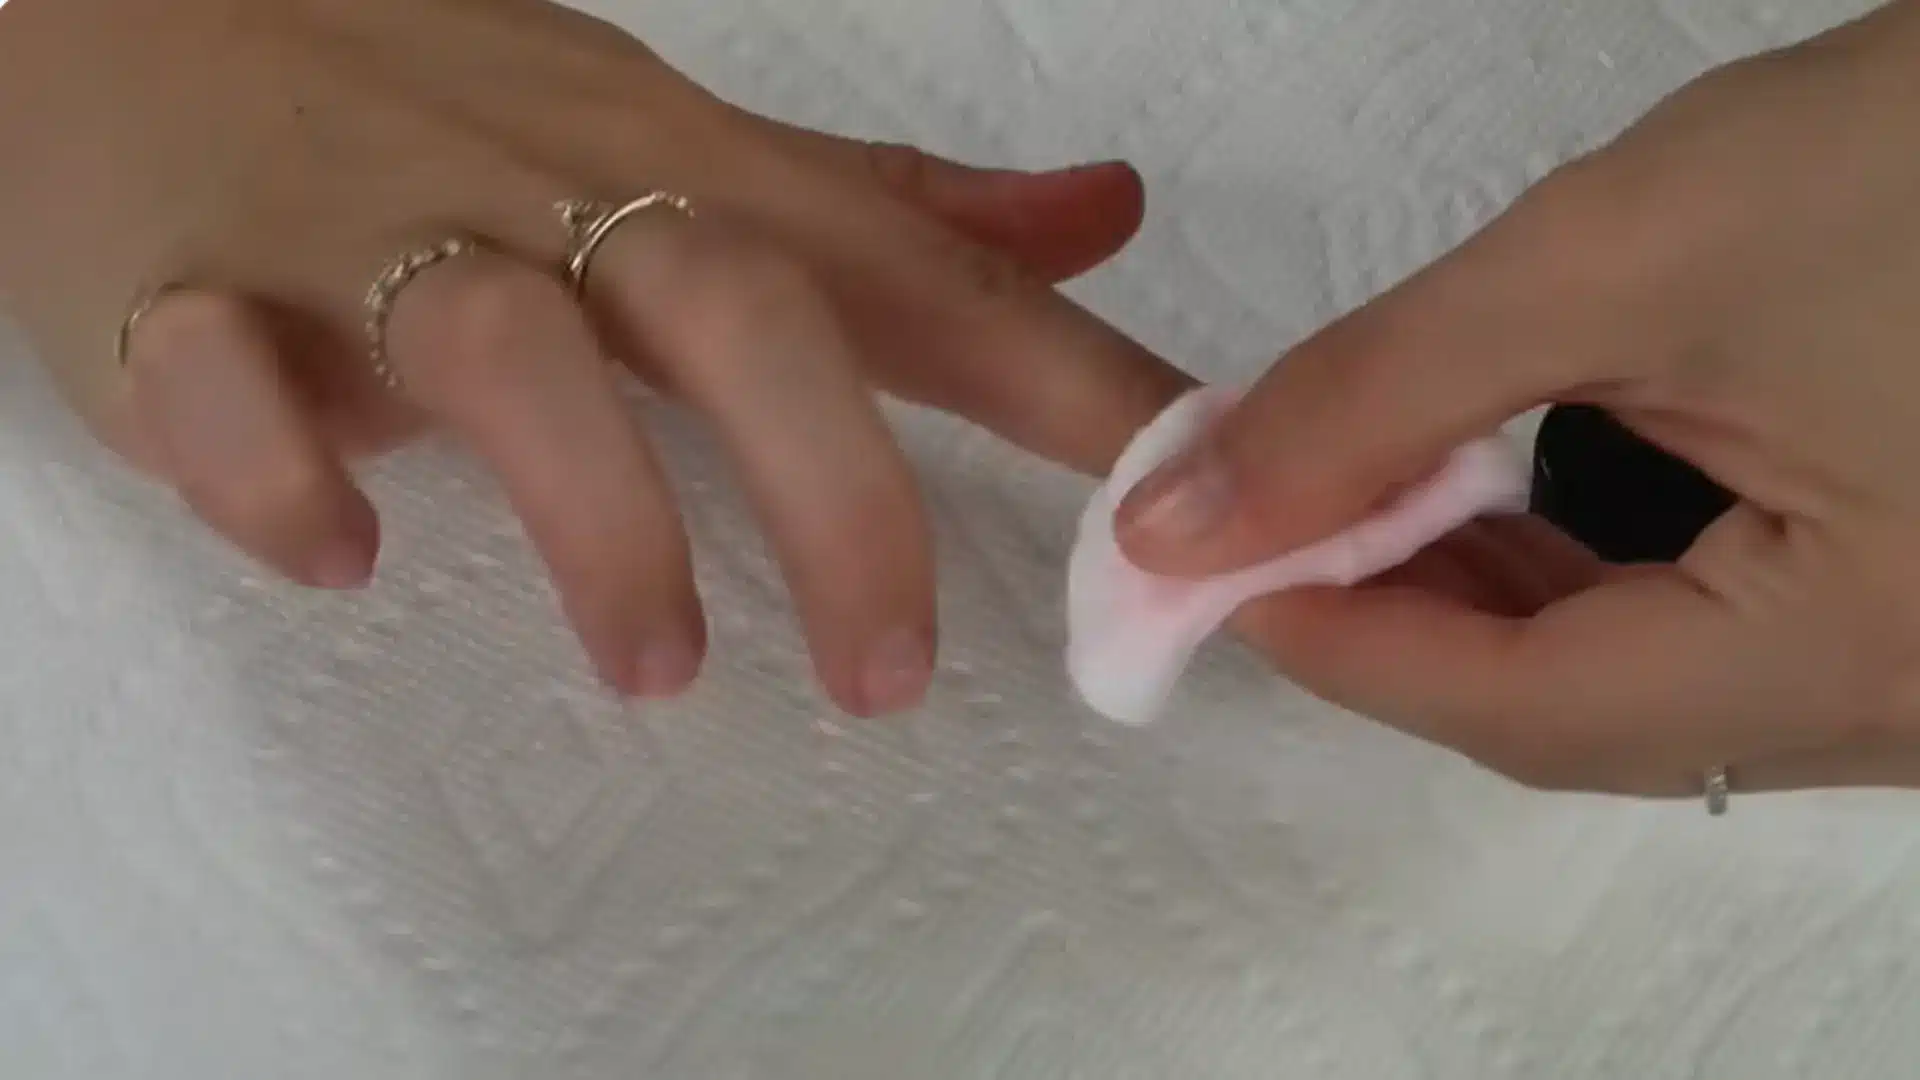
Step 3: Apply Cuticle Cream
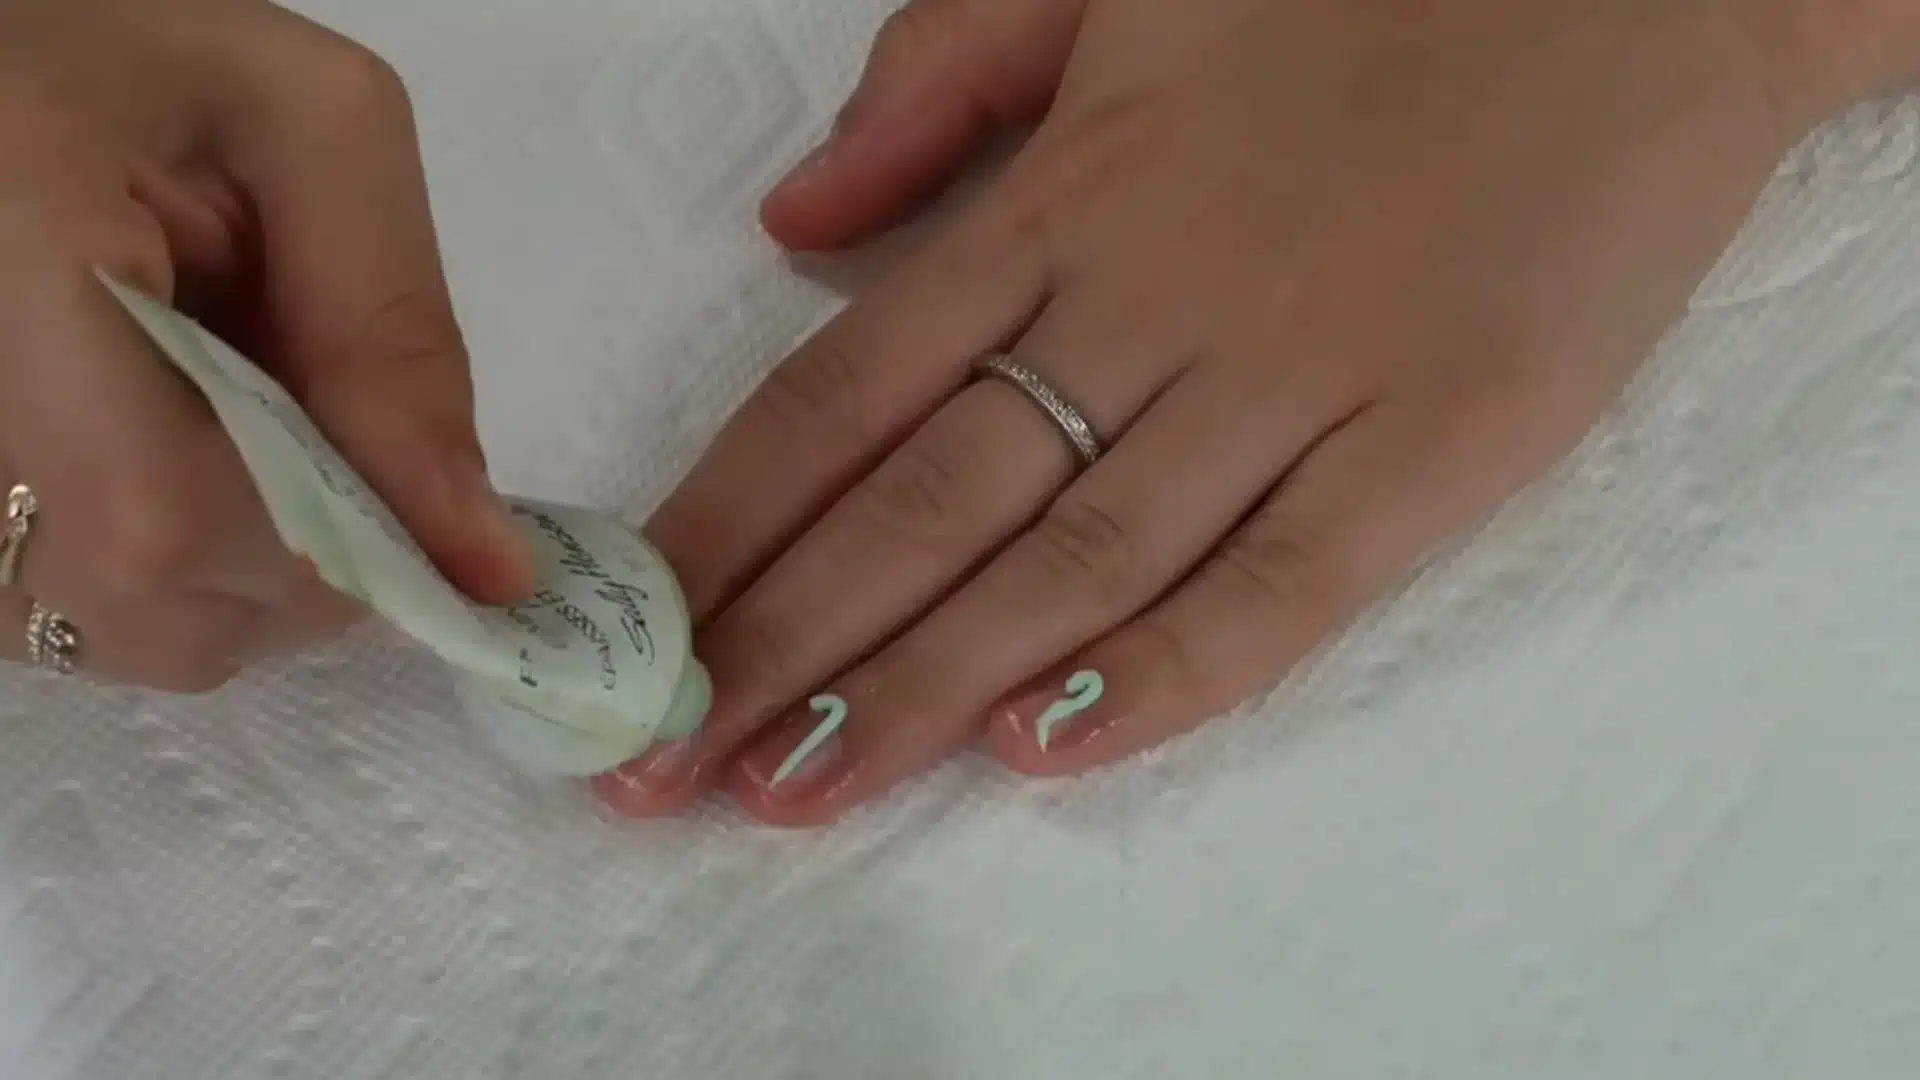
After soaking, apply a small amount of cuticle cream or remover directly onto each nail. Gently massage it into the cuticle area to help break down dead skin.
This makes the next step smoother and reduces the chances of pulling live skin. A well-applied cream allows cuticles to move easily without resistance.
Focus on even coverage around eachnail edge. Let the product sit briefly before moving forward so it can fully soften the remaining buildup
Step 4: Push Back Cuticles
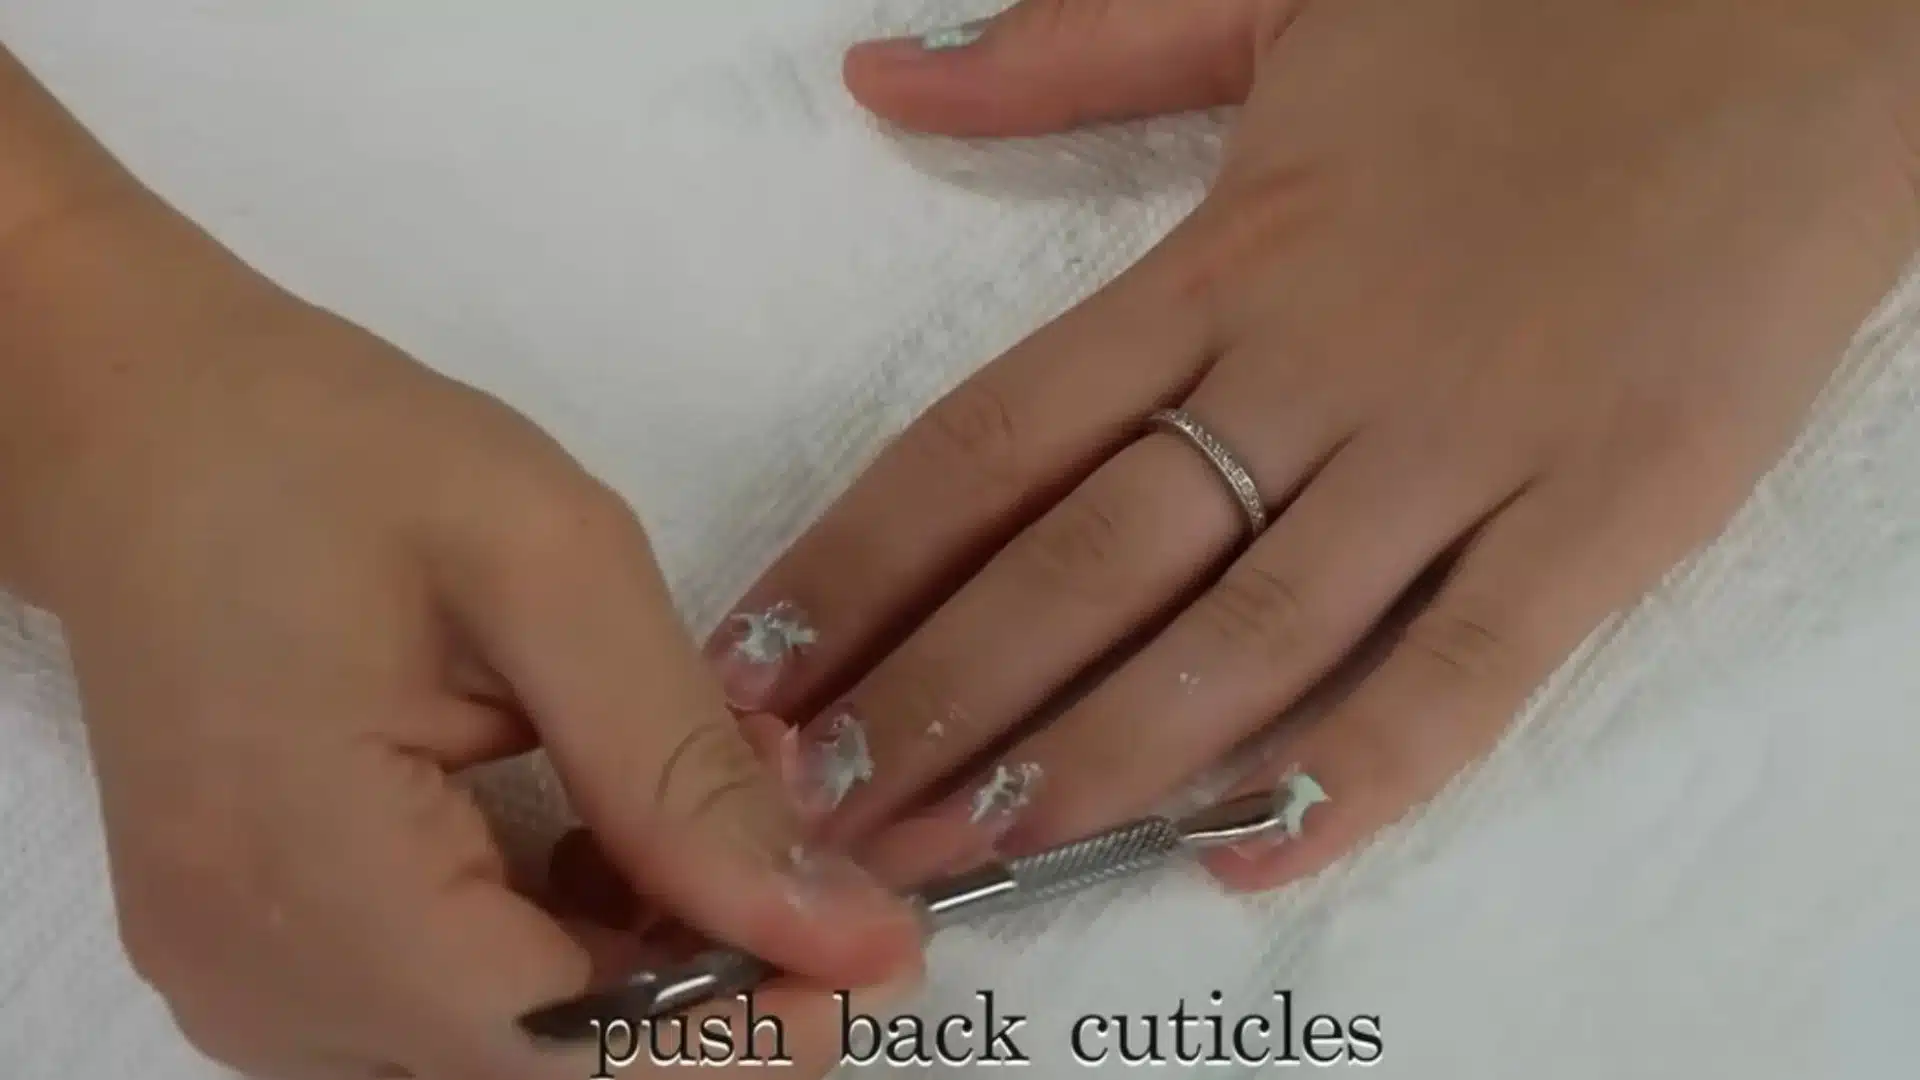
Use a cuticle pusher togently push the cuticles back, helping the nail bed appear longer and cleaner. Move slowly through this step to maintain control and avoid damaging the skin.
Apply light pressure rather than pressing too hard, as excessive force can cause irritation or injury.
Focus on creating a neat, defined nail edge to make polish application smoother and give the final manicure a more refined, professional look.
Step 5: Buff the Nail Surface for a Smooth Base

Lightly buff each nail to smooth ridges and uneven texture. This creates a flat surface that helps polish glide on evenly. Avoid over-buffing, as thinning the nail can weaken it.
The goal is to remove minor bumps, not to strip the nail completely. This step is especially helpful if nails feel rough or have visible lines.
A smooth base improves how the polish reflects light and prevents patchy application, making the manicure look more polished and professional.
Step 6: Apply Base Coat & Nail Polish
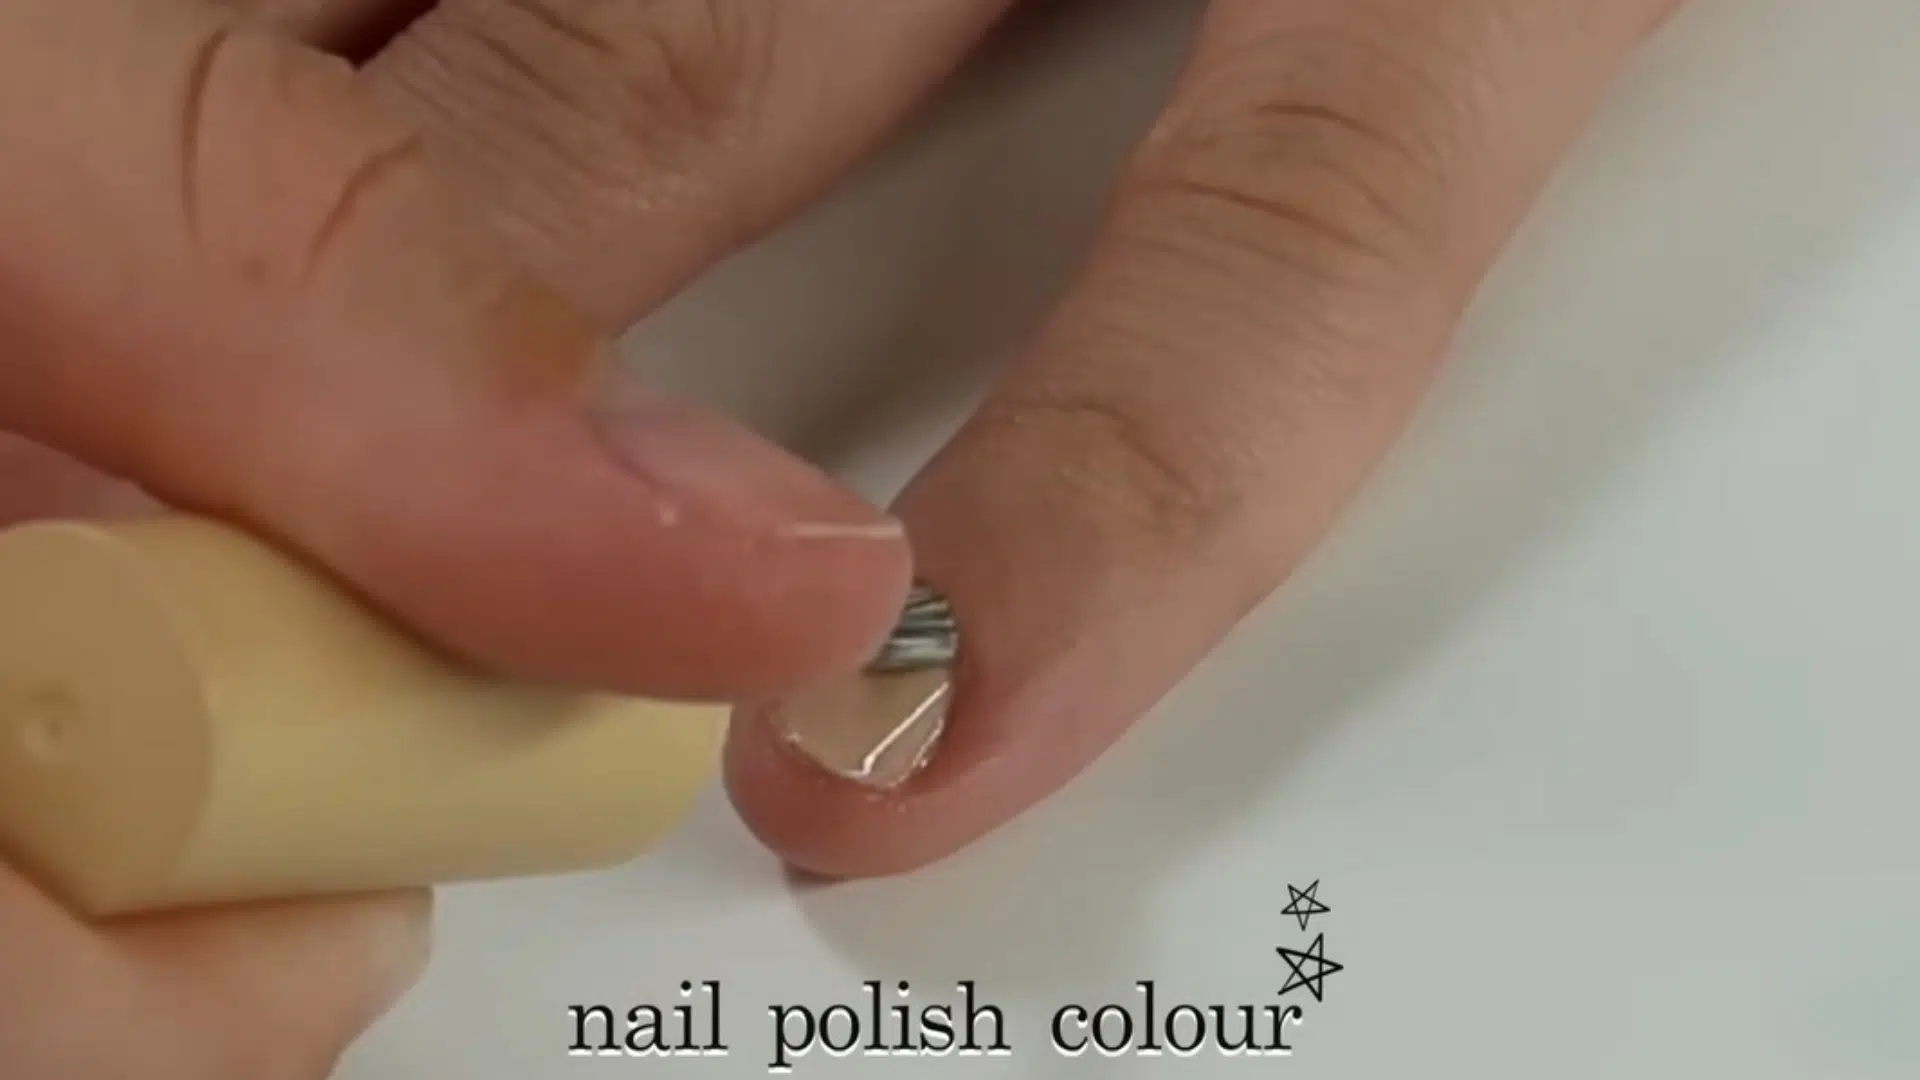
Start with a thin base coat; this acts as the foundation and helps polish adhere better, increasing how long it lasts.
Let it dry slightly before applying color. Apply two thin coats of your chosen shade instead of one thick layer.
Build color gradually for an even finish. Choosing subtle shades can enhance shorter nails, while bold colors can highlight length.
The brand you choose also affects how evenly the color applies and how long it holds up.
Exploring quality polish brands can help narrow down options that suit both your budget and finish preference.
Step 7: Apply Cuticle Oil for Hydration and Shine
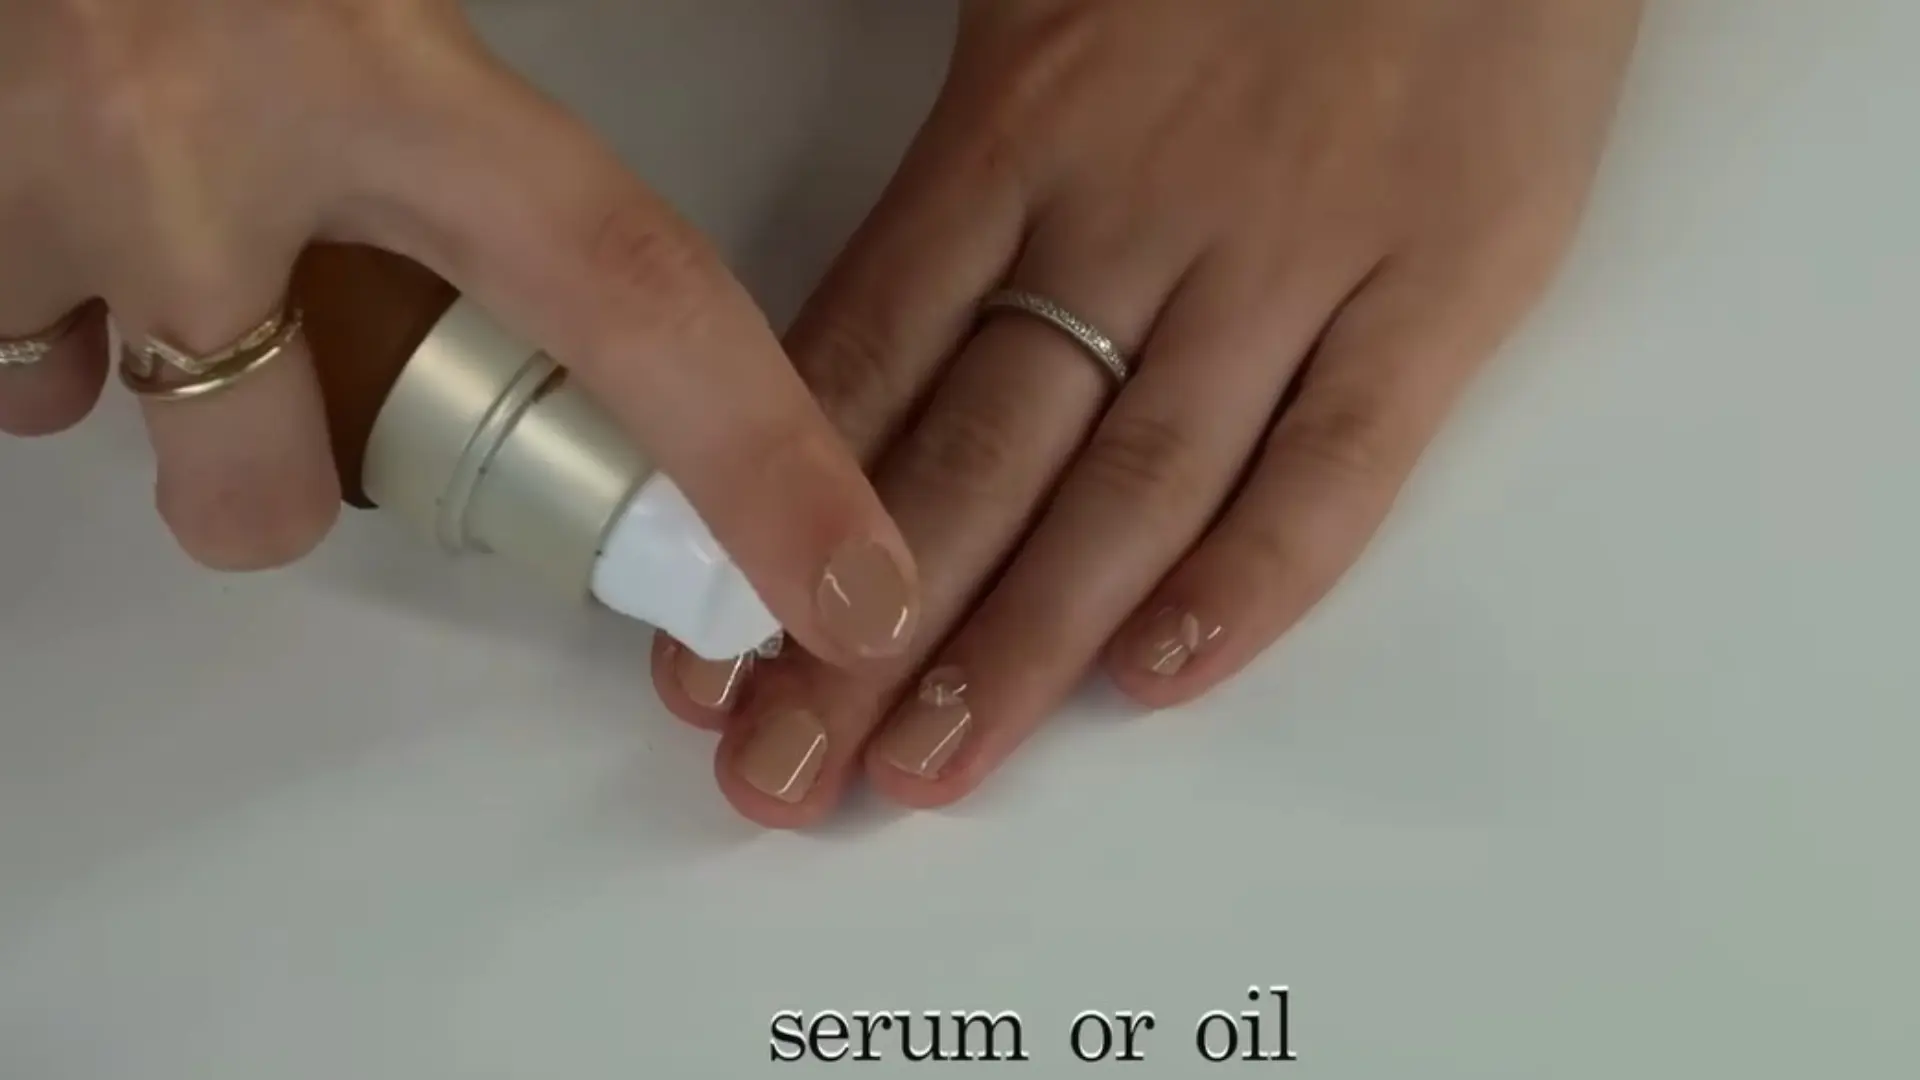
Finish by applying a small drop of cuticle oil to each nail. Gently massage it into the cuticles and surrounding skin to restore moisture lost during the manicure process.
This step helps prevent dryness, cracking, and rough edges around the nails. Well-hydrated cuticles also make the manicure look cleaner and more polished.
Regular use of cuticle oil keeps nails healthier over time andsupports stronger growth. It also adds a subtle shine that enhances the overall finished look.
This tutorial is based on a helpful video by Julia Dantas. You can check out the original video on their YouTube channel here or watch it below.
Real Experiences of Doing Nails at Home
Online discussions on Reddit show that learninghow to do nails at home is mostly about patience and steady practice rather than instant perfection.
Learning how to do nails at home is mostly about patience and practice.
Most people agree that the first few attempts will look messy, especially on the non-dominant hand.
The two tips that consistently rise to the top: clean prep matters more than expensive polish, and slow down when applying on your weaker hand.
Once the technique clicks, the process becomes genuinely enjoyable rather than frustrating.
Consistency turns average results into salon-like nails. Once the technique clicks, choosing a shade becomes just as enjoyable as the process itself.
Common Mistakes People Make When Doing Nails at Home
When learning how to do nails at home, avoiding common mistakes can make a big difference in achieving a clean and long-lasting at-home manicure:
- Applying thick polish layers: Thick polish layers take longer to dry and often cause bubbles, streaks, smudging, and uneven texture that reduces overall manicure quality and durability.
- Skipping the rubbing alcohol wipe: Not cleaning nails with rubbing alcohol before polish leaves oils behind, preventing proper adhesion and causing polish to chip or peel much faster.
- Ignoring base coat and top coat: Skipping base coat and top coat reduces shine, weakens polish grip, and leads to early chipping, making the manicure look dull and short-lived.
- Cutting cuticles instead of pushing them back: Cutting cuticles can damage the nail area, increase infection risk, and slow healthy nail growth compared to gently pushing them back.
- Not letting nails dry between coats: Applying layers too quickly without proper drying causes dents, smears, and bubbles, ruining the smooth finish of your manicure.
- Filing nails back and forth: Filing nails in a back-and-forth motion weakens the edges, leading to splitting, breakage, and uneven nail shape over time.
- Forgetting to seal nail tips: Not sealing the nail tips with top coat allows polish to chip quickly, often within one or two days after application.
Conclusion
Mastering how to do nails at home comes down to building a routine that fits daily life.
A well-done at-home manicure is not about perfection but about consistency, care, and small improvements over time.
Over time, simple habits like proper cuticle care and thin polish application make a noticeable difference in durability and appearance.
The process becomes quicker, more natural, and easier to manage without relying on appointments.
Sticking to these methods helps maintain clean, polished nails regularly while saving both time and money.
The result is a routine that feels practical, reliable, and easy to repeat whenever needed.
Share your experience in the comments and let others know what worked best for you or any tips you would add.
Frequently Asked Questions
How Long Does an At-Home Manicure Usually Last?
A regular at-home manicure with standard polish typically lasts 5–10 days, depending on application and aftercare. Gel manicures last 2–3 weeks when cured properly under a 36W or 48W LED lamp.
Why Does Nail Polish Chip so Quickly at Home?
Chipping usually happens due to thick layers, skipping the base or top coat, or not letting the polish dry fully. Even small mistakes in prep can affect how long the manicure lasts, which is why proper steps matter.
Is it Better to Use Gel or Regular Polish at Home?
Gel polish lasts longer and resists chips, but it requires extra tools like a UV lamp and careful removal. Regular polish is easier to apply and remove, making it a better choice for beginners or quick routines.