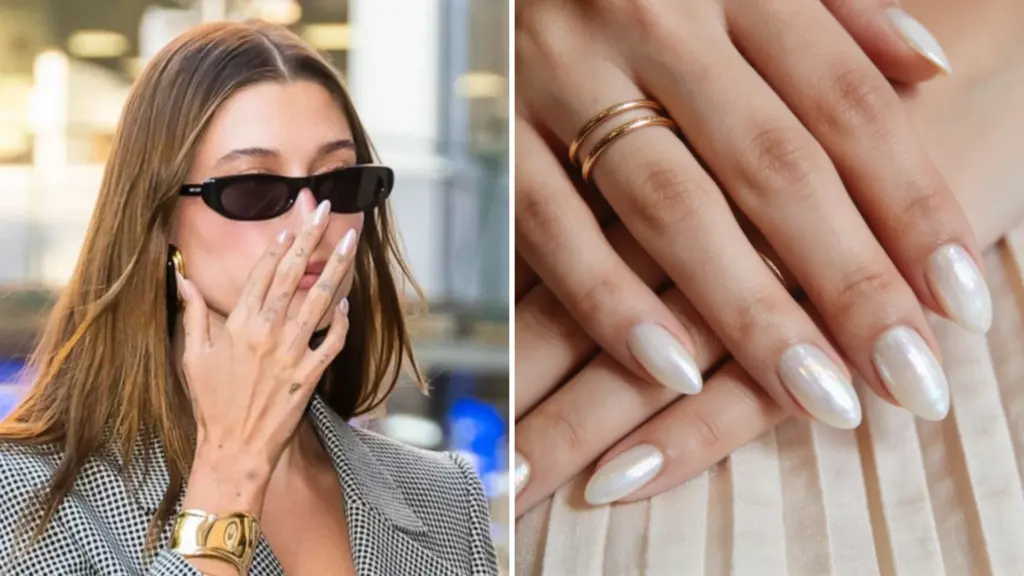
Removing dip nails at home is one of those things that sounds simple until you’re sitting with foil on all ten fingers, wondering if you’re doing it right.
Dip powder bonds tightly to the nail plate, which is what makes it last so long and also what makes removal tricky if you rush it.
I’ve been through the full range of mistakes, impatient soaking, filing too hard, skipping aftercare entirely, and the nails that followed were not pretty.
This blog post walks through a method that actually works: the right prep, the right soak time, and the right way to handle stubborn spots so your natural nails come out intact.
What Makes Dip Powder Removal Different
Dip powder manicures use a cyanoacrylate-based resin, the same bonding compound found in strong adhesives, which is why a standard nail polish remover has no effect on them.
The formula cures without UV light, creating a rigid layer that sits directly on the nail plate.
That bond is what gives dip manicures their durability (typically 2–4 weeks of wear), and it’s exactly why the removal process requires pure acetone and time rather than a quick wipe.
If your nails feel painful underneath, show deep discoloration, or have visible lifting that looks infected, that’s a salon visit, not a DIY moment.
Home removal works well when nails are simply grown out or past their wear window.
Tools and Supplies for Dip Nail Removal
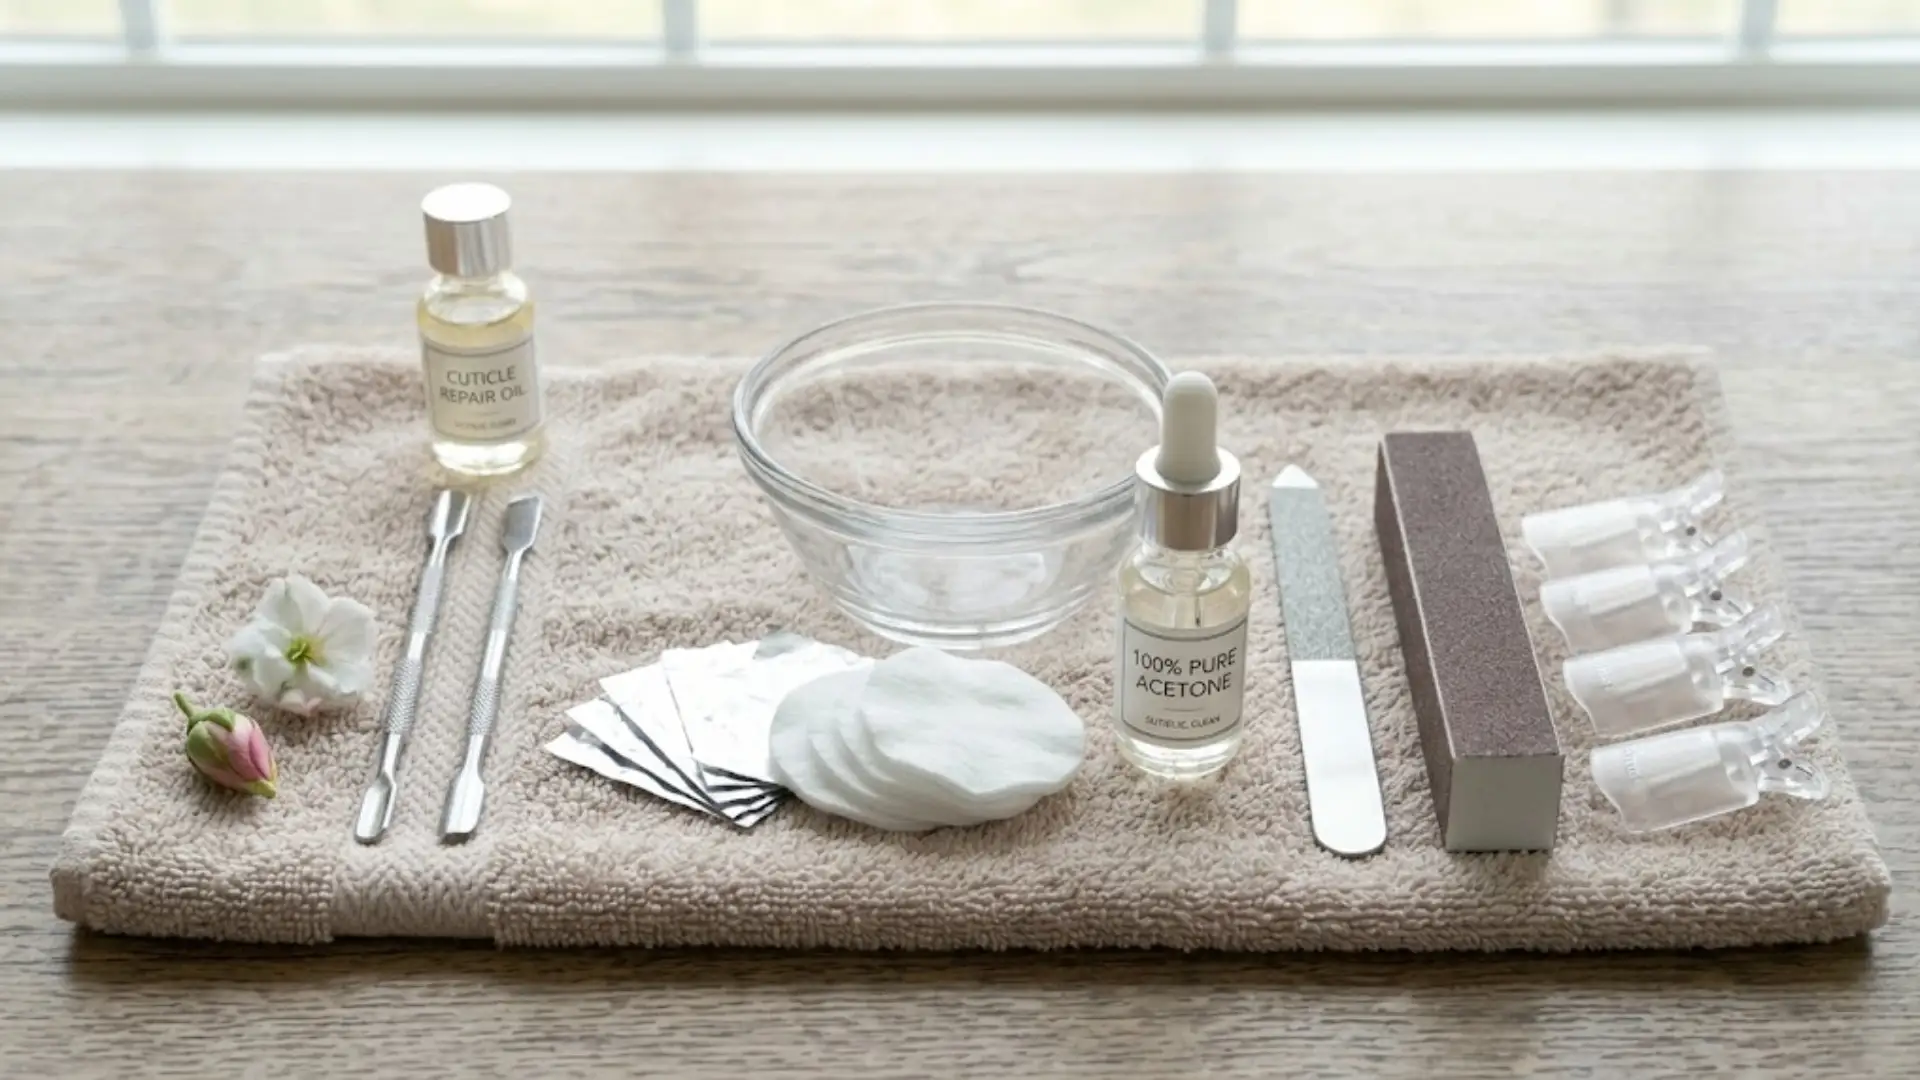
Getting everything ready before you start saves a lot of mid-process scrambling. Here’s what you need:
- 100% pure acetone, not regular nail polish remover, which contains too little acetone to break down dip resin effectively
- A coarse nail file (100–180 grit) and a soft buffer (180–240 grit)
- Cotton balls or squares, and aluminum foil cut into small strips
- Petroleum jelly or cuticle oil to protect the skin around the nail before soaking
- A wooden or rubber-tipped cuticle pusher
- A glass or ceramic bowl only, as acetone dissolves certain plastics, so avoid plastic containers
- A folded towel to work over, and a warm towel to wrap your hands during the soak
Patch test reminder: If you haven’t used acetone recently or have sensitive skin, apply a small amount near one fingernail and wait 10 minutes. Redness, itching, or swelling indicate that the acetone-free methods below are a better fit for you.
How to Prep for Dip Nail Removal
Skip these checks, and you’ll likely end up re-soaking, over-filing, or dealing with damage that takes weeks to grow out
- Nail condition: Look for peeling layers, deep ridges, cracks, or soreness. Any sensitivity means you should go lighter on the filing and watch your soak time carefully.
- Extensions or tips underneath: Some dip sets are built over acrylic tips or gel extensions, not just natural nails. Knowing what’s underneath changes how aggressively you file and how long you’ll need to soak.
- Which removal method suits you: The foil-wrap method covered below is the most reliable. If acetone is off the table, the acetone-free alternatives are slower but usable.
- Ventilation: Acetone fumes build up quickly in a closed room. Work near an open window or run a fan. This is easy to forget and worth not forgetting.
How to Remove Dip Nails at Home
Removing dip nails at home requires patience and the right technique to avoid damaging natural nails. A gentle approach with proper soaking helps loosen the product without excessive force.
Step 1: Trim the Length and Break the Top Coat Seal
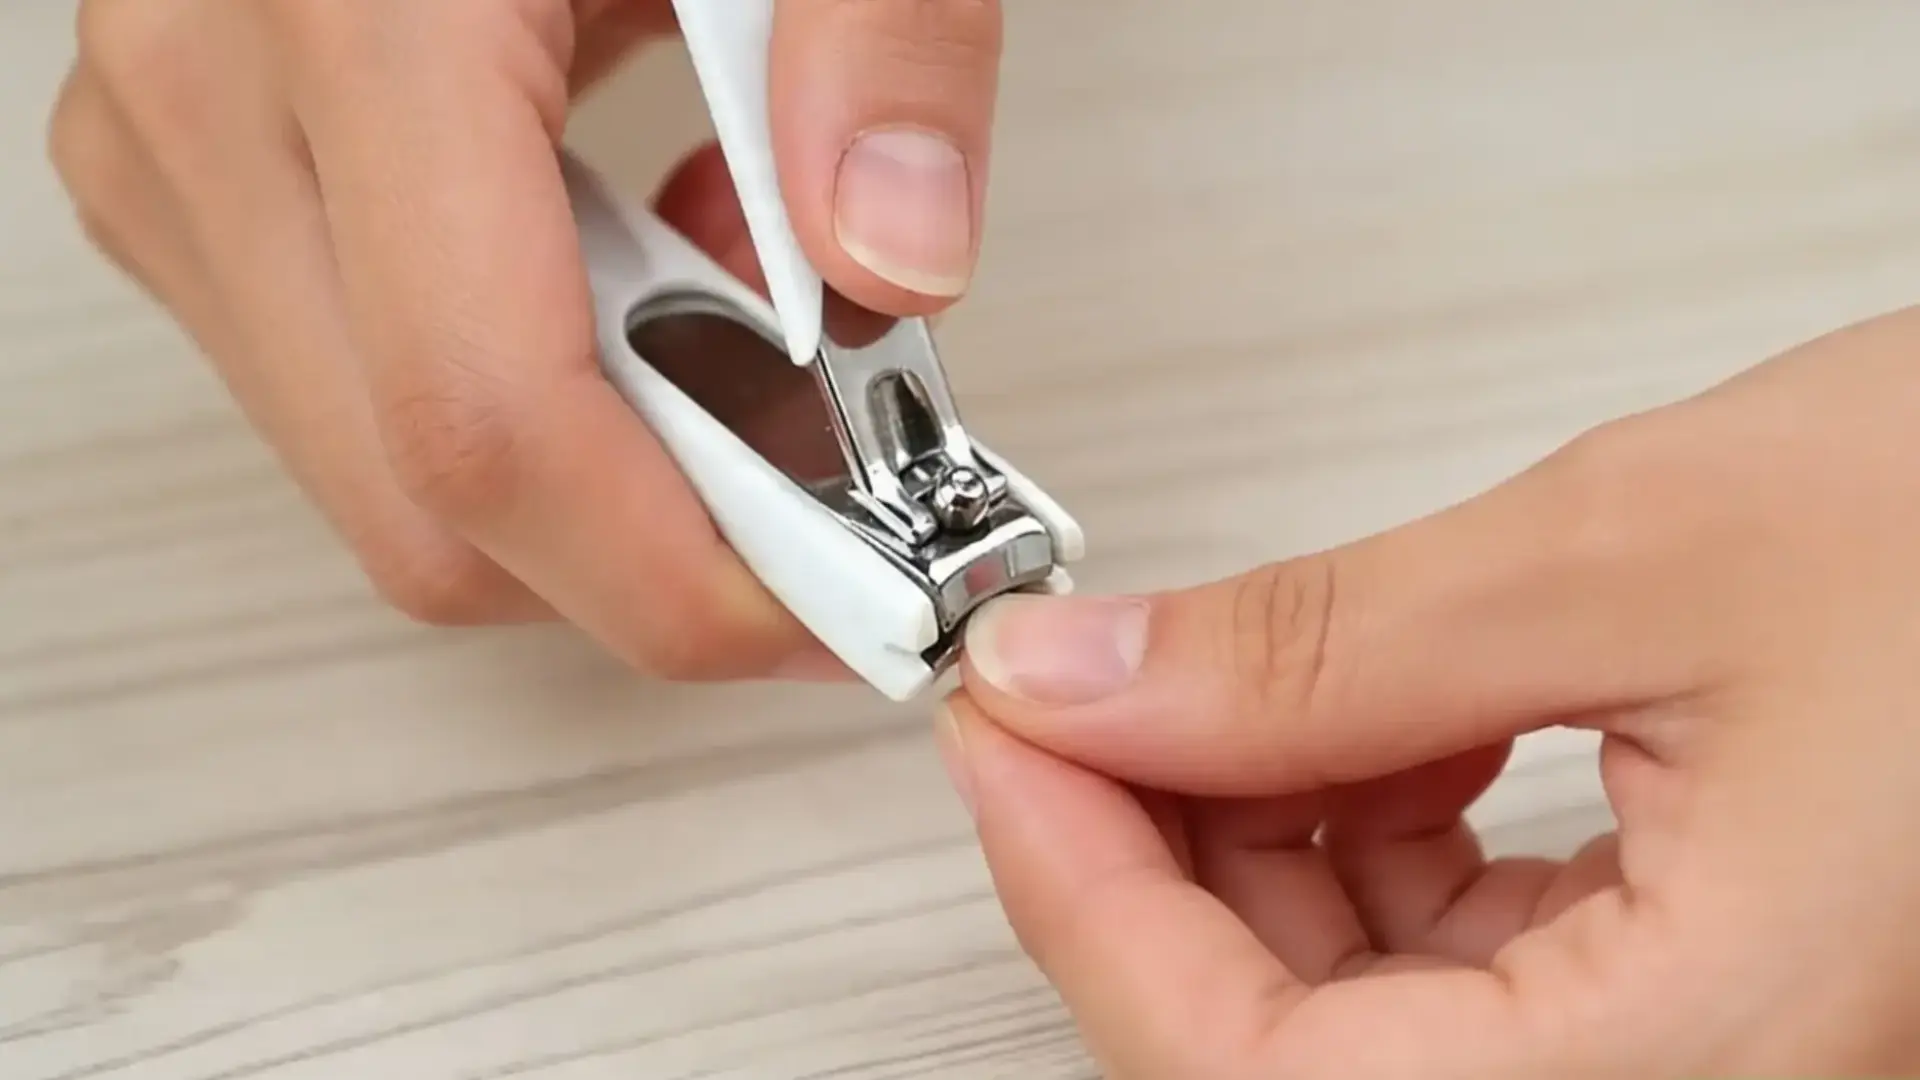
Clip nails down as short as is comfortable. Shorter nails mean less product to work through, which shortens every step that follows.
Then take a coarse 100–180 grit file and work across the entire nail surface until the shine is completely gone, every nail, every patch.
You’re not filing the dip off; you’re just breaking the sealed top coat so acetone can penetrate. Even one glossy spot left behind will slow down the soak and leave you rewrapping that nail twice.
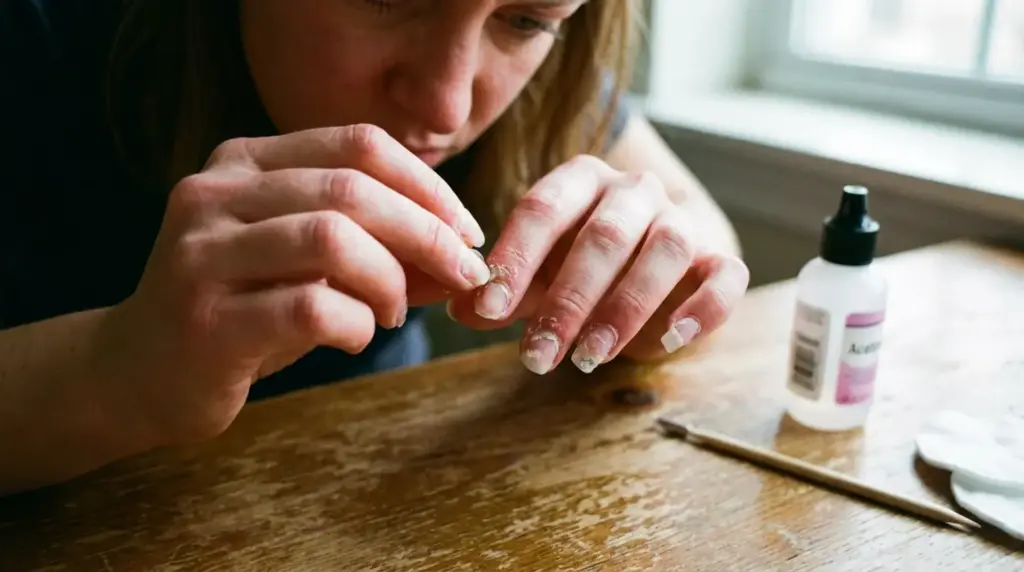
Step 2: Soak Cotton in Acetone and Wrap Each Nail
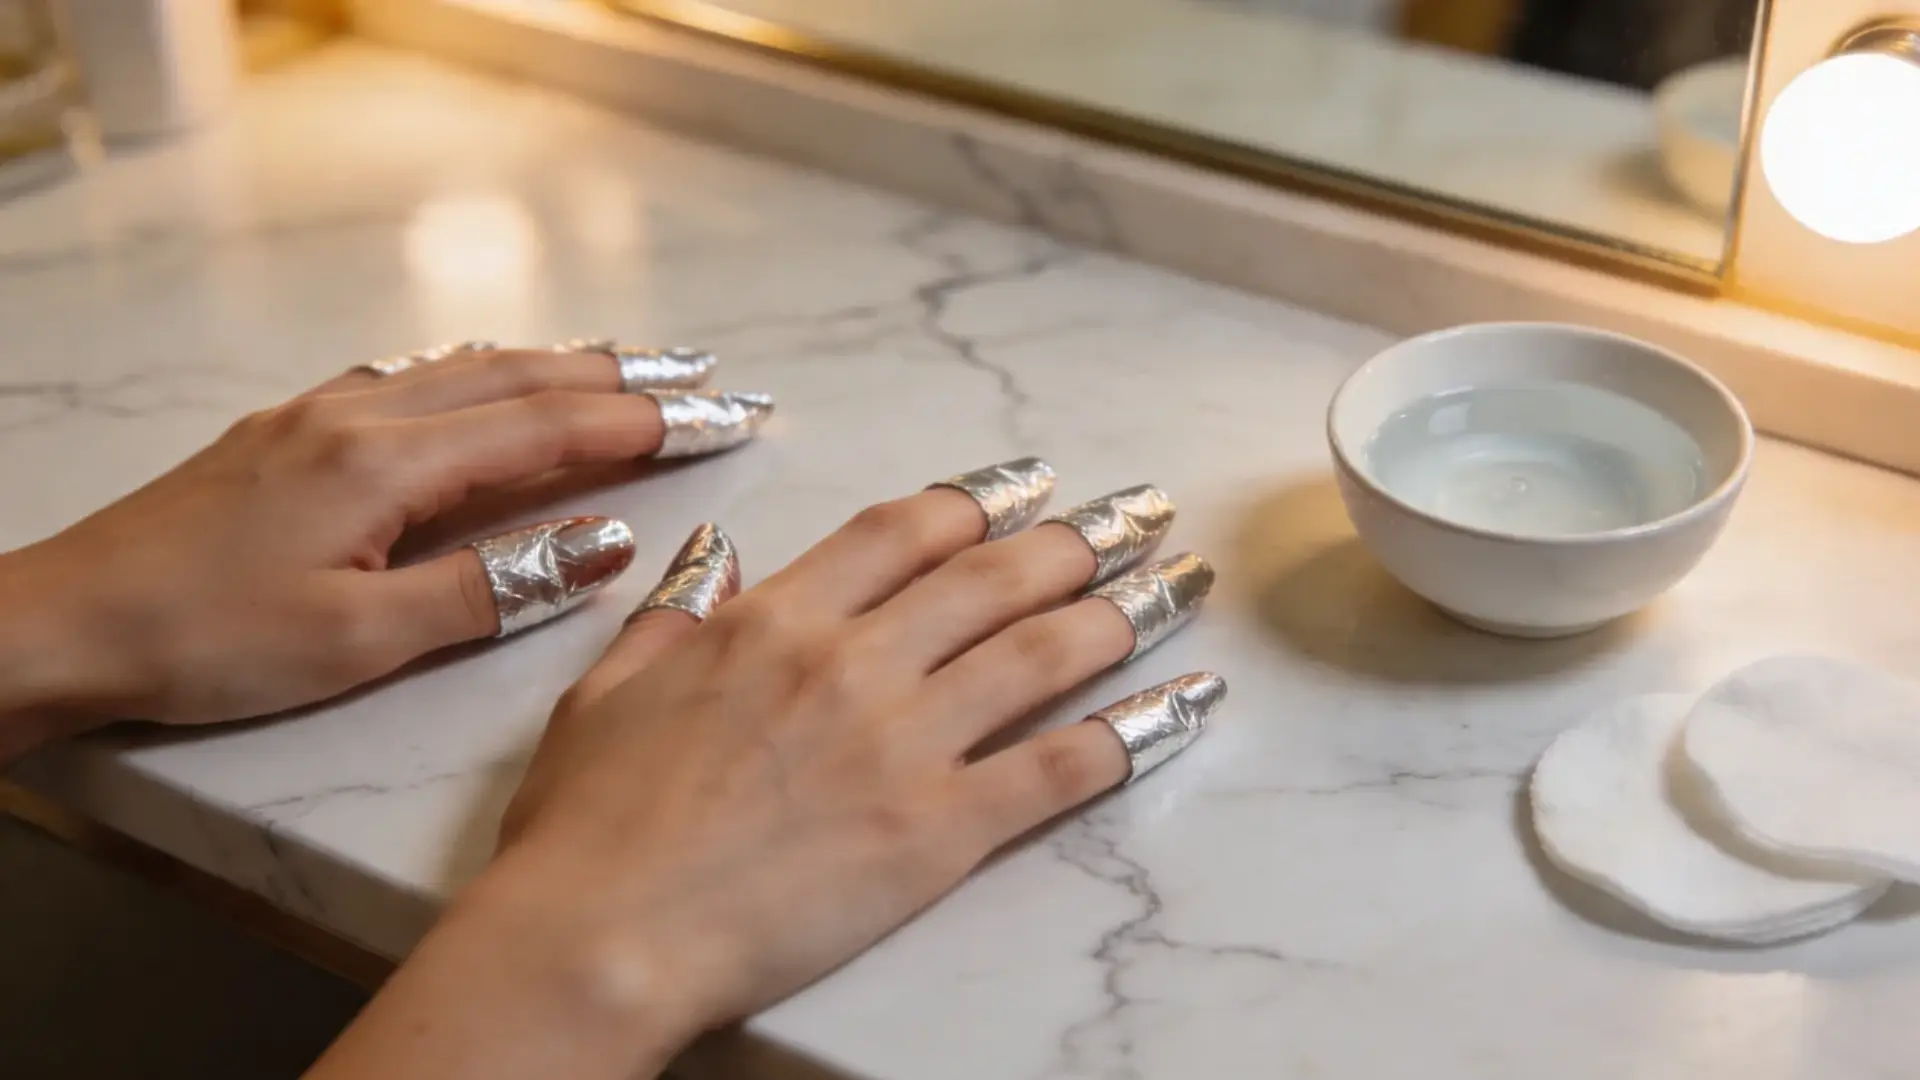
Saturate small pieces of cotton fully with 100% pure acetone and press one flat against each nail.
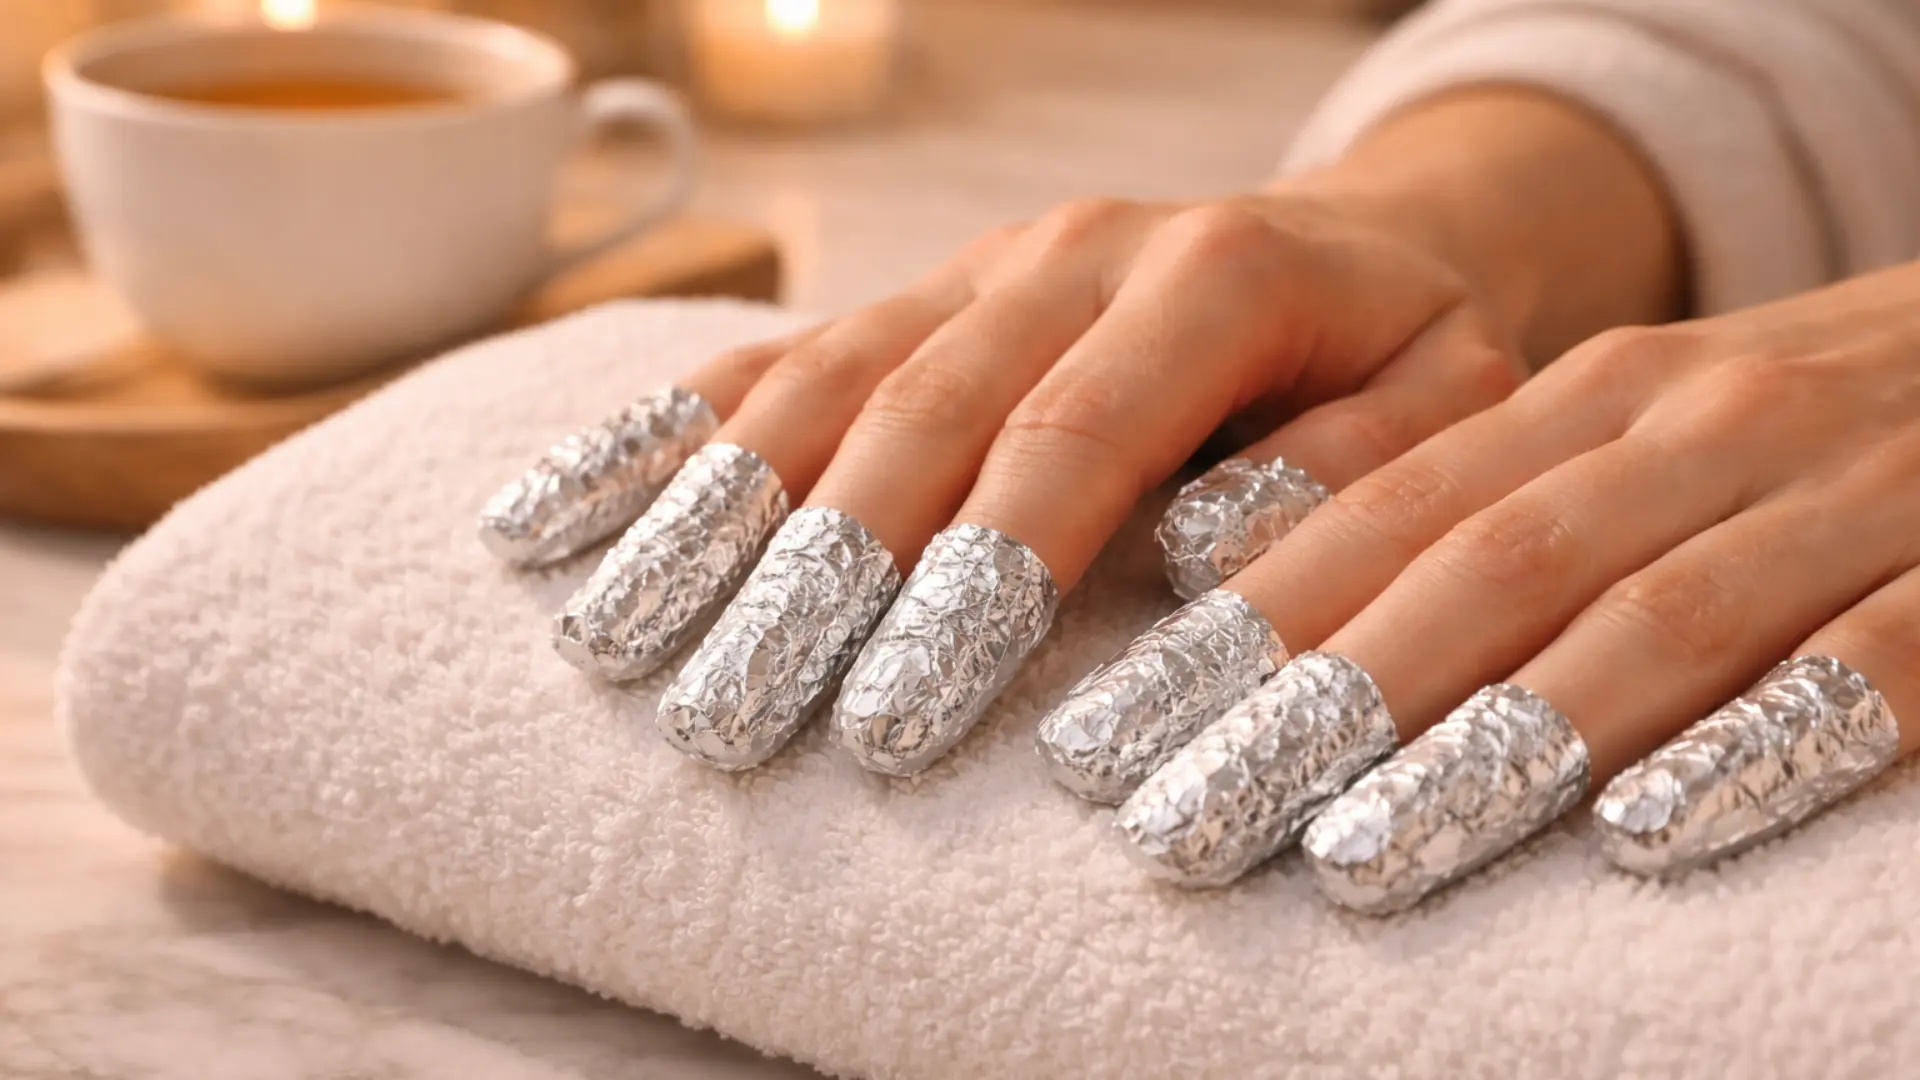
Wrap each fingertip snugly with a strip of aluminum foil, tight enough that the cotton stays pressed against the nail surface throughout.
The trick that made the biggest difference for me: once all ten fingers are wrapped, tuck your hands inside a warm towel.
The warmth keeps the acetone active longer, and I’ve consistently found the powder starts lifting in 12–15 minutes rather than 25–30.
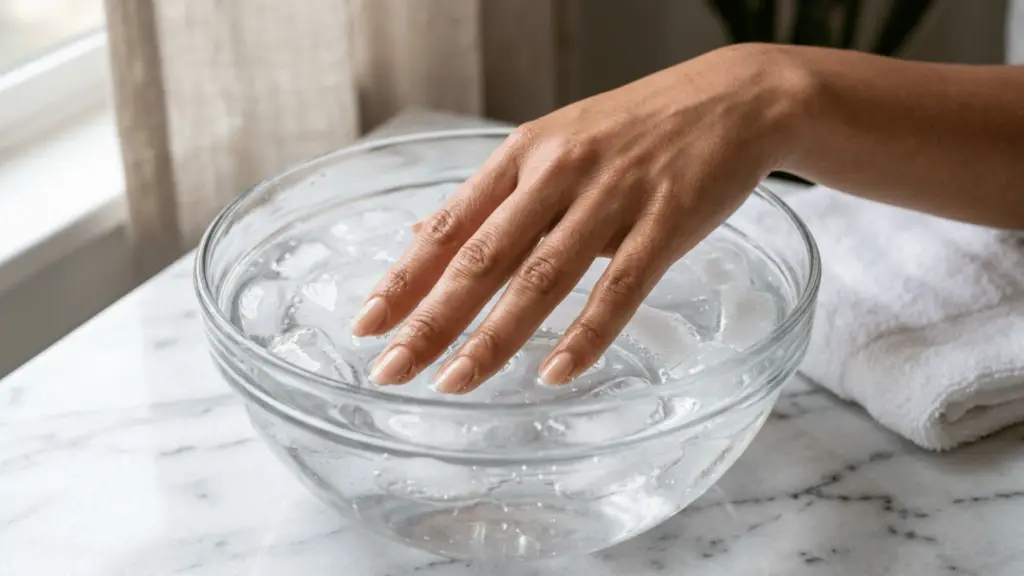
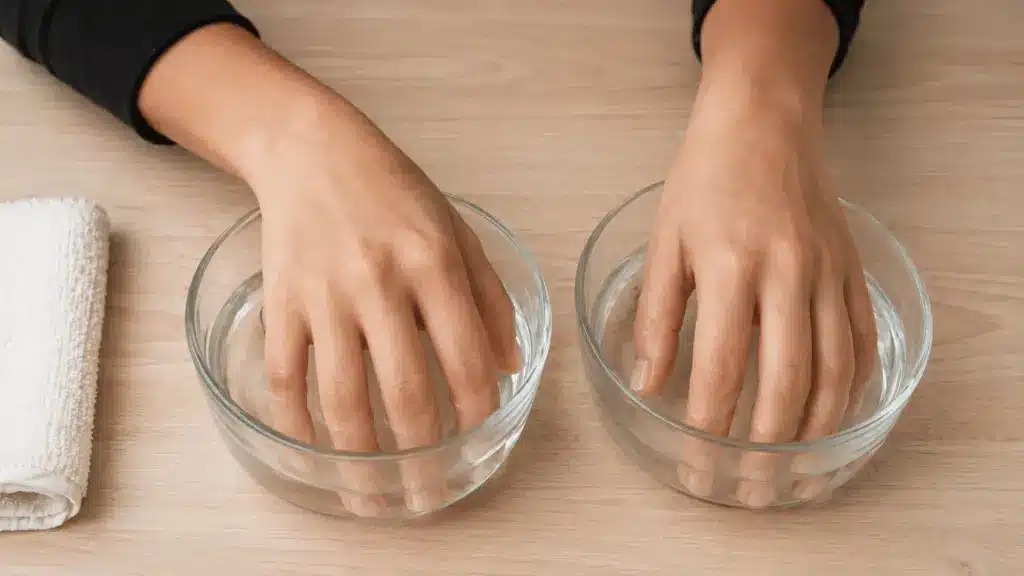
If you don’t have a warm towel, some people use the warm-bowl method, placing an acetone-safe bag of soaked cotton in a bowl of warm water, which achieves a similar effect.
Step 3: Wait for the Powder to Soften Fully
Set a timer for 15–20 minutes and leave the wraps alone. Checking early is the single most common removal mistake.
Every time you peel back a wrap, you release the built-up warmth and acetone vapor and effectively restart the clock on that nail.
After 20 minutes, test one nail by pressing the cotton against the surface before removing the wrap. If the powder feels soft and slightly pliable, you’re ready.
If it still feels firm or resists pressure, rewrap and give it another 5 minutes. Rushing past this step is the main reason people damage their natural nails during removal.
Step 4: Gently Push Off the Loosened Product
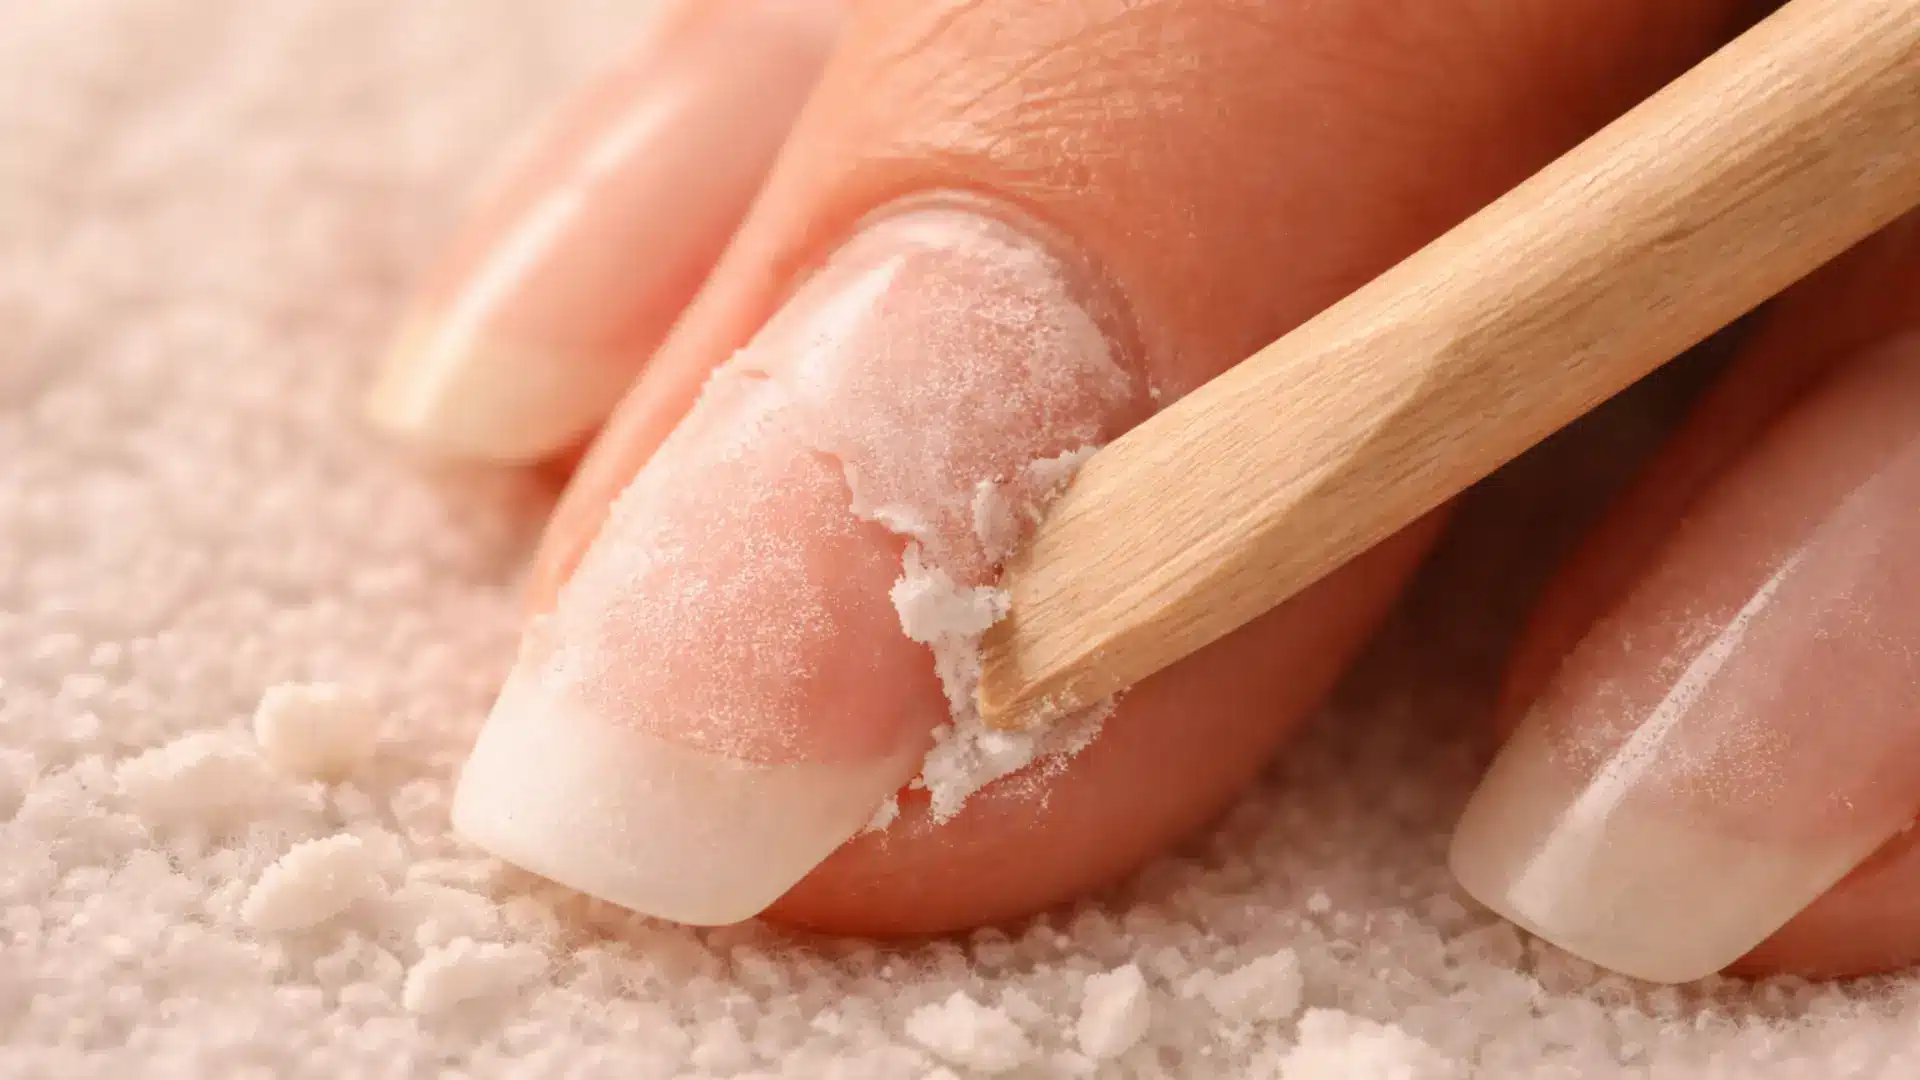
Remove one wrap at a time and work that nail immediately before the warmth dissipates. Using a wooden or rubber-tipped cuticle pusher, apply gentle downward pressure at the nail base and slide toward the tip.
The softened powder should move with very little resistance.
If you’re pressing hard or scraping, stop. That means the product needs more time, not more force.
Metal pushers feel precise but are too rigid against acetone-softened natural nails and can create micro-scratches on the nail surface, sticking to wood or rubber.
Work one nail at a time and rewrap any finger you’re not actively working on to keep the acetone warm.
Step 5: Repeat for Stubborn Spots
Stubborn patches are normal, especially along the edges and near the cuticle, where the powder tends to be thickest.
Don’t scrape or pry. Re-wrap only the nails that need it, soak for another 5–10 minutes, then go back in with the cuticle pusher using the same light pressure.
Repeat this cycle however many times it takes. The product will come off; it just needs the right conditions, not extra force.
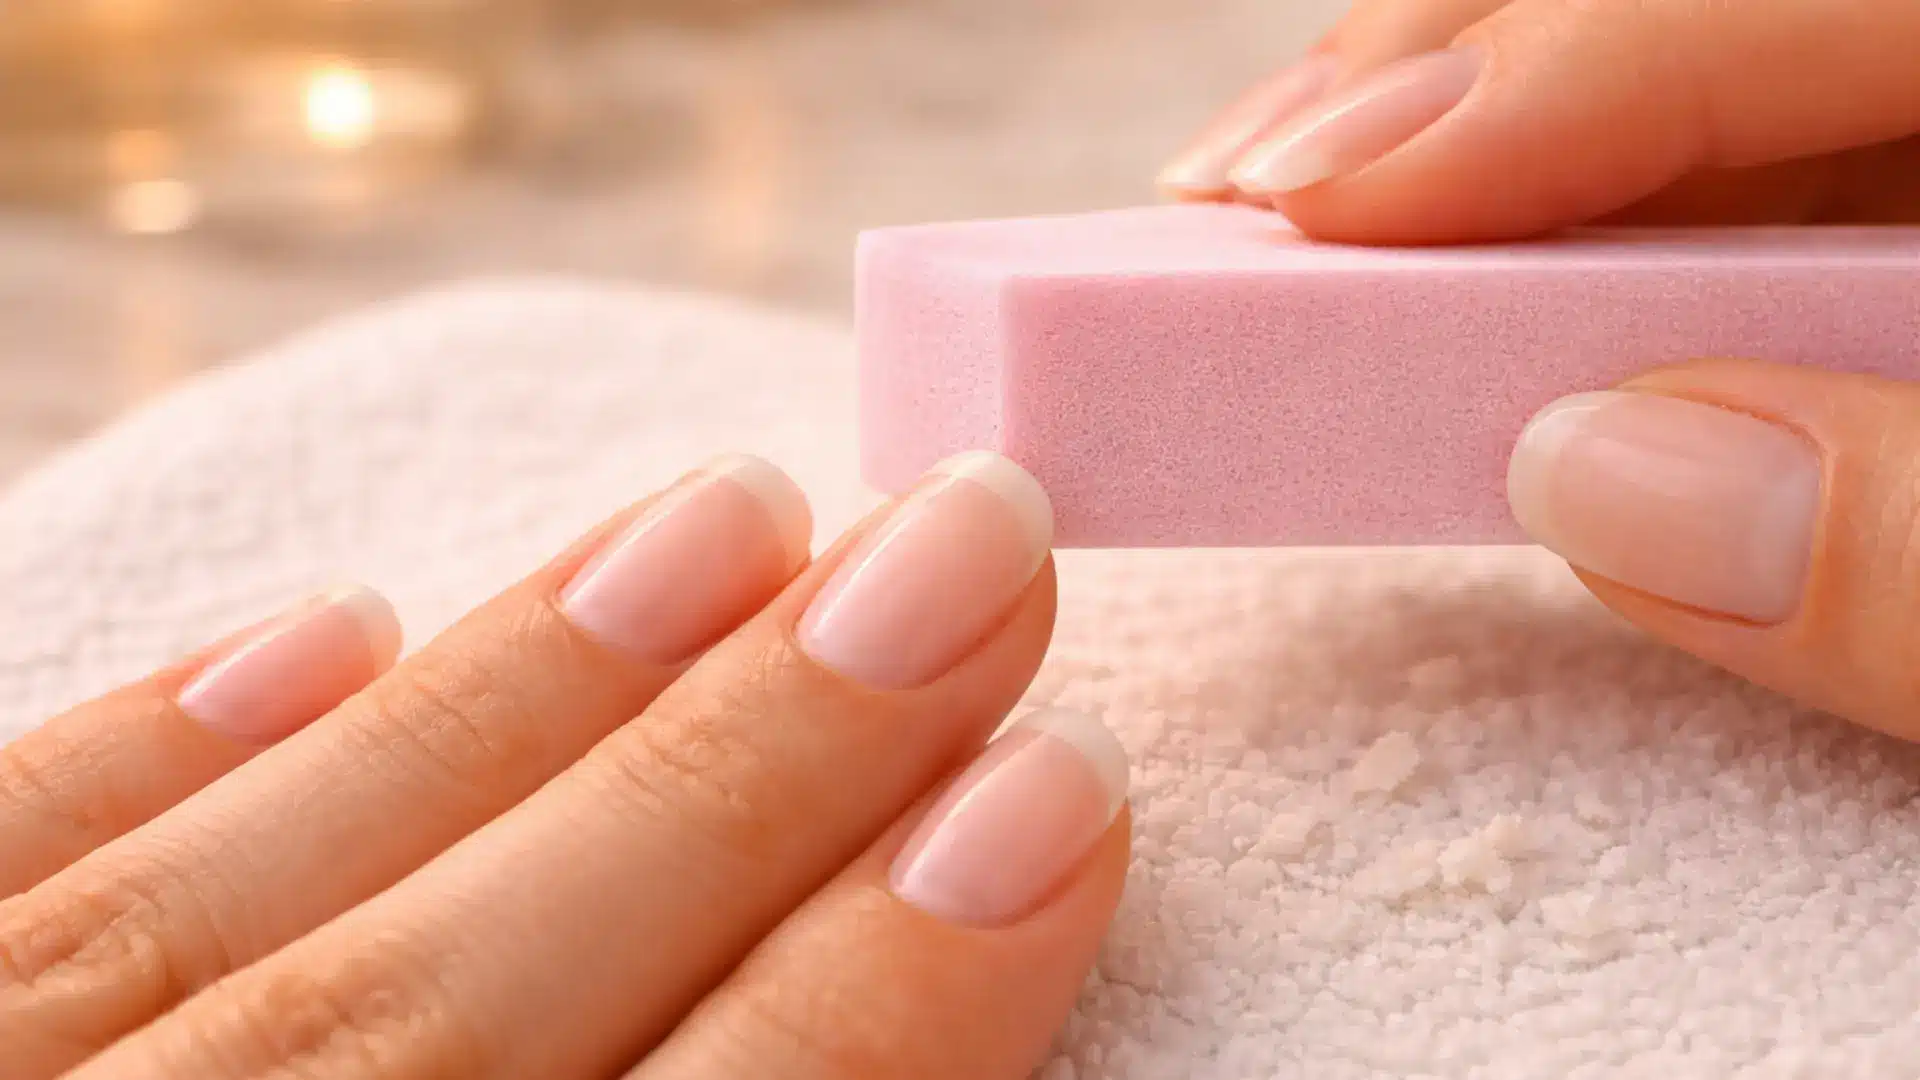
Once every nail is clear, use a soft-grit buffer (180–240) and smooth the surface lightly in one direction to even out any remaining texture. Keep buffing gently; the goal is smooth, not thin.
How to Remove Dip Nails Without Acetone
If acetone is unavailable or irritates your skin, gentler alternatives can work, though they require more time and patience.
- Baking soda + toothpaste paste: Mix equal parts, apply to nails after filing the top coat seal, wrap in foil for 20–25 minutes, then scrub off gently with a cuticle stick.
- Warm soapy water soak: Buff the top layer first, then soak nails for 20–30 minutes. Gently push off softened edges with a cuticle stick.
- Rubbing alcohol (70%+): Soak nails for 20–30 minutes after filing. Slower than acetone but gentler on sensitive skin.
- White vinegar and alcohol mix: Combine equal parts, soak nails for 20–30 minutes after filing. Less effective than acetone but safe for very sensitive skin.
- Cuticle oil and warm water: Massage oil around the nail edge, soak in warm water for 30 minutes, then gently push softened product off with a cuticle stick.
What Not to Do When Removing Dip Nails at Home
A few methods circulate online that look satisfying but cause real damage.
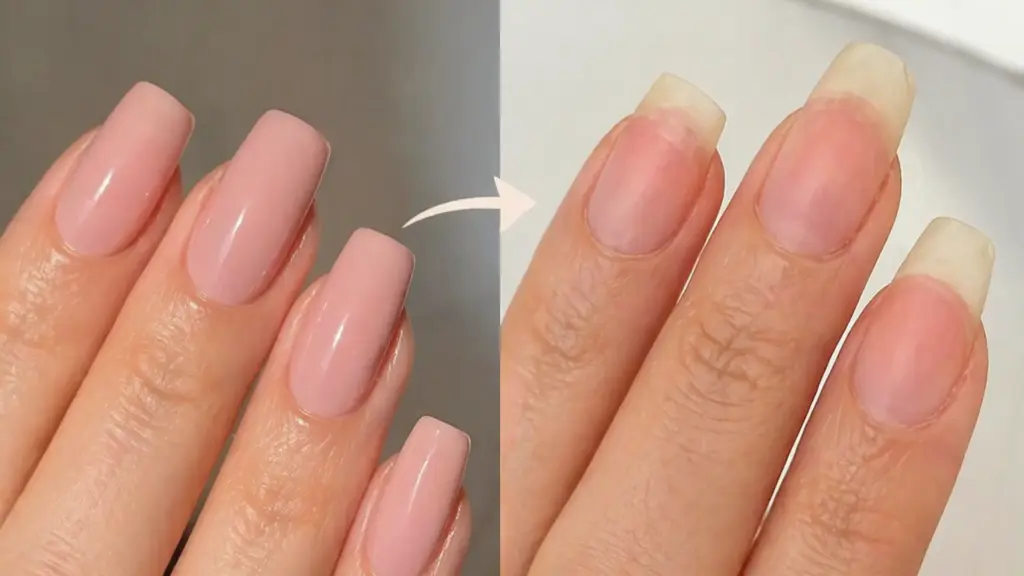
- The dental floss method: Sliding floss under the dip layer lifts the product along with the top layers of natural nail. The before-and-after damage isn’t worth the speed.
- Hot water soaking only: Hot water softens the edges slightly but does not break down the resin underneath. It leads to unnecessary filing and nail thinning.
- Filing all the way through: Filing the entire dip layer off without soaking removes the product and takes the top layer of natural nail with it. The two are too close together to separate this way.
- Peeling or picking with your fingers: It feels satisfying in the moment, but peeling pulls living nail layers off with the product, leaving nails thin, uneven, and prone to splitting for weeks.
- Using a metal cuticle pusher too aggressively: Metal tips are too rigid against acetone-softened nails. Pressing hard with one finger creates micro-scratches on the nail plate that weaken the surface over time.
Nail Care After Dip Removal at Home
This is the part most people skip, and it’s also the part that decides how quickly your nails recover. Acetone strips natural oils from the nail plate and surrounding skin, so the 24–48 hours after removal matter more than people expect.
| Nail Care Step | What to Do | Why It Matters |
|---|---|---|
| Reduce dryness from acetone | Apply cuticle oil immediately after washing hands; avoid harsh soaps | Restores moisture and prevents brittle nails |
| Use cuticle oil | Apply daily, especially after washing hands | Keeps nail base hydrated and healthy |
| Use hand cream | Apply after oil, especially at night | Seals moisture and improves skin texture |
| Apply nail strengthener | Use every few days on clean nails | Helps reinforce weak or soft nails |
| Take a dip break | Avoid reapplying dip for at least 1–2 weeks after removal; take a full break every 2–3 months | Repeated applications without breaks lead to brittle, dehydrated nails that take much longer to recover |
| Prevent peeling | Keep nails hydrated, trim them short, and avoid rough use | Reduces splitting and supports recovery |
Once your nails have had time to recover, you may want to ease back. Exploring gentle gel polish options can be a good way to add color without the commitment of dip powder.
Conclusion
The shift that changed my nail health was stopping the moment the powder resisted instead of pushing through it. Re-soak, don’t force. Once that became the habit, removal stopped feeling like a risk and started feeling routine.
Removing dip nails at home safely comes down to three things: breaking the seal properly, soaking long enough, and giving your nails real attention afterward.
Skip any one of those, and you’ll feel it for weeks. Follow all three, and your natural nails can come through the process in reasonable shape, ready for whatever comes next.
Tried this method? Drop a comment below and let me know how it went, whether it was your first time removing dip at home or you’ve been doing it for years. I’d love to hear what worked for you.
Frequently Asked Questions
How Do I Know When My Dip Nails are Ready for Removal?
Look for visible lifting at the edges, noticeable regrowth at the base, or chipping that exposes the natural nail. Most dip manicures hit this point around the 3-week mark.
Can I Apply a New Dip Manicure Immediately After Removal?
It’s better to wait at least 1–2 weeks. Nails need time to rehydrate after acetone exposure, and applying the dip too soon over weakened nails increases the risk of breakage and peeling.
Does Removing Dip Nails at Home Cost Less than Going to A Salon?
Yes. Salon dip removal typically costs $10–$20 per session. Doing it at home with acetone, cotton, and foil brings that cost down significantly over time, especially with regular manicures.