Ever spend time and money on skincare products, only to wonder why your skin still looks dull and uneven? The problem may not be your routine at all.
Dead skin cells and peach fuzz can dull your complexion and reduce how well skincare products absorb. That’s where dermaplaning can help.
When done correctly, this simple at-home technique can reveal smoother, brighter-looking skin and create the perfect canvas for makeup.
In this blog post, you’ll learn exactly how to dermaplane at home safely, what results to expect before and after, and the common mistakes to avoid for the best possible outcome.
What is Dermaplaning?
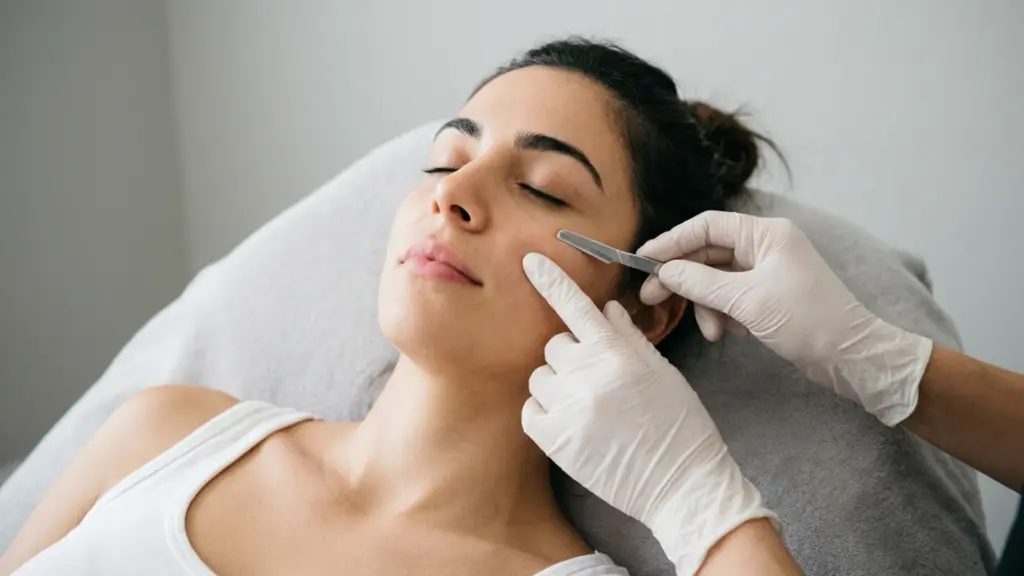
Dermaplaning is a manual exfoliation technique that uses a sterile, surgical-grade blade to scrape away the outermost layer of the skin, specifically the dead skin cells and the fine vellus hair that covers the face.
The blade is held at a 45-degree angle and moved in short, controlled strokes to gently remove dead skin cells and peach fuzz, revealing smoother, brighter-looking skin.
Dermaplaning dates back to the 1970s, when dermatologists used it to treat acne. Today, it’s widely used as an exfoliation treatment to reveal smoother, brighter-looking skin.
Today, it’s one of the more accessible at-home treatments available because the tools are affordable and the technique, once learned, is straightforward to repeat.
As the Cleveland Clinic notes, dead skin cells naturally accumulate on the skin’s surface, and without regular removal, they make the complexion look flat and rough. Dermaplaning clears that layer in a single session.
How to Choose the Right Dermaplaning Tool
Choosing the right dermaplaning tool is important for safety, comfort, and effective exfoliation, especially if you are new to the process.
Different tools offer different levels of control and closeness, so it helps to understand what each one does before you start.
- Guarded facial razors: Beginner-friendly with a safety guard that reduces cuts and improves control.
- Unguarded blades: Provide closer exfoliation but need more skill and steady handling.
- Sonic devices: Use vibrations for smoother glide and easier use, but cost more.
- Single-use vs multi-use: Single-use is more hygienic; reusable needs cleaning and blade replacement.
How to Dermaplane at Home: Step by Step
Work through these steps in order. Skipping prep or rushing the technique is where most problems start. The whole process takes about 15 minutes once you’ve done it a few times.
1. Cleanse Thoroughly
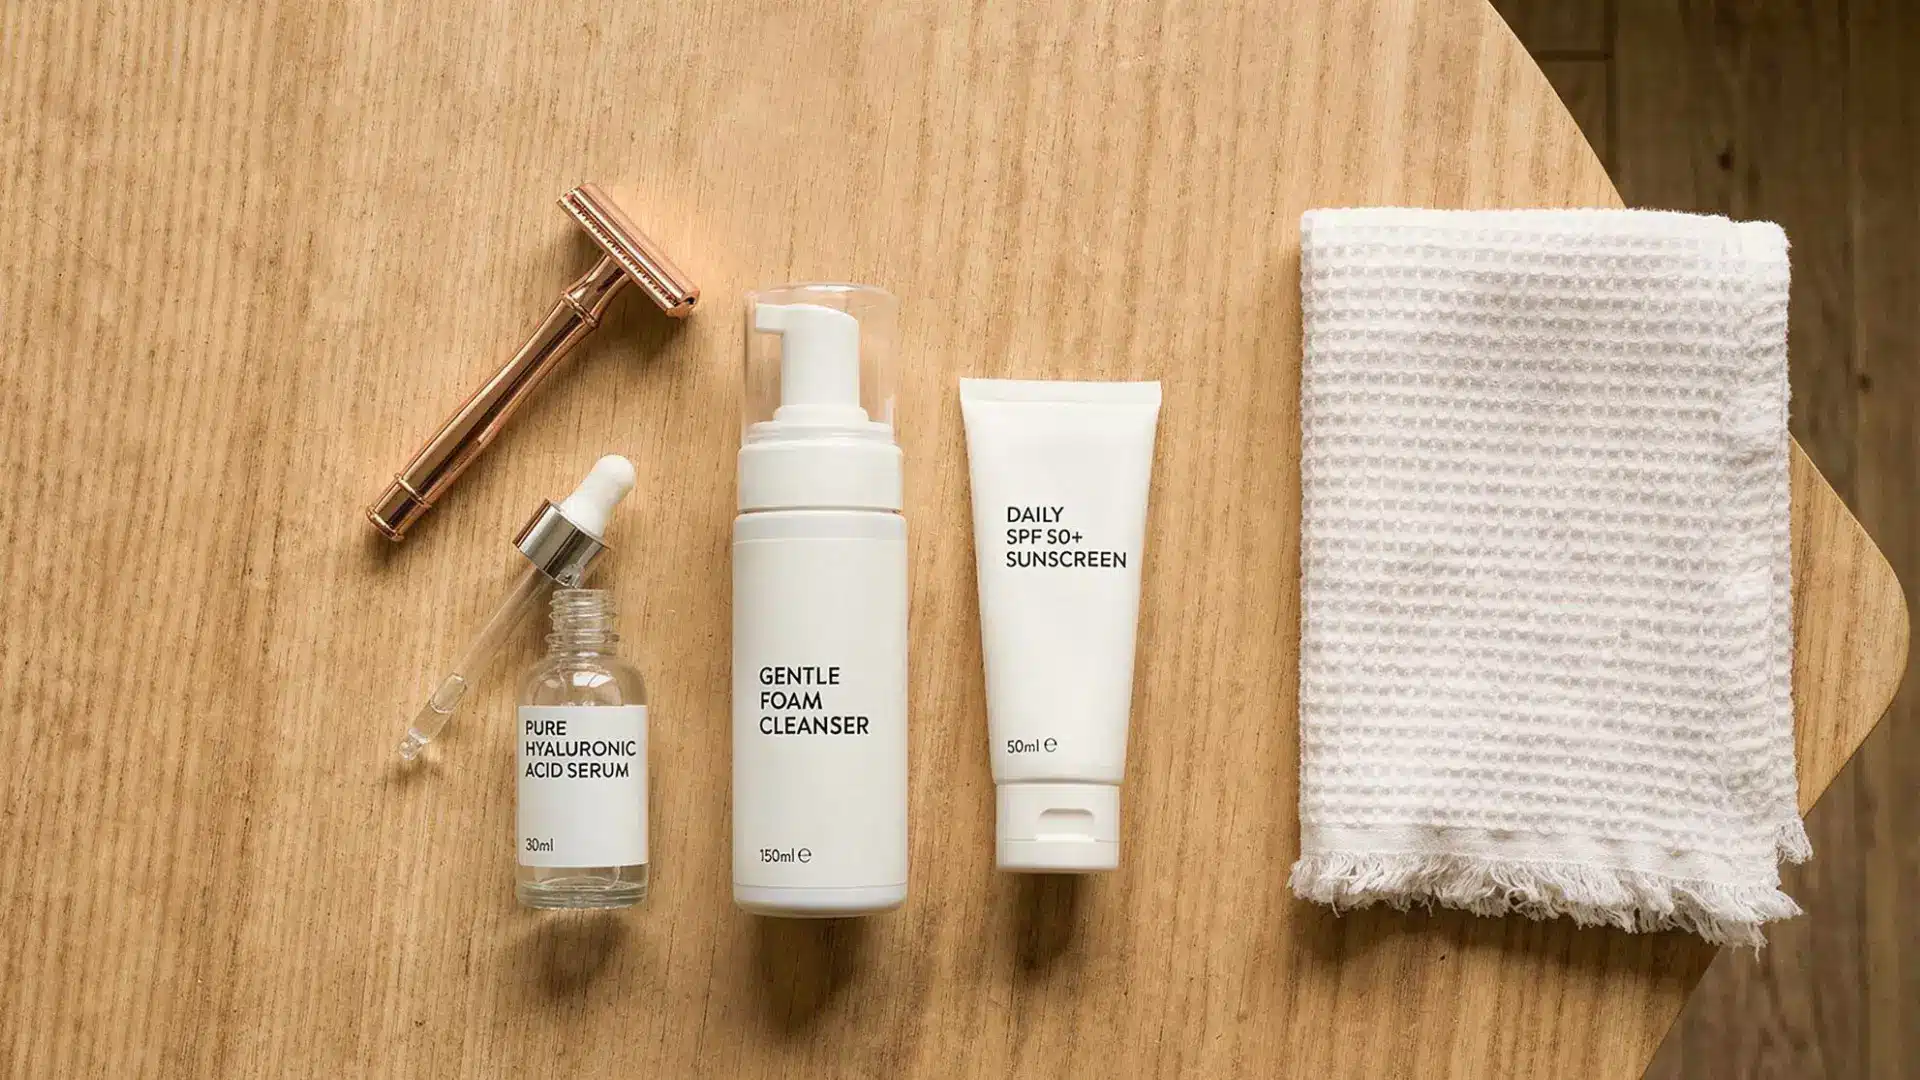
Wash your face with a gentle cleanser and remove all makeup, SPF, and oil. Pat your skin completely dry with a clean towel.
The skin must be fully dry before you begin. A damp surface causes the blade to drag and slip, increasing the risk of a nick.
If you steam your face as part of your routine, check the benefits of facial steaming for skin prep before deciding whether to add it here.
2. Skip Serums and Oils for Now
Do not apply any product to your face before dermaplaning. No serum, no facial oil, no primer. A product-free surface lets the blade glide cleanly.
If you prefer a toner at this stage, use a gentle, alcohol-free version and let it dry completely before picking up the blade.
3. Pull the Skin Taut
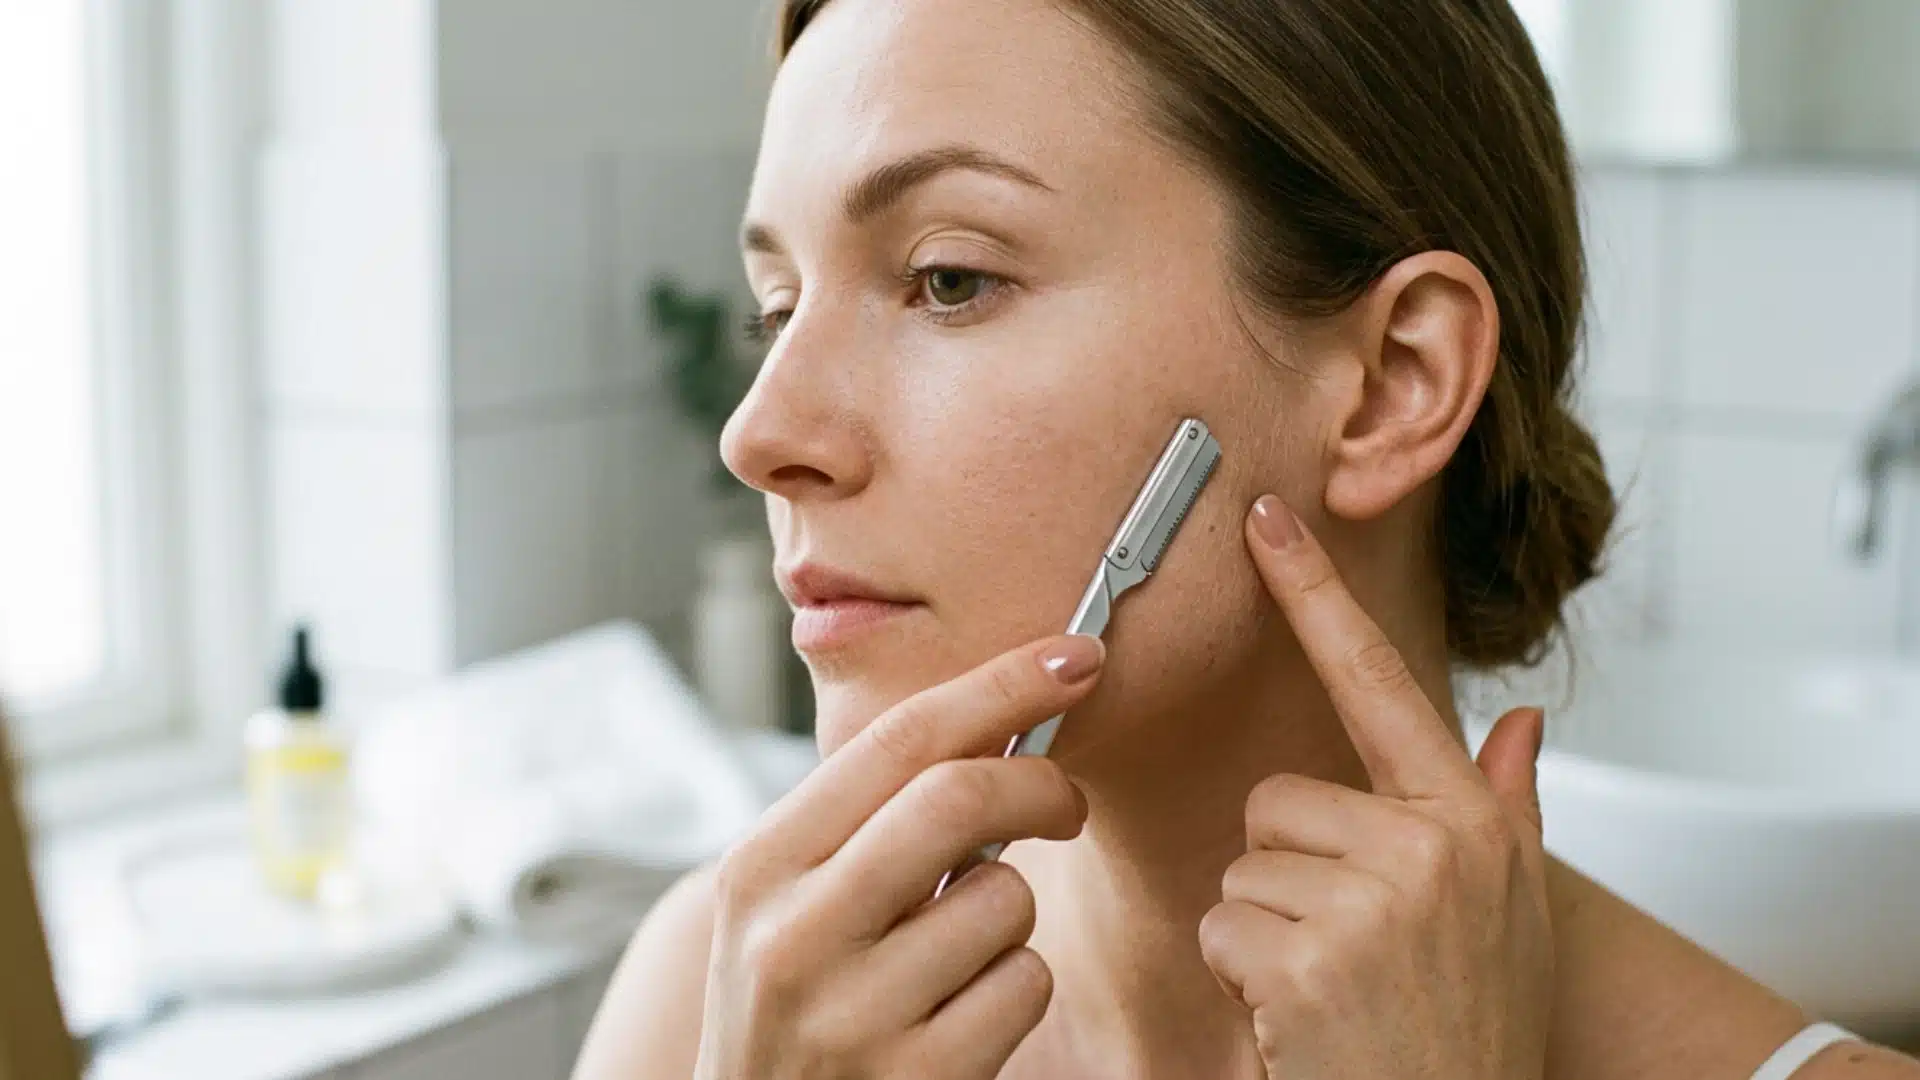
Use your non-dominant hand to stretch the skin in the area you’re working on. Taut skin provides the blade with a stable surface and is one of the most important parts of proper technique.
Loose skin increases the risk of the blade catching or dragging unevenly, which can lead to irritation, uneven exfoliation, or small nicks. Always keep the skin taut for smoother, safer strokes.
4. Hold the Blade at a 45-Degree Angle
This angle is the whole technique. Too flat (less than 30 degrees) and the blade won’t exfoliate. Too steep (closer to 90 degrees) and you risk cutting the skin.
Practice on your forearm until holding the blade at a 45-degree angle feels natural. This helps build confidence and control before moving on to your face.
5. Use Short, Light, Downward Strokes
Work in small sections, starting at the cheekbones and moving downward toward the jaw. Move to the jawline, chin, upper lip area, and forehead.
Use short strokes of one to two centimeters, not long sweeping passes. Let the blade do the work with minimal pressure. If you’re pressing hard, you’re applying too much force.
6. Skip Any Active Spots
If you have any pimples, inflamed areas, or visible broken skin, go around them. Do not dermaplane directly over active acne.
The blade spreads bacteria, significantly worsens inflammation, and increases the risk of post-inflammatory scarring.
7. Rinse with Cool Water
After you’ve finished each section, rinse your face with cool water and gently pat it dry with a clean towel. Cool water helps calm the skin.
Cool water helps soothe the skin and removes any remaining hair or dead skin cells, leaving your face clean and ready for the next step.
8. Apply a Hydrating Serum Immediately
Your skin is more receptive right after dermaplaning than at almost any other point in your routine. A hyaluronic acid serum applied at this moment absorbs quickly and helps the skin recover.
Follow with a gentle, non-comedogenic moisturizer to seal in hydration. Consider long-term tips for smooth skin, because dermaplaning works best when the rest of your routine supports the barrier you’ve just refreshed.
9. Apply SPF (if Daytime) or Go to Bed (if Evening)
Freshly dermaplaned skin is more sensitive to UV exposure. If you’re working during the day, apply a broad-spectrum SPF 30 or higher as your final step.
If you’re dermaplaning at night, skip sunscreen and apply a gentle moisturizer instead to allow your skin to rest and repair overnight.
Dermaplaning Before and After: What Changes
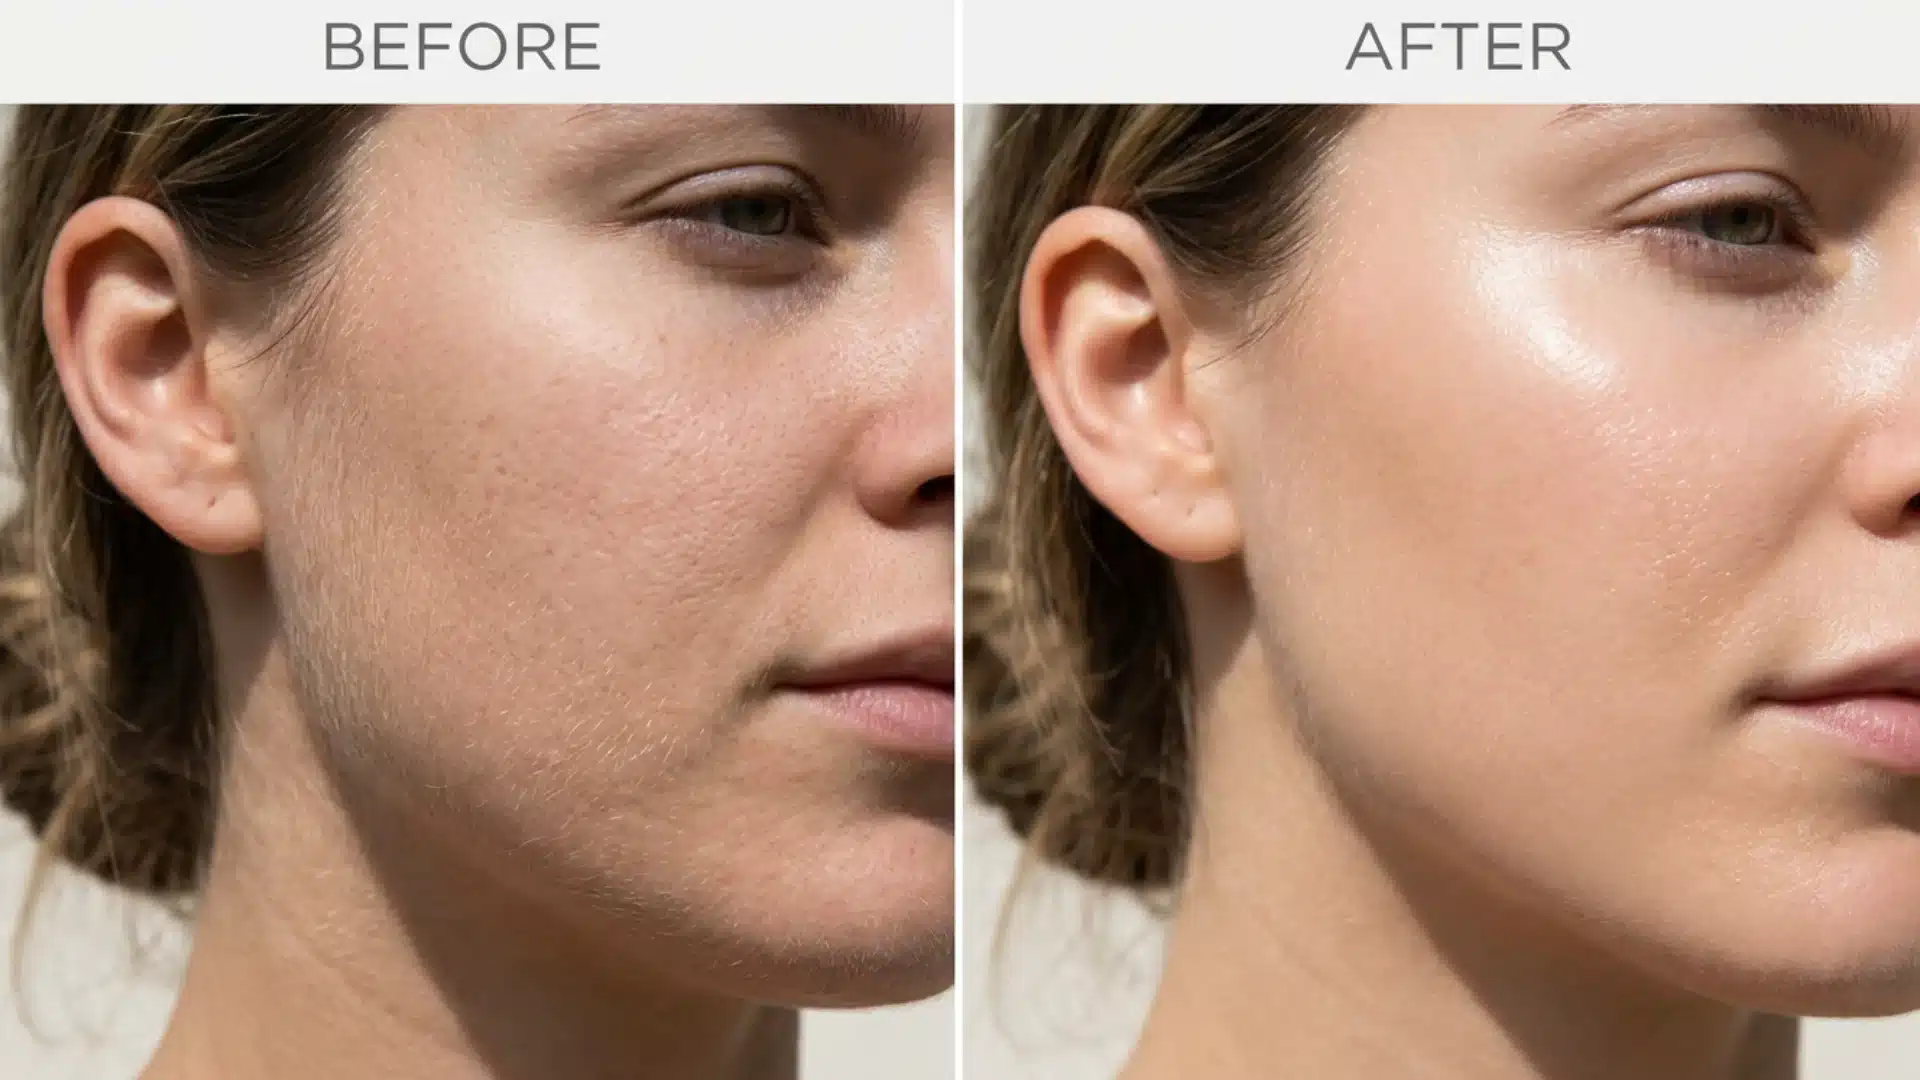
To see the real impact of dermaplaning before and after a session, look at texture and light reflection first; both shift immediately. Here’s what you can expect and how your skin typically responds.
- Smoother texture: Dead skin cells are physically removed, leaving the surface feeling clean and even.
- Brighter complexion: Fresh skin cells reflect light better than buildup-covered ones, which is why skin looks more awake right after a session.
- Better product absorption: With the top layer cleared, serums and moisturizers reach the skin more effectively.
- Flawless makeup application: Foundation sits on a clean, hair-free surface without sliding or settling into peach fuzz.
- Reduced fine lines over time: Regular sessions support cell turnover, which gradually softens the look of shallow surface lines.
Results typically last three to four weeks, aligned with the skin’s natural renewal cycle. That timing matters because it tells you both how often to repeat the treatment and what to expect in between.
Who Should and Shouldn’t Dermaplane at Home
The table below clearly separates suitable candidates for dermaplaning from those who should avoid it, helping readers quickly understand what is safe for their skin type.
| Who Can Safely Dermaplane at Home | Who Should Skip Dermaplaning |
|---|---|
| Normal, dry, and combination skin types that heal quickly | Anyone with active breakouts that can spread bacteria |
| Skin that looks dull or feels rough from buildup | People with rosacea prone to redness and irritation |
| Fine lines or uneven surface texture concerns | Those with eczema or psoriasis flare-ups |
| Peach fuzz affecting makeup application | Skin with cuts, sunburn, or healing damage |
| Skin that tolerates gentle exfoliation without irritation | Very sensitive or reactive skin that flares easily |
Is Dermaplaning Safe at Home?
Yes, dermaplaning at home is generally safe when performed with the correct tools and proper technique. Most risks come from avoidable mistakes such as applying too much pressure, using an incorrect blade angle, or working over irritated skin.
To perform it safely, the skin should be cleansed and completely dry before starting. Hold the skin taut and use short, gentle downward strokes across small sections of the face.
Avoid any active acne, cuts, or inflamed areas to prevent irritation or the spread of bacteria.
A guarded dermaplaning razor is recommended for beginners as it offers better control and reduces the chance of nicks.
How to Care for Your Skin After Dermaplaning
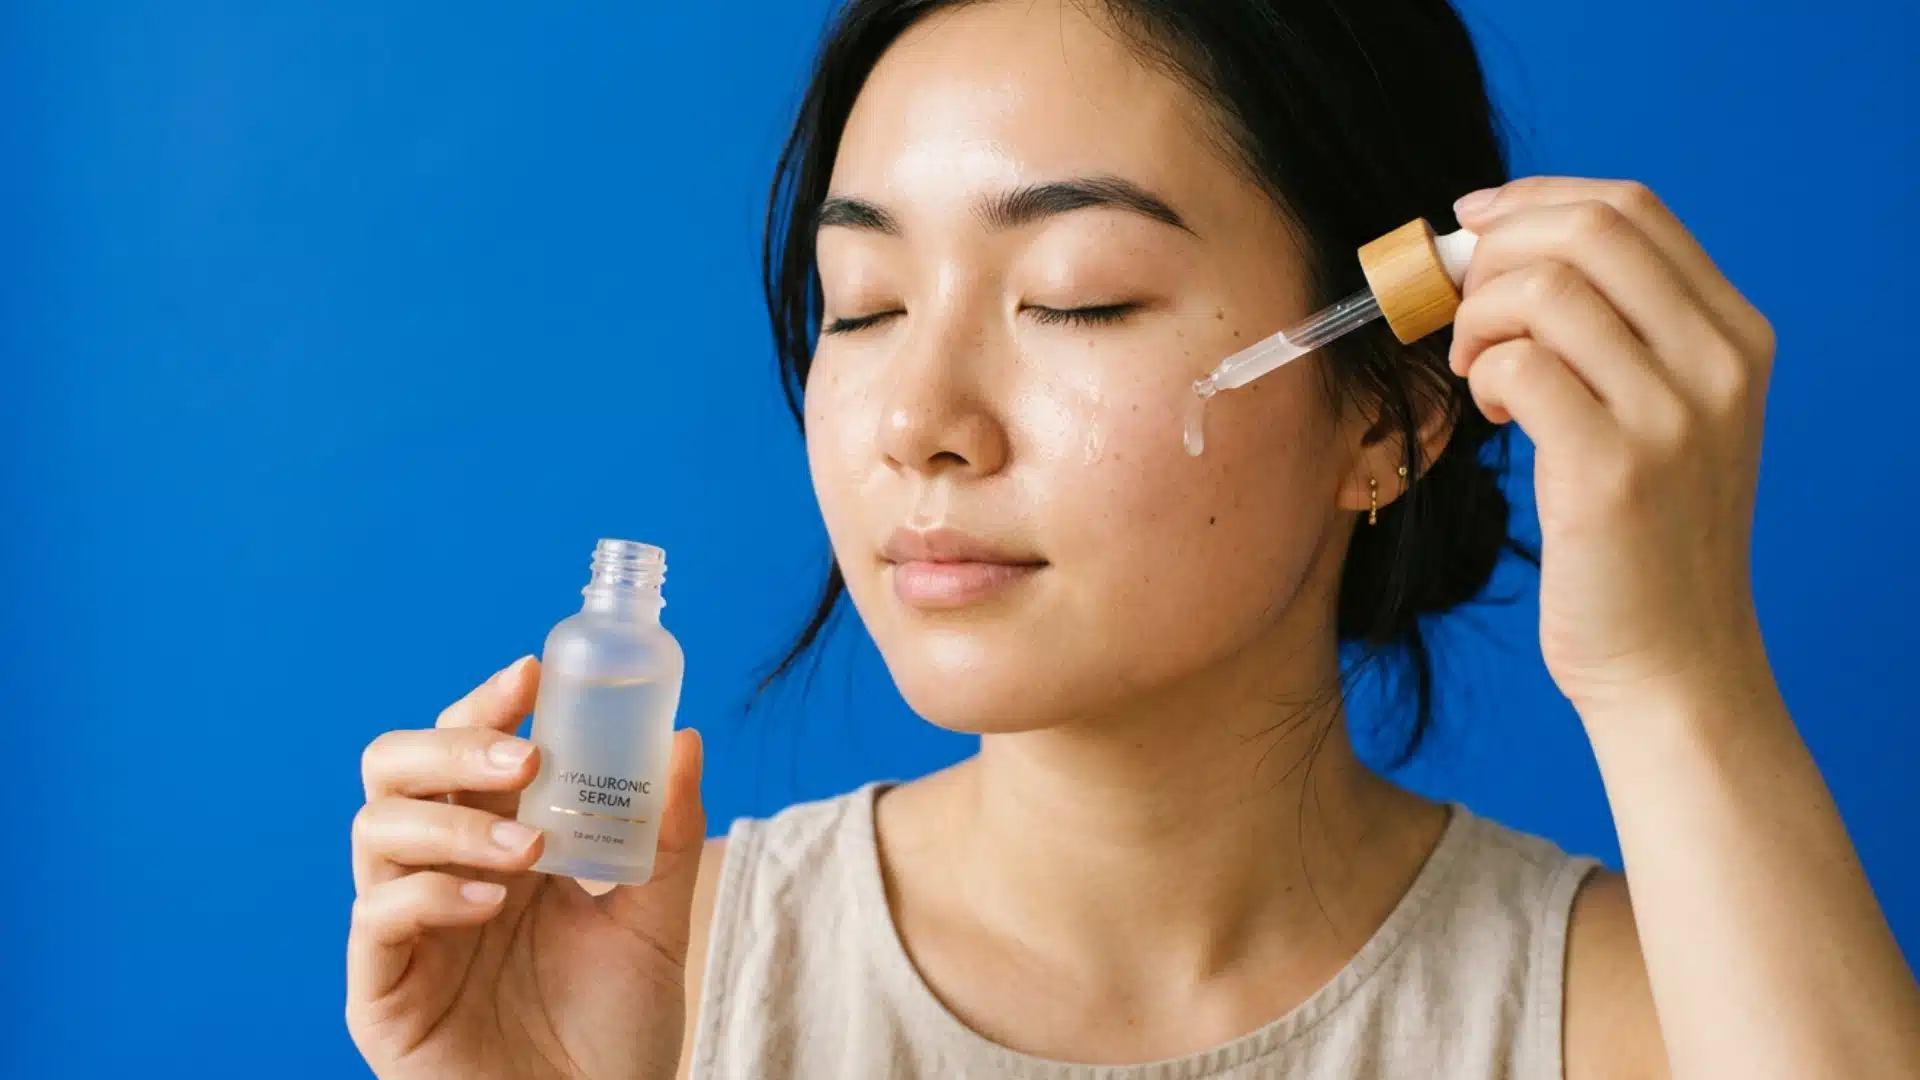
The 48 hours after a dermaplaning session are when your skin is most sensitive and receptive. What you apply and what you avoid play a key role in how well your skin recovers.
- Gentle cleanser only for 48 hours: Use a mild, non-foaming cleanser to protect the skin barrier and avoid scrubs or exfoliating acids that may cause irritation.
- Pause retinol and strong actives: Avoid retinol, AHAs, and BHAs after dermaplaning since the skin is more sensitive and prone to redness or stinging.
- Keep skin well hydrated: Apply a hydrating serum, such as a hyaluronic acid serum, twice daily to support moisture levels and aid skin recovery.
- Use daily sunscreen: Freshly exfoliated skin is more vulnerable to UV damage, so apply broad-spectrum SPF 30 or higher before sun exposure.
- Avoid touching or heavy makeup: Keep hands off the face and skip heavy makeup for at least 24 hours to reduce the risk of bacterial transfer and irritation.
The FDA advises that exfoliation increases the skin’s sensitivity to UV radiation; its sunscreen guidance recommends broad-spectrum protection with SPF 30 or higher whenever skin has been treated or sensitized.
Dermaplaning vs. Shaving: What’s the Difference?
Although both dermaplaning and shaving remove facial hair, they serve different purposes. Dermaplaning is primarily an exfoliation treatment, while shaving is a grooming method. The table below highlights the key differences.
| Feature | Dermaplaning | Shaving |
|---|---|---|
| Primary purpose | Exfoliates dead skin and removes peach fuzz | Removes visible facial hair |
| Blade used | Sterile, single-edge dermaplaning blade | Multi-blade or standard facial razor |
| Hair removed | Fine vellus hair (peach fuzz) | Fine and coarse facial hair |
| Exfoliation | Removes the outer layer of dead skin cells | Minimal exfoliation |
| Skin benefits | Smoother texture, brighter complexion, better product absorption | Mainly provides a clean-shaven appearance |
| Makeup application | Creates a smoother canvas for makeup | May smooth hair but offers less skin refinement |
| Frequency | Every 3 to 4 weeks | As needed, often every few days |
| Best for | Skincare and gentle exfoliation | Routine hair removal |
Possible Side Effects of Dermaplaning
Most people experience little to no reaction after dermaplaning. When side effects do occur, they are usually mild, temporary, and easy to manage.
- Redness: Mild redness is common, especially for sensitive skin types, and usually fades within a few hours as the skin settles.
- Minor irritation or tightness: A slight tightness or sensitivity after treatment is normal and typically improves quickly with a gentle moisturizer.
- Small nicks or cuts: These are usually caused by too much pressure or an incorrect blade angle. They heal fast and should be left untouched, with only a soothing, fragrance-free moisturizer applied.
- Breakouts: Dermaplaning does not cause acne, but passing over active breakouts can spread bacteria and lead to new pimples in affected areas.
- Post-inflammatory hyperpigmentation (PIH): This can occur in deeper skin tones if the skin is over-exfoliated or exposed to the sun without proper SPF protection.
Note: If you experience significant irritation, prolonged redness, or unusual reactions after dermaplaning, stop and consult a dermatologist.
Common Mistakes to Avoid
Even a small mistake can lead to irritation, uneven results, or minor cuts. Keep these common pitfalls in mind to make your dermaplaning session as safe and effective as possible.
- Dermaplaning on wet skin: Always work on completely dry skin. Moisture causes the blade to drag instead of glide smoothly, increasing the risk of irritation and uneven exfoliation.
- Using too much pressure: Let the blade do the work with light, gentle strokes. Pressing too hard can cause redness, tiny cuts, and unnecessary irritation.
- Holding the blade at the wrong angle: Keep the blade at about a 45-degree angle throughout the treatment. A steeper angle increases the chance of nicks and makes the technique less effective
- Going over active acne or breakouts: avoid inflamed pimples, open wounds, or irritated areas. Passing the blade over them can spread bacteria and worsen inflammation.
- Skipping sunscreen afterward: Freshly exfoliated skin is more sensitive to UV rays. Apply a broad-spectrum SPF 30 or higher the next morning to help prevent sun damage and pigmentation.
Conclusion
Dermaplaning at home is simple once you get the technique right, and the results are noticeable quickly, including smoother skin, better product absorption, and improved makeup application.
The technique takes a few tries to feel natural, and that’s fine. Most of the mistakes people make early on (wrong angle, too much pressure, wet skin) are easy to correct once you know what to watch for.
Start with a guarded tool, work on dry skin, and keep your first session short. Build from there. If your skin is happy after four weeks, you’ve found a treatment worth repeating.
Share your first dermaplaning experience in the comments. WE would like to know what surprised you most about how your skin felt after.
Frequently Asked Questions
Can I Dermaplane if I Have Hormonal Acne?
It depends on where your breakouts are and how active they are. You can dermaplane around clear areas of the face while carefully skipping any active spots. Dermaplaning directly over hormonal cysts or inflamed pimples will spread bacteria and make them worse.
Does Dermaplaning Help with Acne Scars?
Dermaplaning can gradually reduce the appearance of shallow, surface-level acne scars by promoting cell turnover. It doesn’t treat deep or pitted scars, which are below the skin’s surface. For those, professional treatments like microneedling or chemical peels are more appropriate.
Is Dermaplaning Safe During Pregnancy?
The physical act of dermaplaning is safe during pregnancy. Retinol, strong acids, and certain essential oils are typically avoided during pregnancy. If you’re pregnant, check with your OB or midwife about which skincare products are appropriate for your aftercare routine.