
Did you know a makeup sponge can hold onto more than just foundation? Skin oils, concealer, and other product residue can settle deep inside the sponge, where a quick rinse may not reach.
If you’re wondering how to clean a beauty blender properly, start by fully wetting it, working in a gentle, sponge-safe cleanser, soaking it when needed, then squeezing and rinsing until the water runs clear.
I learned this the hard way after ignoring a sponge for weeks straight through a busy month, until it started dragging gray streaks through my foundation instead of blending it.
You’ll also learn which cleansers work well, how to tackle stubborn stains, how to dry the sponge safely, and when it is time to replace it.
Why Cleaning Your Beauty Blender Regularly Matters
A beauty blender touches your skin, makeup products, and natural oils every time you use it. With repeated applications, foundation, concealer, skincare residue, and dust can settle inside the sponge, affecting both hygiene and makeup results.
A dirty sponge may feel less soft, blend products unevenly, and hold onto old formulas that change the finish of fresh makeup.
Regular cleaning helps remove trapped residue, keeps the sponge comfortable to use, and supports smoother application- the same payoff you get from washing your makeup brushes properly.
It also helps maintain the sponge’s texture so it does not become stiff or damaged quickly. Taking a few minutes to wash your beauty blender after use can make your makeup routine cleaner and more effective.
How to Clean a Beauty Blender: Step by Step
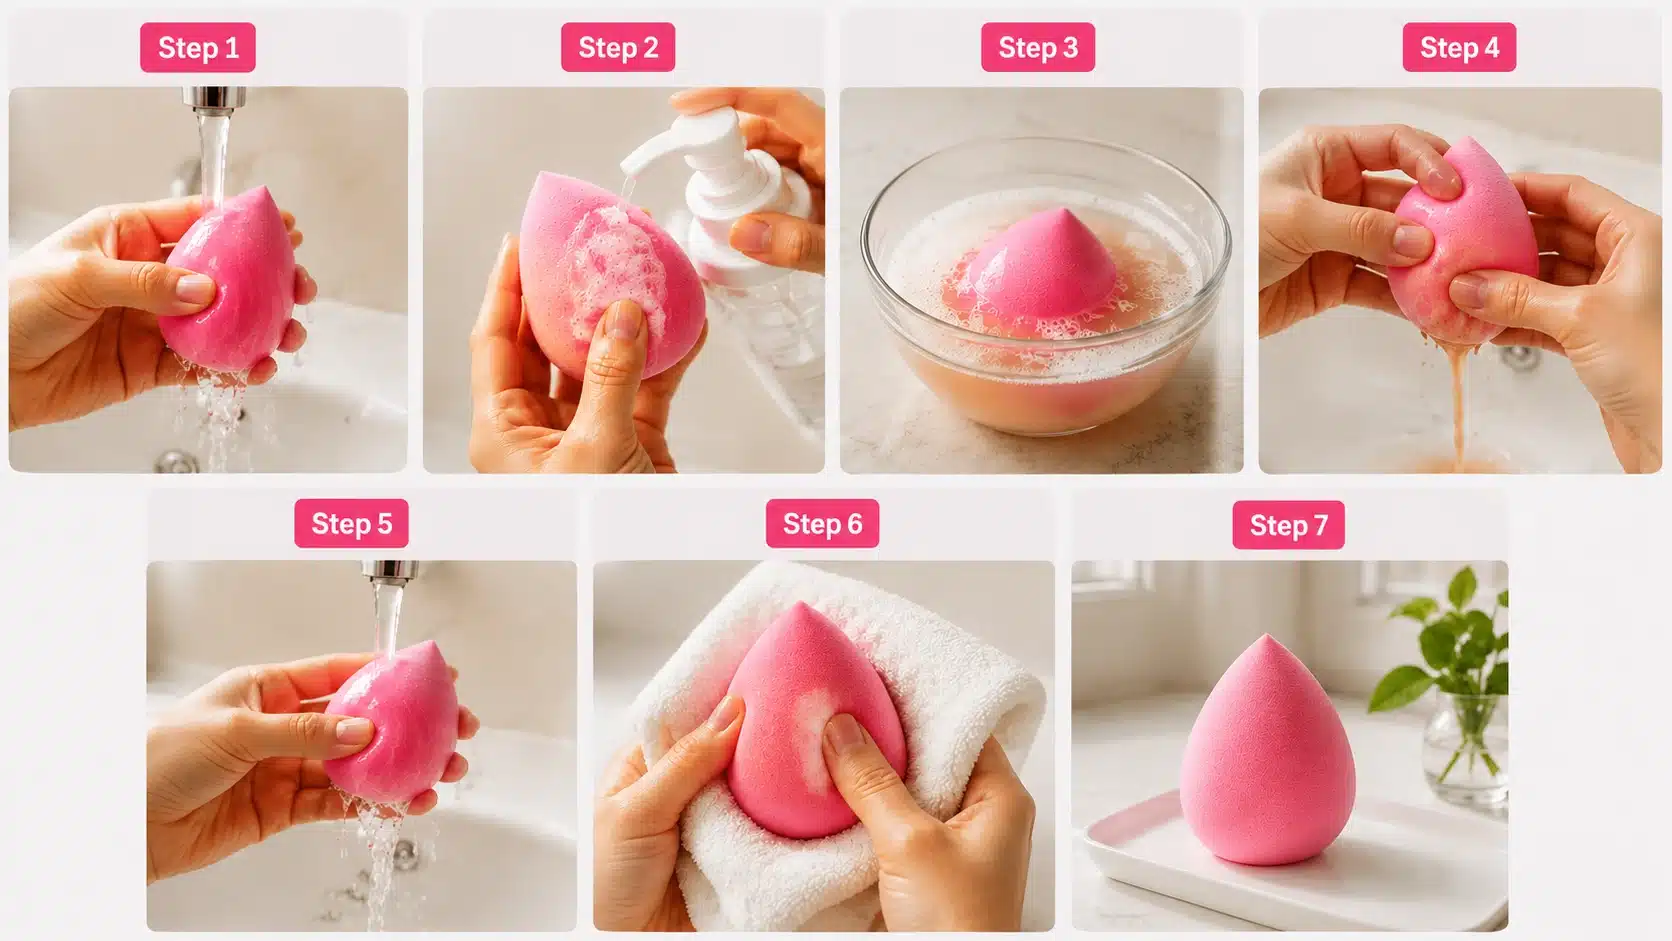
Deep cleaning a Beauty Blender works best when you focus on removing trapped makeup without damaging the sponge. Follow these steps to loosen buildup, wash away residue, and keep the sponge soft for future use.
- Wet The Sponge Completely: Place the Beauty Blender under lukewarm water until it expands. Gently squeeze it to help water reach inside the sponge.
- Apply A Gentle Cleanser: Add sponge cleanser or mild soap to stained areas. Gently massage and squeeze the break down trapped makeup.
- Soak for Tough Residue: For dried makeup buildup, soak the sponge in lukewarm water mixed with cleanser for a few minutes before rinsing.
- Squeeze Out Makeup: Press the sponge repeatedly to release residue. Avoid twisting or wringing because it can damage the sponge.
- Rinse Until Clear: Wash the sponge under running water and squeeze until all makeup and cleanser residue disappears.
- Remove Extra Water: Press the sponge gently with a clean towel to absorb excess moisture without changing its shape.
- Let It Air-Dry: Place the sponge in an open area with airflow. Store it only after it dries completely
A proper deep clean depends on gentle cleansing, repeated squeezing, and thorough rinsing rather than aggressive scrubbing.
Treating the sponge carefully helps remove buildup while maintaining its softness and usability, an approach consistent with FDA contamination guidance for cosmetic tools.
Best Methods to Deep Clean a Beauty Blender
Different types of makeup residue need different cleaning approaches. These methods help remove daily buildup, stubborn stains, and waterproof products while keeping the Beauty Blender soft and effective.
Method 1: Using a Beauty Blender Cleanser
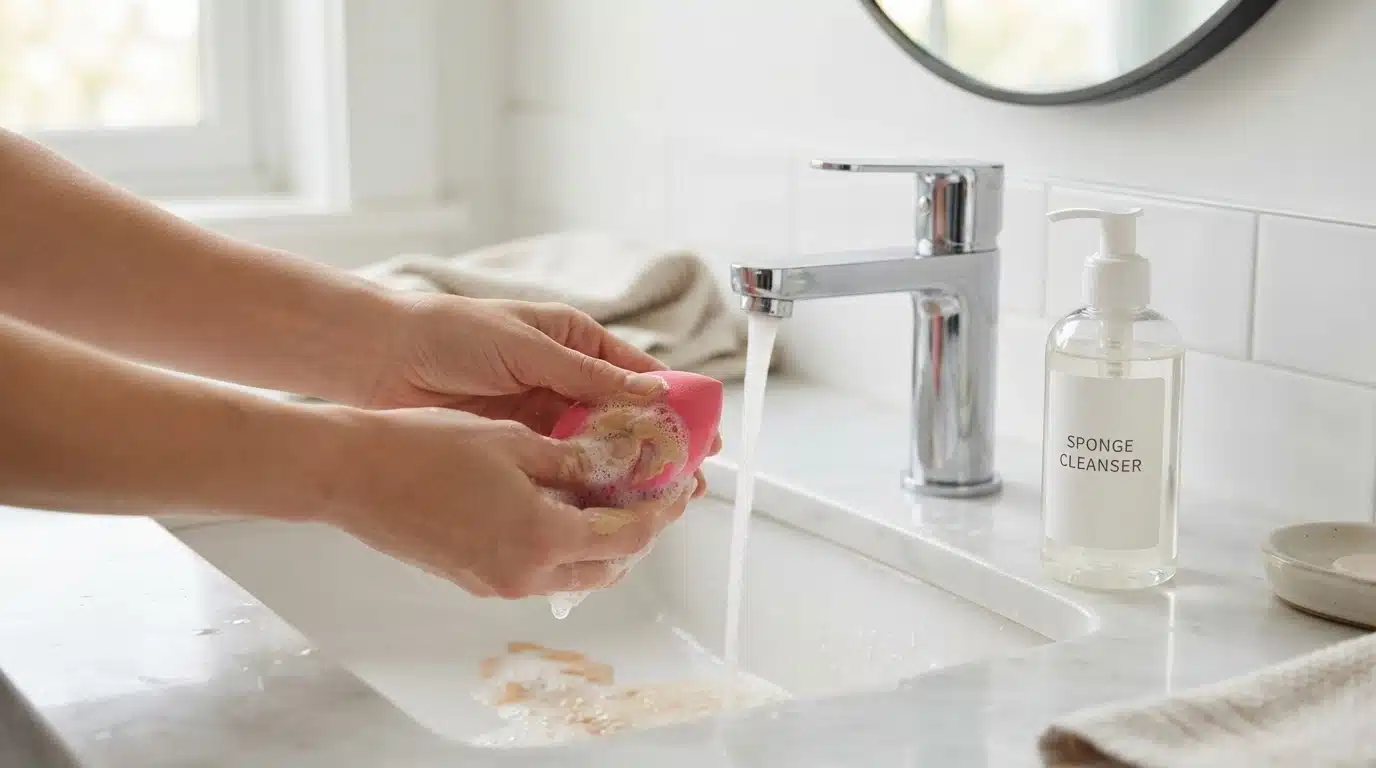
A dedicated sponge cleanser helps remove foundation, concealer, and product residue while being gentle on the sponge material.
It is a good option for regular users who want effective cleaning without compromising the sponge’s softness, a factor that often comes up in the brush-versus-sponge debate over which tool holds up better long-term.
Steps:
- Wet the sponge with lukewarm water.
- Apply cleanser directly to the sponge.
- Massage gently to loosen makeup buildup.
- Rinse until water runs clear.
- Let it air-dry completely.
Method 2: Using Mild Soap and Warm Water
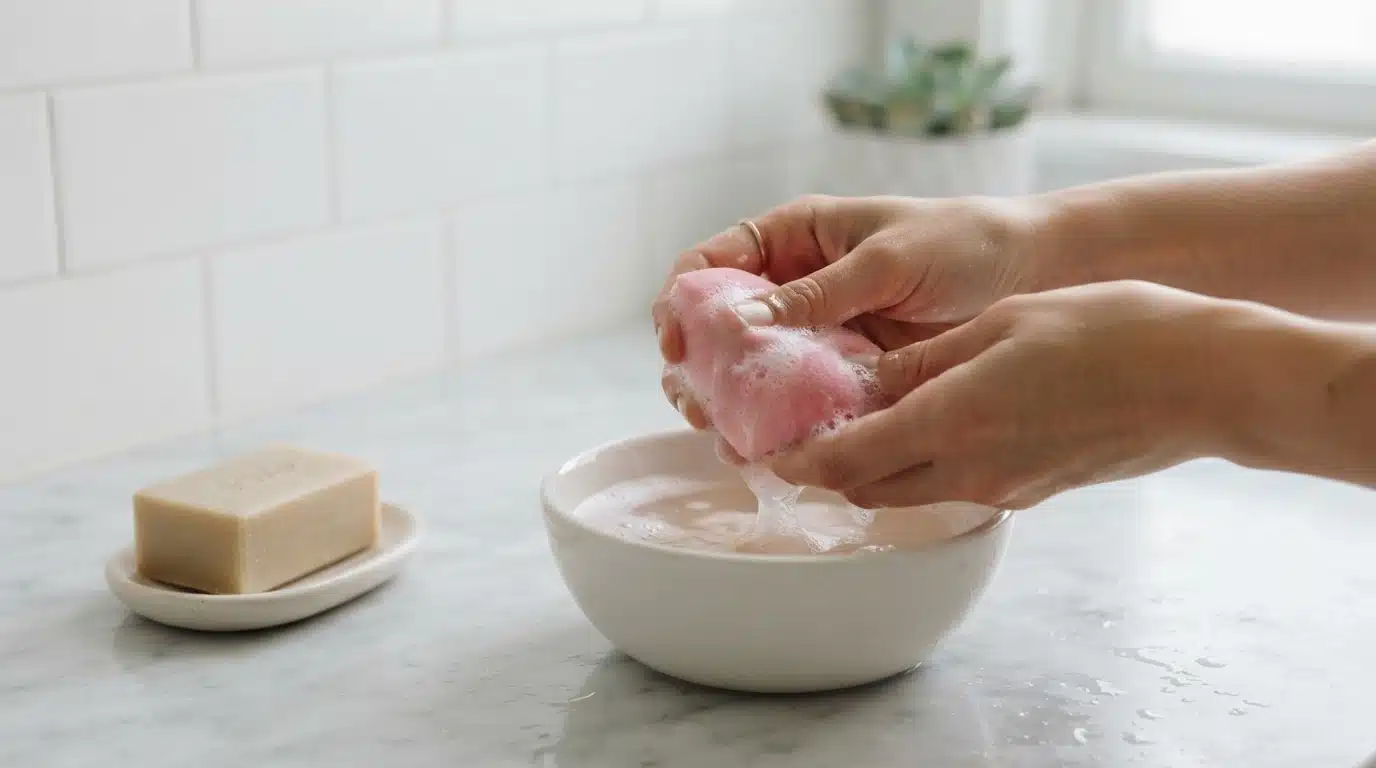
Mild soap and warm water offer a simple way to remove daily makeup buildup. This method works well for regular maintenance and helps clear foundation, oils, and leftover products from the sponge.
Steps:
- Soak the sponge with warm water.
- Apply a small amount of gentle soap.
- Squeeze and massage the sponge carefully.
- Rinse away all soap residue.
- Leave it to dry in an open space.
Method 3: Using Oil to Remove Waterproof Makeup
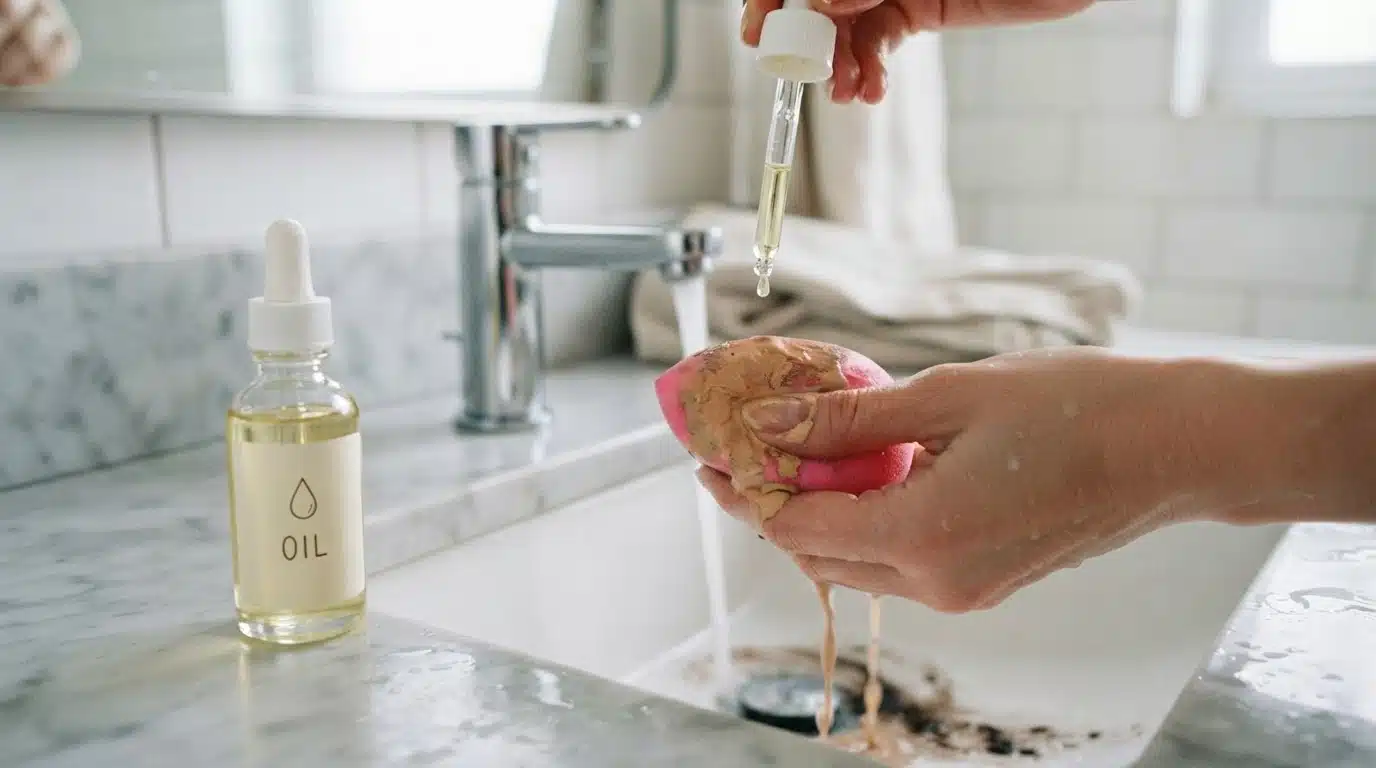
Oil cleansing can help break down stubborn makeup products that do not wash away easily with regular cleansers. It works well for removing waterproof foundation, long-wear formulas, and heavy product buildup.
Steps:
- Apply a small amount of cleansing oil.
- Massage it into the sponge gently.
- Add mild soap to remove oil residue.
- Rinse thoroughly with warm water.
- Allow the sponge to dry fully.
Method 4: Using a Soaking Method for Deep Cleaning
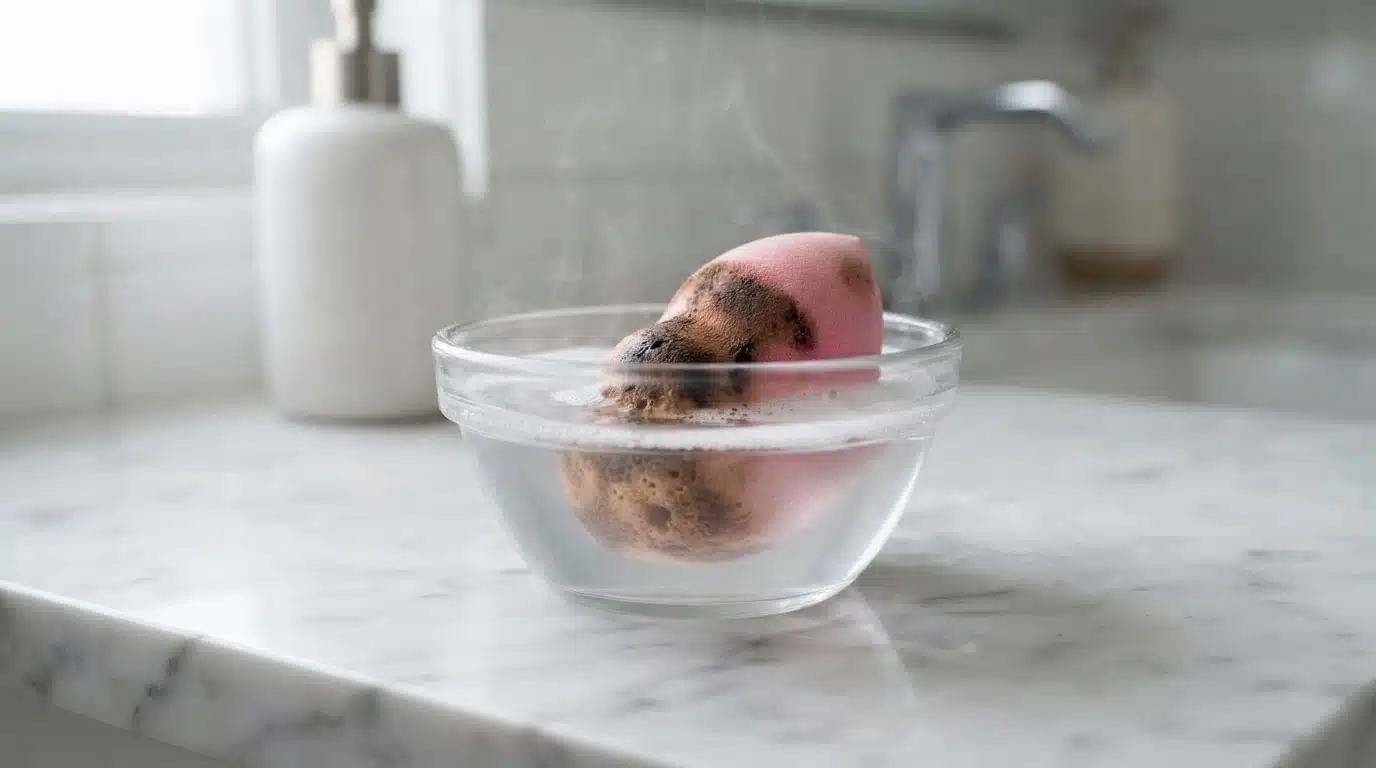
Soaking helps loosen old makeup residue trapped inside the sponge. It is useful when regular washing does not remove stubborn buildup and follows the same safe at-home sponge-cleaning approach: soak before squeezing.
Steps:
- Fill a bowl with lukewarm water and cleanser.
- Place the sponge inside for a few minutes.
- Squeeze gently to release makeup.
- Rinse until no residue remains.
- Dry the sponge completely before use.
Choosing the right cleaning method depends on product buildup and usage. Regular care with gentle techniques helps maintain sponge quality and supports smoother makeup application every time
Which Cleaners are Safe for a Beauty Blender?
Choosing the right cleanser is important for keeping a Beauty Blender clean without altering its texture. A gentle formula can help remove foundation, concealer, and oils while protecting the sponge’s softness.
The best option depends on the type of buildup and the sponge’s care instructions.
| Cleaning option | best use | Main consideration |
|---|---|---|
| Sponge cleanser | Routine and deep cleaning | Designed specifically for makeup tools |
| Solid sponge cleanser | Concentrated makeup marks | Easy to work into stained areas |
| Mild soap | Possible alternative | Check sponge care instructions before use |
| Baby shampoo | Sometimes used as a mild option | May require thorough rinsing to remove residue |
| Dish soap | Better avoided for some branded sponges | Can be harsher than intended |
| Alcohol-based cleaner | Usually unsuitable | May affect sponge material |
The safest choice is usually a gentle cleanser that effectively removes makeup and aligns with the sponge manufacturer’s care recommendations. Avoid harsh products that may weaken the sponge or alter its texture over time, a risk highlighted in a peer-reviewed study on contamination in cosmetic tools.
How to Remove Stubborn Stains from a Beauty Blender
Some makeup stains remain even after proper cleaning, especially with darker foundations, cream blushes, and highly pigmented products. A stain does not always mean the sponge is unhygienic, but extra cleaning can improve its condition.
Try these methods for deeper residue:
- Soak the sponge in warm water mixed with gentle cleanser for a few minutes.
- Massage stained areas instead of scrubbing aggressively.
- Repeat the washing process if old product remains trapped inside.
- Allow enough drying time after every deep clean.
Avoid using harsh chemicals or abrasive tools, as they can weaken the sponge and shorten its usable life, particularly when leftover dampness lingers beyond CDC dampness guidance.
How Often Should You Clean a Beauty Blender?
The cleaning frequency depends on how often the sponge is used and the type of products applied. A person who uses makeup every day needs a different routine than someone who uses a sponge occasionally.
| Usage Pattern | Recommended Cleaning Routine |
|---|---|
| Daily makeup application | Clean after every use |
| Makeup several times a week | Wash after each session |
| Occasional use | Clean before and after use |
Following a consistent cleaning routine helps keep makeup residue under control and maintain sponge performance. Adjusting the frequency based on usage improves hygiene and extends usability.
Why a Dirty Beauty Blender Can Hurt Your Skin
A beauty blender that goes weeks between washes does more than apply makeup unevenly. It can transfer trapped oil and bacteria straight onto your skin, and that buildup is a common trigger for clogged pores and breakout flare-ups.
Makeup sponges are porous by design, which is part of what makes them blend so well. That same structure also lets them absorb foundation, oil, and moisture deep inside, creating a warm, damp environment where bacteria and yeast can multiply between washes.
- Skin already prone to breakouts or irritation is more sensitive to a dirty sponge, since bacteria transferred during application can settle into already-clogged pores and slow healing.
- A sponge stored damp, especially in a closed bag or drawer, is at higher risk for mold than one that air-dries fully between uses.
- Regular washing plus a scheduled deep clean does more for skin health than any single deep clean alone, since bacteria rebuild quickly once a sponge is back in daily rotation.
If you notice a new breakout pattern that lines up with how often you clean your sponge, treat that as a sign to tighten your washing routine, not just your skincare.
How to Dry a Beauty Blender After Deep Cleaning
Drying your Beauty Blender properly is just as important as cleaning it. A sponge may look clean after washing, but storing it damp can trap moisture and compromise its freshness.
Follow these steps to keep it in good condition:
- Remove excess water gently: Press the sponge between your fingers without twisting or wringing to protect its shape.
- Use a clean towel: Lightly press the Beauty Blender into a towel to absorb surface moisture.
- Allow airflow while drying: Place it in an open, clean area rather than in a closed container where moisture can become trapped.
- Dry it completely before storage: Make sure the inside of the sponge is fully dry before putting it in a makeup bag or storage box.
Proper drying is an essential part of the cleaning process. A clean sponge should always be dried completely before storage to help prevent moisture-related hygiene issues and maintain its performance.
How to Know When Your Beauty Blender Needs Replacement
Even with regular washing, a beauty blender does not last forever. The material slowly breaks down after repeated use, squeezing, and cleaning.
Replacing the sponge at the right time helps maintain better makeup application and prevents using a tool that no longer performs properly.
| Sign | What It Means |
|---|---|
| Small tears or cracks | The sponge material is wearing out |
| Hard or rough texture | The softness has reduced |
| Permanent discoloration | Deep product staining has developed |
| Unusual smell after washing | Residue may remain inside |
A clean sponge can still need to be replaced if its texture changes. Pay attention to how it feels and how it blends with makeup, not just its appearance.
Tips to Make Your Beauty Blender Last Longer
A little extra care can help your makeup sponge last longer. The way you handle, clean, and store it affects how quickly the material wears out. Simple Care Tips To Follow
- Wash the sponge regularly to prevent product buildup.
- Use gentle pressure while blending makeup.
- Keep the sponge away from dusty or dirty surfaces.
- Store it in a breathable holder after drying.
- Avoid sharing your sponge with others.
- Replace it when the texture changes.
These habits help maintain the sponge’s shape and make each makeup session feel cleaner and more comfortable. Small changes in your routine can protect the sponge while keeping makeup application smooth
Final Thoughts
A clean Beauty Blender can help your makeup apply smoothly and keep product buildup under control.
Regular washing, deep cleaning when needed, and proper drying all play an important role in maintaining the sponge’s softness and performance.
If you know how to clean a beauty blender properly, you can remove trapped residue, address stubborn stains, and tell when your sponge needs extra care or replacement.
Small habits like gentle handling and proper storage also help extend its usable life.
Have you tried any deep-cleaning methods for your makeup sponge? Comment below with your experience and share what works best for you.
Frequently Asked Questions
Can You Use the Same Beauty Blender for Different Makeup Products?
Yes, but clean it properly between products to prevent color mixing and residue buildup, especially when switching between foundation, concealer, and cream products.
Why Does My Beauty Blender Feel Different After Cleaning?
A sponge may feel different if it was exposed to harsh products, rough handling, or improper drying. Gentle cleaning helps maintain its original texture.
Can You Store a Completely Dry Beauty Blender in a Drawer?
Yes, you can store a fully dry sponge in a clean drawer. Keep the storage area free of dust and moisture to keep it fresh.