Most of us reach for the same brush every day and rarely stop to think about what is building up inside the bristles.
Old foundation, dried powder, oil, and bacteria sit there quietly until they show up on your skin as breakouts or on your face as patchy, uneven makeup.
Beyond skin health, a clean brush also glides on product more smoothly and simply lasts longer, so you spend less on replacements over time. Knowing how to wash makeup brushes properly is a simple habit that fixes all of this at once.
You will see exactly what to use, how to wash without ruining the bristles, how often each brush type needs a clean, and a few small mistakes that quietly shorten a brush’s life.
Once this routine becomes a habit, your makeup will blend better, and your skin will thank you for it.
Can You Wash Makeup Brushes at Home
Yes, every brush in your kit can be washed at home with a few basic supplies you likely already own.
Regular washing removes trapped product, oil, and bacteria that build up between uses. Left alone, this buildup can lead to breakouts, dull-looking makeup, and bristles that lose their shape over time.
Washing at home is safe for natural and synthetic bristles when you use a gentle method. Foundation sponges absorb product differently.
So porous sponges usually need more cleaning, and a full sponge routine follows its own set of steps suited to that material. Neither requires special equipment, only consistent care
Before You Wash: Quick Check First
A short check before washing protects both the brush and your skin, and it stops most damage before it starts.
Bristles are glued into a small metal ferrule, so how you handle that spot decides whether a brush sheds early or lasts for years.
- Bristle check: Look for fraying, splitting, or loose hairs.
- Ferrule check: Look for cracks, rust, or a loose, wobbly feel at the base.
- Water direction: Keep bristles pointing down; water in the ferrule can dissolve the glue.
- Water temperature: Use lukewarm water only. Heat can loosen bristles and dry them out.
If a brush already feels loose at the ferrule or has bent bristles, wash it by hand with light pressure rather than scrubbing.
Sponges skip this particular risk since they have no glued parts, which is one reason a brush-versus-sponge choice often comes down to how much upkeep each tool requires.
What to Use to Clean Brushes
Picking the right cleanser matters as much as the washing method itself. The wrong product can dry out bristles or leave a residue that never fully rinses clean, so it helps to know what actually works before you start.
| Use This | Avoid This | Why It Matters |
|---|---|---|
| Baby shampoo | Harsh antibacterial bar soap | Gentle formulas clean without stiffening bristles. |
| Castile soap | Plain hand soap on a daily basis | Plant-based soap lathers well without drying out hair. |
| Dish soap | Bleach or strong stain removers | Dish soap cuts oil without harming glue or fibers. |
| Brush cleanser or shampoo bar | Undiluted essential oils | Cleansers are formulated to condition while they clean. |
| Dish soap and olive oil mix | Hot water | Oil softens bristles; hot water can loosen the glue. |
Once you have a cleanser you trust, the washing method matters just as much. If your skin reacts easily, both the cleanser and your makeup for sensitive skin require attention because traces of either can remain on the bristles between washes.
| Tip: If you have sensitive skin, skip heavily fragranced or dyed cleansers, since leftover residue on the bristles can transfer straight onto your face and trigger irritation. |
Washing Your Brushes: A Step-by-Step Method
Follow this order every time you wash a brush, from a fluffy powder brush to a small liner brush. Each step supports the next, so skipping ahead may leave product trapped between the bristles.
Step 1: Wet the Bristles
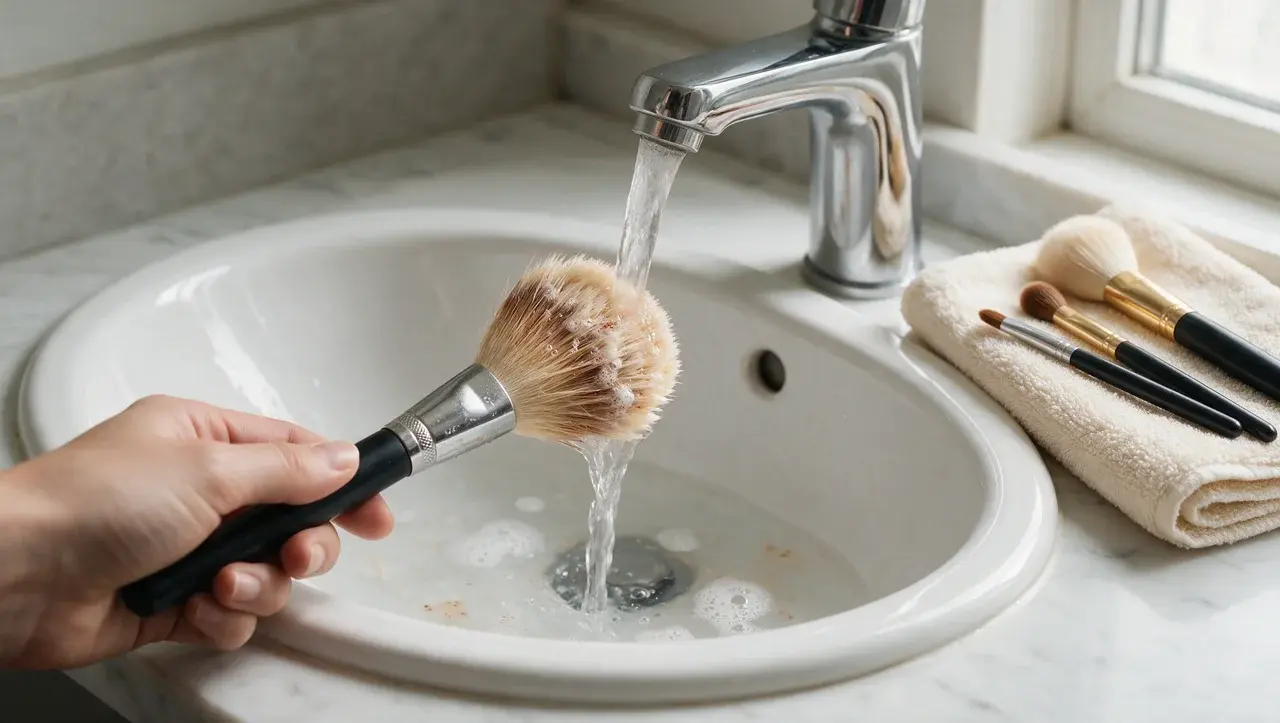
Hold the brush under lukewarm running water with the bristles pointing down. Wet only the bristle area and keep the ferrule and handle dry.
Never submerge the full brush in water, as moisture can enter the base and weaken the glue holding the bristles.
Step 2: Apply the Cleanser
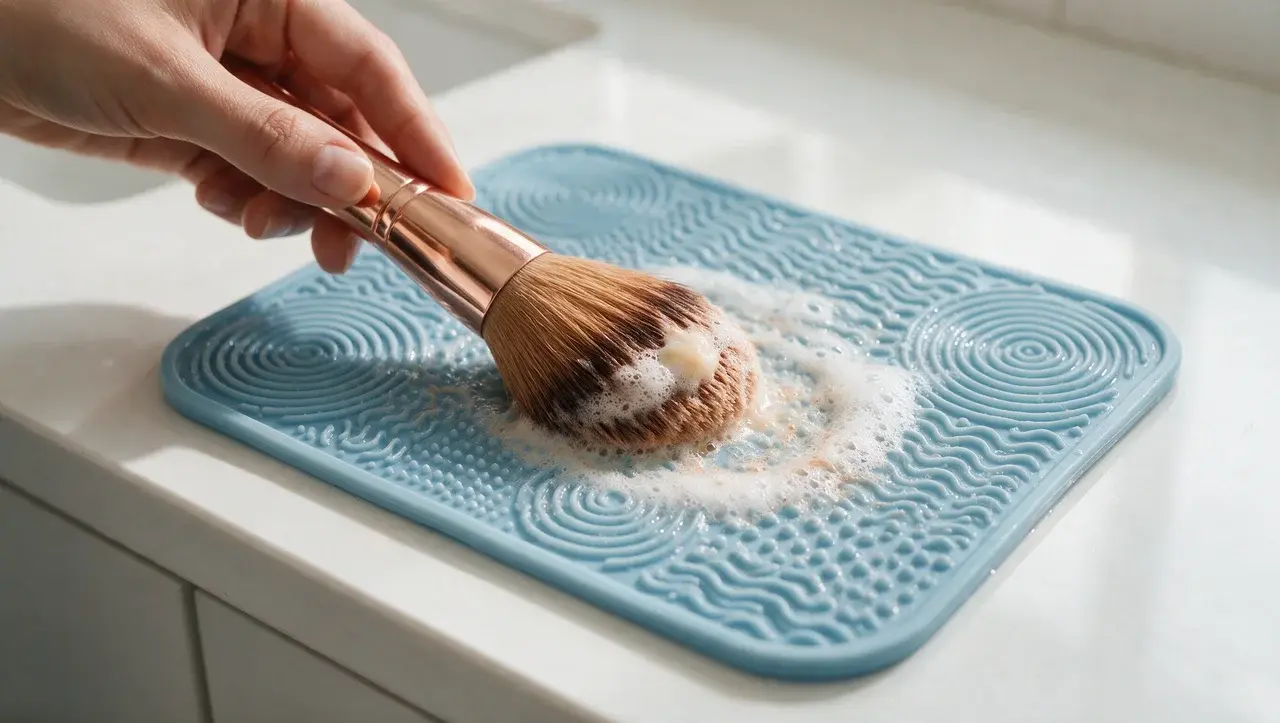
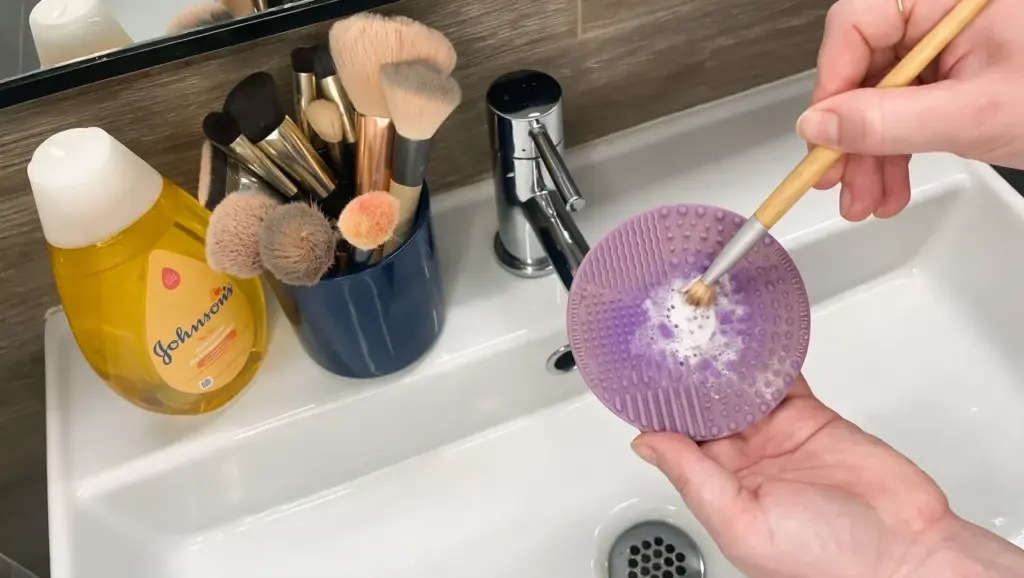
Add a small amount of cleanser directly to the bristles or a cleaning mat. Swirl the brush in gentle circles to create a lather and loosen trapped pigment.
Avoid pressing or bending the bristles, since rough movement can affect their shape.
Step 3: Rinse and Repeat
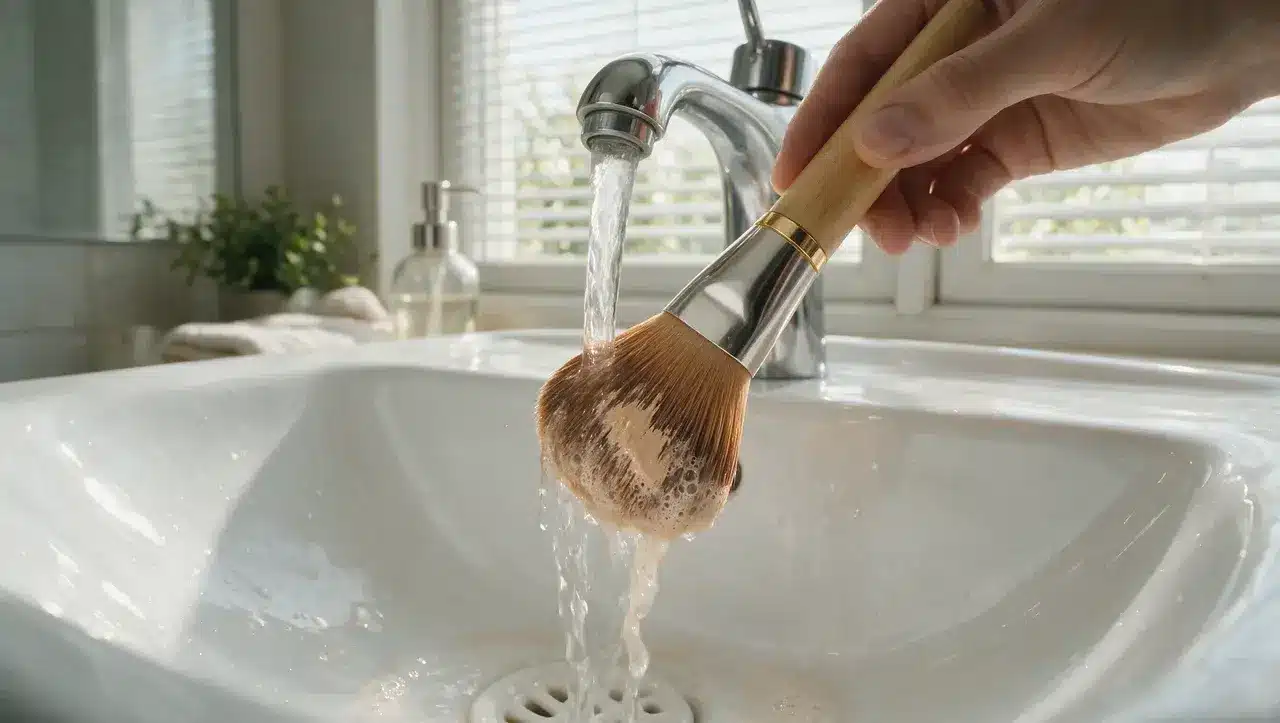
Rinse under lukewarm water with the bristles pointing down until the water runs clear. Since different foundation formulas leave varying amounts of oil and pigment behind, brushes used with liquid or cream products may need another round of cleanser.
Gently squeeze the bristles between rinses to remove product trapped deeper inside the brush head.
Step 4: Dry the Brushes
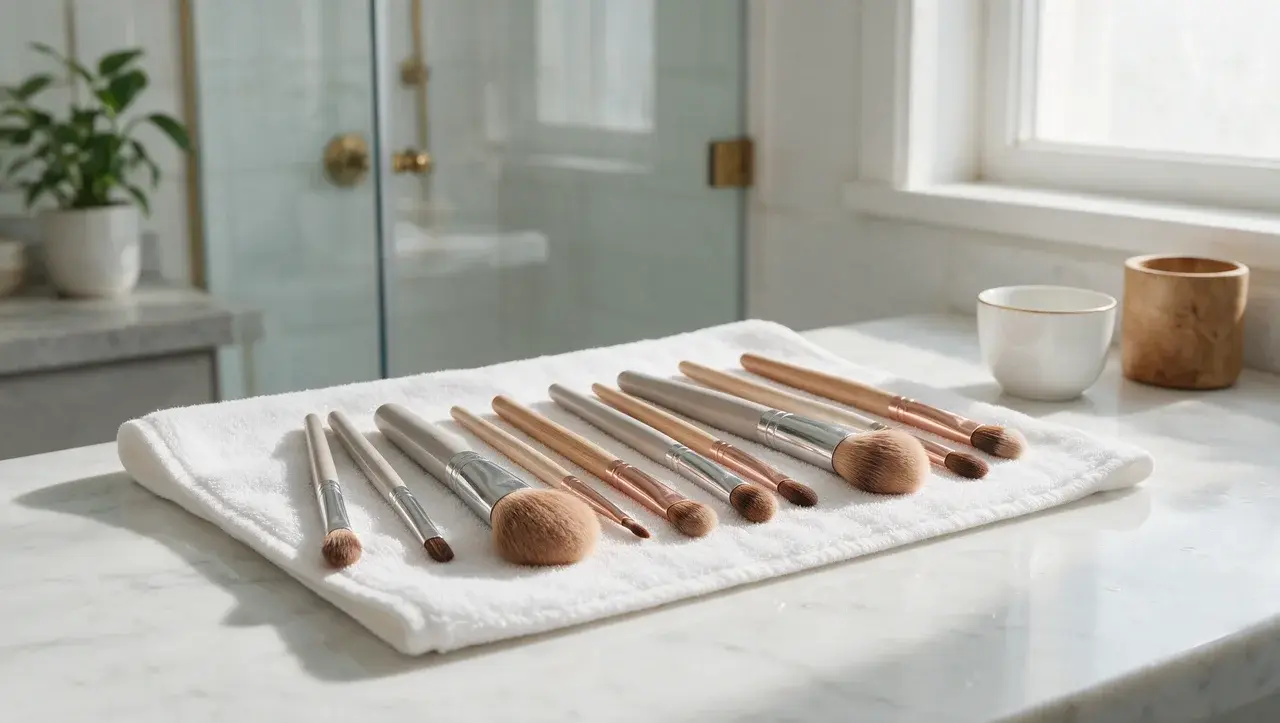
Press out excess water with a clean towel, reshape the brush head with your fingers, and lay it flat with the bristles hanging slightly over the edge.
Keep them angled downward and allow them to dry overnight. Do not stand damp brushes upright because water can collect inside the ferrule and weaken the glue.
Following these steps protects the bristles, ferrule, and glue while helping each brush retain its shape and performance after repeated washing.
How to Dry Brushes Properly
Drying is where a lot of the damage from washing actually happens, so how you finish matters as much as how you wash.
A brush that is rushed through drying, or left in the wrong position, can lose its shape even after a careful wash.
| Method | Best For | How to Do It |
|---|---|---|
| Flat drying on a towel | Everyday brushes after a normal wash | Lay the brush flat with bristles hanging slightly off the counter edge for airflow. |
| Drying rack, bristles down | Brush sets or larger collections | Hang brushes upside down so water drips away from the ferrule. |
| Reshape before drying | Any brush that looks bent or splayed | Gently press bristles back into their original shape while still damp. |
| Overnight drying | Every brush before reuse | Leave brushes untouched for several hours so the ferrule area dries fully. |
Whichever method fits your setup, the goal is the same: full drying time before a brush touches your face again. Rushing this step is one of the easiest ways to undo all the care you put into washing, so give the brush the time it needs before packing it away.
Tips to Keep Brushes Fresh Longer
A full wash is not the only thing keeping your brushes in good shape. A few small habits between washes can stretch out how long that clean feeling actually lasts.
- Wipe after each use: A quick swipe on a dry cloth removes surface product before it sets in.
- Spot clean concealer brushes: A light rinse every few days stops heavy buildup from forming.
- Store bristles up: Keep clean, dry brushes upright in a cup so bristles keep their shape.
- Keep brushes covered when traveling: A brush guard or pouch protects bristles from bending or gathering dust.
- Replace old brushes: Bristles that stay frayed even after washing are due for a swap.
- Skip sharing brushes: Lending a brush to someone else can pass along bacteria and skin irritation.
None of these habits take much time, but together they stretch the gap between full washes without sacrificing hygiene. Add even two or three of them to your routine, and your brushes will hold up noticeably longer between deep cleans.
The American Academy of Dermatology also points to regular washing as one of the simplest ways to keep bacteria from building up on brushes between full cleans.
What Users Say About Washing Brushes
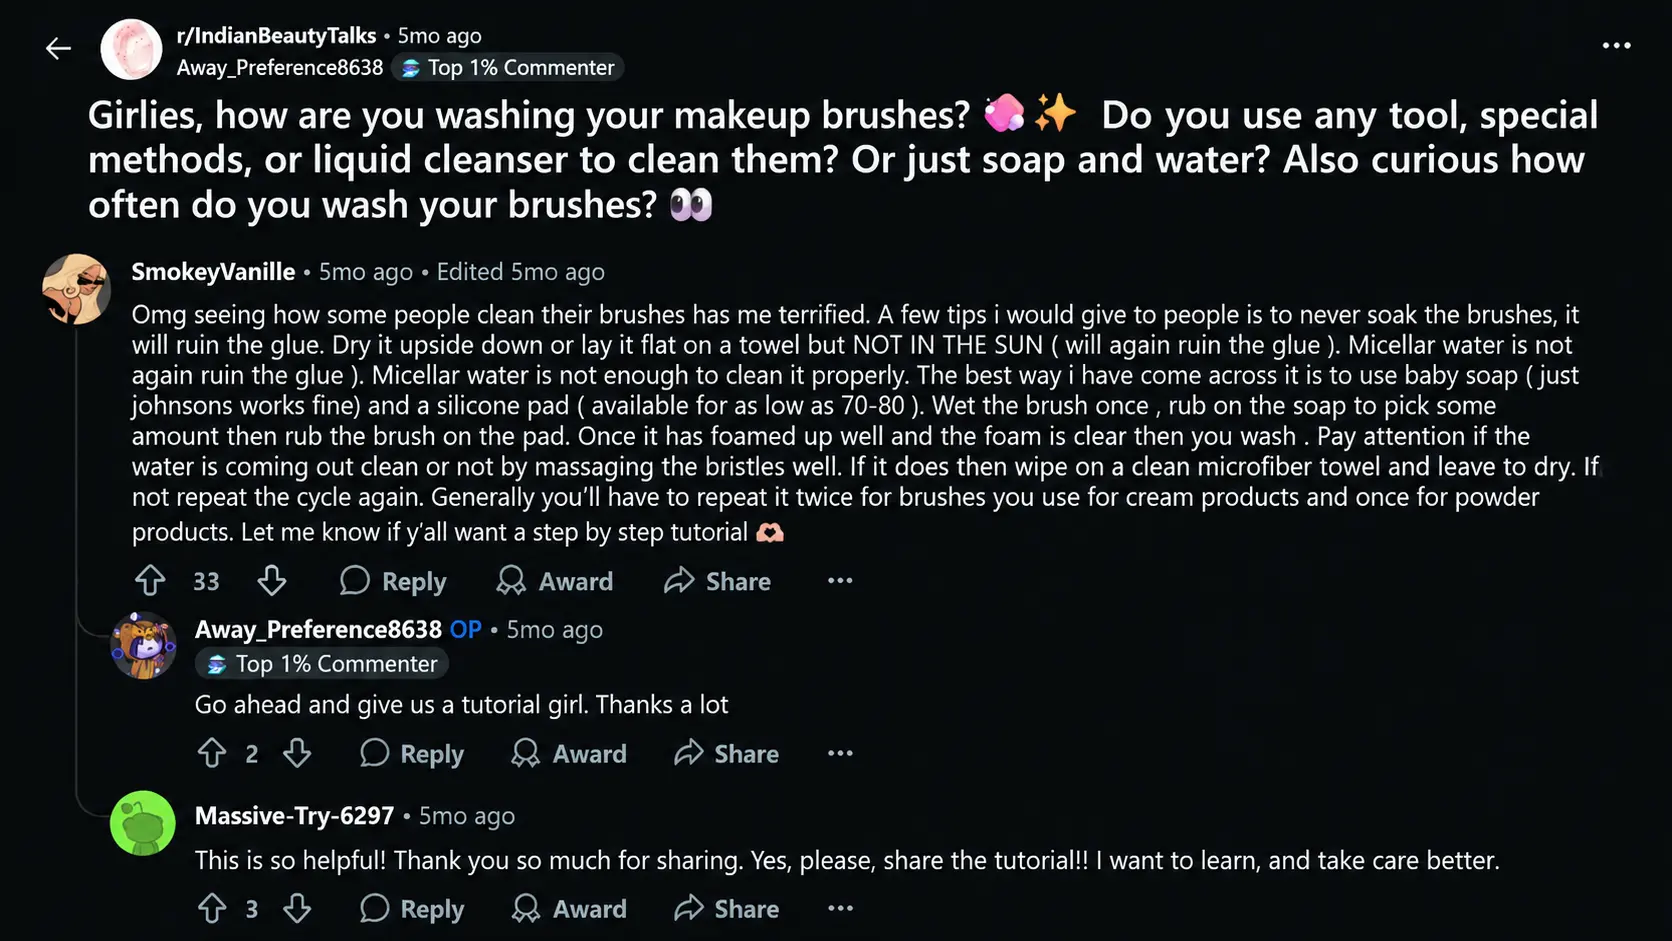
Beauty communities online share a wide mix of routines, but a few points come up again and again. Several users warn against fully soaking a brush, since water reaching the glued base can weaken the bristles over time; most say to dip only the bristle tips instead.
Micellar water is a popular first step for breaking down makeup before a proper soap wash, though many note it isn’t enough to clean a brush on its own. Baby soap, a dedicated bar of soap, or a store-bought brush cleanser paired with a silicone cleaning pad come up often as an easy combination.
A few people mention doing two rounds of cleanser for brushes used with cream products, since one wash alone doesn’t always get the water running clear. Drying advice tends to agree on one thing: brushes should rest bristles-down or lie flat, and staying out of direct sun helps protect the glue as well.
Common Mistakes to Skip
Small habits can shorten the life of your brush set, even when the washing method itself is right. Most of these slip-ups happen out of habit rather than carelessness, so it helps to know exactly what to watch for.
- Soaking brushes in a bowl: Long soaks can loosen the glue at the ferrule.
- Standing brushes upright while wet: Water can run down into the ferrule and cause shedding.
- Using very hot water: Heat can loosen bristles and dry them out.
- Skipping the reshape step: This leads to frayed or splayed bristles over time.
- Waiting too long between washes: This lets bacteria and buildup collect on the bristles.
Most of these mistakes are easy to avoid once you know what to watch for, and skipping them alone can add real time to a brush’s life. As WebMD notes, dirty brushes can carry more than just old makeup, so avoiding these habits protects your skin as much as the brush itself.
When to Replace a Brush
Careful washing stretches out a brush’s lifespan, but no brush lasts forever. If the bristles keep shedding, splay out of shape, or feel stiff no matter how gently you clean them, that brush has reached the end of its use.
Handles that feel loose at the ferrule, bristles that never fully bounce back after drying, or a smell that lingers even after a deep clean are all signs that washing alone won’t fix the problem anymore.
A worn-out brush makes a smooth, even application much harder to achieve, so swapping it out is often easier than fighting with it. Most brushes, if cared for well, last well over a year before they reach this point.
Final Verdict
Washing makeup brushes comes down to a gentle routine, not a complicated process. Point bristles down, use a mild cleanser such as baby shampoo or a dish soap and olive oil mix, and always let brushes dry flat before the next use.
Once you know how to wash makeup brushes the right way, a simple weekly and monthly schedule is all it takes to keep buildup from getting out of hand.
Skip the soaking, skip the hot water, and give the ferrule the light touch it needs to last.
Try this routine on your next wash day and notice how much softer, smoother, and cleaner your brushes feel afterward.
Frequently Asked Questions
Is It Okay to Wash Makeup Brushes with Hand Soap?
Plain hand soap can be too harsh for regular washing. A gentle baby shampoo or brush cleanser protects the bristles better over time.
How Do Makeup Artists Clean their Brushes?
Many artists use a gentle shampoo or brush soap, swirl bristles on a cleaning mat, rinse well, then reshape and lay brushes flat to dry.
How Do I Get Makeup Brushes Fluffy Again?
Wash with a gentle cleanser, rinse fully, then reshape the bristles by hand while damp. Let the brush dry flat so it keeps its natural shape.
How Long Should Makeup Brushes Take to Dry?
Most brushes dry fully within a few hours to overnight, depending on bristle thickness and airflow around the drying spot.