

Skin tags may be harmless, but they can still draw unwanted attention, especially if you’re planning to get a beauty mark tattoo or want smooth, even skin.
These small, soft growths tend to appear on the neck, face, or other visible areas, making you feel self-conscious or disrupting your look.
Laser skin tag removal offers a quick, precise solution by targeting the tag without harming nearby skin.
In this guide, I’ll explain how the treatment works, what to expect before and after, and why laser removal is a top choice for smoother, ready-for-anything skin.
What are Skin Tags?

Skin tags are small, soft, and benign growths that attach to the skin by a thin stalk, known medically as a peduncle. They can be flesh-colored, slightly darker, or even lighter than the surrounding skin.
These growths commonly appear in places where the skin experiences frequent friction, such as the neck, underarms, eyelids, groin, and under the breasts.
Although completely harmless and painless, they can be irritating if they snag on clothing or jewelry.
For many, the main concern is cosmetic. A skin tag on the face, neck, or another visible spot can affect confidence or draw unwanted attention.
If you’re planning a beauty mark tattoo, having a skin tag in that exact area can disrupt the design’s placement and compromise the smooth, clean finish you’re aiming for.
Understanding the Laser Technology
Laser skin tag removal uses advanced technology to target the growth with precision while protecting the surrounding skin.
The device emits a concentrated beam of light that focuses only on the skin tag.
When the light makes contact, it converts into heat energy, which breaks down the tag’s tissue at its base. Because the beam is so precise, it leaves nearby skin untouched, reducing the chance of scarring.
Another benefit is that the laser cauterizes the area as it works, sealing tiny blood vessels and minimizing bleeding.
This also lowers the risk of infection and speeds up the healing process. The treatment usually takes just a few minutes per tag, making it efficient and convenient.
For anyone wanting smooth, even skin with minimal downtime, this method offers both accuracy and lasting results.
Elements Used in Laser Technology
- Laser Light Source: Produces the focused beam of light that targets the skin tag. Common types include CO₂ lasers, Nd: YAG lasers, and picosecond lasers.
- Wavelength Control: Adjusts the light’s wavelength so it’s absorbed by the skin tag tissue without harming nearby skin.
- Energy Delivery System: Controls how much heat is applied, ensuring precision and safety.
- Cooling Mechanism: Many devices include air cooling or contact cooling to keep the skin comfortable during treatment.
- Handpiece or Applicator: The tool the specialist holds to direct the laser exactly where it’s needed.
Stepwise Guide: Laser Skin Tag Removal Process
Skin tags are usually harmless, but many people choose to have them removed for cosmetic reasons.
These complete instructions will help you through every step of the process, so you know exactly what to expect from start to finish.
Before the Treatment: Preparing for Your Appointment
- Avoid sun exposure on the treatment area for 2 weeks before your visit
- Don’t use any skincare products with acids or retinoids for 3 days before
- Remove all makeup and lotions from the skin tag areas
- Wear loose, comfortable clothing that won’t rub against your skin tags
- Bring a list of all medications you take
- Eat a light meal before coming in to avoid feeling dizzy.
Step 1: Preparing for the Procedure
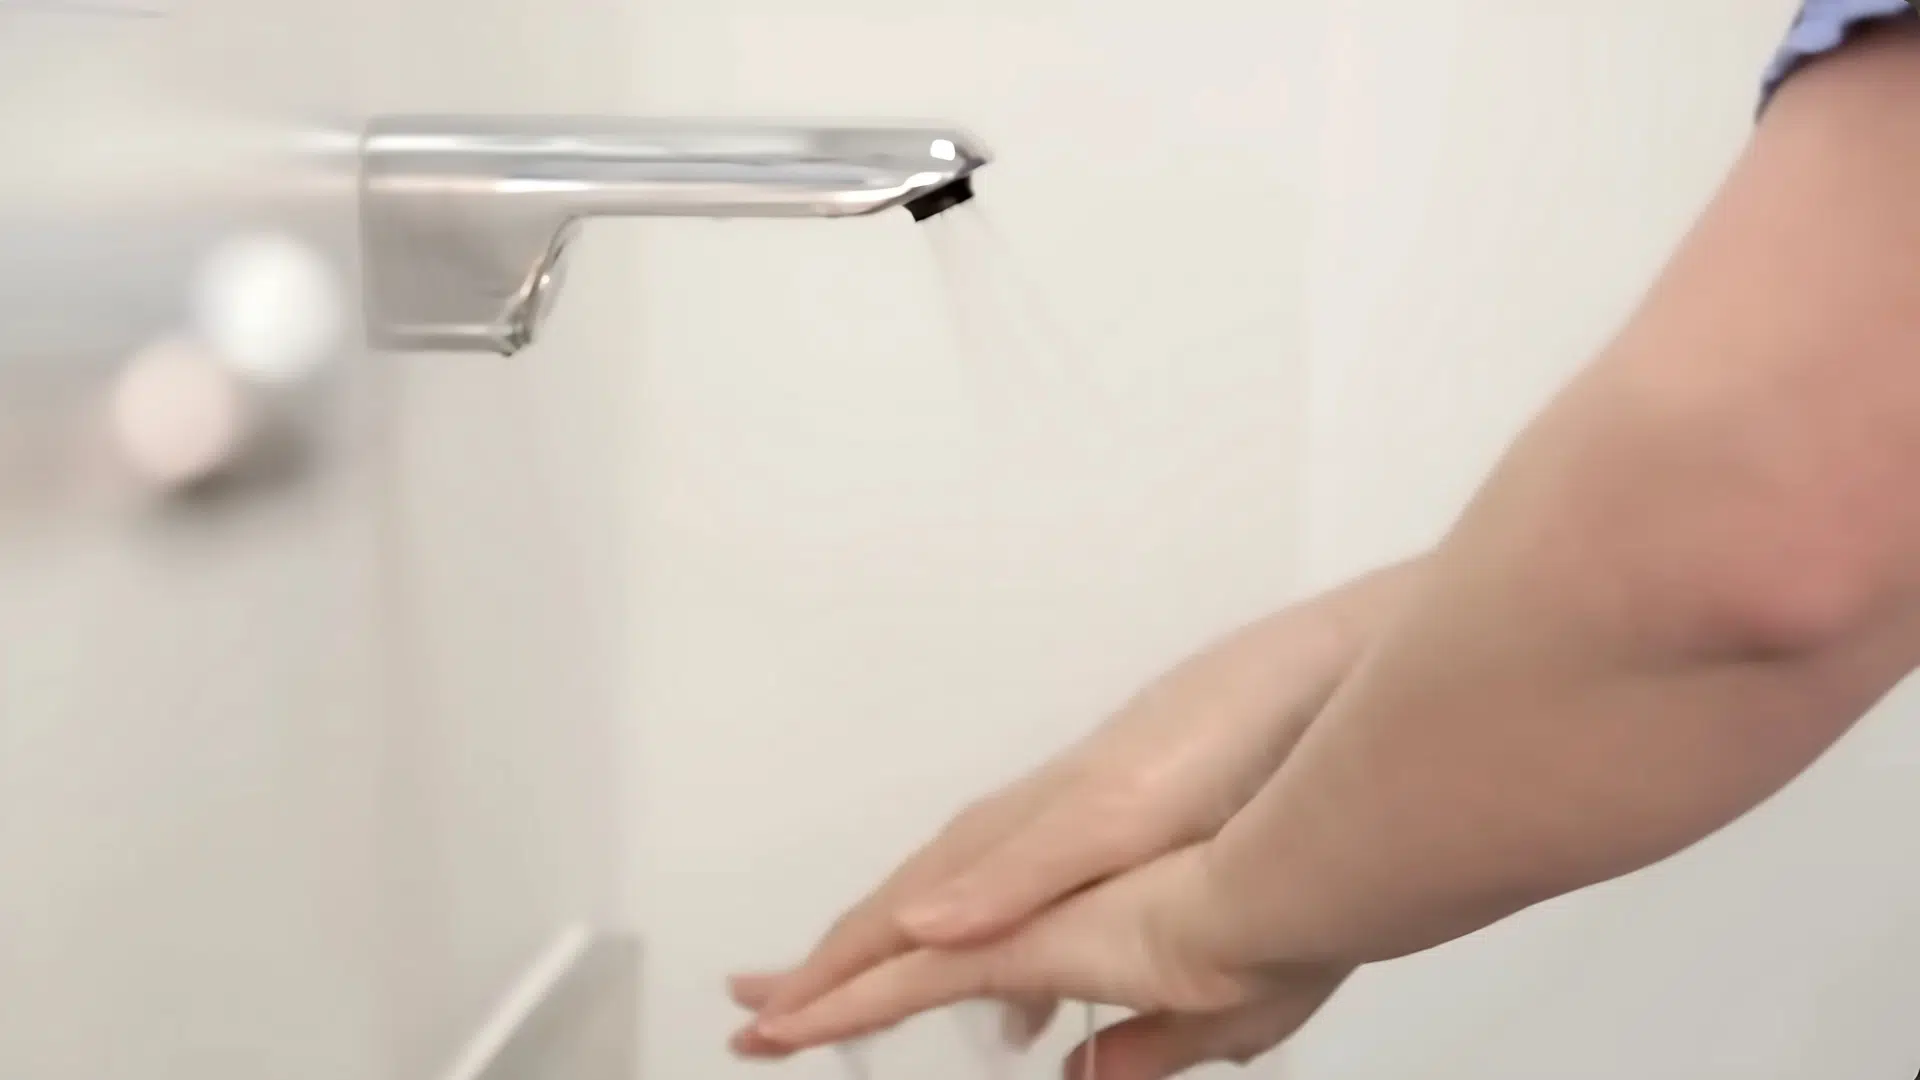
Before removal begins, the chosen method-either a hyfrecator for larger tags or an erbium laser for smaller ones is confirmed. The patient may receive a local anesthetic to numb the area, ensuring the process is comfortable.
Before the laser is used, both you and the doctor will wear special safety glasses to protect your eyes from the bright light
The aim here is to prepare the skin so the removal is quick, precise, and minimally uncomfortable.
Step 2: Removing the Skin Tags
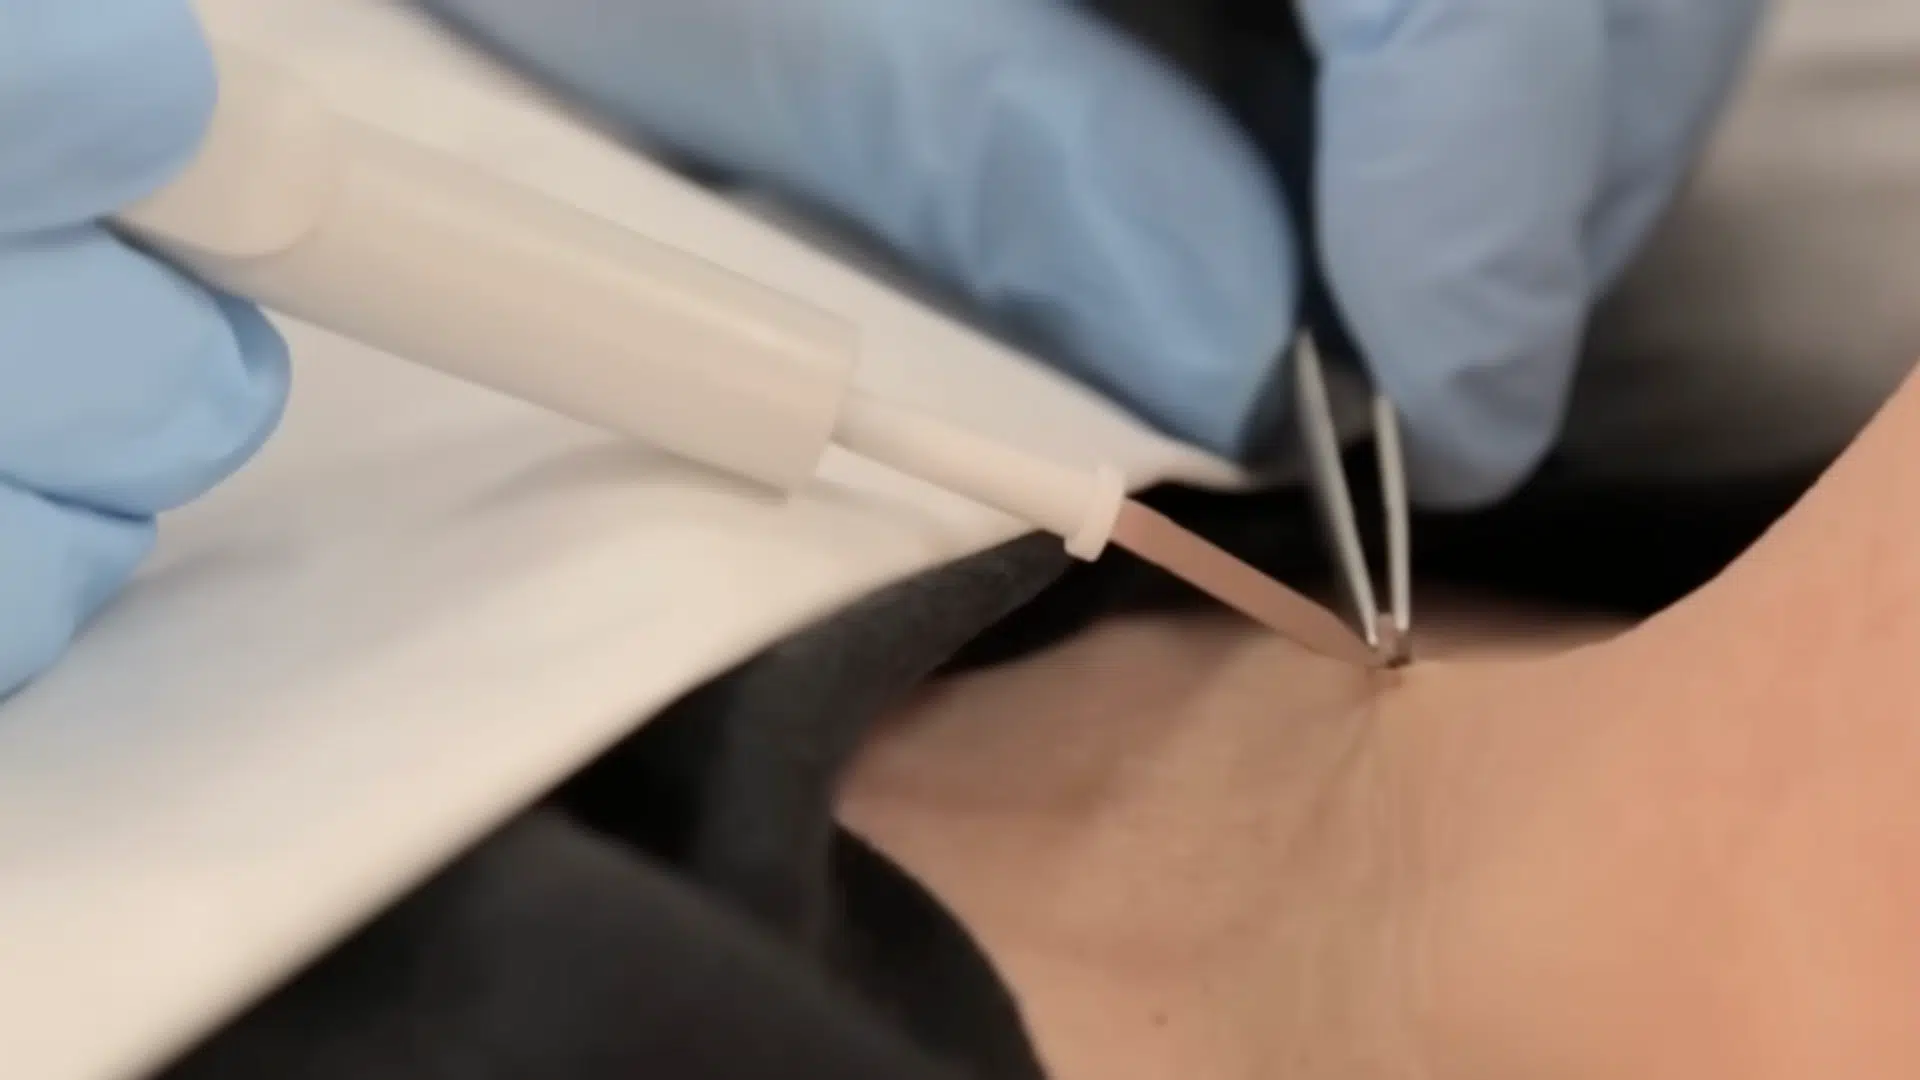
The video then shows the use of the hyfrecator, a surgical tool that both cauterizes and excises the tag in one step.
This dual action means the tag is removed while the blood vessels are sealed, minimizing bleeding and reducing the risk of infection.
Removing each tag typically takes only one to three seconds. You may hear a faint popping sound and feel a quick pinch or a gentle warmth as the laser works.
Step 3: Post-Removal Care
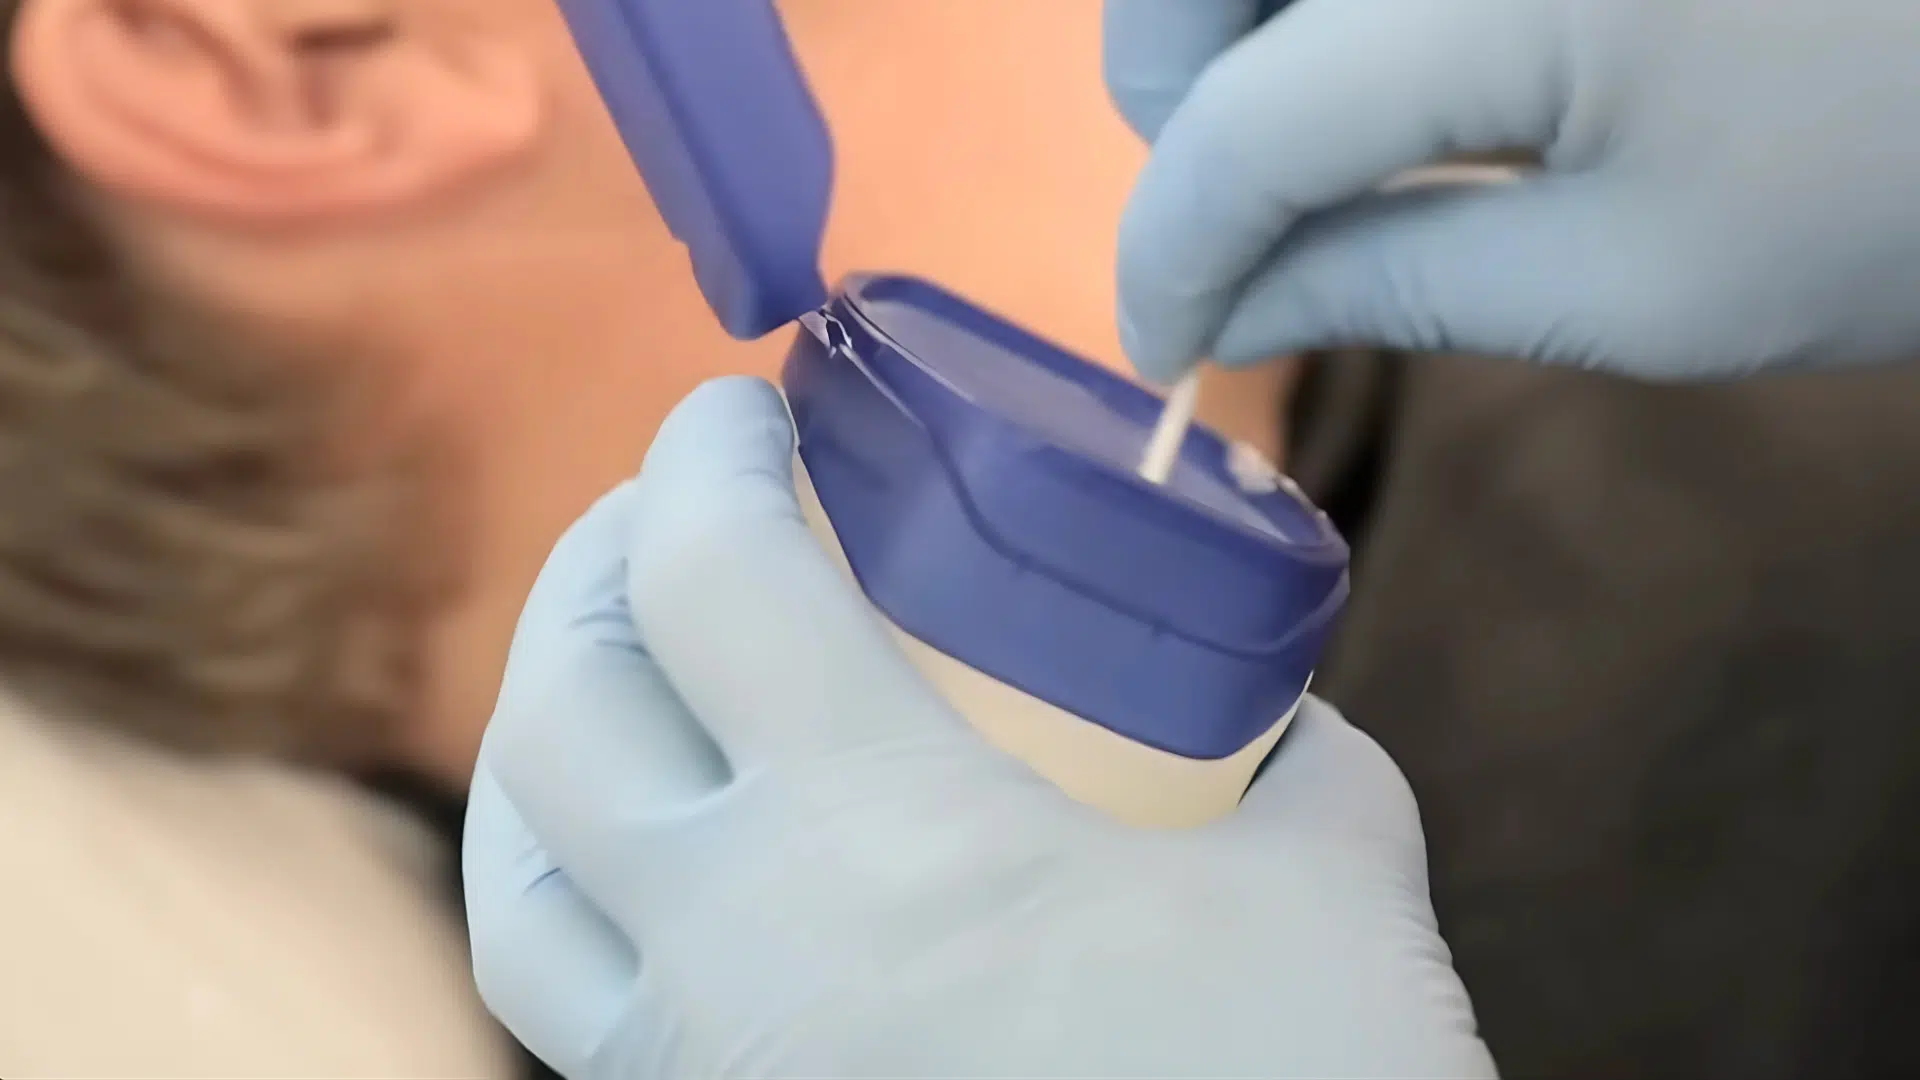
Once the skin tag is removed, Dr. Kay emphasizes keeping the treated area dry. The site is dressed to protect it from bacteria and friction. This step is crucial for healing and preventing any complications.
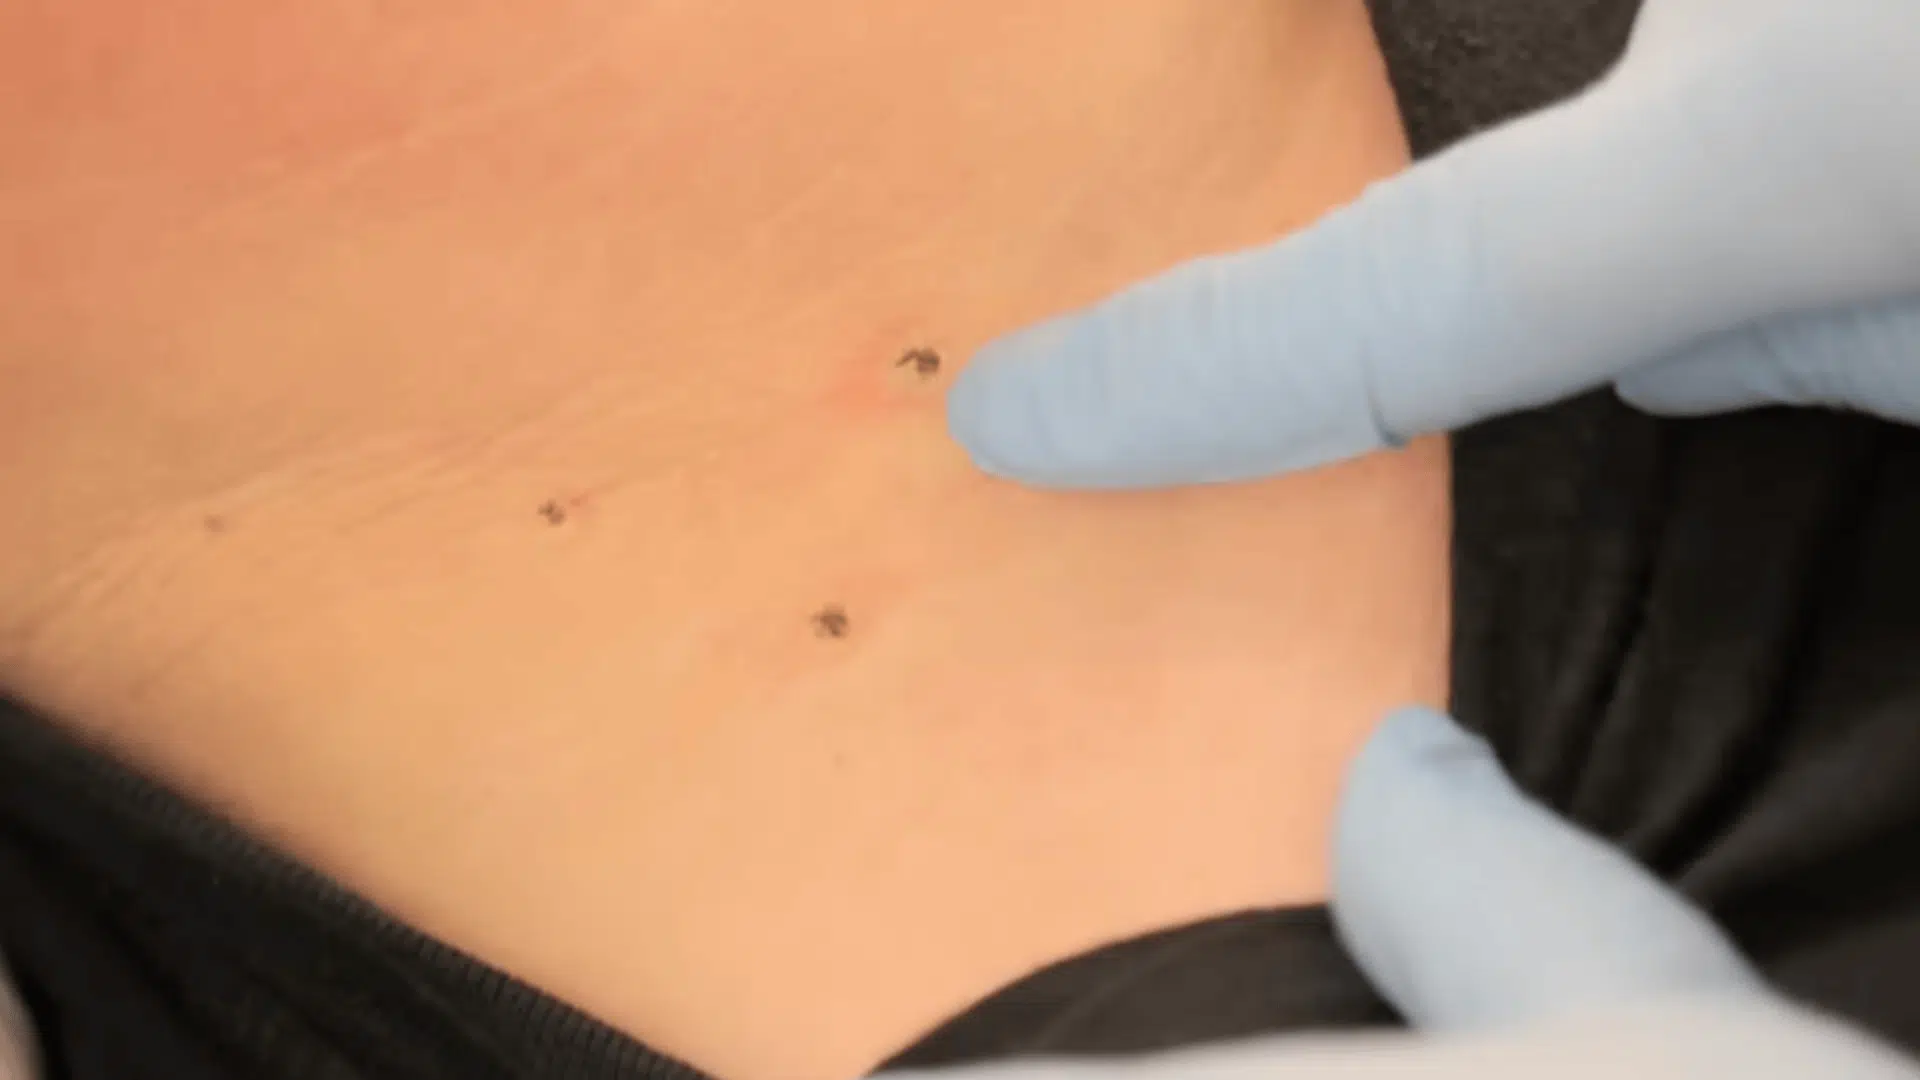
Each area is checked for healing before treating the next, allowing quick removal of multiple tags in one visit.
Once a skin tag is treated, the doctor will check to ensure it has been fully removed. If any tissue remains, the laser may be used again to complete the process.
Step 4: Aftercare Advice
Before the patient leaves, aftercare instructions are provided. These typically include keeping the dressing clean and dry, avoiding unnecessary touching of the treated area, and monitoring for any signs of irritation.
It’s also essential to watch for signs of complications, such as excessive redness, swelling, or unusual discharge.
Applying a broad-spectrum SPF after the area has fully healed helps prevent pigmentation changes. Following these guidelines ensures smooth healing and the best cosmetic result.
This guide is based on a helpful video by Skin Surgery Clinic. You can check out the original video on their YouTube channel or watch it below.
Effectiveness, Safety, and Risks
Laser skin tag removal is known for being both effective and safe when done by a qualified professional.
Most skin tags are completely removed in one session, and they don’t grow back in the same spot. However, new tags can still appear over time in other areas.
The procedure is gentle on surrounding skin, with minimal pain, quick healing, and very little risk of scarring. Some mild redness or swelling can happen right after treatment, but this usually fades within a few days.
Quick facts to keep in mind:
- Success rate: Very high, with most tags gone after a single treatment.
- Pain level: Mild, often described as a quick pinch or warm feeling.
- Downtime: Minimal; most people return to normal activities the same day.
- Risks: Rare, but can include slight pigment changes or infection if aftercare isn’t followed.
- Cost: Often around $150 per tag in the U.S., and not usually covered by insurance.
Aftercare and Long-Term Prevention
Aftercare is key to smooth healing after laser skin tag removal. Gently clean the area with mild soap and water, then pat dry.
Apply any prescribed or recommended healing ointment to keep the skin protected and support faster recovery.
Avoid touching, scratching, or picking at the spot, as this can cause irritation or delay healing. Sun protection is also important; apply sunscreen if the area is exposed, as new skin is more sensitive to UV damage.
Most spots heal in a week, but light moisturizing can ease redness or dryness.
For long-term prevention, reduce skin-on-skin friction by wearing breathable fabrics, maintain a healthy weight, and care for your skin daily.
These habits can help lower the chances of new skin tags forming in the future.
Conclusion
Unwanted skin tags can distract from your natural look or interfere with plans for a beauty mark tattoo, but laser skin tag removal offers a safe, effective way to restore smooth, clear skin.
This precise treatment targets only the skin tag, minimizing tissue damage, reducing downtime, and leaving minimal scarring.
It’s an ideal choice for anyone seeking a boost in skin confidence or preparing for cosmetic work.
Whether your goal is to enhance your appearance, improve comfort, or simply feel more at ease in your own skin, consulting a qualified professional is the best first step.
Schedule an appointment to explore your options and move closer to skin that looks and feels its best, ready for whatever beauty plans you have next.