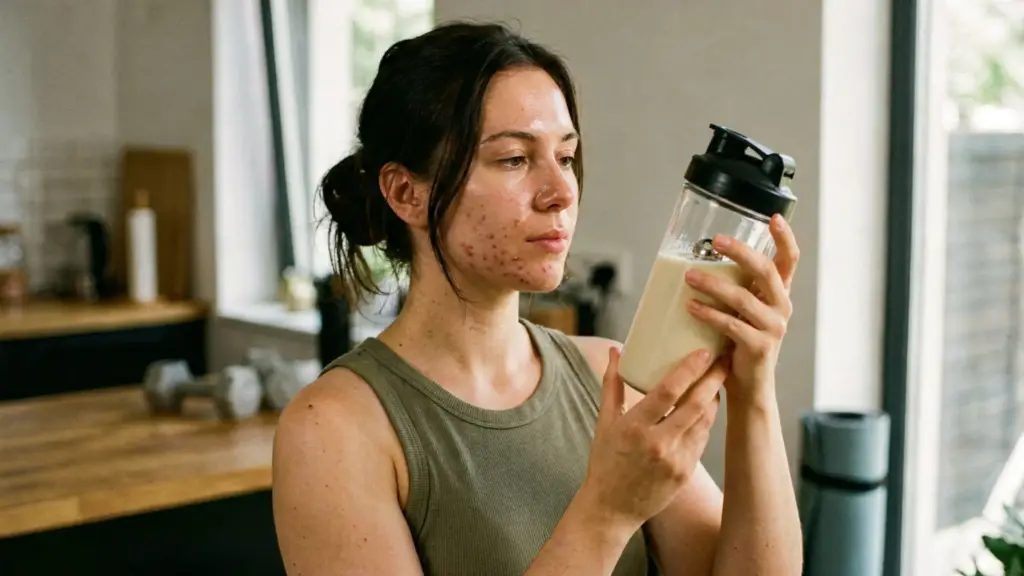
When I first started looking into acne scar treatments, I didn’t care much for technical talk.
I wanted proof.
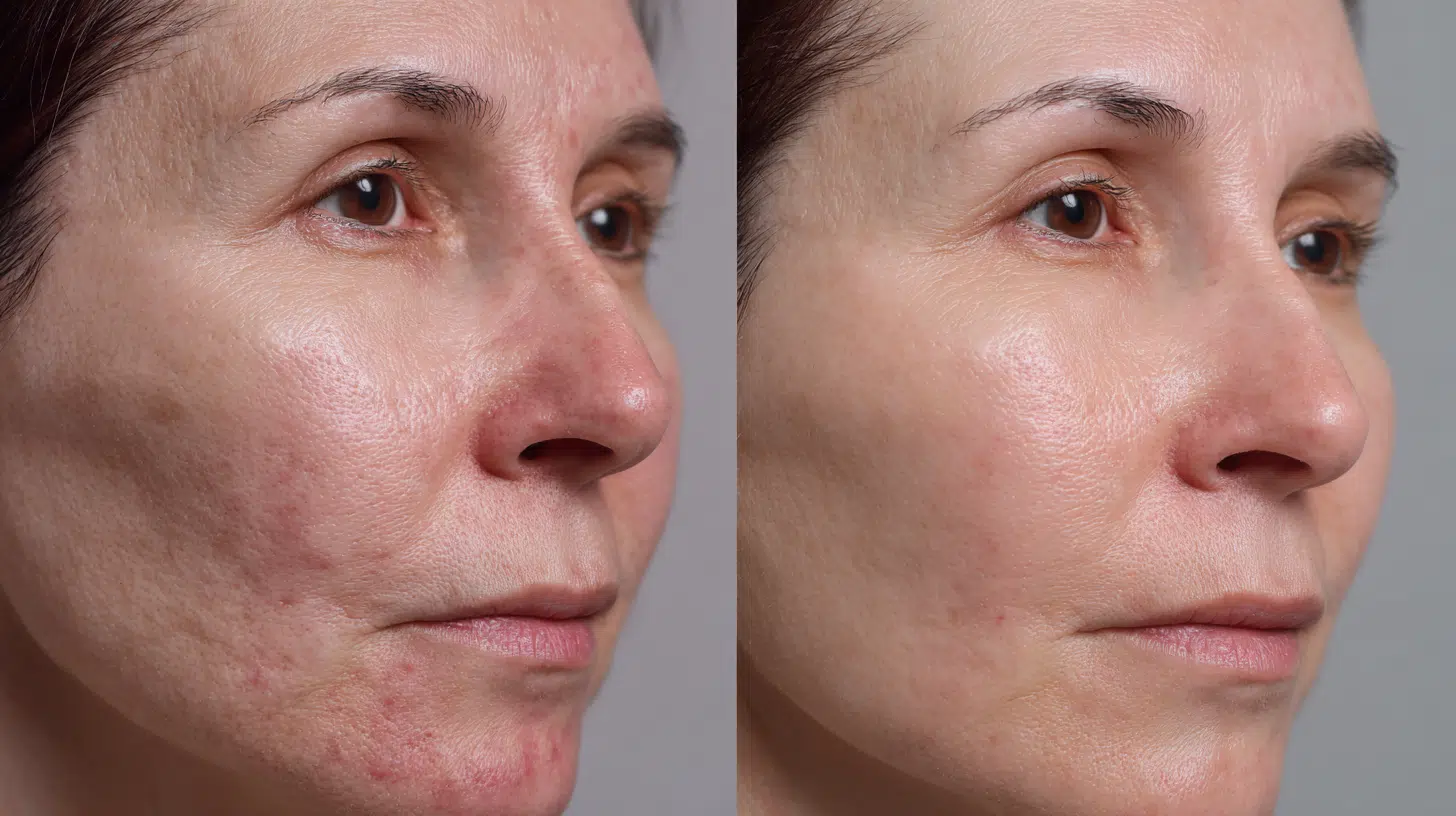
I wanted to see before-and-after photos to see if these treatments actually worked. That’s what led me down a rabbit hole of clinics, galleries, and patient stories.
In this guide, I’ll share what I’ve learned. You’ll see which treatments tend to deliver visible results, what those results look like in real life, and how to understand the photos you find online.
I’ll also touch on laser skin resurfacing before-and-after and Fraxel laser before-and-after since they’re popular choices.
If you’re here for real results you can picture, you’re in the right place.
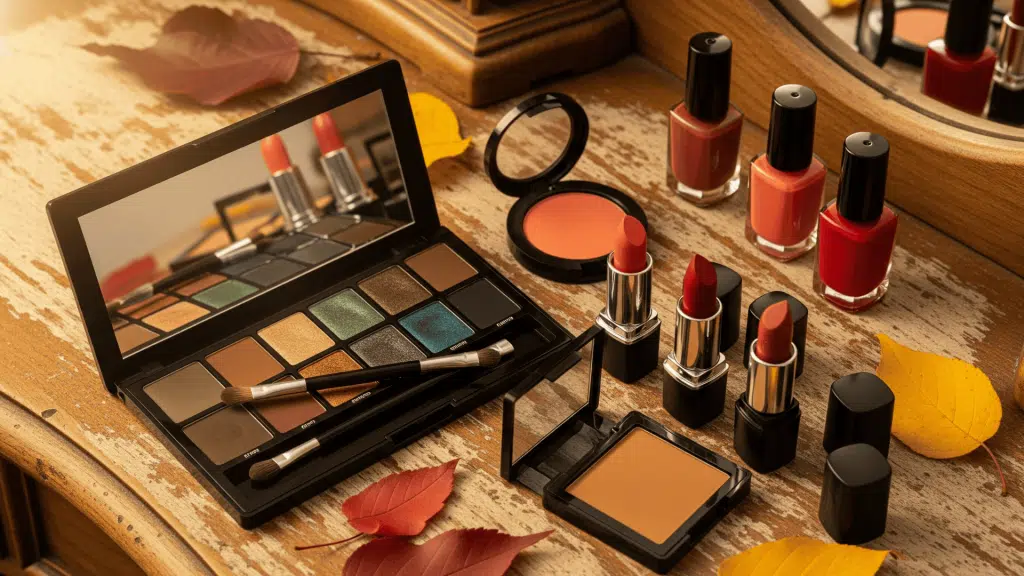
The Importance of Before and After Photos

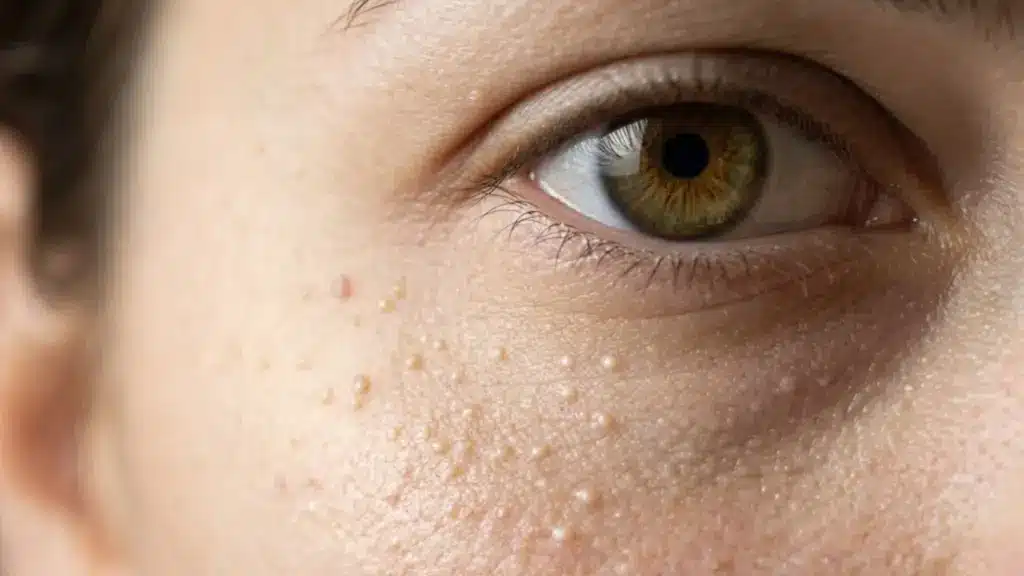
Photos can tell you more than any treatment description. They show real changes in skin texture, tone, and how scars fade over time. Seeing these details makes it easier to understand what a treatment can actually do.
They also set realistic expectations. You can see the limits and possibilities of each option instead of relying on promises.
By matching your own scar type to similar cases, you get a clearer idea of likely results.
Photos show outcomes for different skin tones, too, which matters because treatments can work differently for each.
They also keep clinics accountable. A large gallery with clear, consistent images usually means the clinic is confident in its work and willing to show real patient progress.
Types of Acne Scar Treatments with Visual Examples
There’s no single fix for acne scars. Different treatments work in different ways, and the results can vary depending on the type of scars and the person’s skin. Before and after photos can help you see which ones might work best for you.
1. Laser Skin Resurfacing

This is one of the strongest treatments for deeper scars. CO₂ fractional lasers are often used, and the results can be dramatic.
In before-and-after photos, rough or uneven skin often looks much smoother, with visible texture changes. The best examples come from clinics that keep lighting and angles consistent so you can clearly see the difference.
It usually requires more downtime but can deliver lasting improvements.
2. Fraxel Laser

Fraxel is a non-ablative laser, so it’s less intense than CO₂. It works over a series of treatments to improve skin texture and fade dark marks.
In Fraxel laser before and after photos, the changes are gradual but clear. The skin looks more even, and scars appear softer.
It’s a good choice for those who want noticeable results without the longer recovery time that comes with stronger lasers.
3. Other Lasers
Clinics may also offer options like LaseMD or fractional erbium lasers. These tend to be gentler and may need more sessions to achieve results.
Before and after photos often show steady improvement over time rather than dramatic changes after a single session.
These lasers can be a good option for people with lighter scarring or those who prefer a less aggressive approach.
4. Microneedling and RF Microneedling

Microneedling uses fine needles to trigger the skin’s healing process and boost collagen. In photos, results usually start small after the first session but build over several treatments.
RF microneedling adds radiofrequency energy, which can reach deeper layers and improve more stubborn scars.
The difference in before and after photos is often subtle at first, then more noticeable as treatments continue.
5. Chemical Peels and TCA CROSS

Chemical peels remove the outer skin layer to improve tone and texture. TCA CROSS is more targeted, as it’s applied directly into individual scars to break down scar tissue.
In before-and-after galleries, these treatments are often most effective for surface-level marks or small, deep scars.
Results can show brighter skin and smoother texture, but several sessions may be needed for lasting improvement.
6. Subcision, Punch Excision, and Taylor Liberator

These are minor surgical methods that work on deeper scars. Subcision releases scar tissue under the skin, while punch excision removes the scar entirely.
The Taylor Liberator tool is used for the wide release of tethered scars.
Before and after images often show a big difference in how light reflects on the skin, making it look smoother and less shadowed.
7. Fillers and Injectables

Fillers like Bellafill or Sculptra are used to raise indented scars so they blend better with surrounding skin. The improvement is often immediate in photos, with scars appearing less deep and skin looking fuller.
Results vary depending on the filler used, and some may last longer than others. This option can be combined with other treatments for better results.
Finding the right treatment often means looking at real before and after examples for your scar type and skin tone. Comparing multiple patient cases can give you the clearest picture of what to expect.
Quick Comparison Table: Acne Scar Treatments
If the details above felt heavy, this table gives a quick look at the results and downtime for each treatment so you can compare them easily.
| Treatment Type | Typical Before & After Insights | Downtime & Comfort |
|---|---|---|
| CO₂ / Ablative Laser | Big texture changes, smoother skin surface | Moderate to high |
| Fraxel / Non-ablative | Gradual smoothing, reduced spots | Moderate |
| Microneedling / RF Microneedling | Subtle but steady improvements | Minimal |
| Chemical Peels / TCA CROSS | Brightens skin, lightens mild scars | 7–9 days |
| Surgical (Subcision, Excision) | Releases deep scars, major texture shift | More downtime |
Looking at results side by side makes it easier to compare your options. This way, you can match the expected changes and recovery time to what works best for your lifestyle and skin needs.
Scar Treatment Before and After Photos

Seeing real patient galleries can make it much easier to understand how different treatments work in practice. Each clinic’s photos show their approach, the types of scars they treat, and the results they achieve.
- La Jolla Cosmetic Laser Clinic: Shows a range of scars and treatments, making it easier to compare
- Dr. Khorasani: Mixes techniques like Bellafill and DeepFX laser for combined results
- Roy Geronemus, MD: Features microneedling and laser combinations with clear case examples
- Dr. H Consult: Includes photos of surgical pathways and advanced scar work
- HazanyDerm: Has good examples of rolling scars treated with lasers
Looking through multiple galleries gives you a fuller picture. It helps you see which treatments consistently deliver results for your scar type.
How to Judge Before and After Photos for Scar Treatment
Before trusting any before-and-after gallery, it helps to know what makes a photo reliable. The details in these images can reveal a lot about the treatment’s real effect. Things to look for in these:
- Same lighting and angle in both photos
- No makeup or heavy retouching
- Clear timing labels (right after, weeks later, months later)
- Multiple cases, not just one great example
If a clinic only shows one or two perfect results, it’s harder to trust their overall success. A good gallery will give you many examples to compare.
Choosing the Right Treatment for Your Scar Type
Not every scar responds to the same treatment. Matching your scar type to the right method can make a big difference in results. Common matches for it are:
- Ice-pick scars: Often treated with TCA CROSS, punch excision, or deep laser
- Boxcar scars: Respond well to CO₂ laser, Fraxel, or subcision
- Rolling scars: Usually improved with subcision, microneedling, and fillers
I always look for before and after photos from people with my scar type and similar skin tone. This gives me a realistic picture of what might be possible.
Seeing those examples helps me set expectations before starting any treatment.
Conclusion
If you came here looking for acne scar treatment before and after results, you now have a clearer picture of what’s out there.
You’ve seen how different treatments work, which ones fit certain scar types, and what to check when judging photo quality.
You also know what details matter most, like lighting, angles, and seeing a variety of real patient results. These things help you separate true outcomes from polished marketing.
With this knowledge, you can compare options confidently. The best treatment is the one that works for your skin, your scar type, and your lifestyle.
Now you have the tools to make that choice and move forward with realistic expectations based on what you’ve seen and learned here.