
School mornings rarely go as planned. One extra snooze, a missing notebook, and suddenly you’re left with just a few minutes to get ready.
That’s where easy school hairstyles come in. The best ones are quick, require little more than an elastic or claw clip, and stay in place from first period to the final bell.
I’ve seen it countless times: people standing in front of the mirror with no idea what to do and almost no time left. That’s why I like simple styles that work in the real world.
The hairstyles below are easy to learn, take just a few minutes to do, and help you walk out the door looking put together without the stress.
What Makes a Hairstyle Actually “Easy” for School?
Before getting into the styles, it helps to define what “easy” actually means on a school morning.
A hairstyle might look simple in a tutorial, but if it takes 20 minutes, three products, and a perfect parting, it is not really easy when the bus is almost outside.
For this list, “easy” means something you can do in five minutes or less after practicing it once or twice.
It should not need heat tools, special products, or anything more complicated than elastics, bobby pins, a brush, or a claw clip.
A good school hairstyle also has to hold up. It needs to last through classes, wind, gym, and the kind of day where you barely touch a mirror. If a style only works with extra time and steady hands, it did not make the list.
Easy Hairstyles for School You Can Do in Minutes
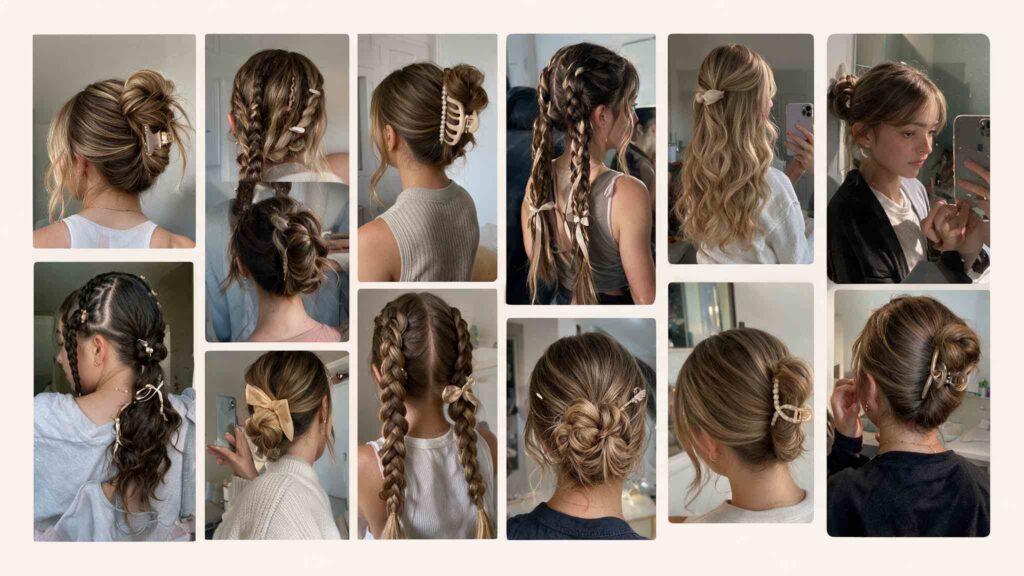
These cover a range of hair lengths, textures, and morning time slots. Start with the one that fits your hair best, and rotate through the rest when you want a change.
1. The Sleek High Ponytail
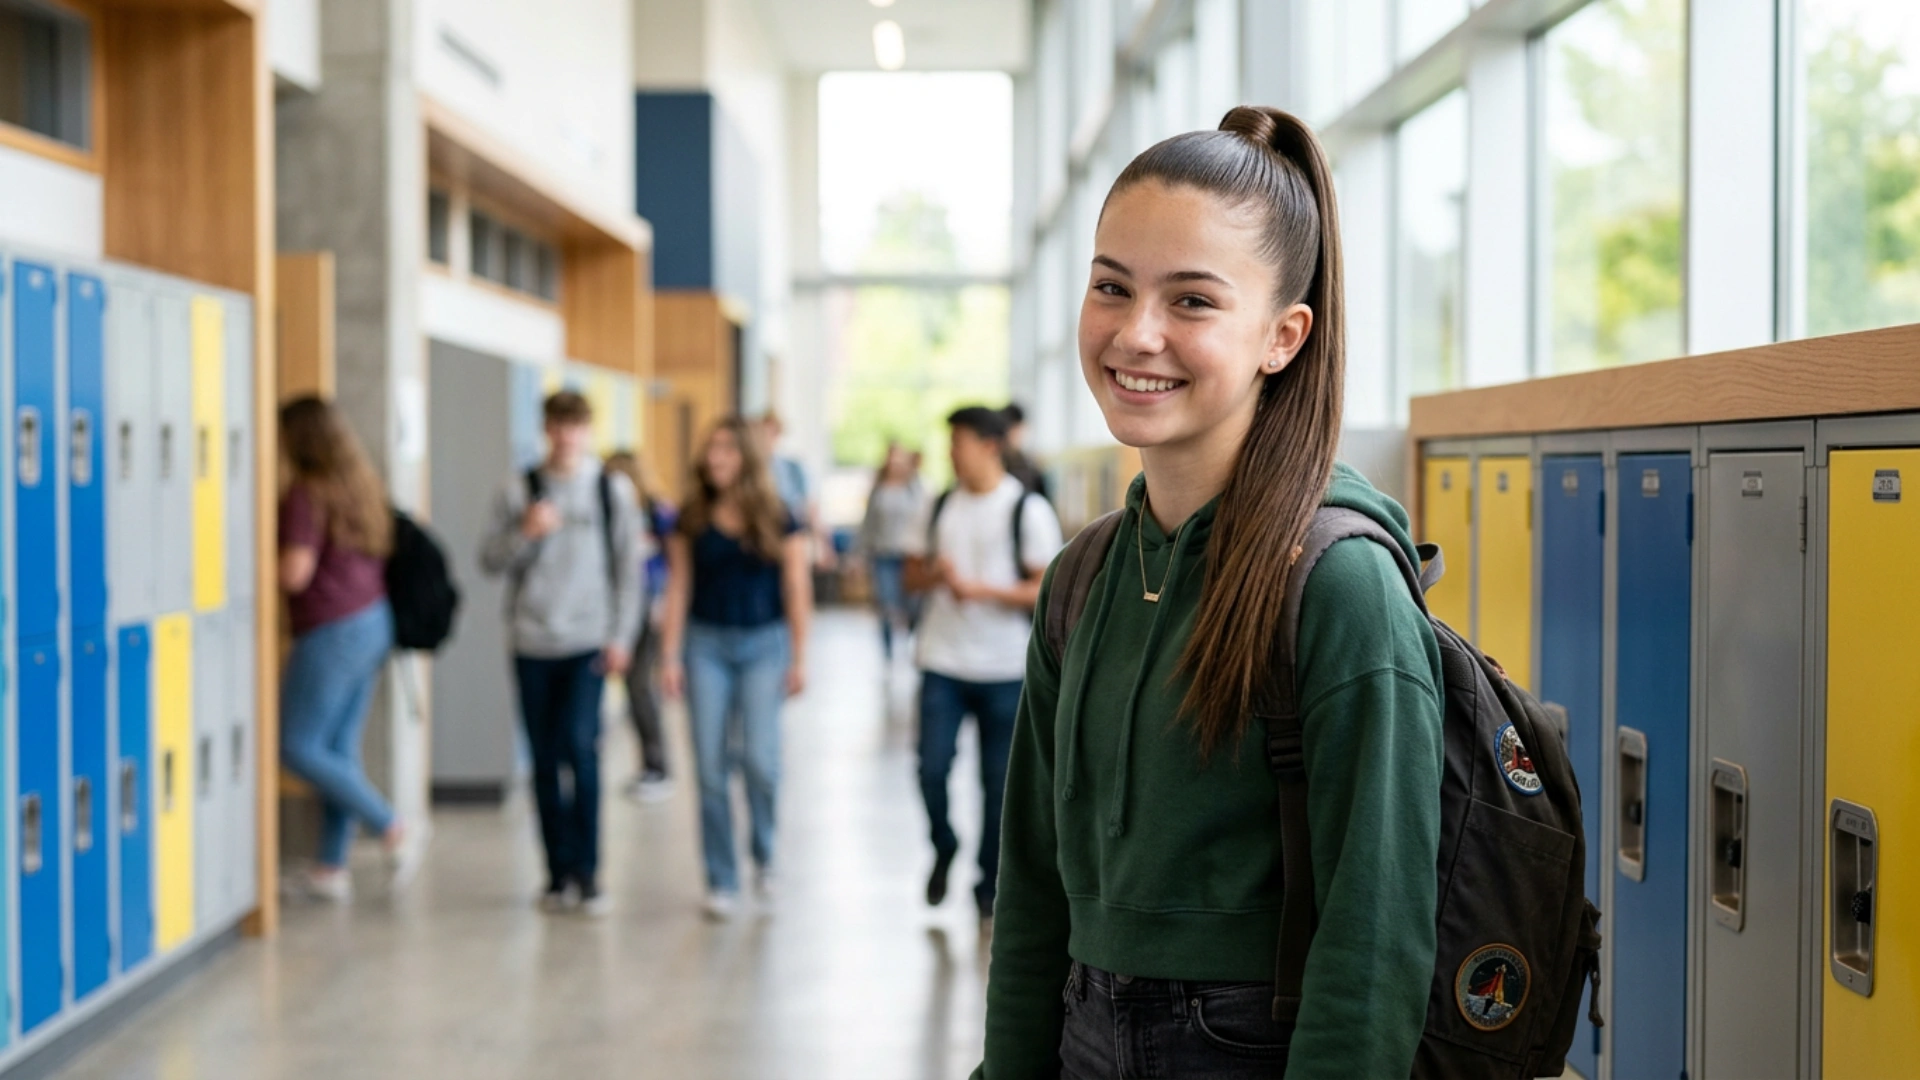
A sleek high ponytail is one of the easiest styles for school because it looks clean and takes little time.
Brush your hair upward from the nape toward the crown, then secure it with a strong elastic. Smooth any bumps with a soft brush and a small amount of gel.
For a cleaner finish, wrap a thin strand around the elastic and pin it underneath. This works best for medium-to-long hair.
2. The Bubble Braid
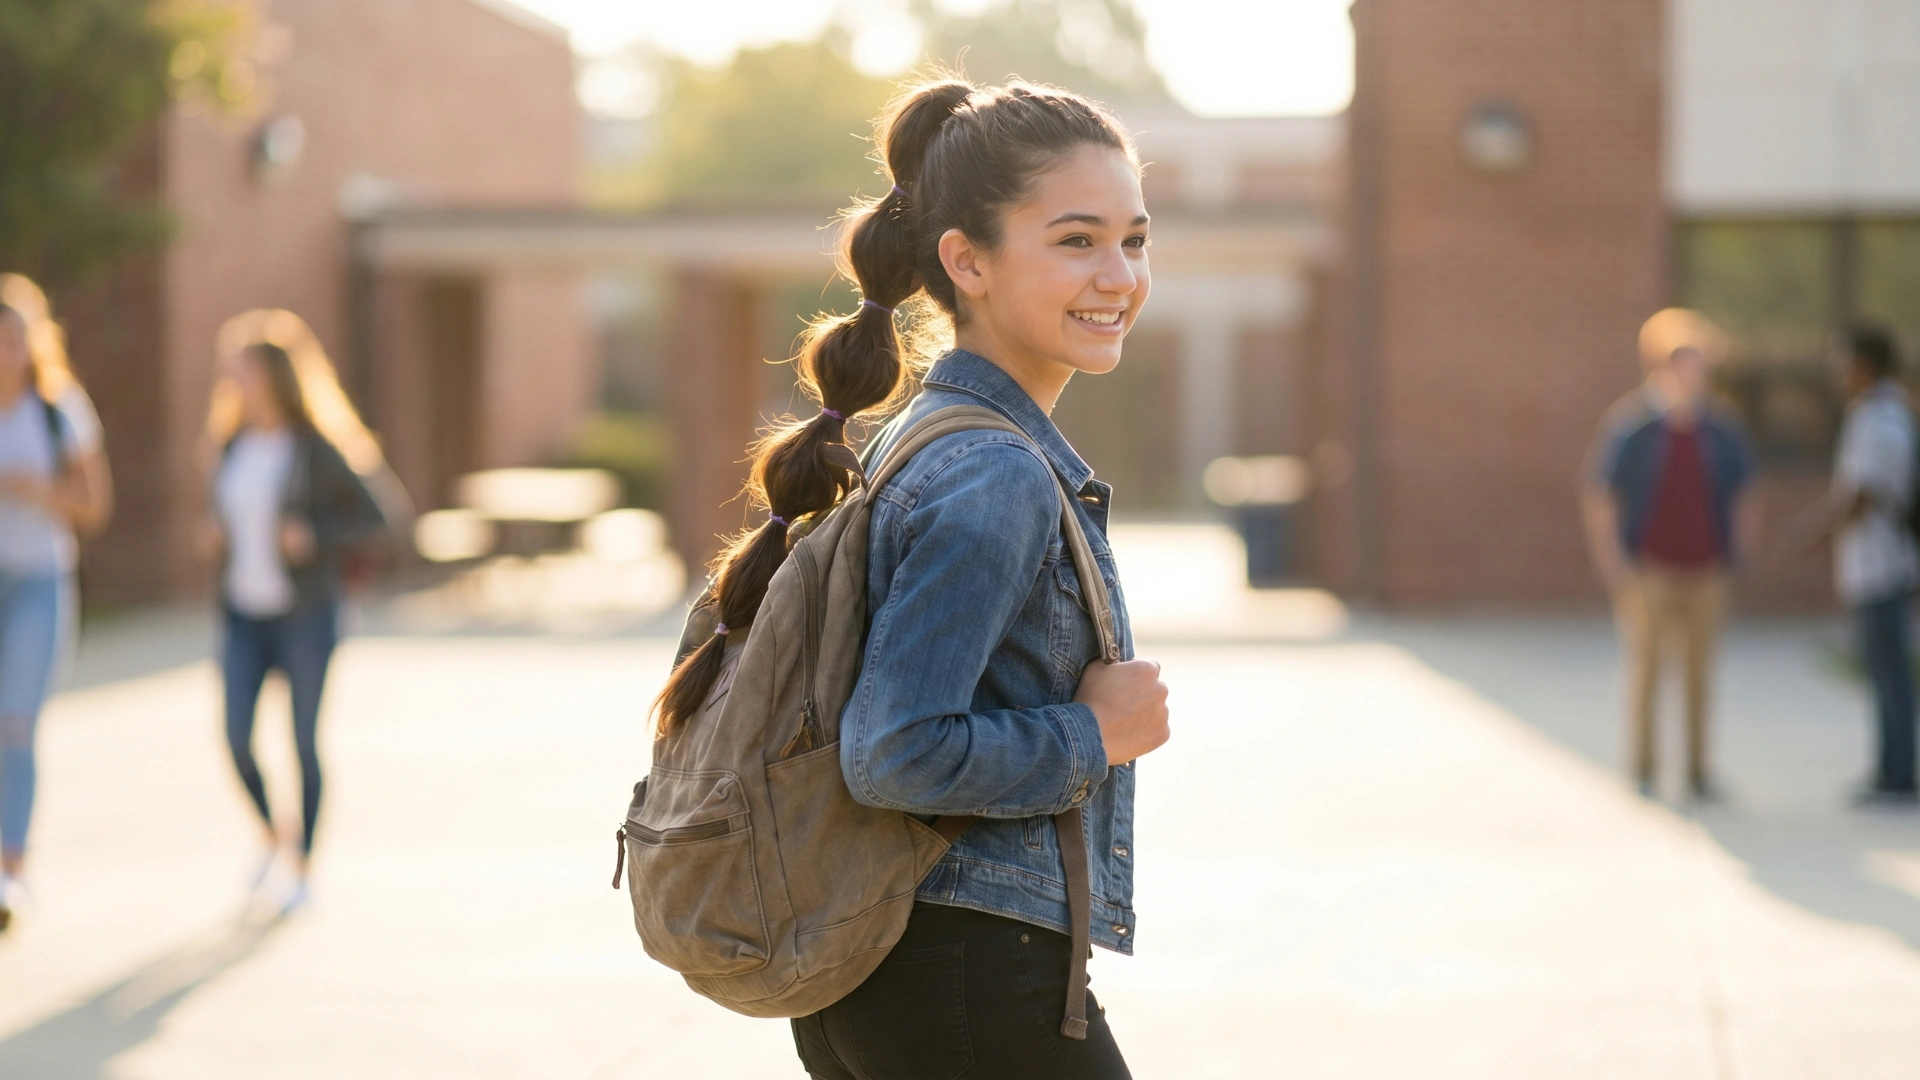
The bubble braid looks detailed, but it is very easy to create. Start with a high or mid ponytail, then place small elastics every few inches down the length.
Gently pull each section outward to make the bubbles look fuller. You can finish it with a small elastic or scrunchie.
This style is great for long hair and works well when you want something playful but still simple for school.
3. The Half-Up Twist
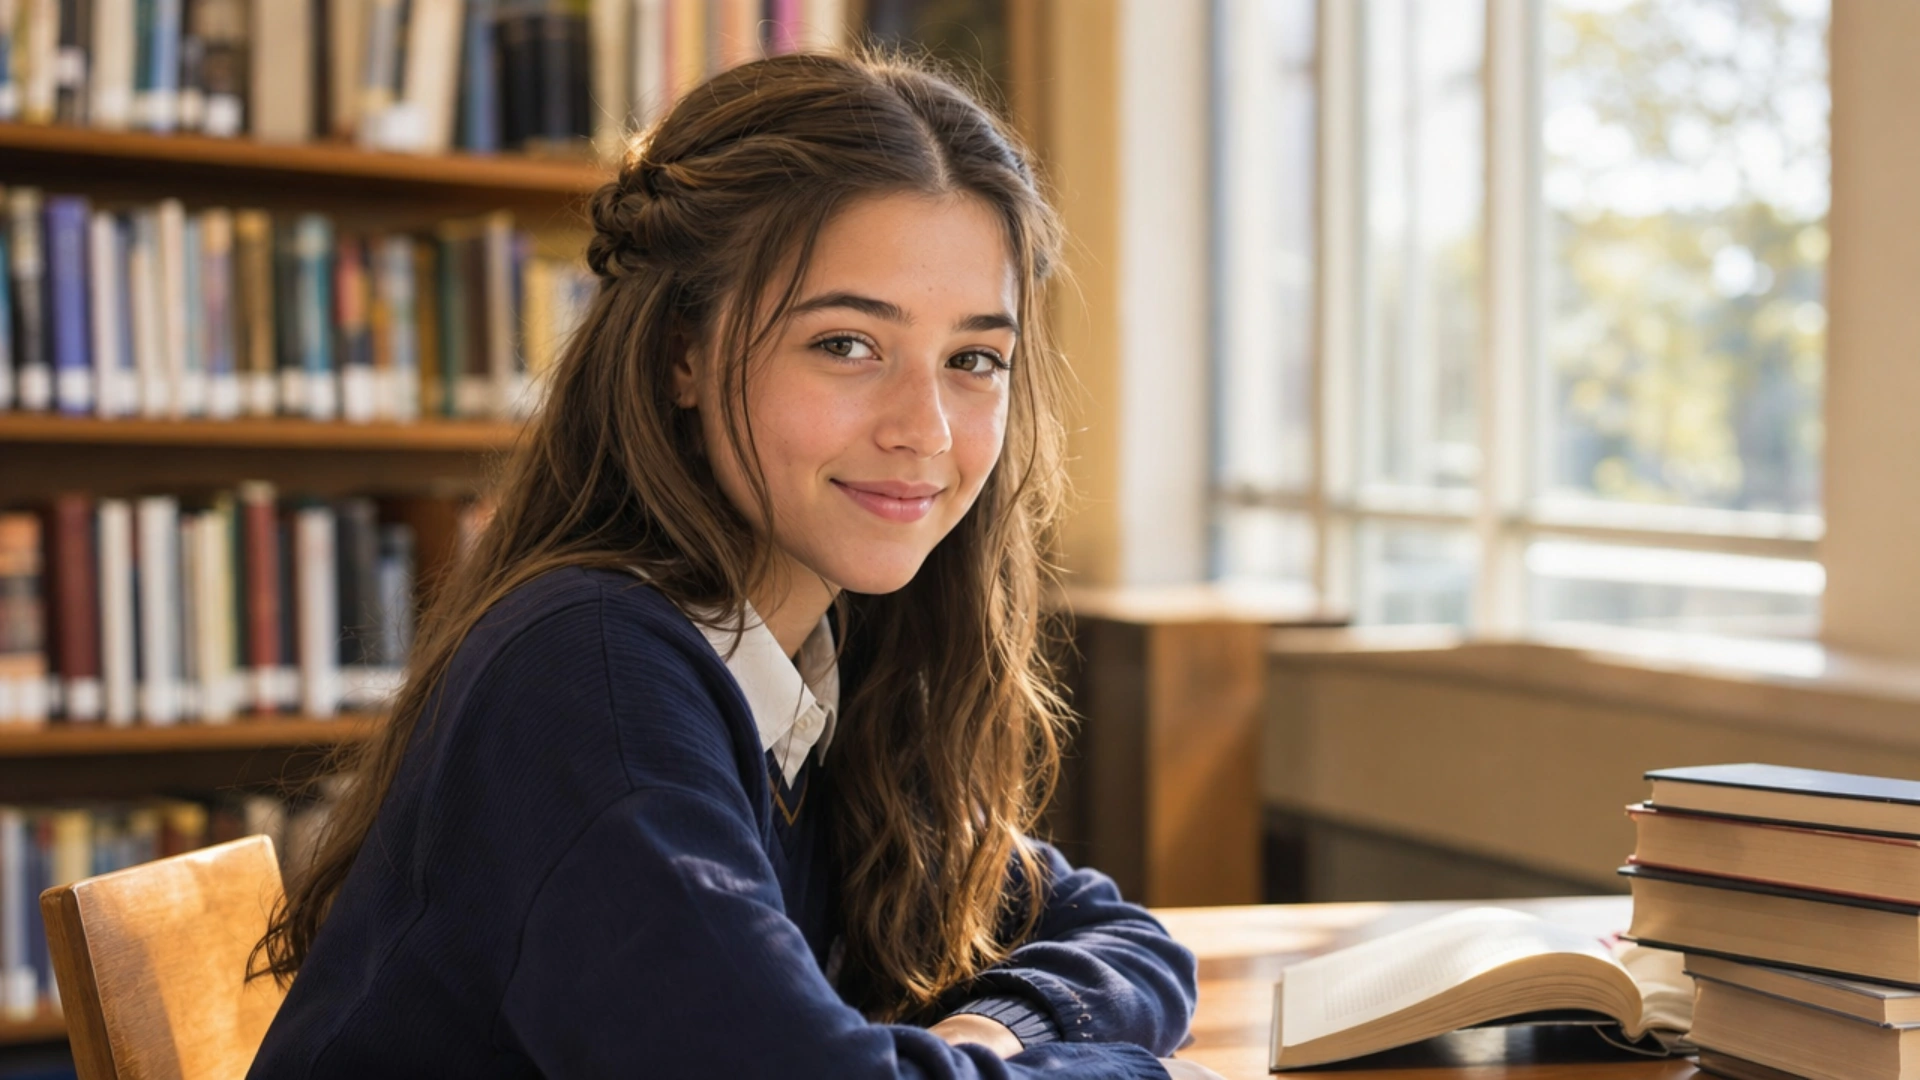
The half-up twist keeps your hair away from your face while still letting the rest stay loose.
Take a small section from each side above the ears and twist both pieces toward the back. Secure them together with a clip or an elastic.
The style feels soft, neat, and easy to wear all day. It works best on medium to long hair and is especially useful for second-day hair.
4. The Low Bun with Face-Framing Pieces
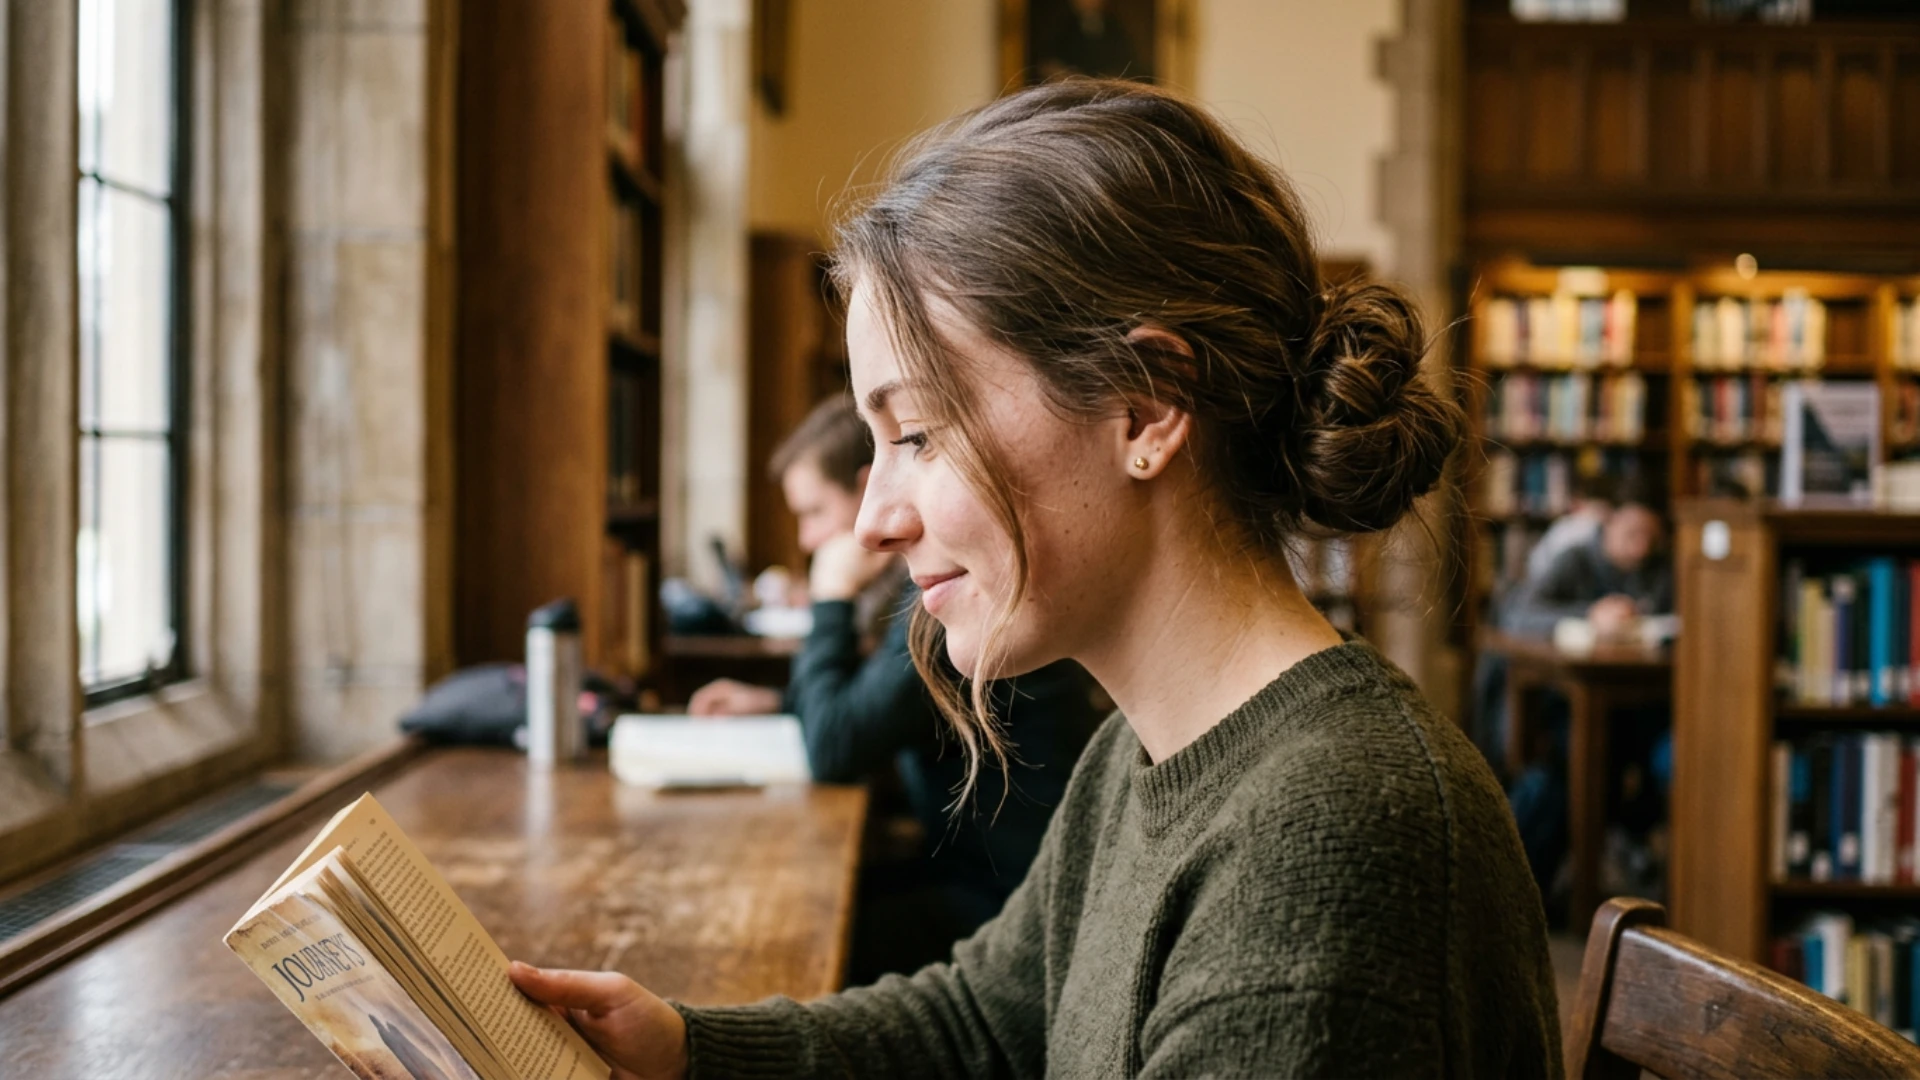
A low bun is simple, neat, and perfect when you want your hair secured without looking too formal.
Gather your hair into a low ponytail, twist it into a loose bun, and secure it with bobby pins. Pull out two small front sections to frame your face.
This adds a relaxed touch and keeps the style from looking too strict. It works well for thick hair and most hair lengths.
5. The Double Dutch Braid
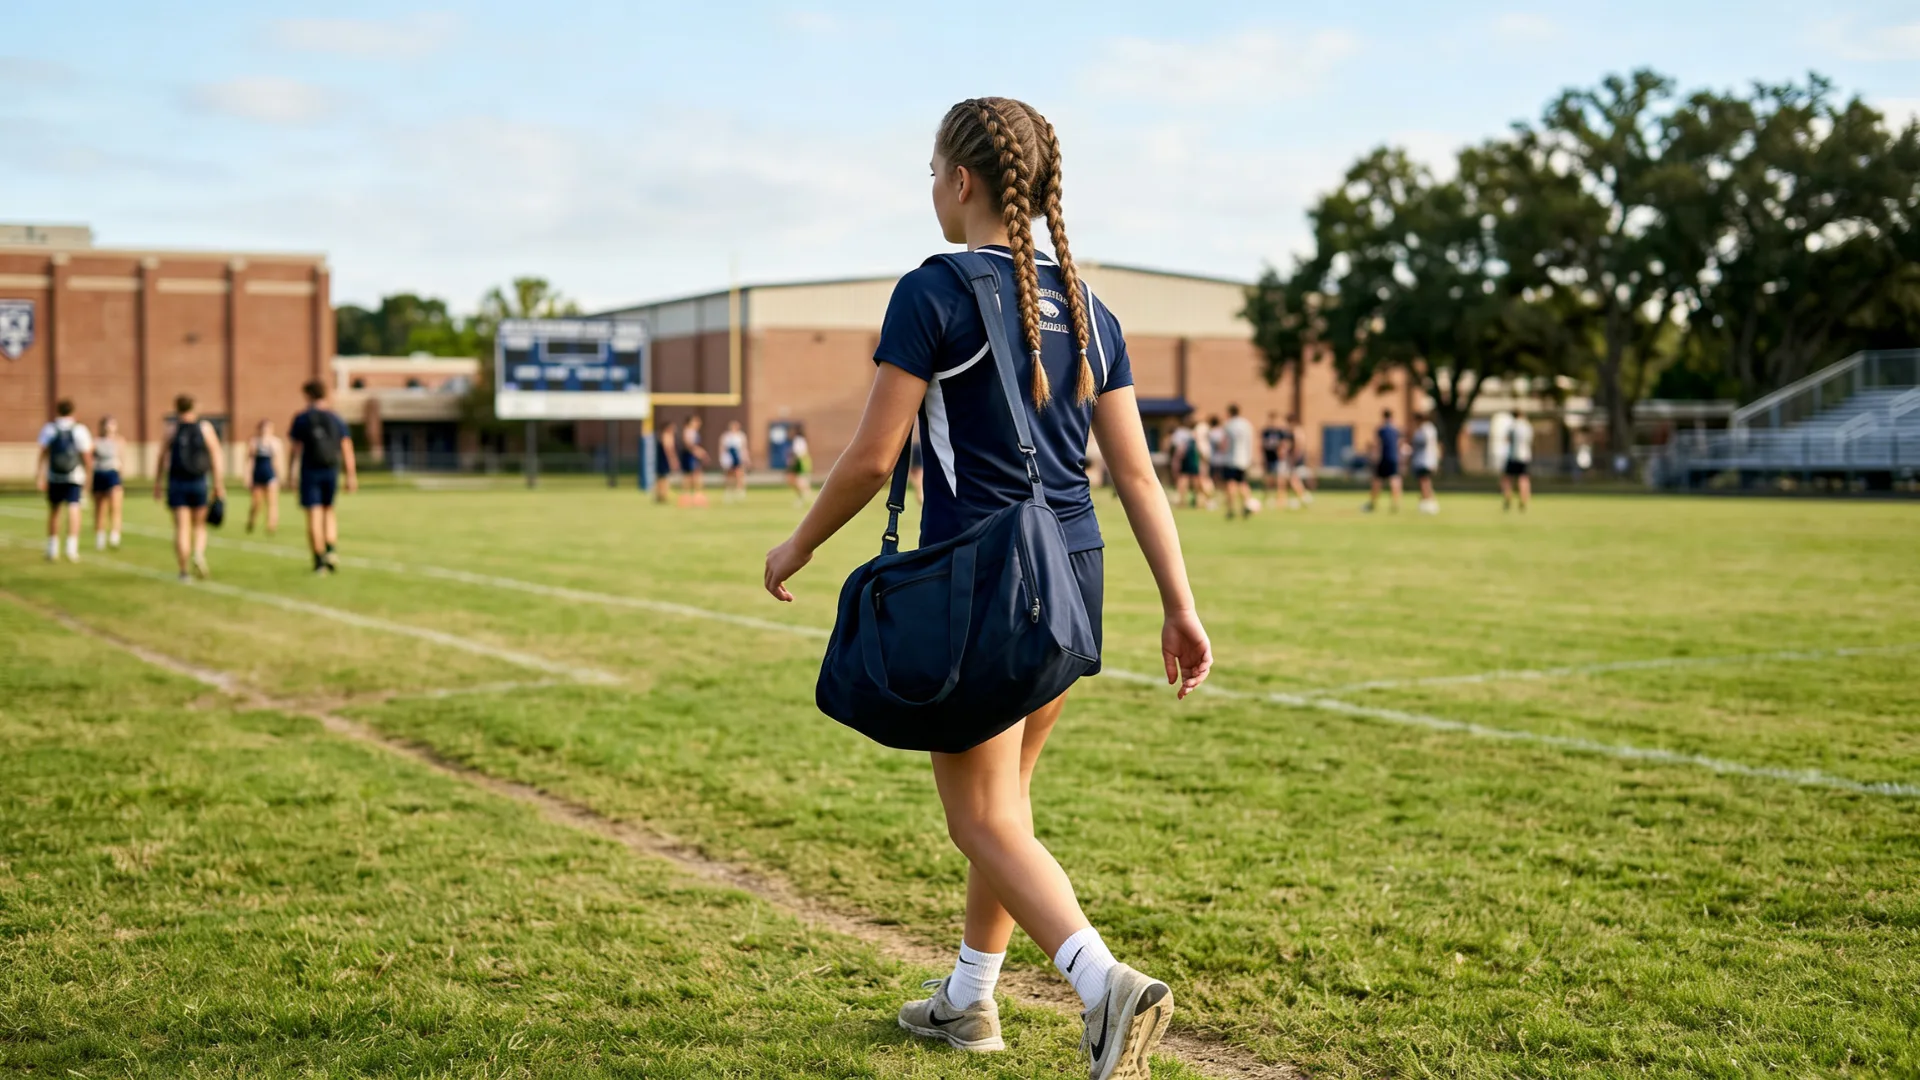
Double Dutch braids are a good choice when you need your hair to stay in place all day.
Part your hair down the middle, then braid each side by crossing the strands under instead of over. Secure both ends with elastics.
You can gently loosen the braids for more volume. This style is useful for school, sports, and gym class because it holds well and keeps hair away from your face.
6. The Claw Clip Updo

The claw clip updo is perfect for late mornings because it takes less than a minute.
Gather your hair at the back or near the crown, twist it once or twice, and secure it with a large claw clip. Let a few front pieces fall naturally for a softer look.
This style works best for medium to long hair and is great for second- or third-day hair when you need a quick fix.
7. Messy Bun
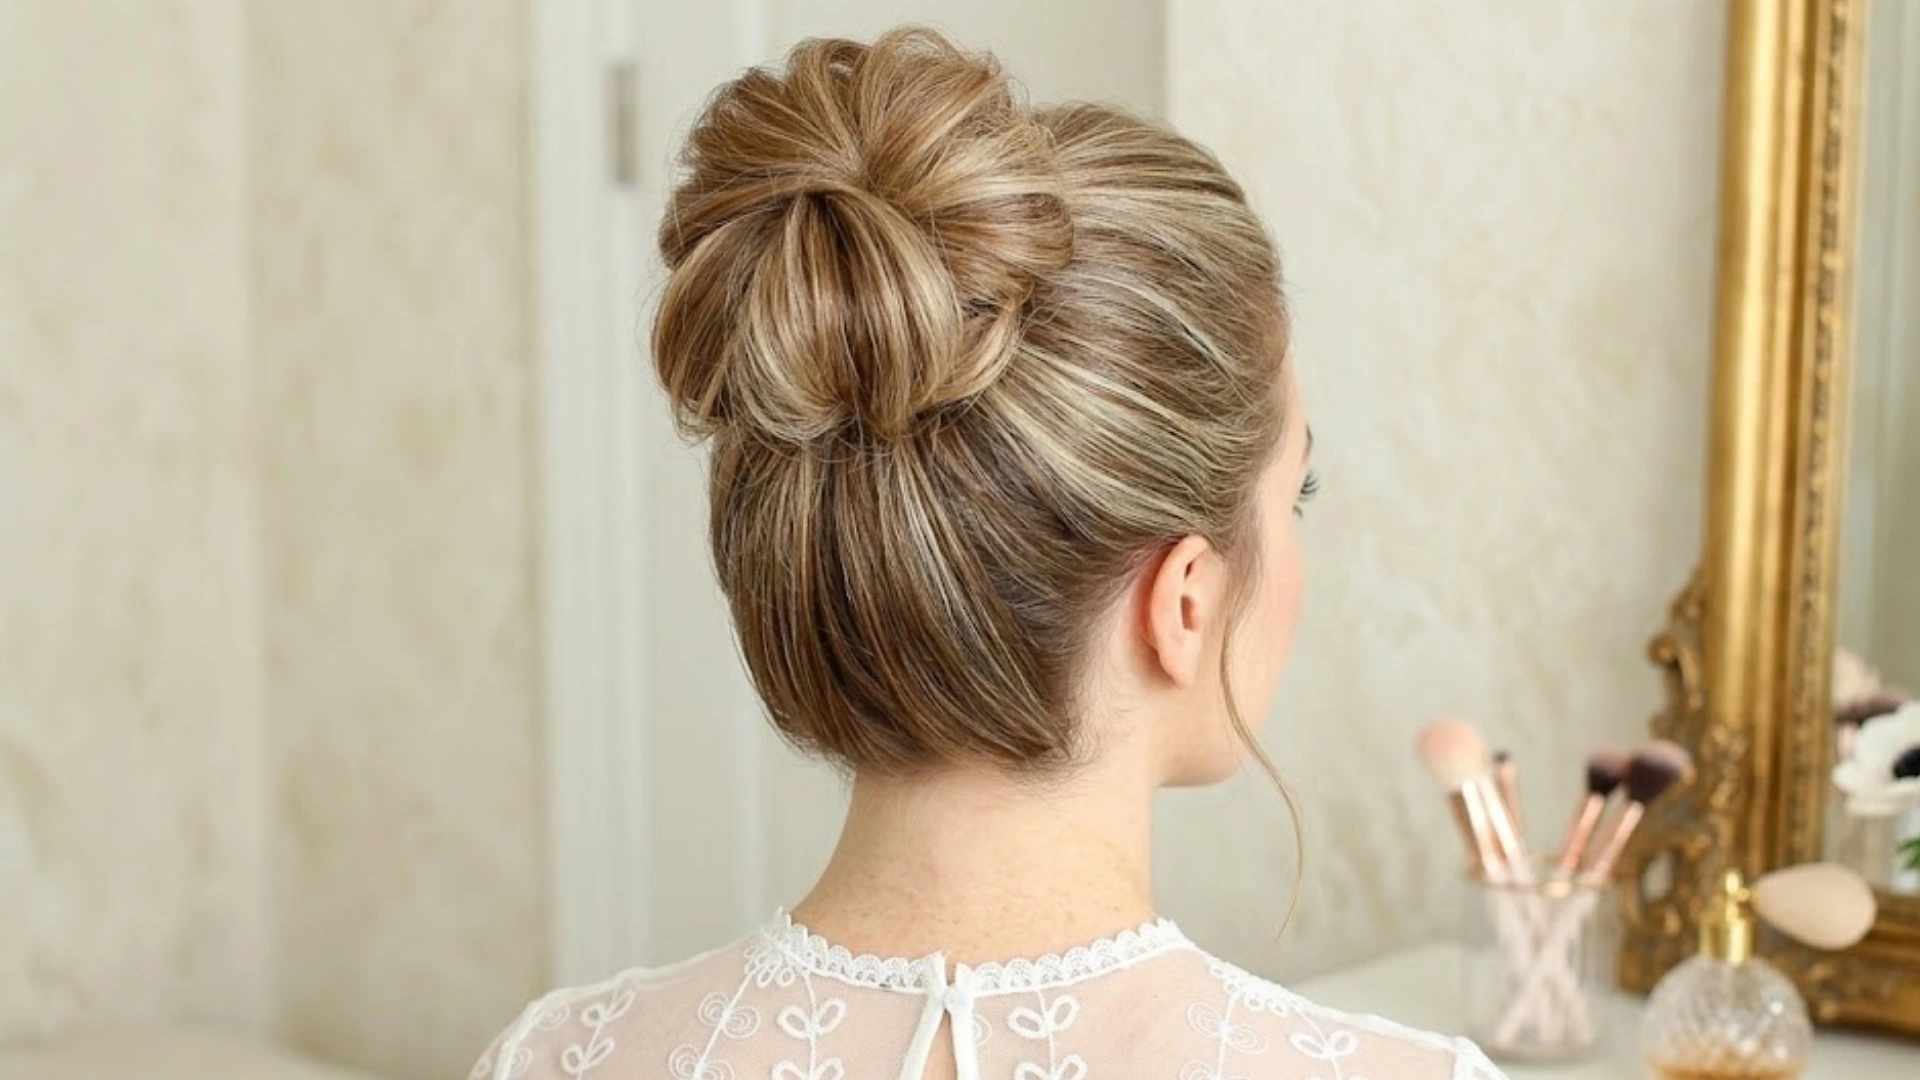
A messy bun is one of the quickest hairstyles for busy school mornings. It keeps hair off the face while creating a relaxed and effortless look.
Gather the hair into a high or mid ponytail, twist it loosely, and wrap it into a bun. Secure it with an elastic or a few bobby pins.
Pull out a few small pieces around the face for a softer finish. This style works best on medium- to long-length hair and is especially useful for second-day hair.
8. The Sporty Twisted Ponytail
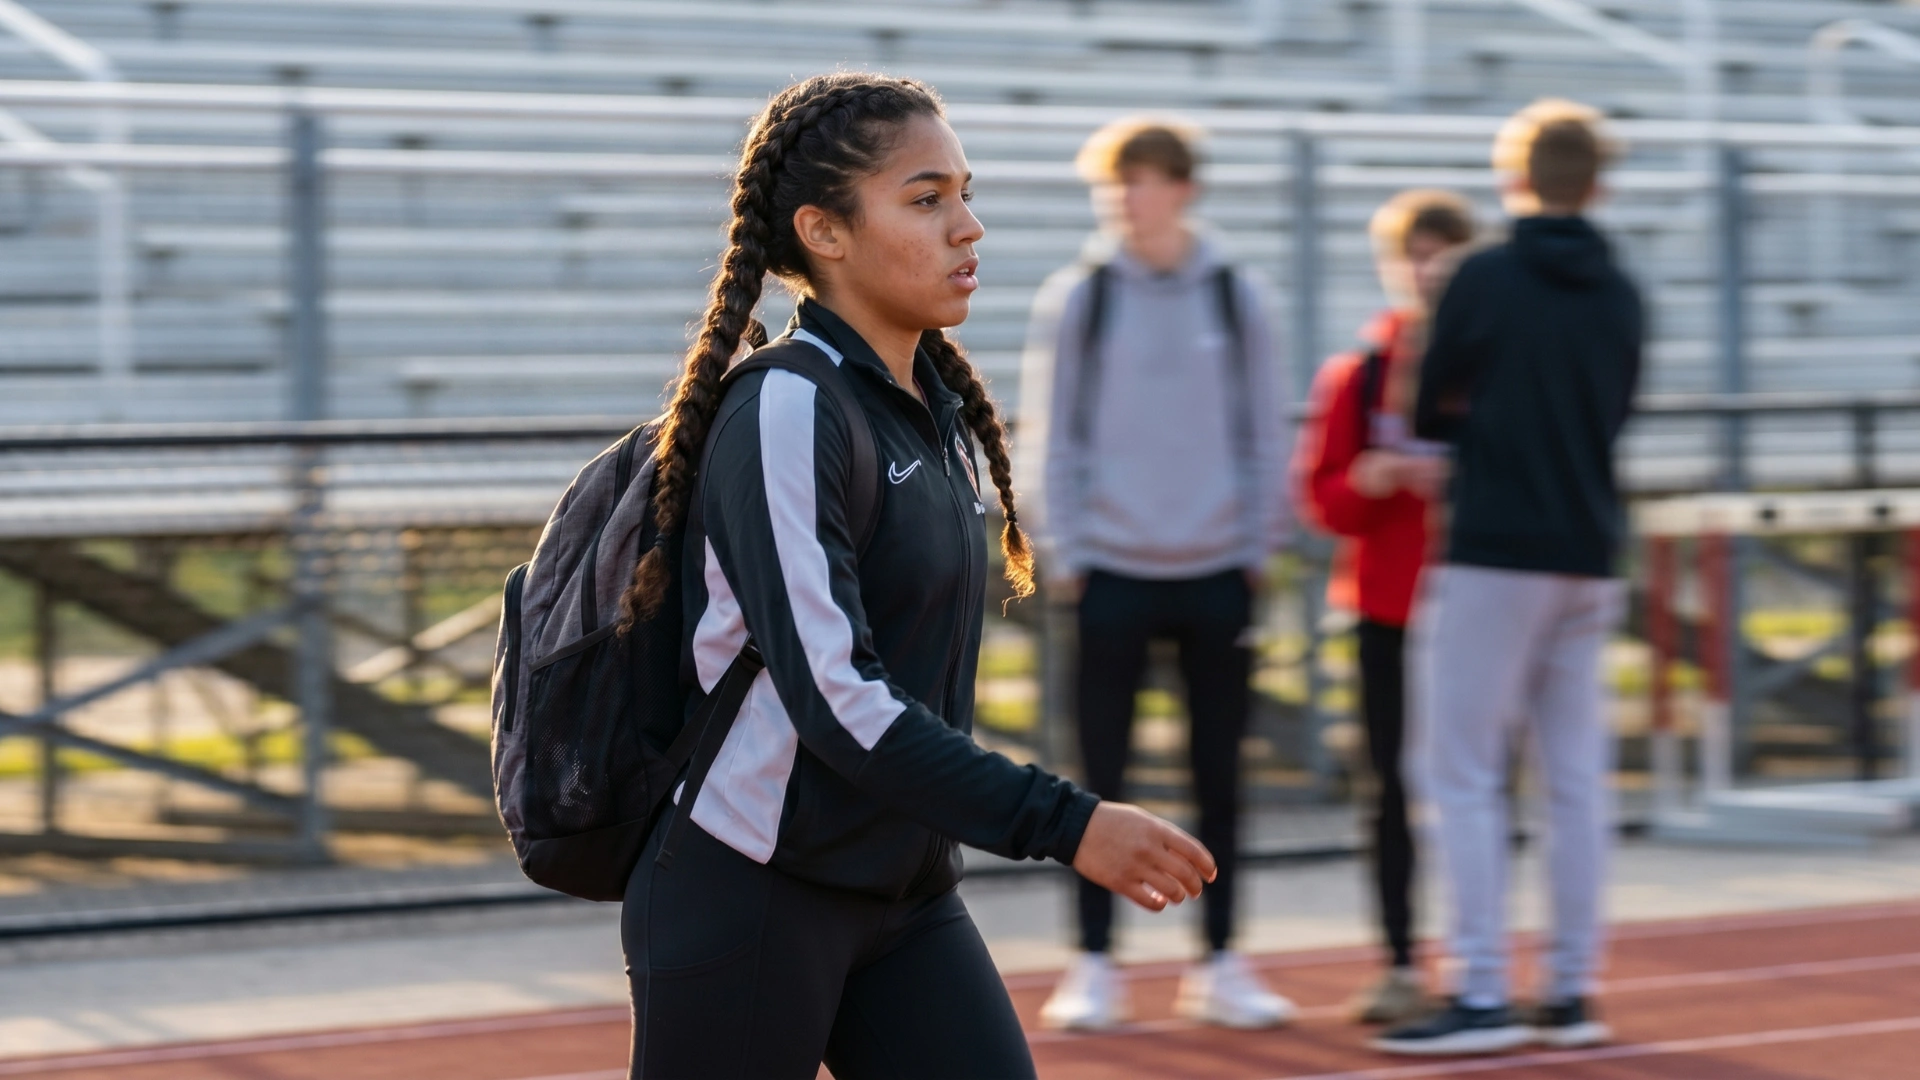
A sporty twisted ponytail is a quick way to make a normal ponytail look more polished.
Create a mid or high ponytail, then split the hair just above the elastic into two sections. Flip the ponytail through the gap, tighten it, and adjust the shape.
It only adds a few seconds to your routine but makes the style look more finished. This works for most hair types and school days.
9. The Braided Half-Up Bun
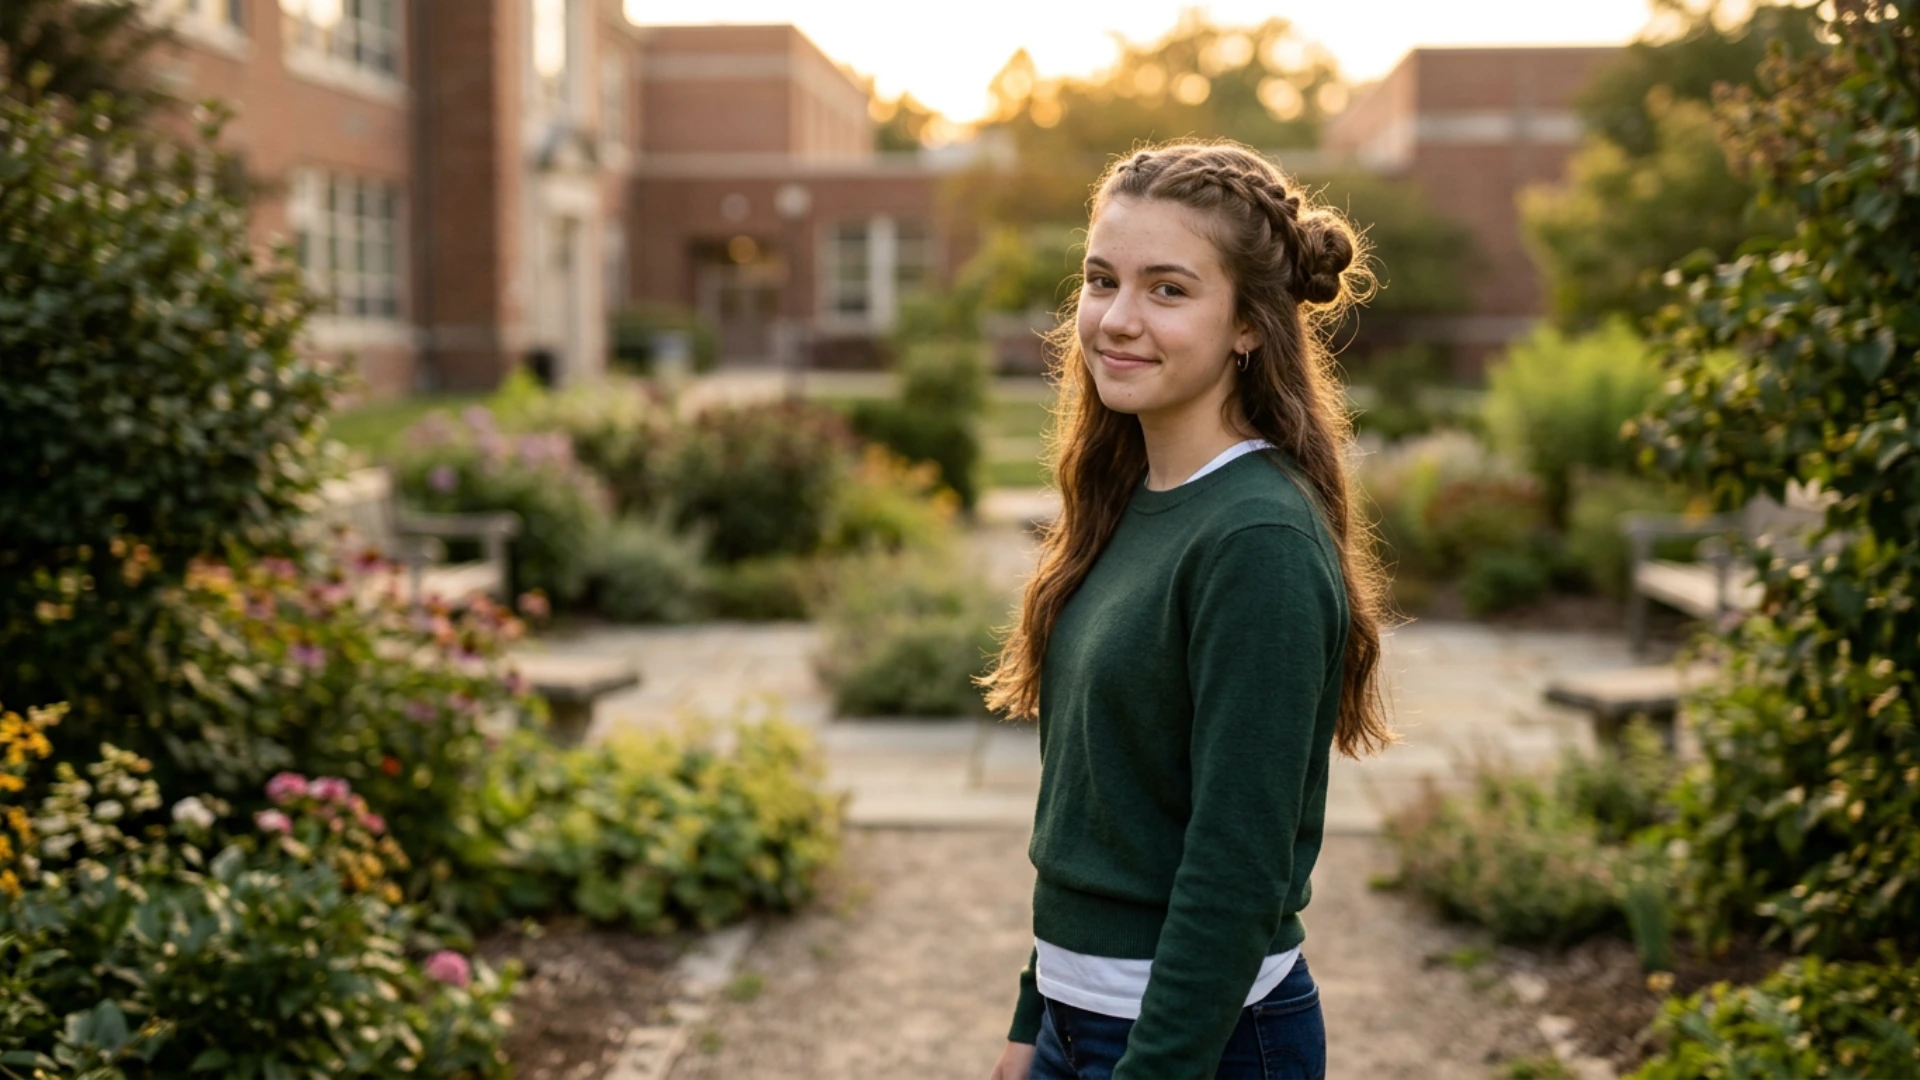
The braided half-up bun adds a cute detail without making your morning harder. Gather the top section of your hair and make a simple three-strand braid.
Wrap the braid into a small bun and secure it with pins. Leave the rest of the hair down for a soft finish.
This style works best for long hair and is a nice choice when you want something slightly different but still easy.
10. Rope Twist Pigtails
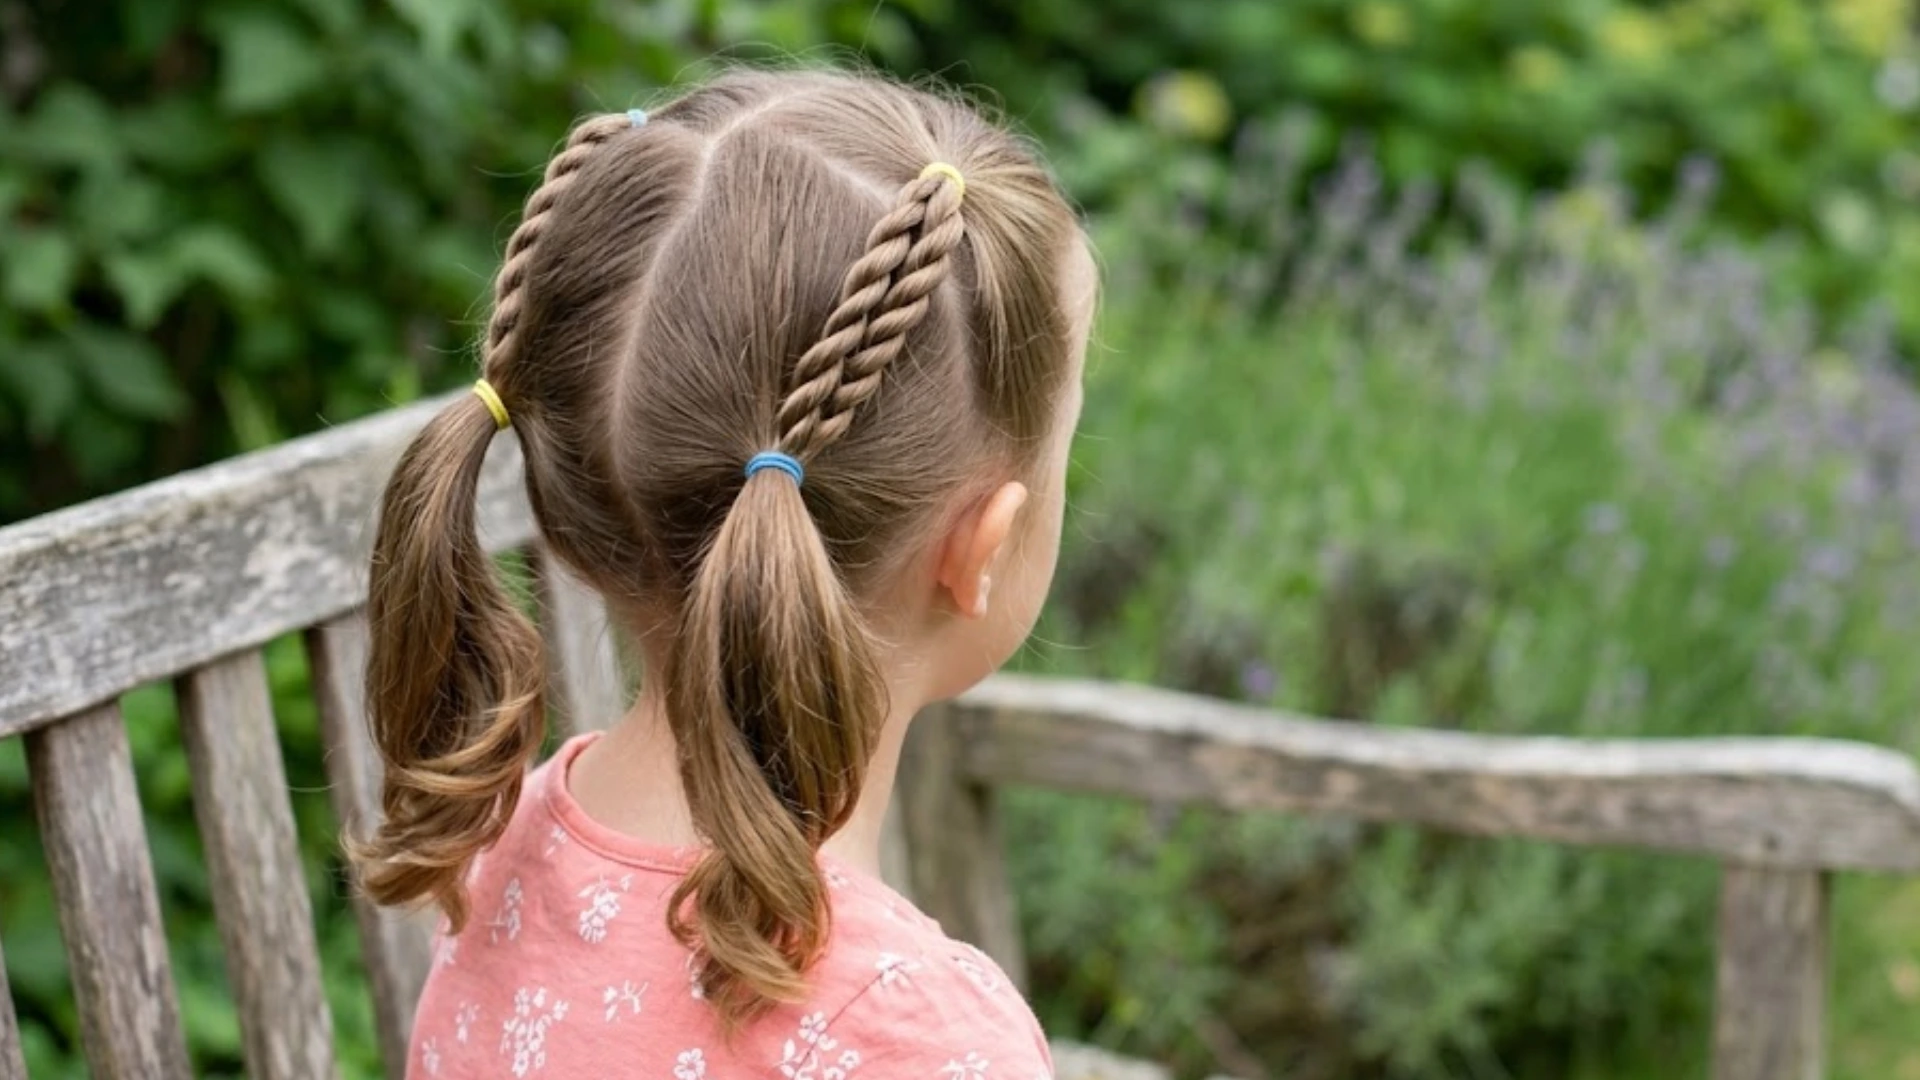
Rope twist pigtails are faster than regular braids and still look neat for school. Part your hair down the middle, then divide one side into two sections.
Twist both sections in the same direction, then wrap them around each other in the opposite direction.
Secure the end and repeat on the other side. This style works well for medium to long hair and can make fine hair look fuller.
11. The Slick Low Ponytail with a Sleek Part
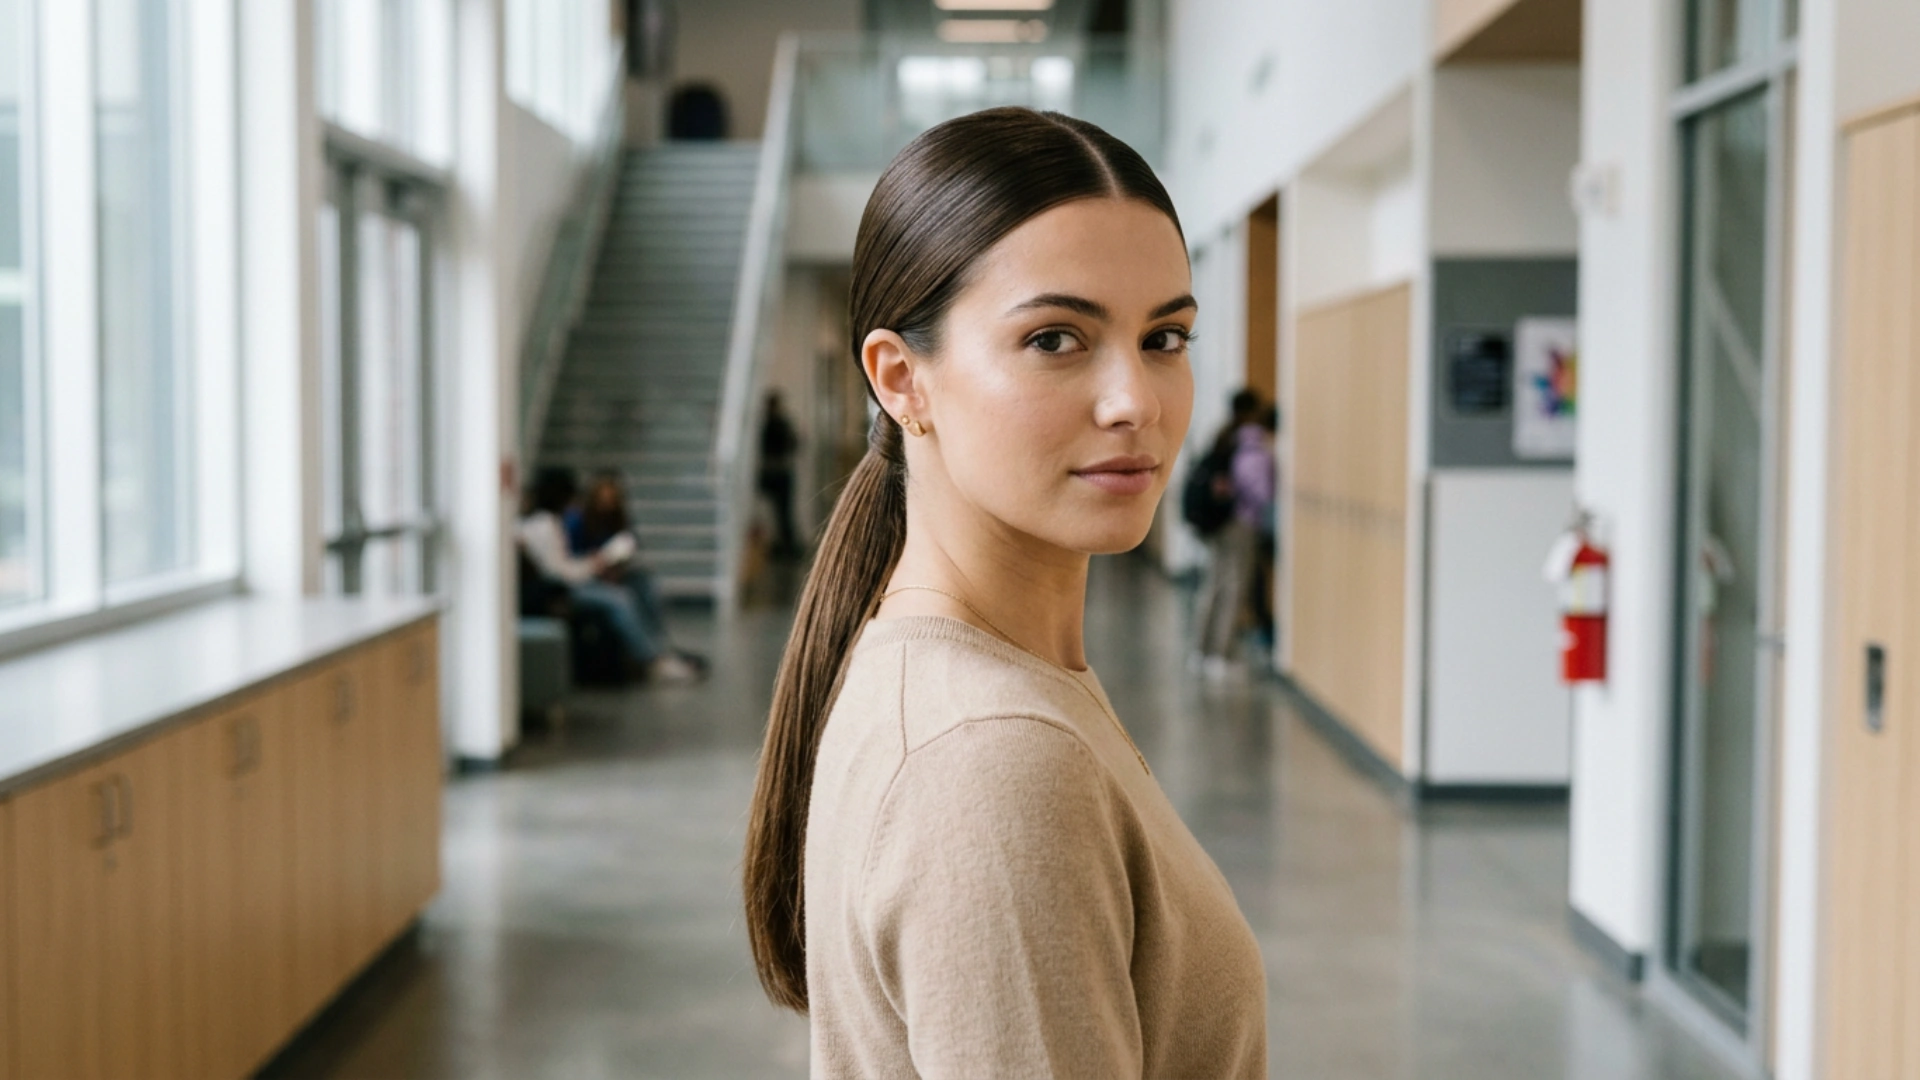
A slick low ponytail is simple, clean, and easy to maintain during school. Create a center or side part, then smooth your hair down with light gel or edge control.
Secure it into a low ponytail at the nape. For a polished finish, wrap a small section of hair around the elastic. This style works for all hair types and looks especially good on curly and coily textures.
Step-by-Step Guide: How to Braid Hair
These steps follow the exact braiding process demonstrated in the tutorial, covering hair preparation, sectioning, strand positioning, braiding technique, securing the braid, and optional finishing touches.
Step 1: Brush and Detangle the Hair
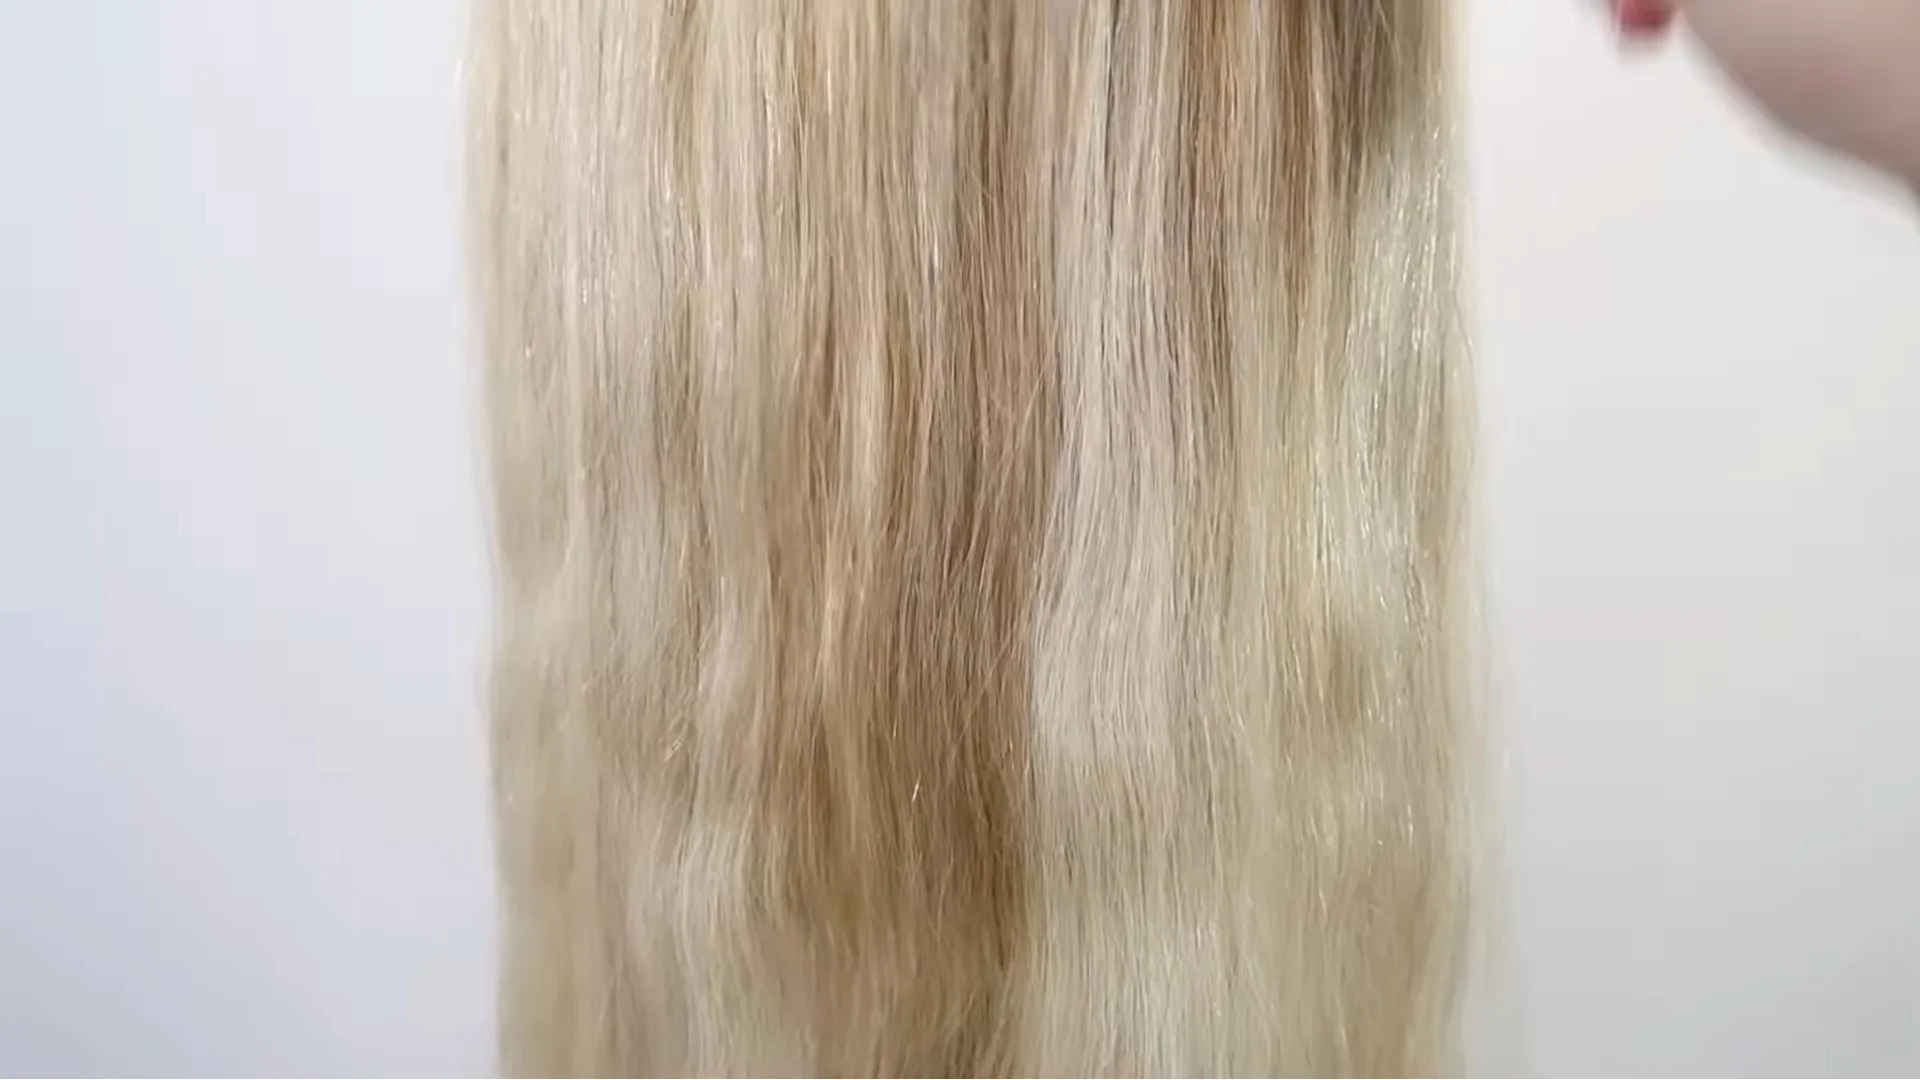
Start by brushing the hair from the ends and work your way up toward the roots. This helps remove knots without pulling too hard.
Smooth hair is much easier to divide, hold, and braid evenly. Make sure there are no tangles left before you start sectioning.
If the hair feels rough or dry, use a small amount of leave-in spray to make it easier to manage.
Step 2: Divide the Hair into Three Equal Sections
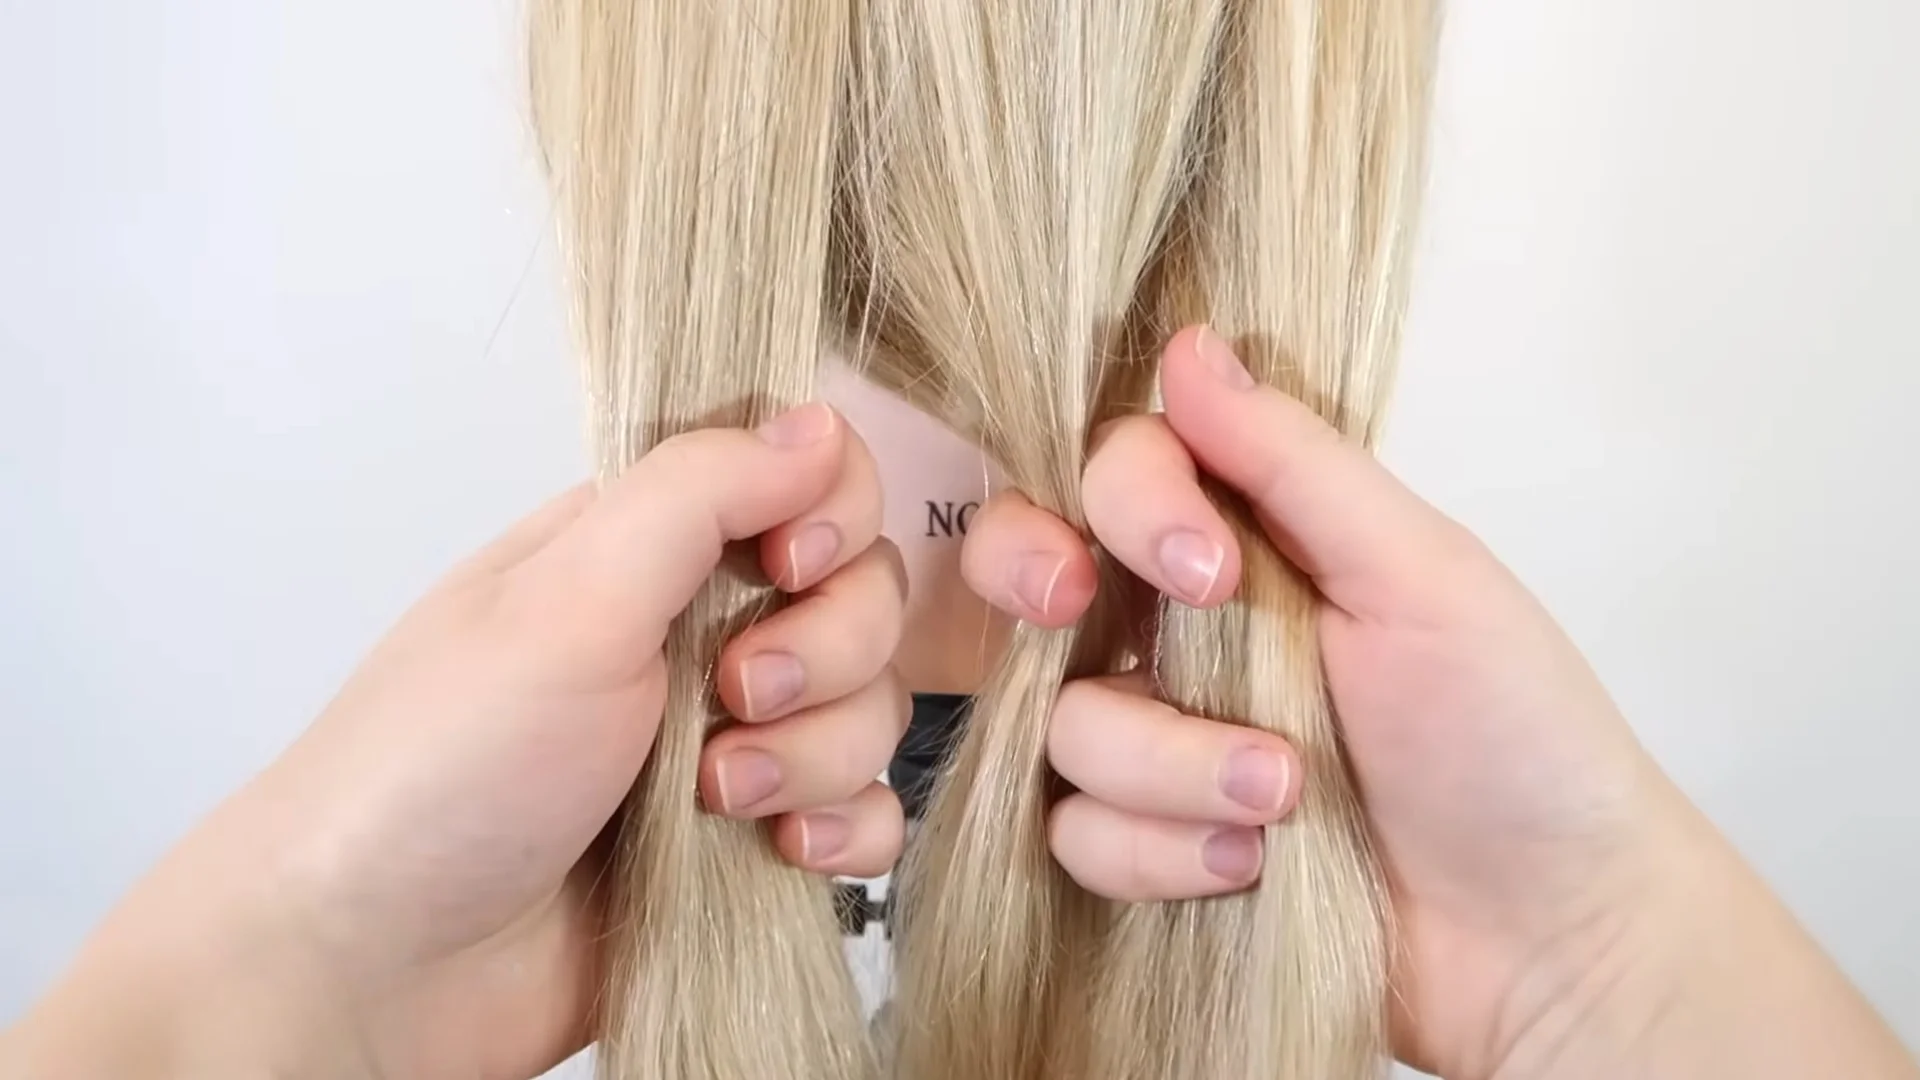
Once the hair is smooth, split it into three sections of similar size. The sections do not need to be perfect, but they should look balanced before you begin.
If one strand is much thicker than the others, the braid may twist strangely or look uneven.
Use your fingers to separate the hair clearly, keeping each section apart. This makes the first few crossings easier and helps the braid form a clean shape.
Step 3: Position Your Fingers Correctly
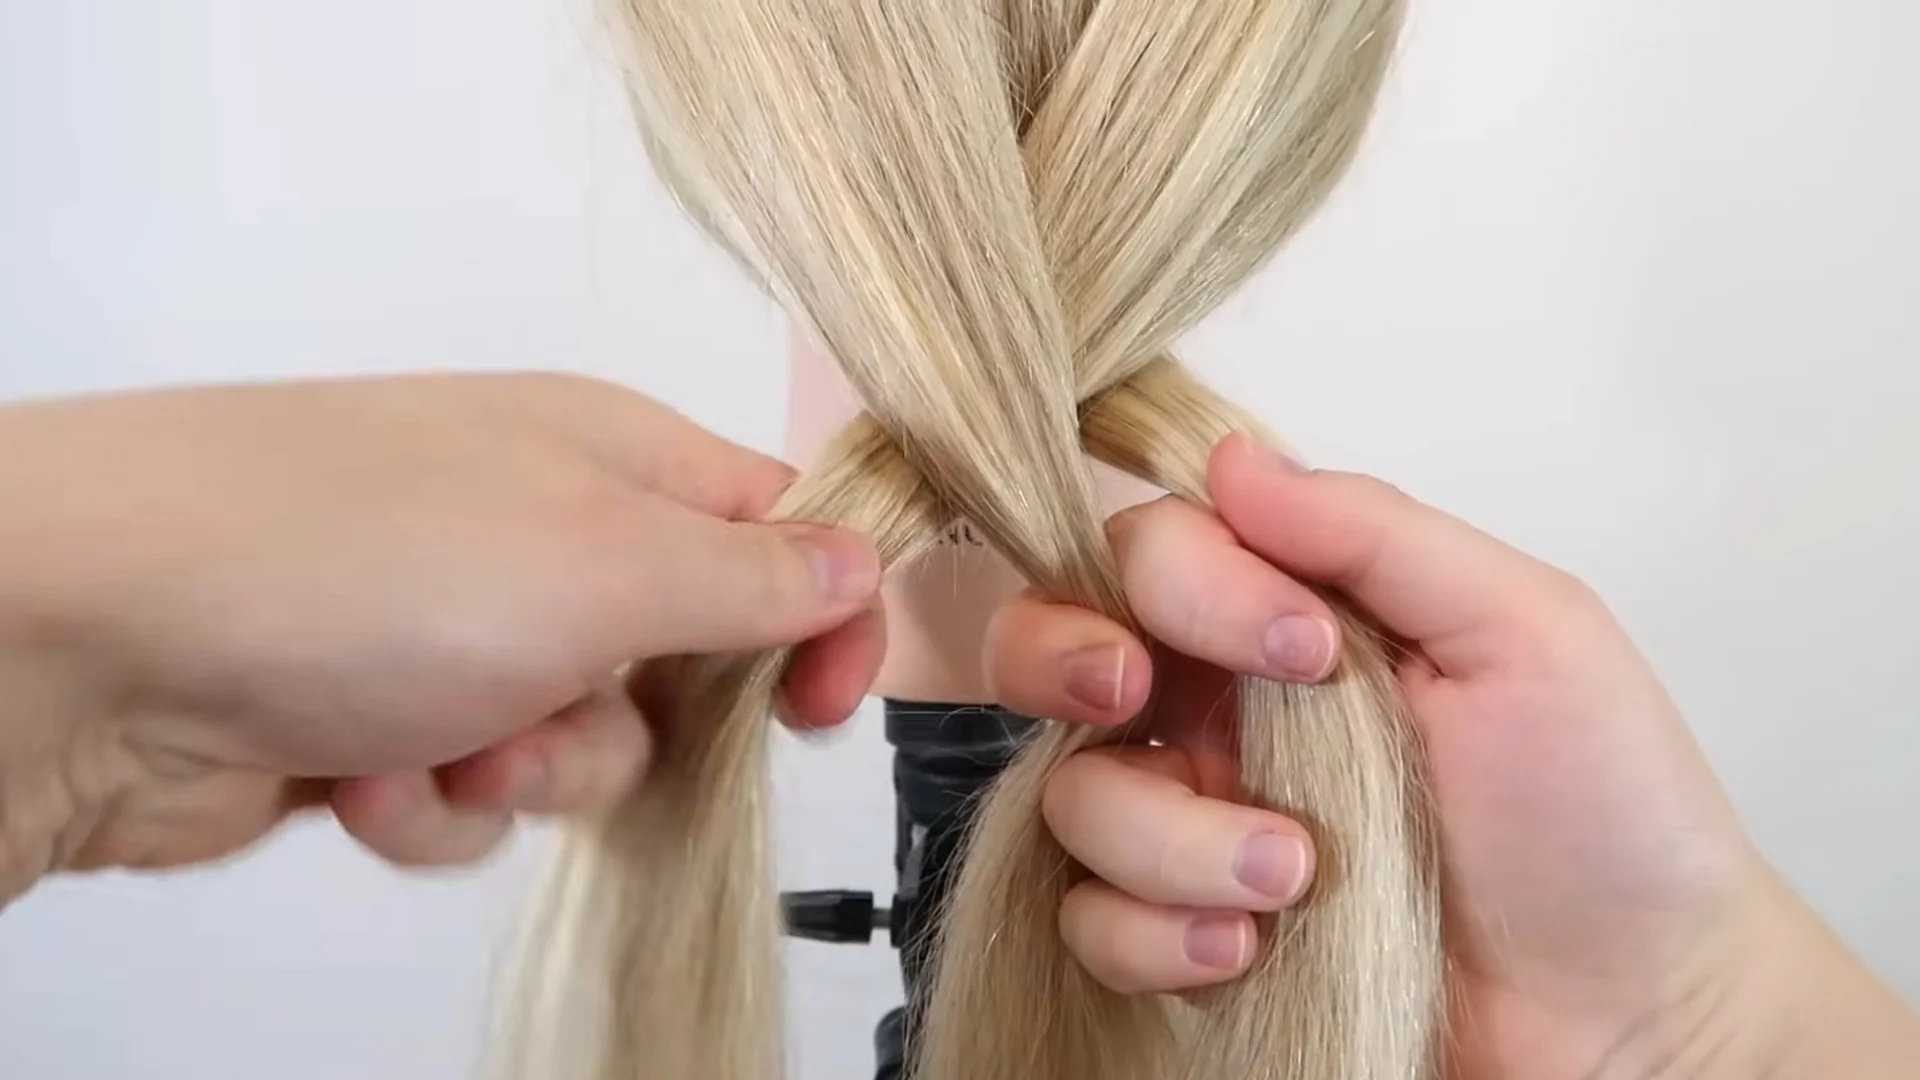
Good finger placement makes braiding much easier, especially if you are still learning. Hold the right strand with your right thumb and index finger.
Keep the middle strand controlled with your middle finger, then hold the left strand with your left thumb and index finger.
This grip helps you move one section at a time without dropping the others. Keep your hands close to the head so the braid starts neat, secure, and even.
Step 4: Cross the Right Strand Over the Middle
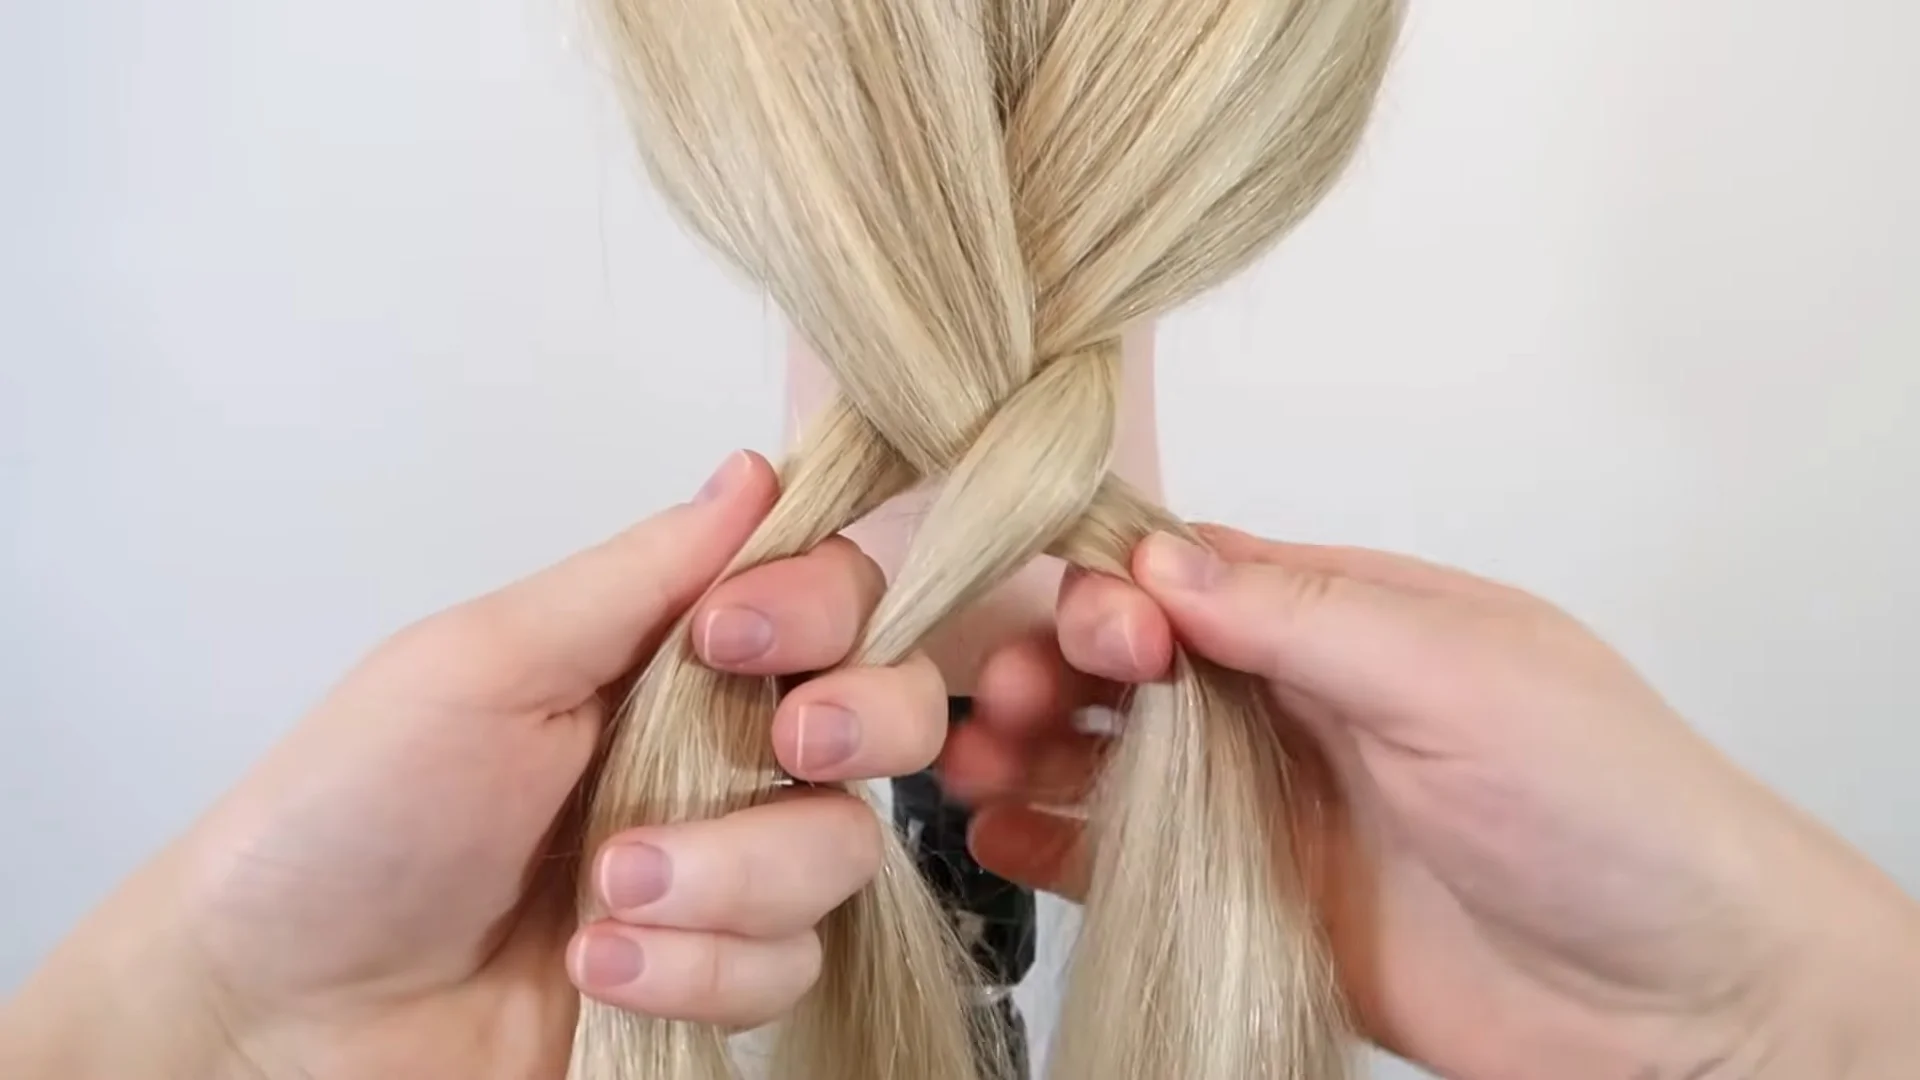
Take the right strand and move it over the middle strand. Once it crosses over, that right strand becomes the new middle section.
Keep a steady grip so the hair does not slip, loosen, or mix with the other strands. Use your opposite hand to catch and hold the strand after crossing it.
This first move sets the pattern for the braid, so make sure it feels smooth before moving to the next side.
Step 5: Cross the Left Strand Over the Middle
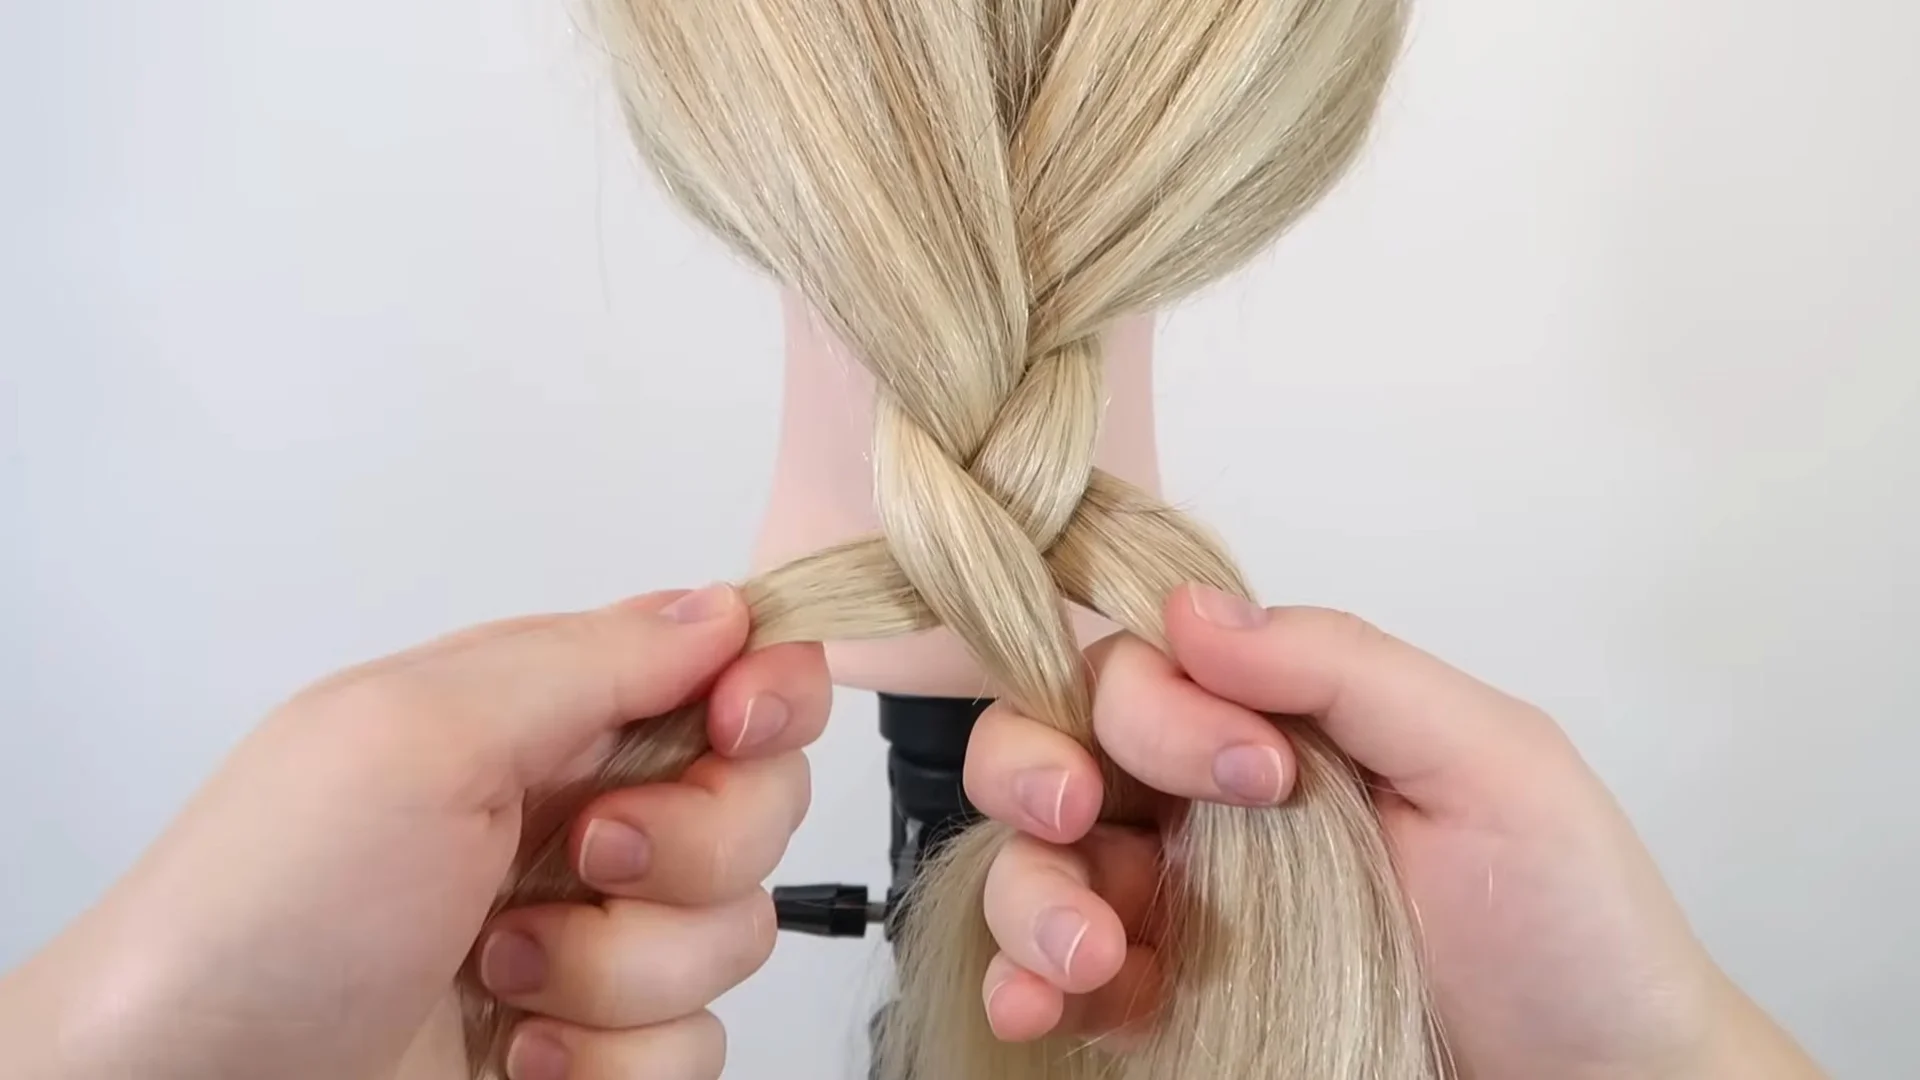
Now take the left strand and cross it over the new middle strand. Just like the right side, the strand you move becomes the middle section after it crosses over.
Keep the tension firm enough to hold the braid in place, but not so tight that it feels uncomfortable.
Smooth the sections with your fingers as you go. This helps each strand sit neatly and keeps the braid from looking loose or messy.
Step 6: Repeat the Braiding Pattern
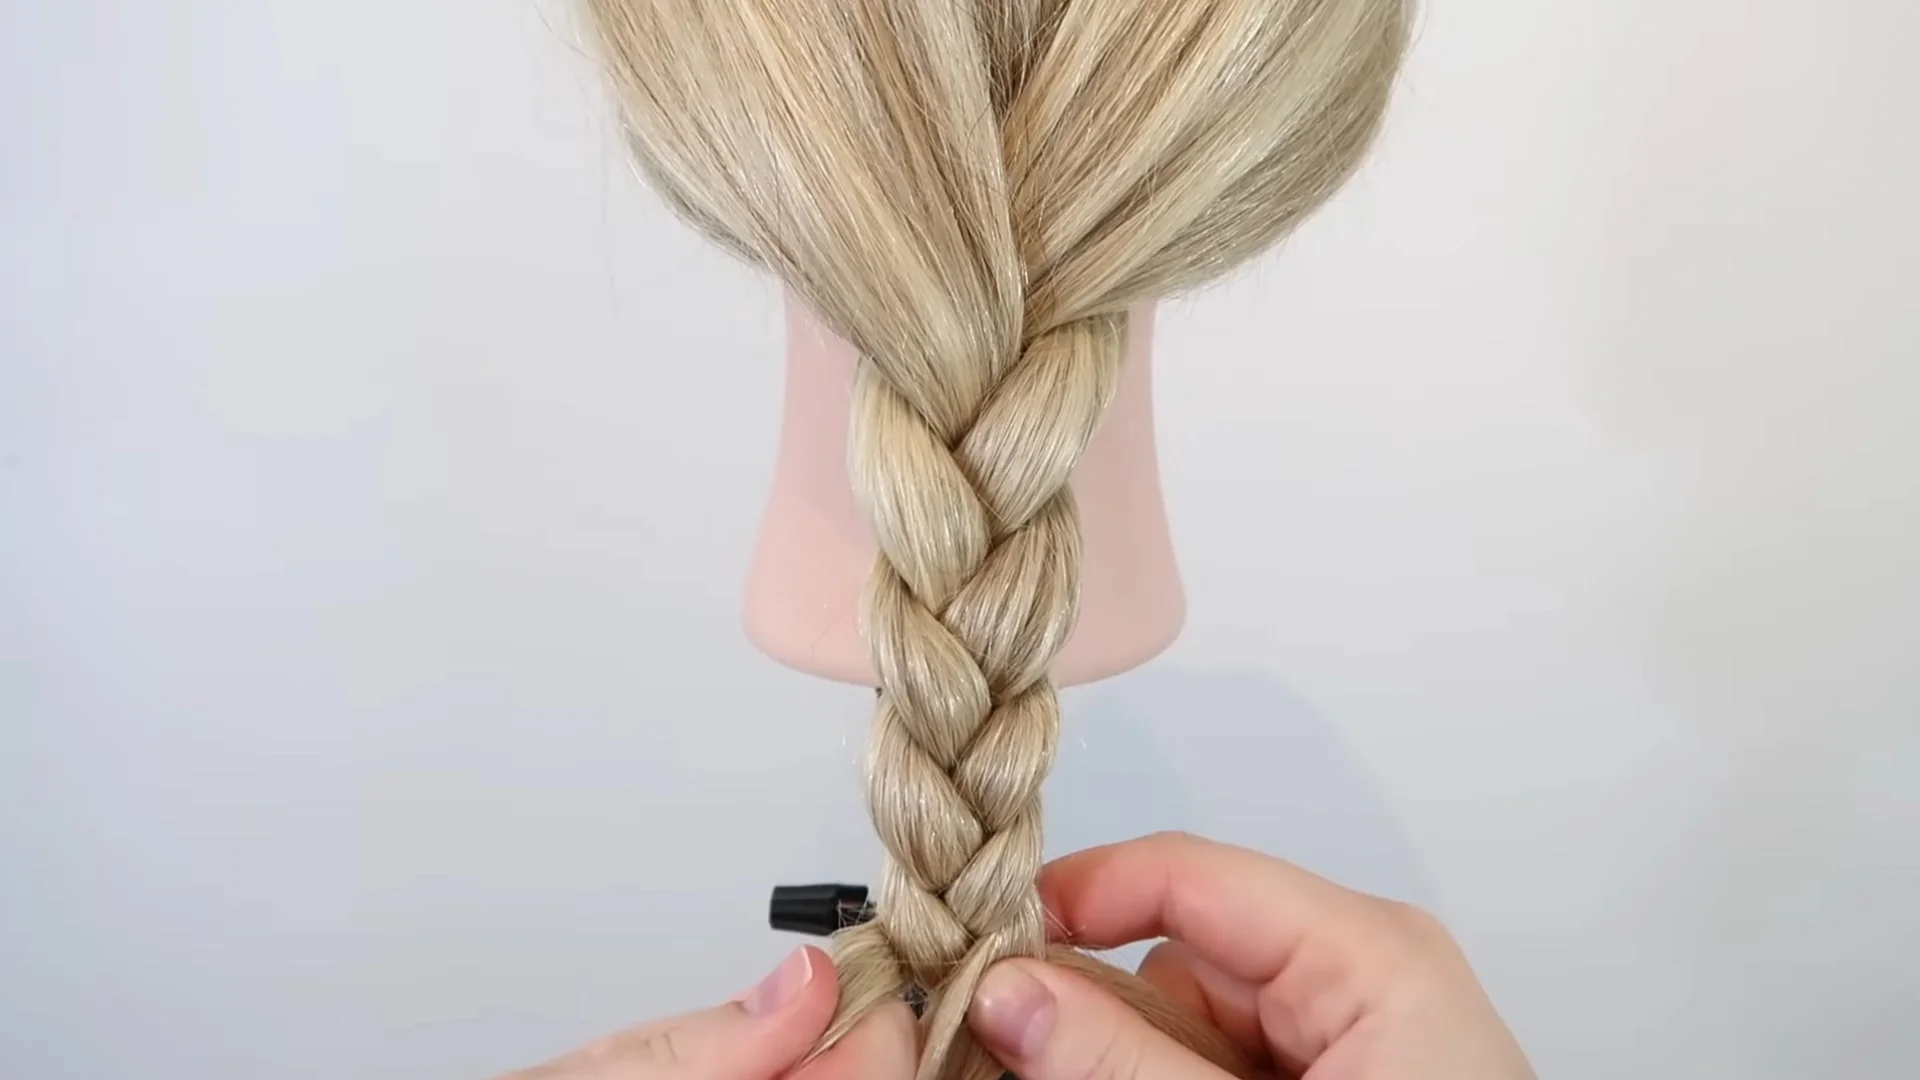
Keep repeating the same pattern by crossing the right strand over the middle, then the left strand over the middle.
Move slowly at first so the sections stay separate and easy to control. Try to keep the same tension throughout the braid, from the top to the lower lengths.
If one part feels loose, gently tighten it before continuing. Follow this pattern until you get close to the ends of the hair, leaving only a small amount.
Step 7: Secure the Braid with an Elastic
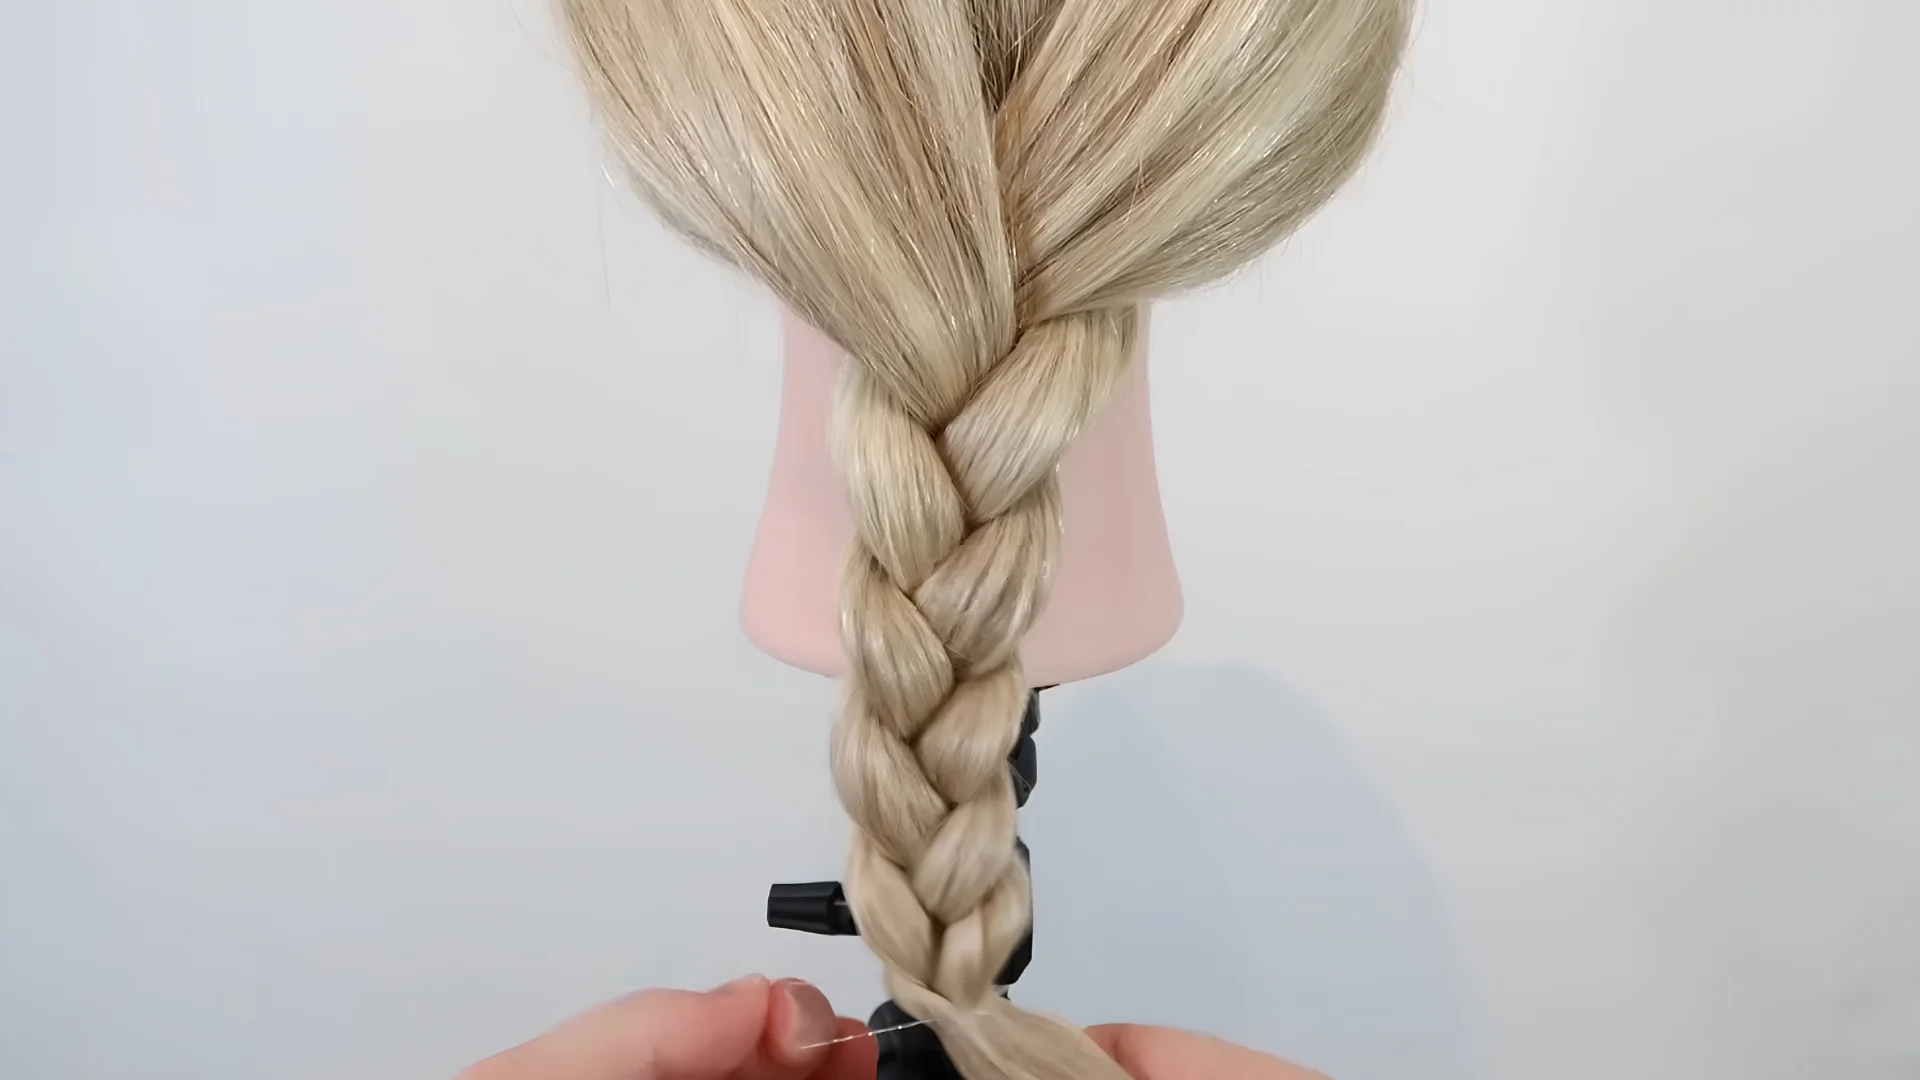
When you reach the end, hold all three strands together so the braid does not unravel. Wrap a small hair elastic around the ends until it feels secure.
The elastic should be tight enough to keep the braid in place, but it should not pull or feel uncomfortable.
After securing it, check the braid from top to bottom. Use your fingers to smooth any loose pieces and adjust the shape if needed.
Step 8: Gently Loosen the Braid (Optional)
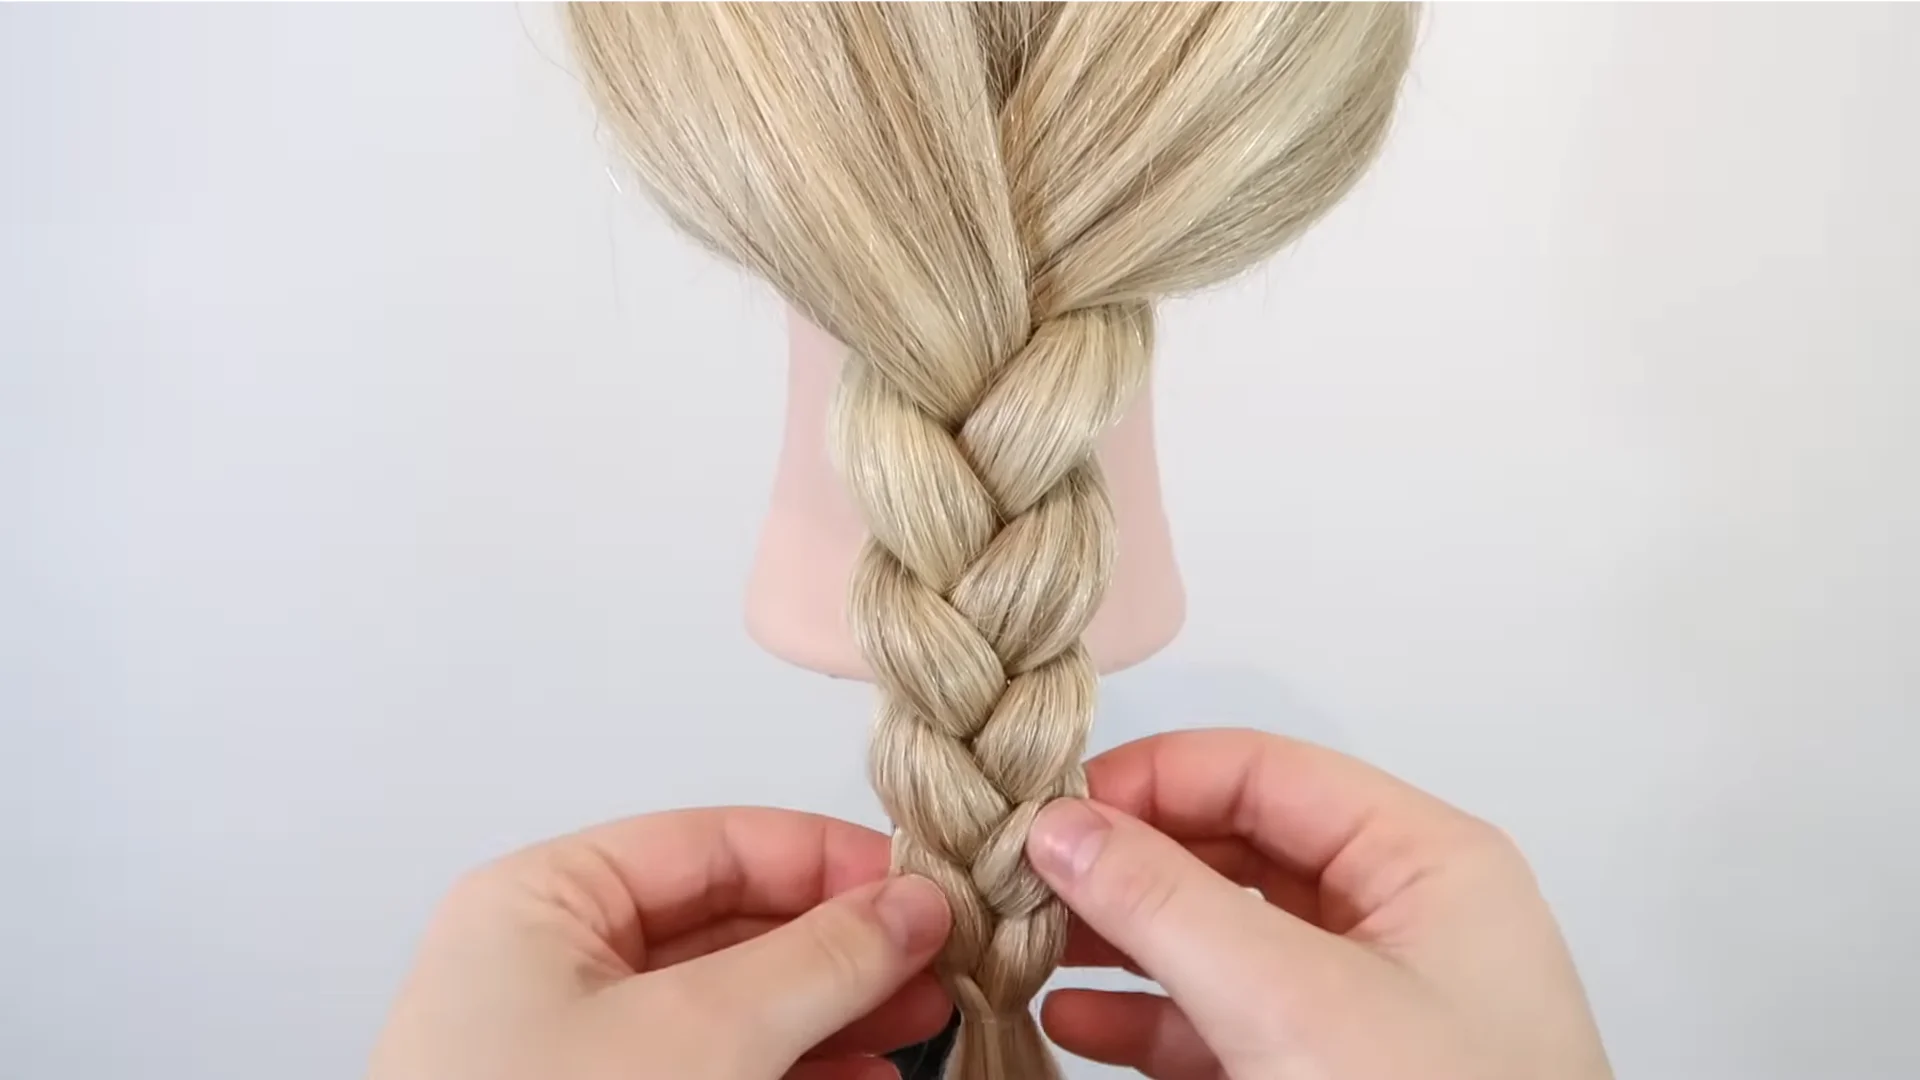
For a fuller and softer look, gently pull the outer edges of the braid. Start near the top and work your way down, loosening each section little by little.
Do not pull too hard, or the braid may lose its shape. This step is optional, but it can make the braid look thicker and more relaxed.
It is especially helpful for fine hair, tight braids, or styles that need a softer finish.
This guide is based on a step-by-step braiding demonstration by the “EverydayHairInspiration” channel.
How to Build Your Own School Hair Rotation
The easiest way to make school mornings smoother is to build a small hair rotation instead of picking a new style every day.
Choose three or four styles you can do without thinking too much. This saves time and keeps your look fresh without making your routine harder.
A good school hair rotation should include:
- One updo for busy or warm days
- One half-up style for a soft, casual look
- One style for unwashed hair
- One polished option for photos or presentations
Match each hairstyle to your schedule. Dutch braids and sporty ponytails work well for gym days because they stay secure.
Low buns and sleek ponytails feel cleaner for class events. Claw clip updos and bubble braids often look better when your hair has extra texture. Fine hair needs volume, while thick hair needs control.
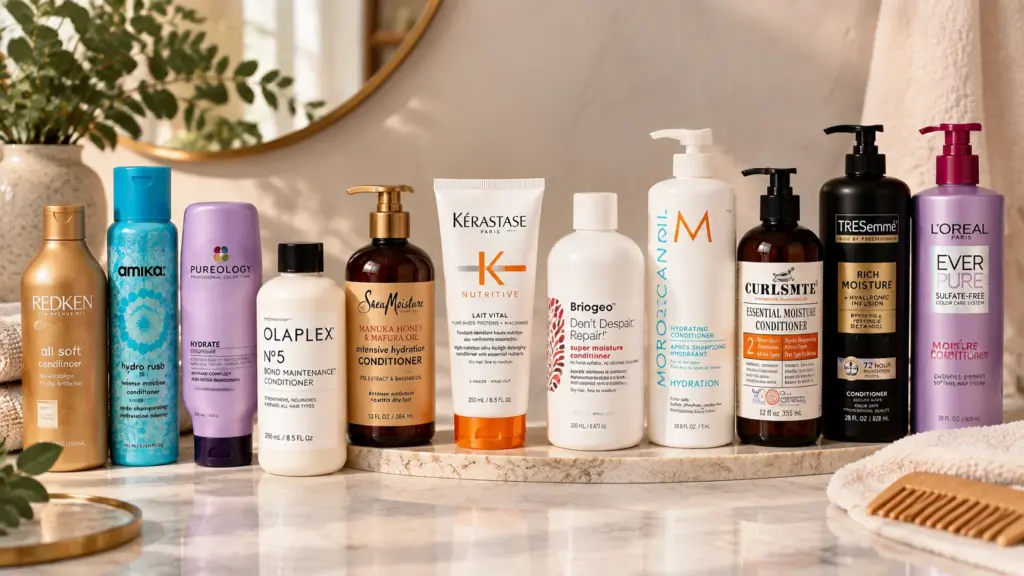
Tip: Practice a new style on the weekend before relying on it on a busy morning. And don’t underestimate the importance of getting your hair-washing routine right;it can make every hairstyle easier to manage.
The Everyday Hair Essentials That Save Time
You don’t need much. The right few things make a bigger difference than a full kit.
- A Mixed Pack of Elastics: Both small clear ones and slightly thicker fabric-covered ones, so you have the right option for the style you’re doing
- Four to Six Bobby Pins: Keep them in a small tin or clip them in your bag. They disappear otherwise.
- A Claw Clip: At least one large one and one medium-sized one for different hair volumes
- A Mini Paddle Brush or Wide-Tooth Comb: A full-sized brush is hard to carry. A travel-sized one takes up almost no space and handles both detangling and smoothing.
- A Light-Hold Spray or Edge Control: Not both. Pick one depending on your hair type. Light spray for fine hair, edge control for natural or coily textures.
Dry shampoo is worth mentioning, too. A small travel can at the bottom of your bag handles the days when your hair is between washes and won’t cooperate. It absorbs oil at the roots and adds grip, which actually makes some styles hold better.
Conclusion
Looking put together for school doesn’t have to mean waking up earlier or spending extra time on your hair. The best hairstyles are the ones you can do quickly, trust to stay in place, and rely on when mornings get hectic.
I’ve found that the styles people stick with aren’t usually the most complicated; they’re the ones that fit their everyday routine.
Pick one or two styles from this list, practice them a couple of times, and they’ll soon become second nature.
A good hair day isn’t always about doing more. Sometimes it’s just having a simple style that works when you’re short on time.
Which hairstyle are you planning to try first? Let me know in the comments. I’d love to hear which one becomes your go-to.
Frequently Asked Questions
Can These Hairstyles Work on Very Fine Hair that Won’t Hold a Style?
Yes. Fine hair usually needs a little grip before styling. Use a light mousse or texturizing spray, then choose styles with tension, like rope twists or the sporty twisted ponytail. Bobby pins also hold better when the hair has a bit of product in it.
Do These Styles Work with Box Braids or Other Protective Styles?
Most of them do. Box braids can be styled into buns, half-up looks, and low ponytails. The key is using larger accessories, like wide elastics, scarf wraps, or bigger claw clips, so the style supports the volume without pulling too tightly.
Can I Do These Hairstyles on Freshly Washed, Slippery Hair?
Yes, but clean hair often needs extra hold. Add a light texturizing spray or use a small amount of gel at the base. Styles like the slick low ponytail or sleek high ponytail work especially well on freshly washed hair.
How Do I Keep a Braid from Frizzing Out Mid-Day?
Start with hair that has some moisture. A small amount of leave-in conditioner or light oil through the lengths can help reduce frizz. For extra hold, finish the braid with a light mist of hairspray.