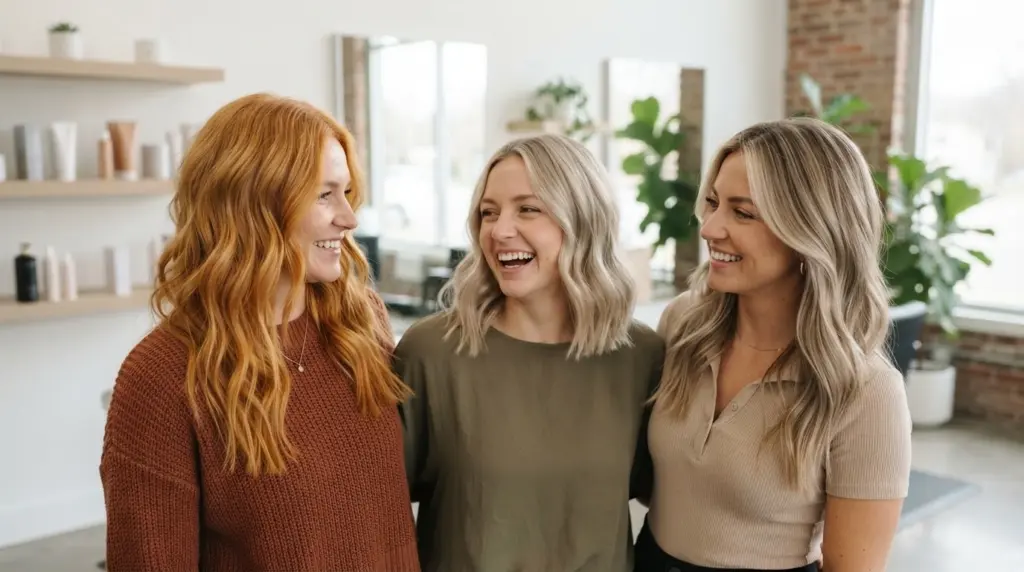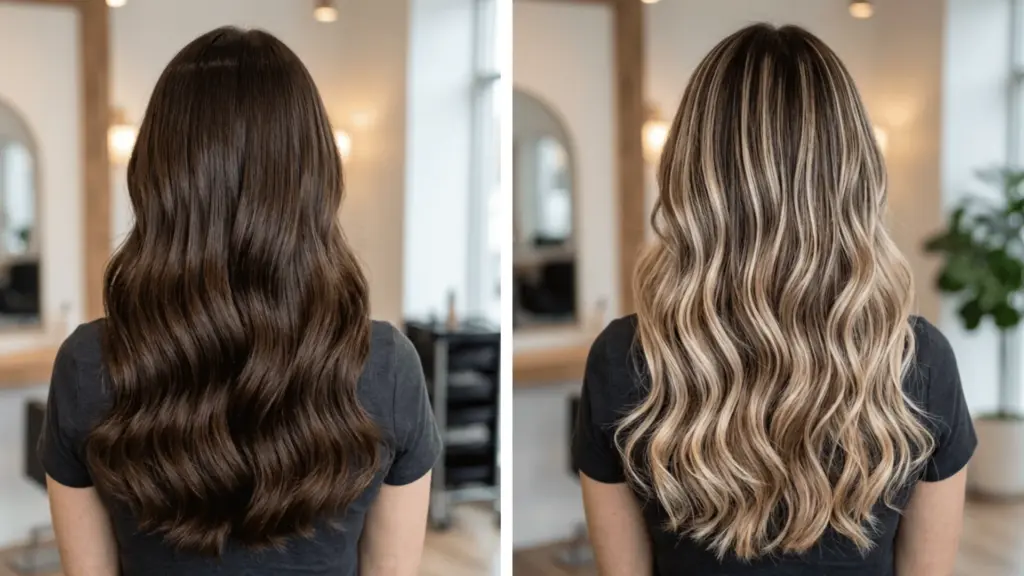
There was a client I worked with whose dark brown hair looked beautiful on its own, but flat in photographs. She wanted something to catch the light without losing the depth of her base.
That conversation is one I keep coming back to because it captures exactly what highlights on dark brown hair can do when the technique and shade are right. It’s not always about going dramatically lighter.
Sometimes the goal is just movement, texture, and the way color shifts when the light hits from a different angle.
This blog post covers the styles worth knowing, the techniques that actually work on dark bases, and a practical process for doing it at home.
Why Highlights on Dark Brown Hair Work So Well
Highlights on dark brown hair work because they bring light, shape, and softness to a naturally rich base.
Dark brown hair already has depth, but the right highlights make layers, waves, curls, and face-framing pieces stand out more clearly.
The best part is that the look can be as soft or as bold as you want. A few caramel ribbons can make dark hair with highlights look warm and natural, while ash brown, copper, honey, or blonde pieces can create a stronger change.
The goal is not always to make the hair look lighter overall. Sometimes, the best result is a simple dimension that makes the color look fuller, fresher, and more expensive without losing the beauty of the dark brown base.
Best Highlights for Dark Brown Hair
Highlights add contrast, movement, and richness to dark brown hair. Face-framing pieces brighten the complexion, while mid-length color softens the look and adds fuller, more textured dimension.
1. Caramel Highlights
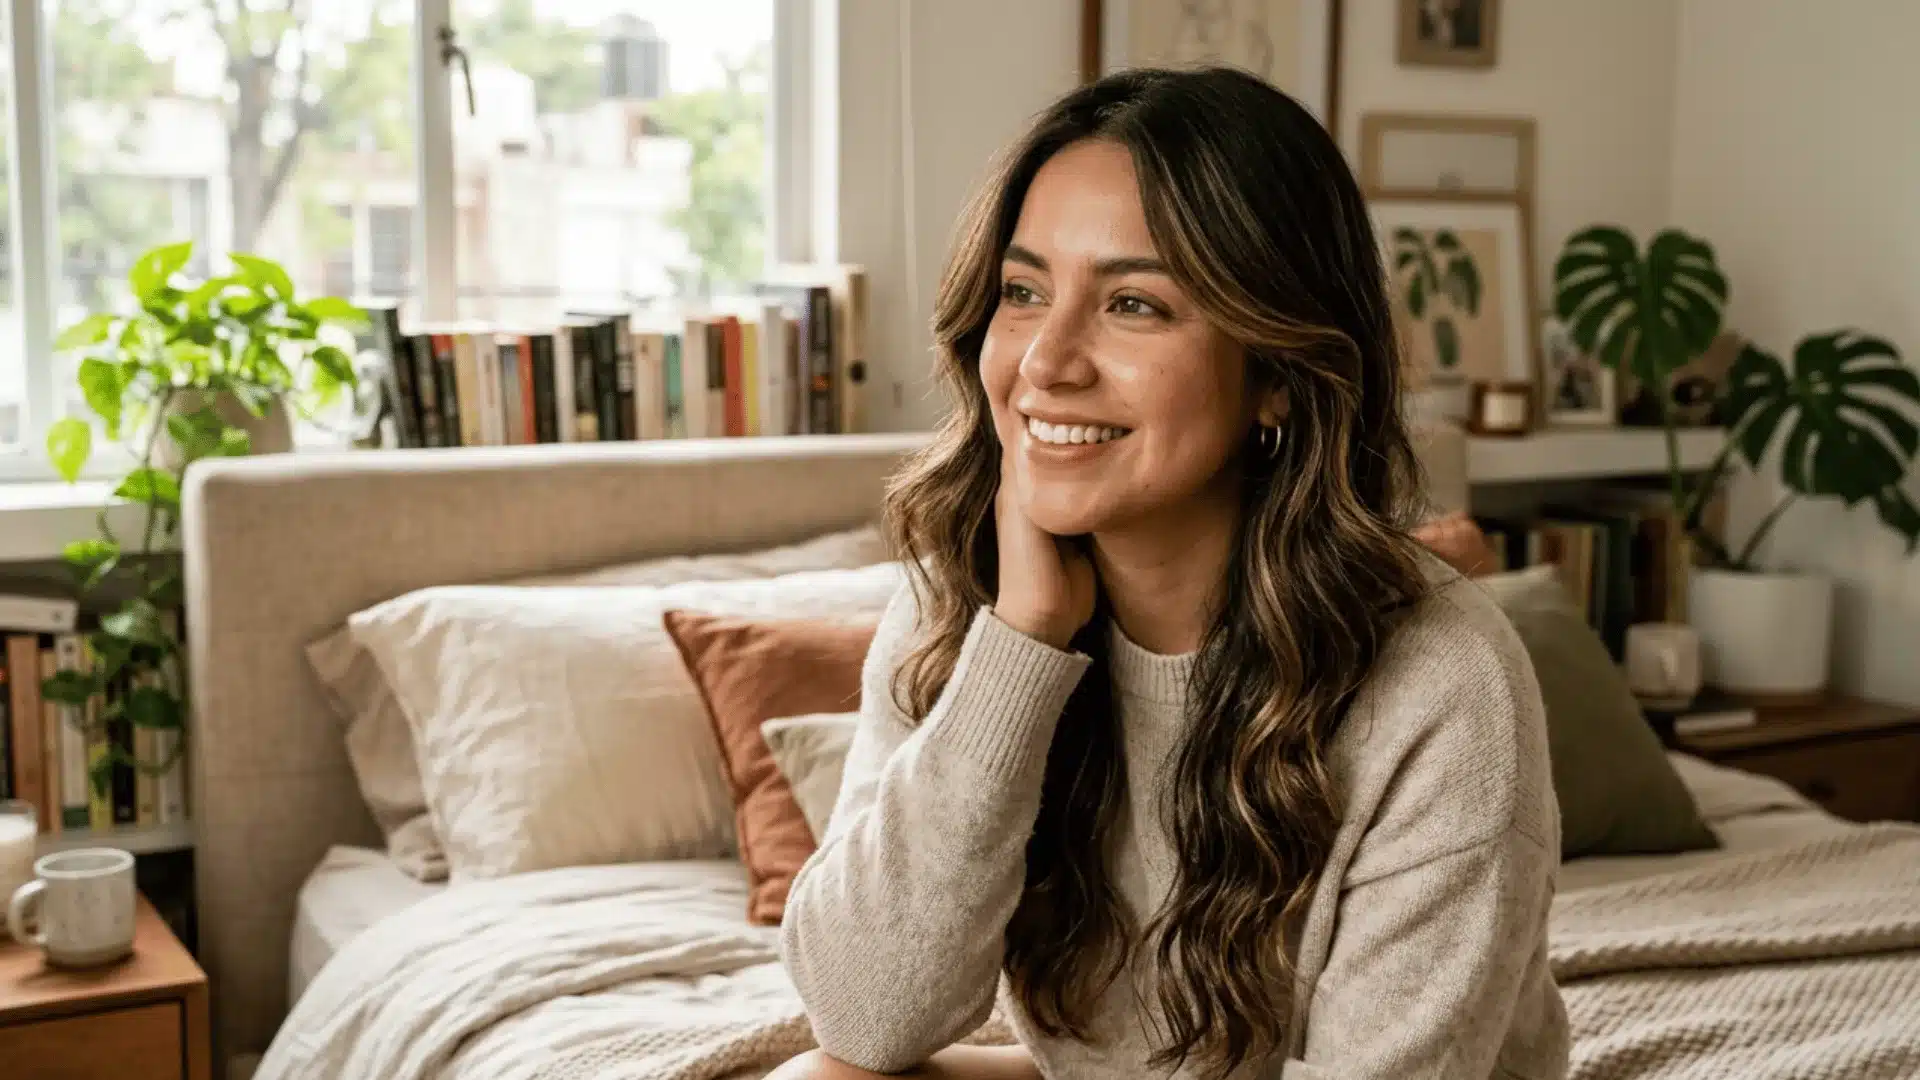
Caramel is one of the most requested shades for dark brown hair, and the reason is straightforward: it adds warmth without pulling the color too far from the natural base.
The result looks like your hair spent a few extra hours in the sun, not like you made a dramatic color commitment.
It works especially well with warm or olive skin tones. When done with balayage, caramel blends into the base smoothly and grows out with minimal visible regrowth.
2. Honey Highlights
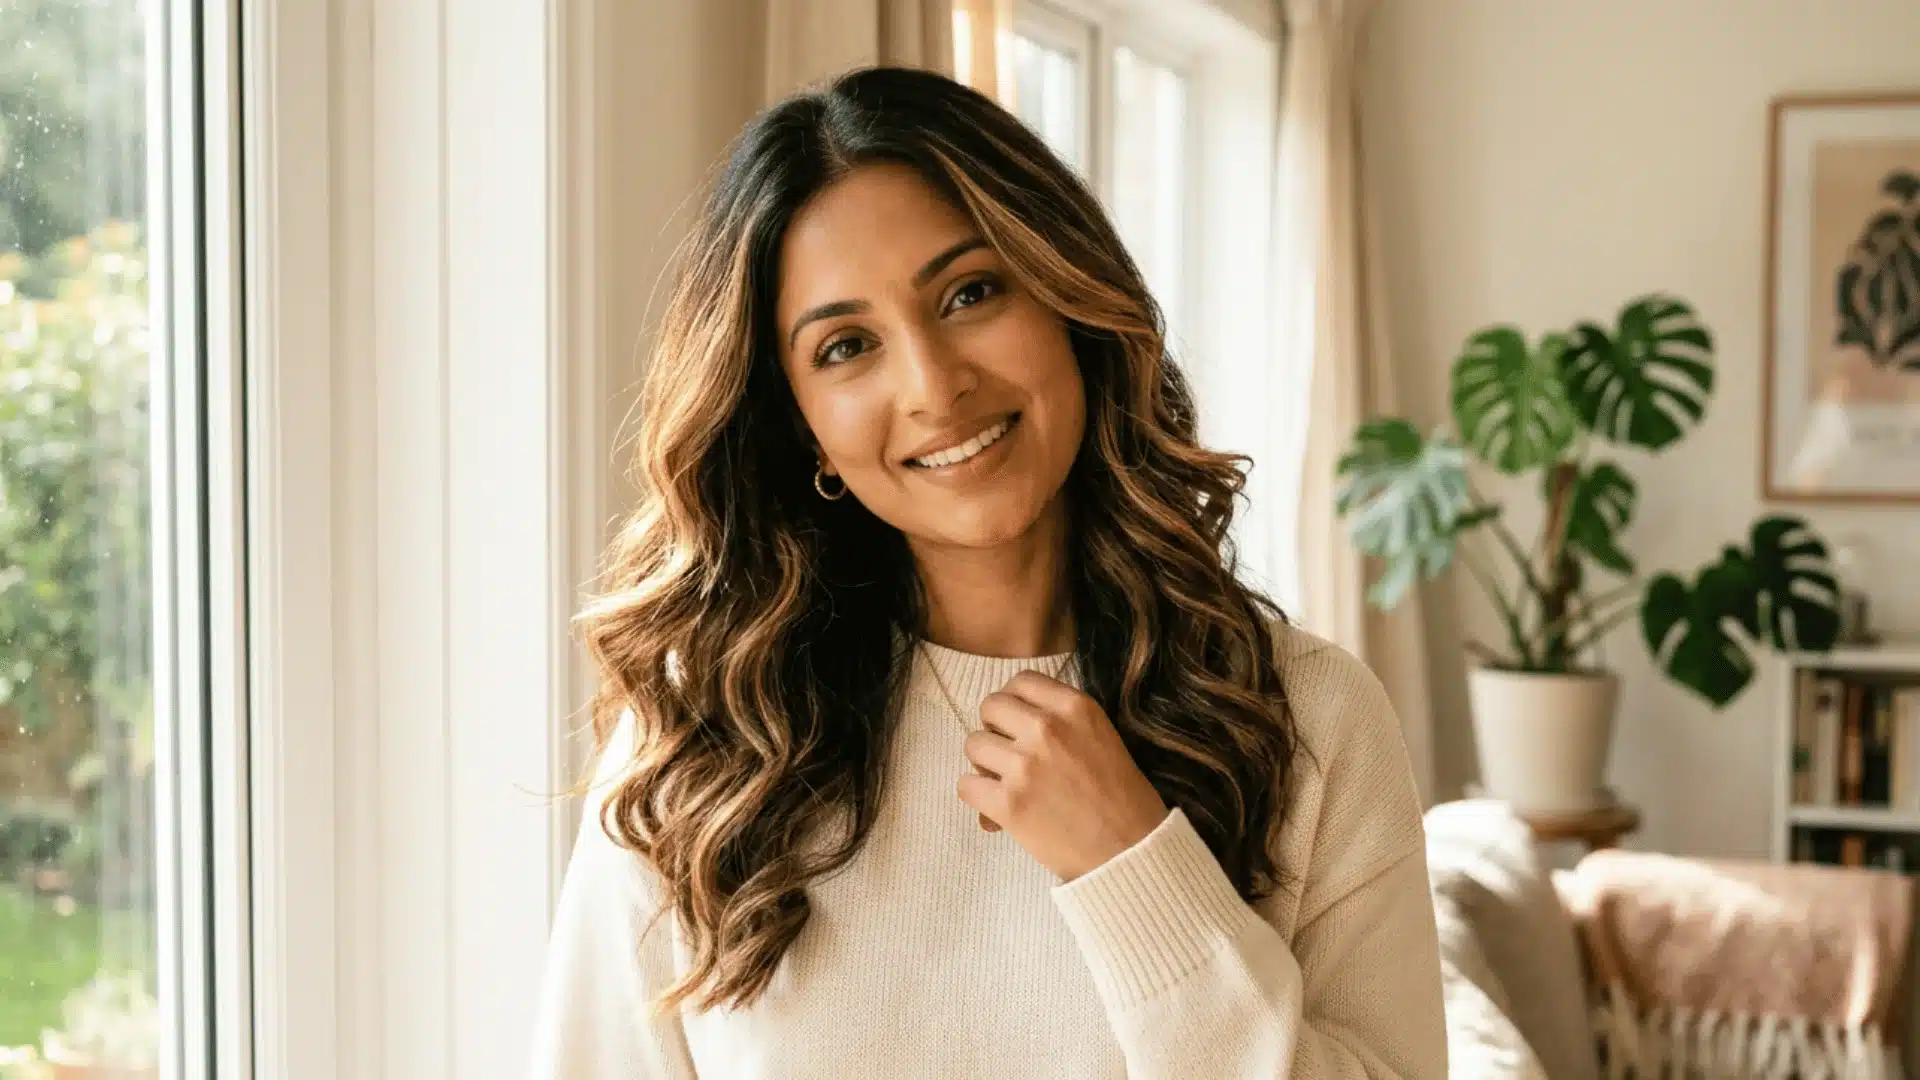
Honey sits between caramel and golden blonde on the warmth scale.
It’s a touch brighter than caramel but still reads as natural on dark brown hair, which makes it a good choice for anyone who wants a warmer, sunlit look without going full blonde.
It flatters warm and neutral skin tones particularly well. In direct light, honey highlights create a luminous effect through the lengths of the hair.
3. Ash Brown and Mocha Highlights
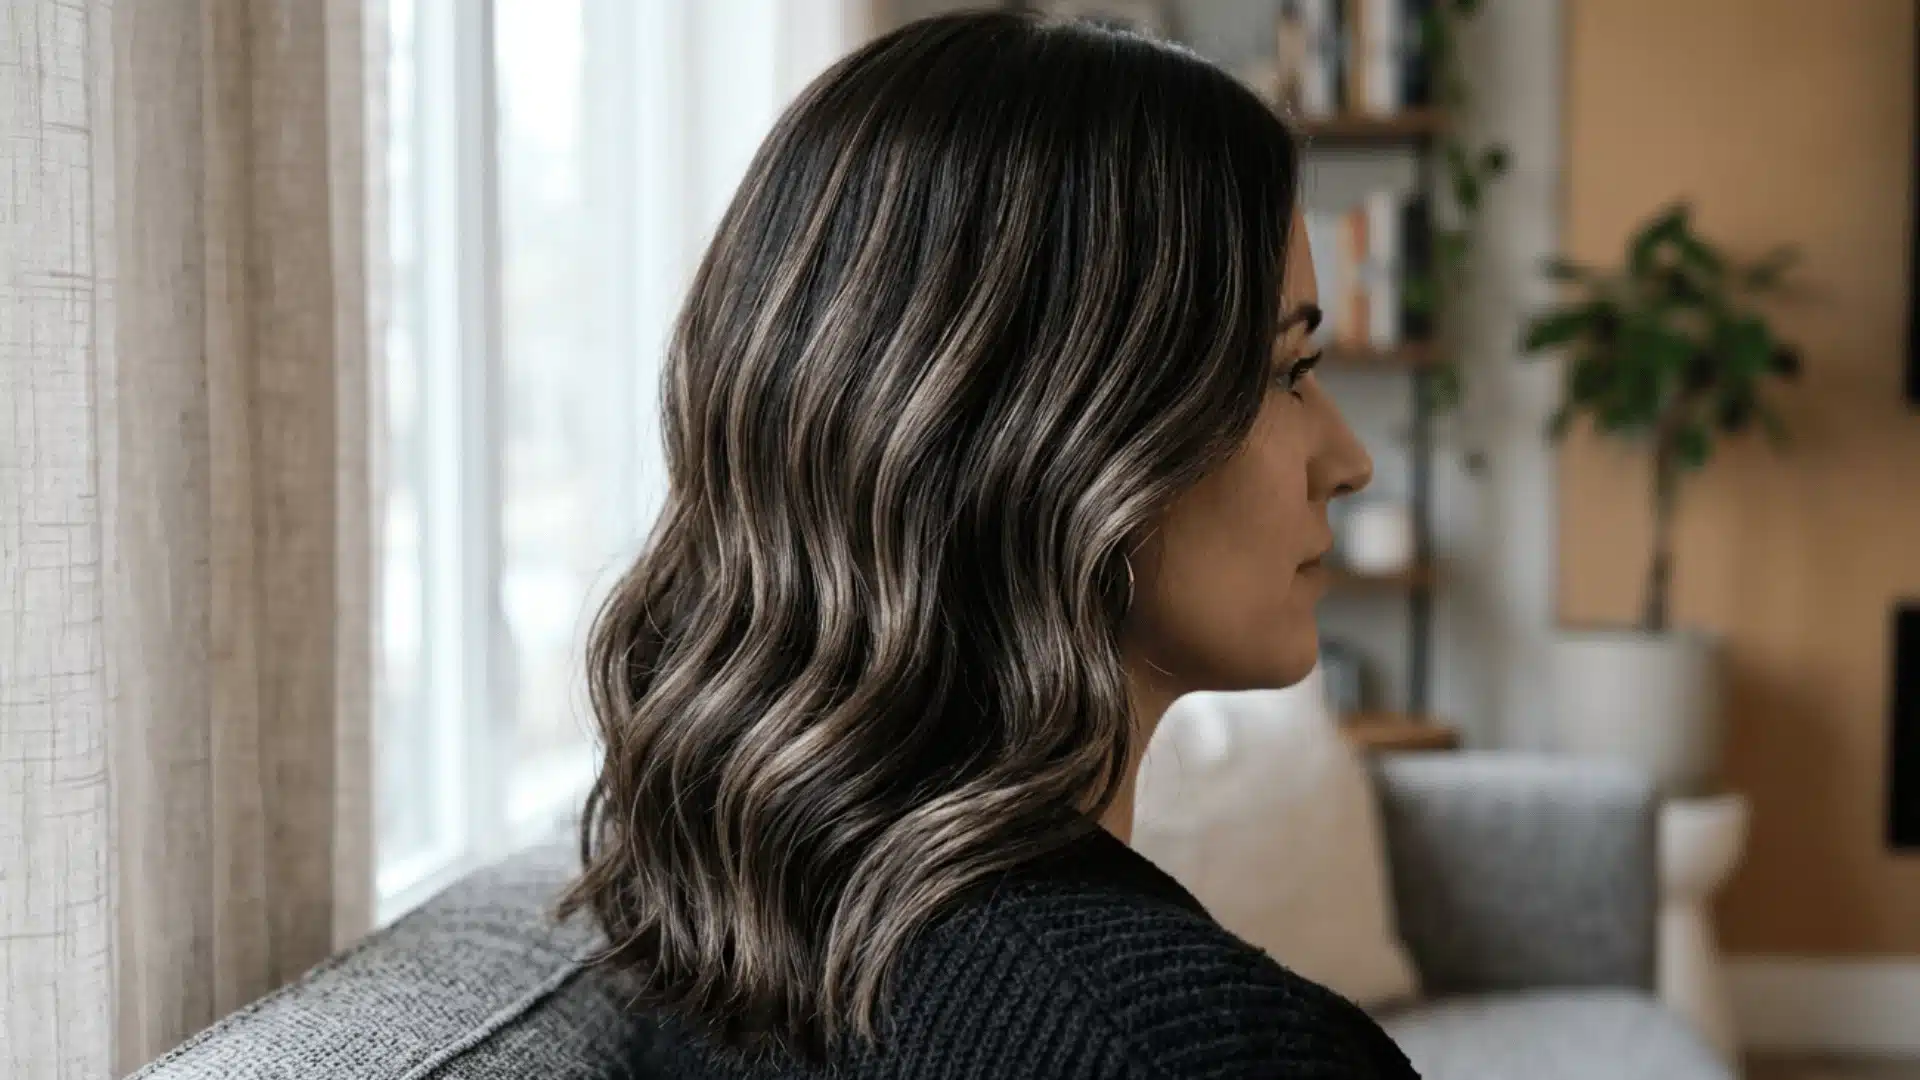
For cooler skin tones, warm highlights can sometimes create a clash rather than a complement. Ash brown and mocha shades solve this by adding depth and dimension without any orange or gold undertones.
The result is subtle and sophisticated. Ash brown highlights make dark hair look richer and more multidimensional rather than obviously lightened.
Mocha shades work similarly and are a strong option for anyone who wants a natural-looking refresh with low maintenance.
4. Copper and Auburn Highlights
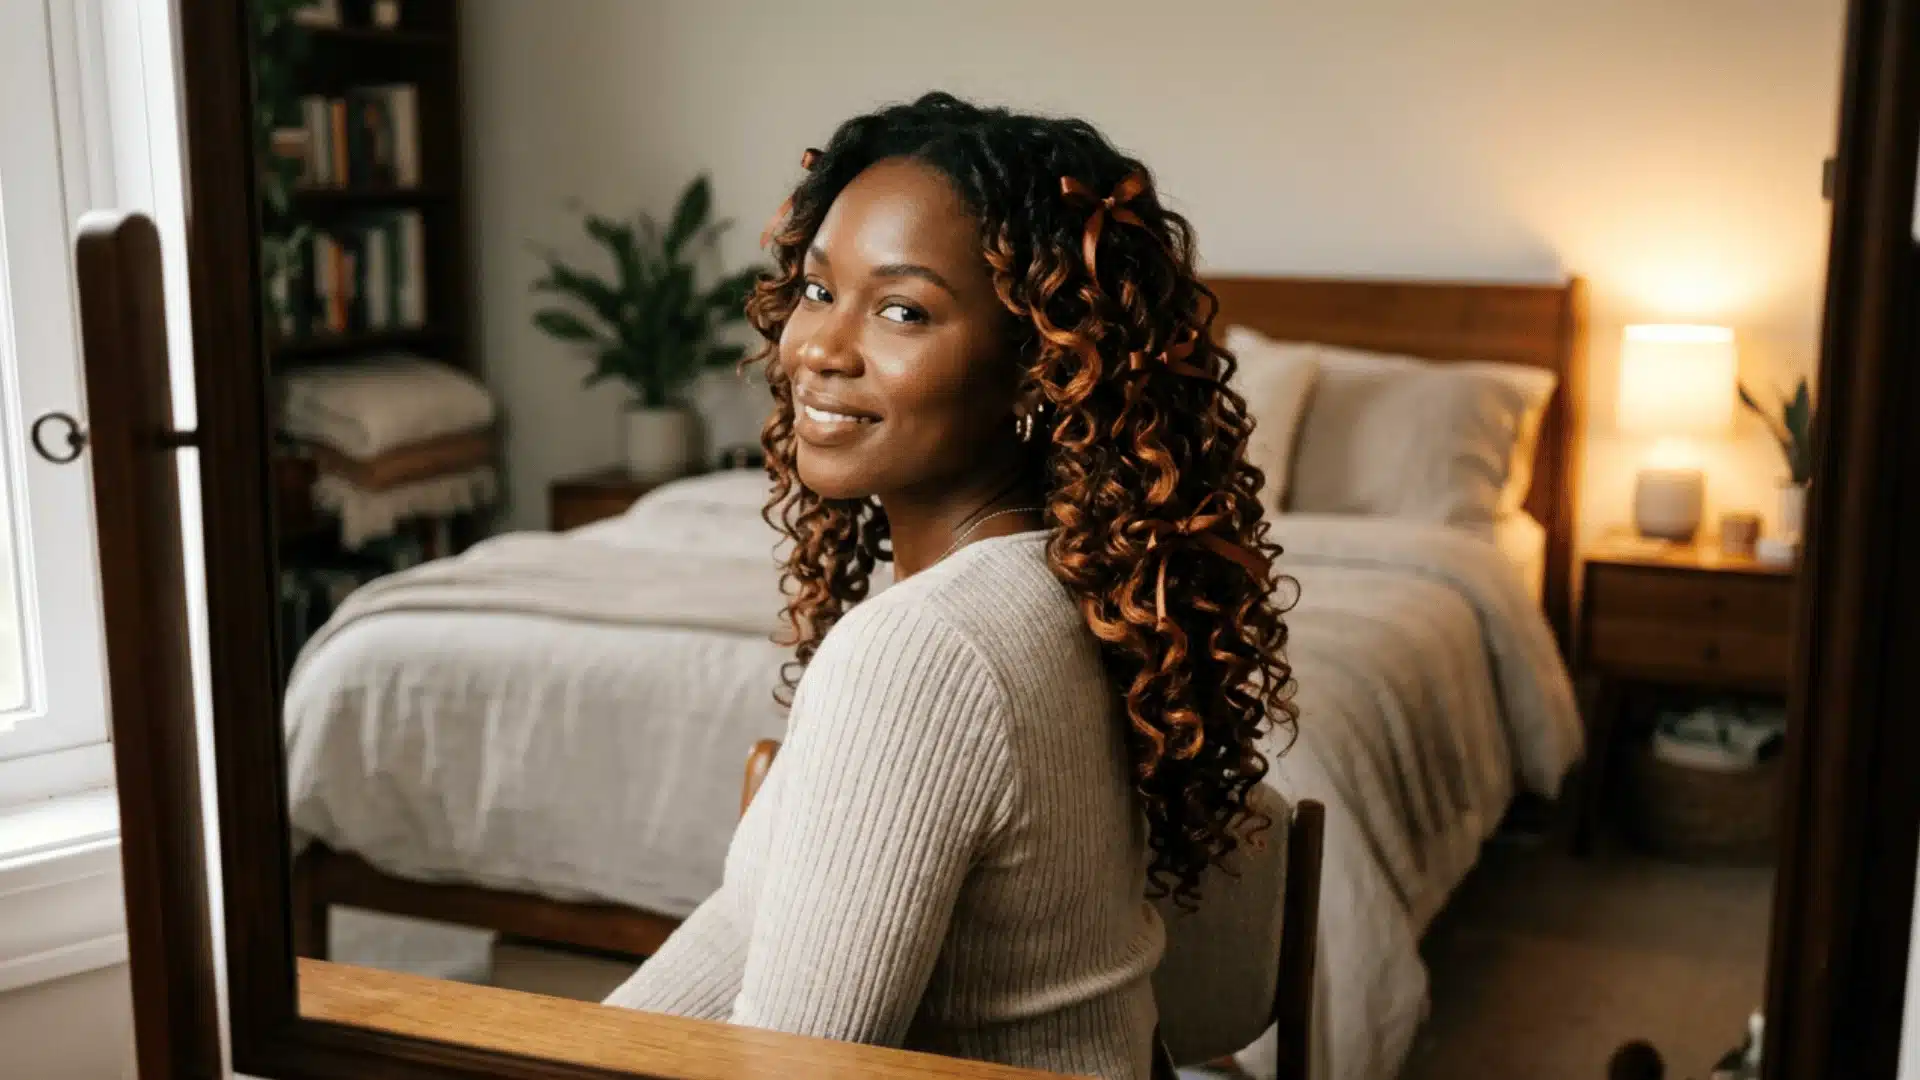
Copper and auburn add warmth and a rich red depth to dark brown hair without tipping into full red-hair territory.
In sunlight, they catch the light with a fiery glow that reads as dimensional and interesting even indoors.
These shades suit warm, olive, and deeper skin tones best. They can be done boldly with foil highlights or more subtly with a balayage technique if you want the red to show only when the light hits directly.
5. Blonde Highlights
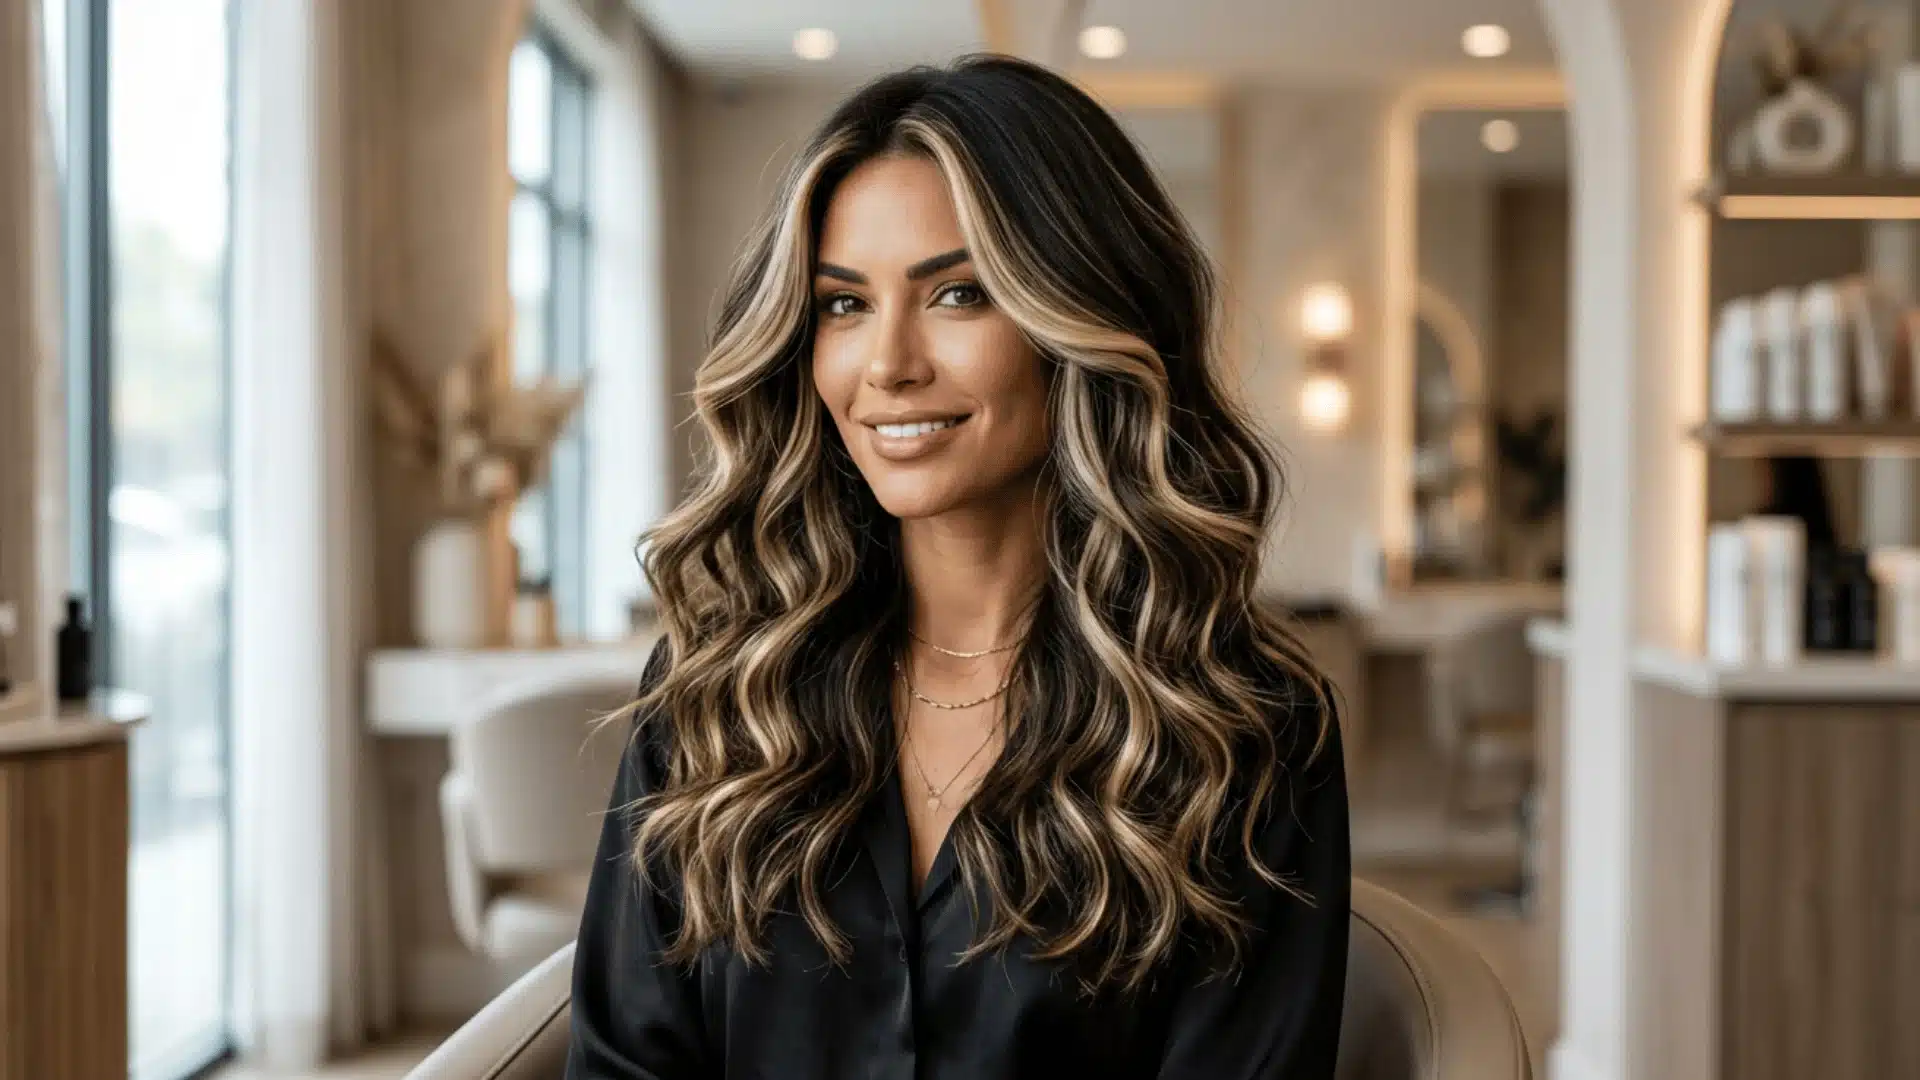
Blonde highlights on dark brown hair create the most visible contrast of any shade on this list. The effect ranges from a soft, sun-kissed look with sandy or dirty blonde tones to a high-drama look with ash or golden blonde tones.
Getting there usually takes more than one session on a dark base. Lifting dark brown hair to a clean blonde without brassiness requires patience and a toner to correct orange or yellow undertones after bleaching.
The maintenance commitment is higher than for warmer shades, but when it’s done well, the result is genuinely striking.
6. Babylights and Subtle Dimension
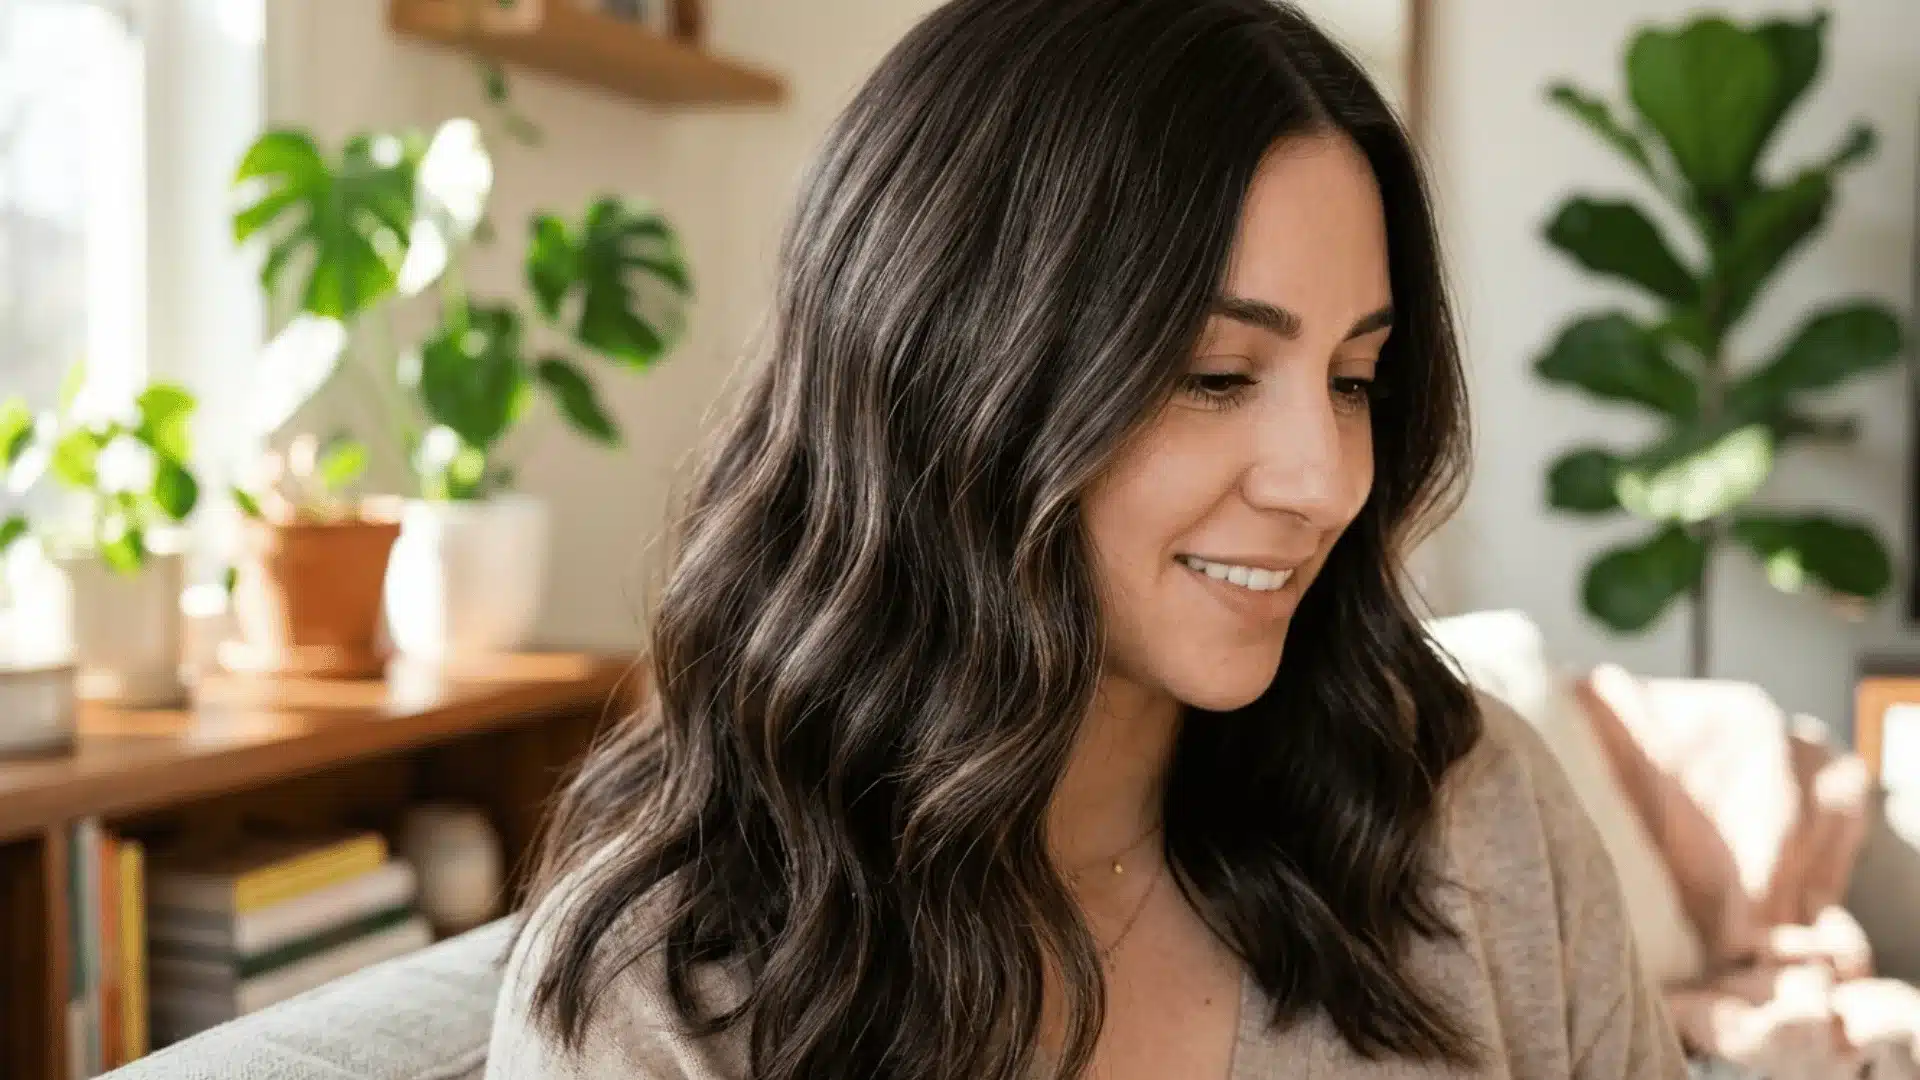
Babylights are extremely fine highlights placed in tiny sections throughout the hair. The result looks delicate rather than streaked, similar to the natural color variation children often have.
On dark brown hair, they add soft warmth and brightness without anything that reads as obviously highlighted.
This is the right choice if you want your hair to look better without anyone being able to explain exactly why. They also blend easily as the color grows out, which makes them relatively low-maintenance.
Best Highlight Shades by Skin Tone
Skin tone is the most reliable guide for choosing a highlight shade. The wrong color can make your complexion look washed out or muddy, while the right one can make both your hair and skin look more alive. Here’s a practical breakdown.
| Skin Tone | Undertone | Best Highlight Shades | Shades to Avoid |
|---|---|---|---|
| Fair | Cool/pink | Ash blonde, champagne, mocha | Deep copper, strong auburn |
| Fair | Warm/peachy | Honey, golden blonde, caramel | Platinum, icy ash tones |
| Medium | Neutral / olive | Caramel, toffee, warm brunette | Very cool ash tones |
| Medium | Warm | Copper, auburn, butterscotch | Platinum or icy blonde |
| Deep/rich | Warm or neutral | Copper, auburn, rich caramel | Pale blonde |
| Deep/rich | Cool | Mahogany, deep auburn, chestnut | Golden blonde |
If you’re not sure of your undertone, check the inside of your wrist in natural light. Blue-purple veins usually indicate cool undertones, green veins suggest warm undertones, and a mix of both suggests neutral undertones.
Neutral undertones are the most flexible and tend to work with a wider range of highlight shades.
Highlight Methods That Work Best on Dark Hair
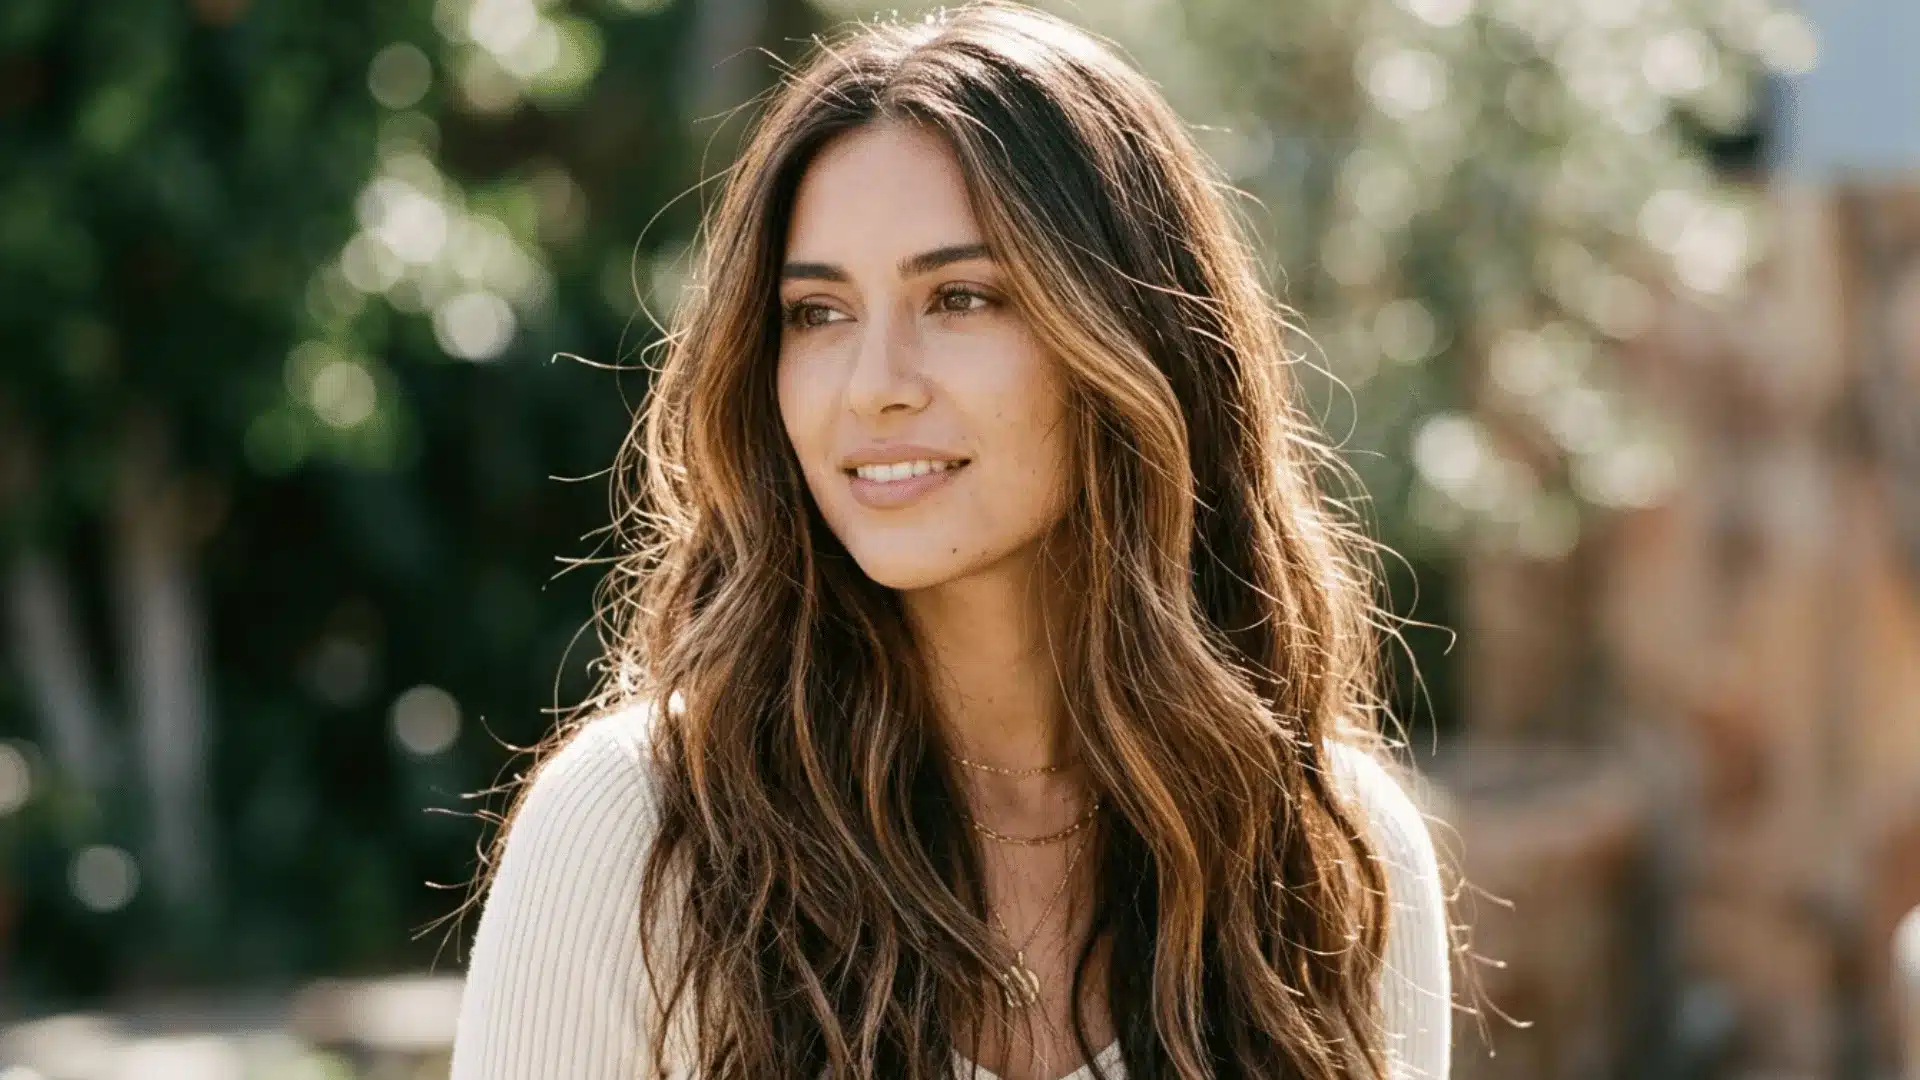
Understanding the technique before you book, or before you open a box at home, matters more than most people realize. Each method produces a different texture and regrowth pattern, and the wrong one for your goals can mean months of waiting for it to soften.
1. Balayage
Balayage is a freehand highlighting method in which lightener is painted onto selected sections, primarily through the mid-lengths and ends. On dark brown hair, the result looks soft, blended, and naturally sunlit instead of heavily striped.
Because the color starts away from the roots, regrowth appears less noticeable over time. Most people only need touch-ups every 3 to 5 months, making balayage a lower-maintenance option.
Understanding the difference between balayage and highlights makes it much easier to choose the right look.
2. Foil Highlights
Foil highlights involve separating sections of hair, wrapping them in foil, and then applying the lightener. The foil traps heat, helping the color lift faster and more evenly from roots to ends.
This technique creates brighter and more defined contrast on dark brown hair, especially when dramatic lightness is the goal.
Regrowth becomes visible sooner than with balayage, so maintenance appointments are usually needed every 6 to 8 weeks.
3. Babylights
Babylights are extremely fine highlights placed in tiny sections to create soft dimension throughout the hair. On dark brown hair, they add gentle warmth and brightness without producing thick or obvious streaks.
The finished look appears delicate and natural, similar to the subtle color variation often seen in children’s hair.
Babylights work well for anyone wanting highlights that feel understated, polished, and easy to blend with their base color.
4. Ombre and Somber
Ombre creates a noticeable transition from dark roots to lighter ends, with the color change becoming more pronounced toward the ends of the hair.
Somber offers a softer version of the same effect, with a more blended, natural-looking fade.
Both techniques suit dark brown hair because they keep the roots darker while adding brightness through the lengths, giving dimension without requiring constant root maintenance.
Highlighting Supplies for Dark Brown Hair
Before mixing any lightener, gather all your supplies. Having everything ready helps you work efficiently once the bleach is mixed and reduces the risk of uneven application.
| Supply | Purpose |
|---|---|
| Powder lightener | Lifts the natural hair color. |
| Developer | Activates the lightener. Use the recommended strength for your desired lift. |
| Mixing bowl | Holds the lightener and developer while mixing. |
| Tint or balayage brush | Applies the lightener evenly to the hair. |
| Aluminum foil strips | Isolates highlighted sections and helps process the lightener. |
| Hair clips | Keeps hair divided into manageable sections. |
| Rat-tail comb | Creates clean, precise partings for even highlights. |
| Gloves | Protects your hands from bleach and chemicals. |
| Kitchen scale | Measures the lightener and developer accurately. |
| Toner and 10-volume developer | Neutralize unwanted yellow or orange tones after lightening. |
Tip: Always perform a strand test and follow the manufacturer’s instructions before applying bleach to larger sections of hair.
How to Highlight Dark Brown Hair at Home?
Highlighting dark brown hair at home is a two-phase process: lightening (bleaching) and toning. Skipping either phase is what leads to orange, uneven, or brassy results. Follow these steps carefully, and you can get salon-quality highlights without leaving your house.
Step 1: Gather Your Supplies
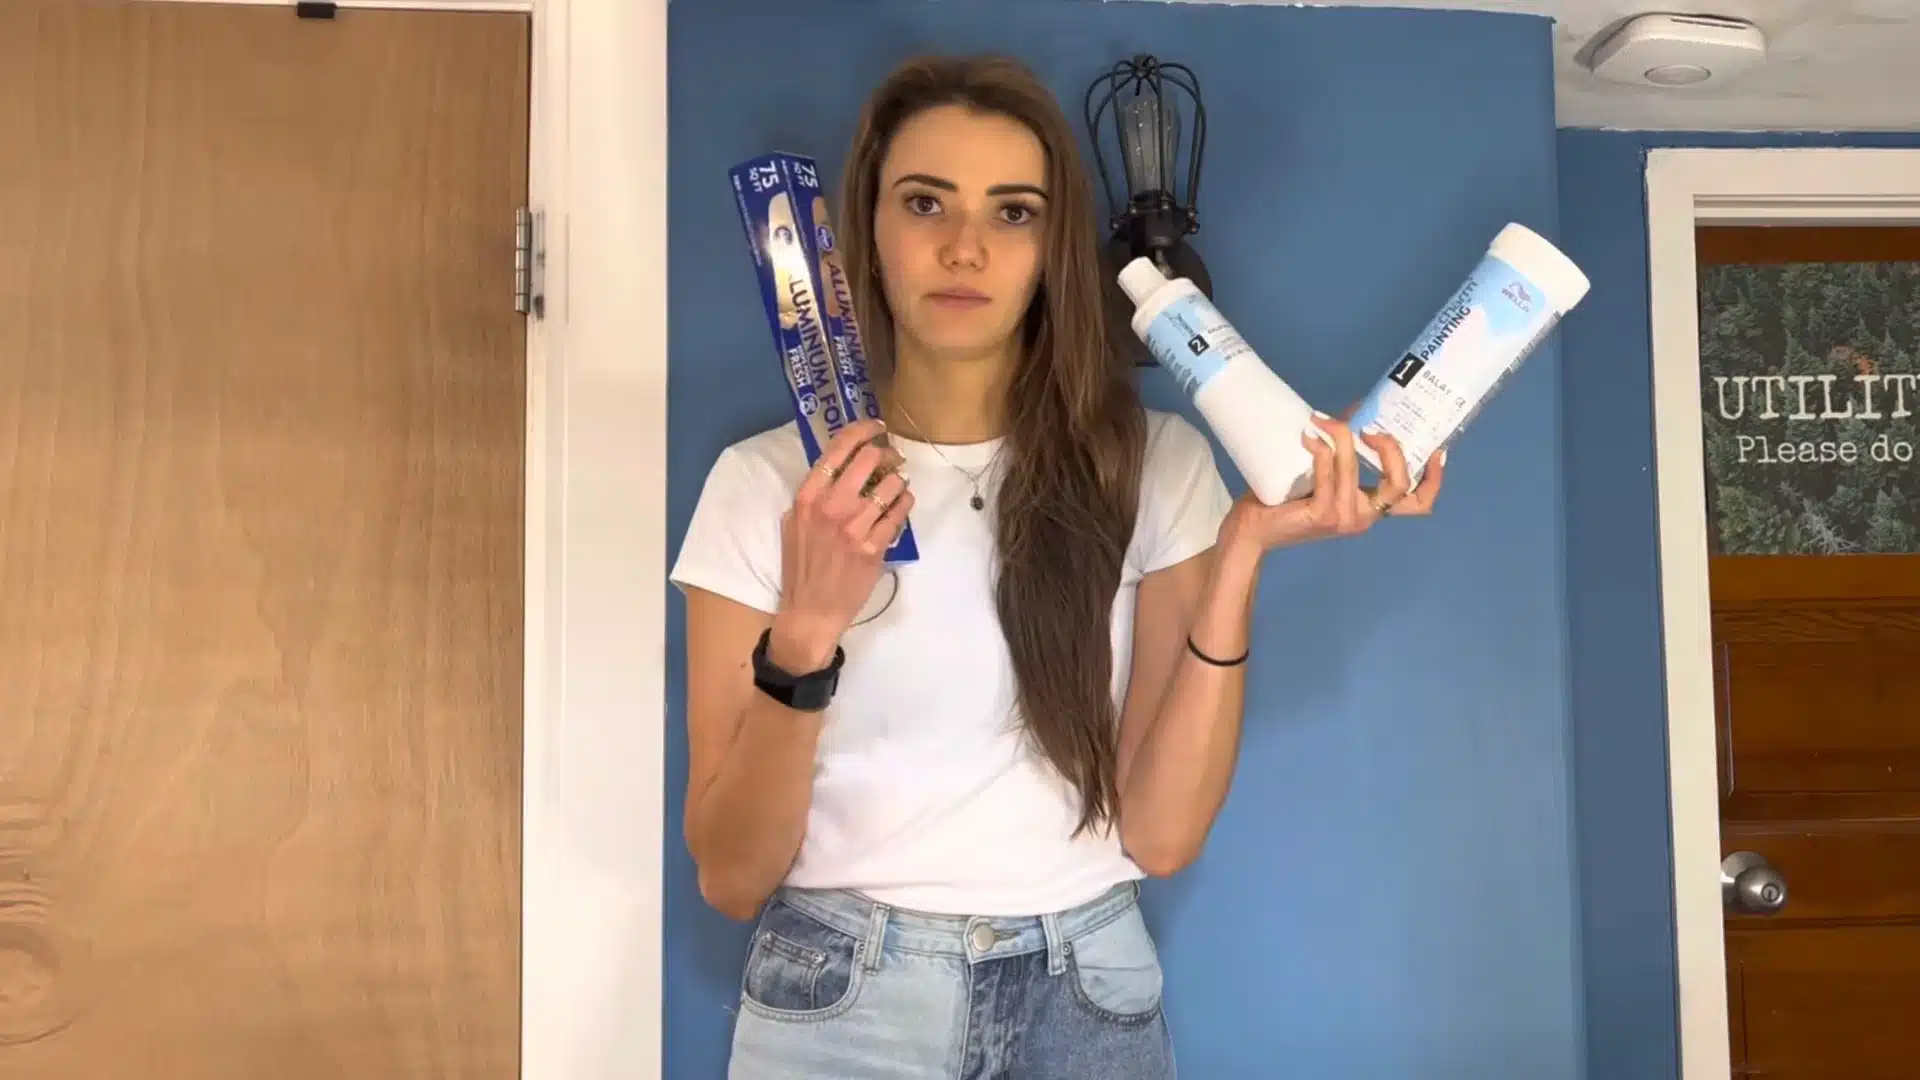
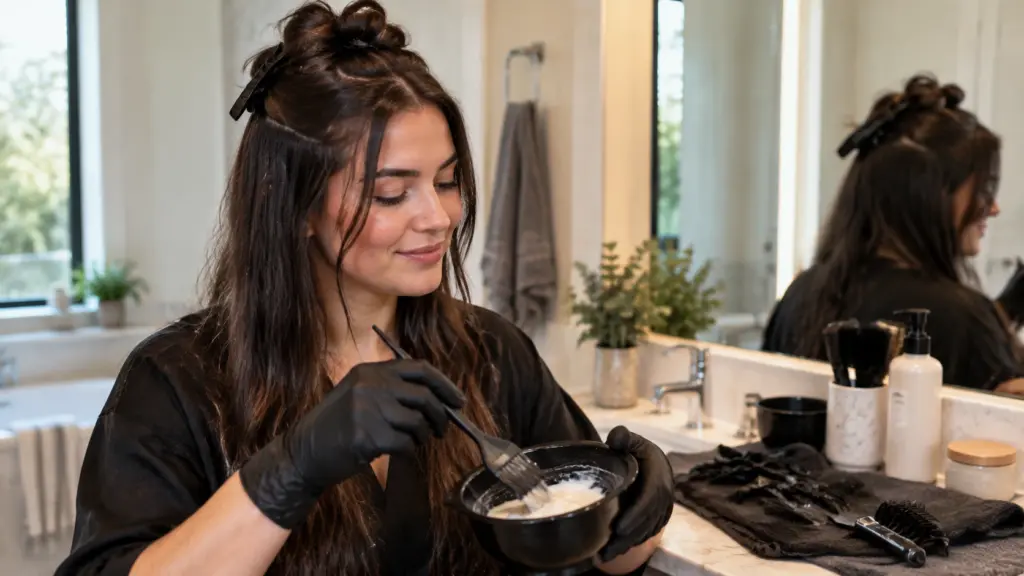
You’ll need a Wella Balayage Lightening System (powder lightener and developer), a kitchen scale, a paintbrush, aluminum foil strips, lots of hair clips, a fine-tooth rat-tail comb, gloves, and a toner with 10-volume developer for Phase 2.
Having everything ready before you mix anything saves you from rushing once the bleach is activated and the clock starts ticking.
Step 2: Mix the Bleach in Small Batches
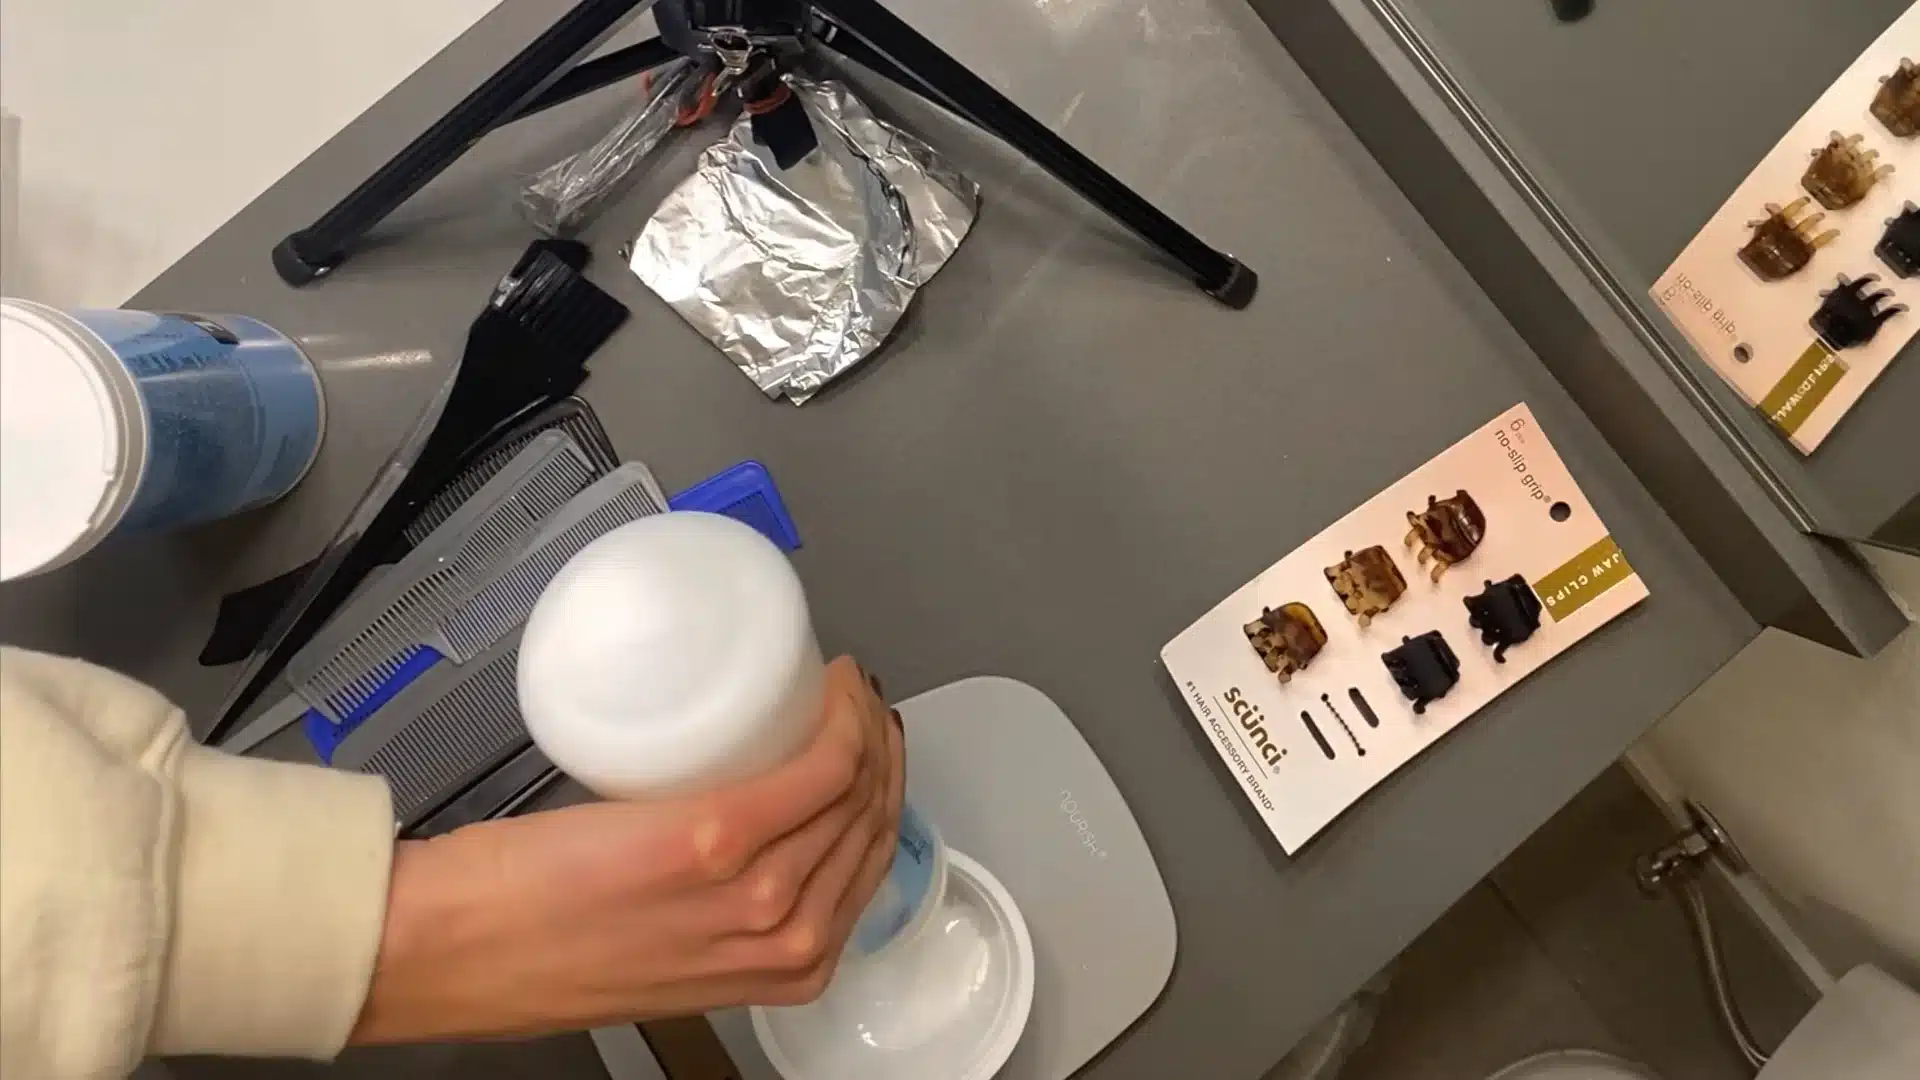
Use a kitchen scale to mix lightener and developer in a 1:2 ratio (example: 10g lightener to 20g developer). Mix until it looks like frosting. Always mix in small batches rather than one large bowl.
The chemical reaction starts immediately after mixing, so a giant batch means the bleach applied to your last section is already weakened and partially dried.
Step 3: Section Your Hair Into Two Rounds
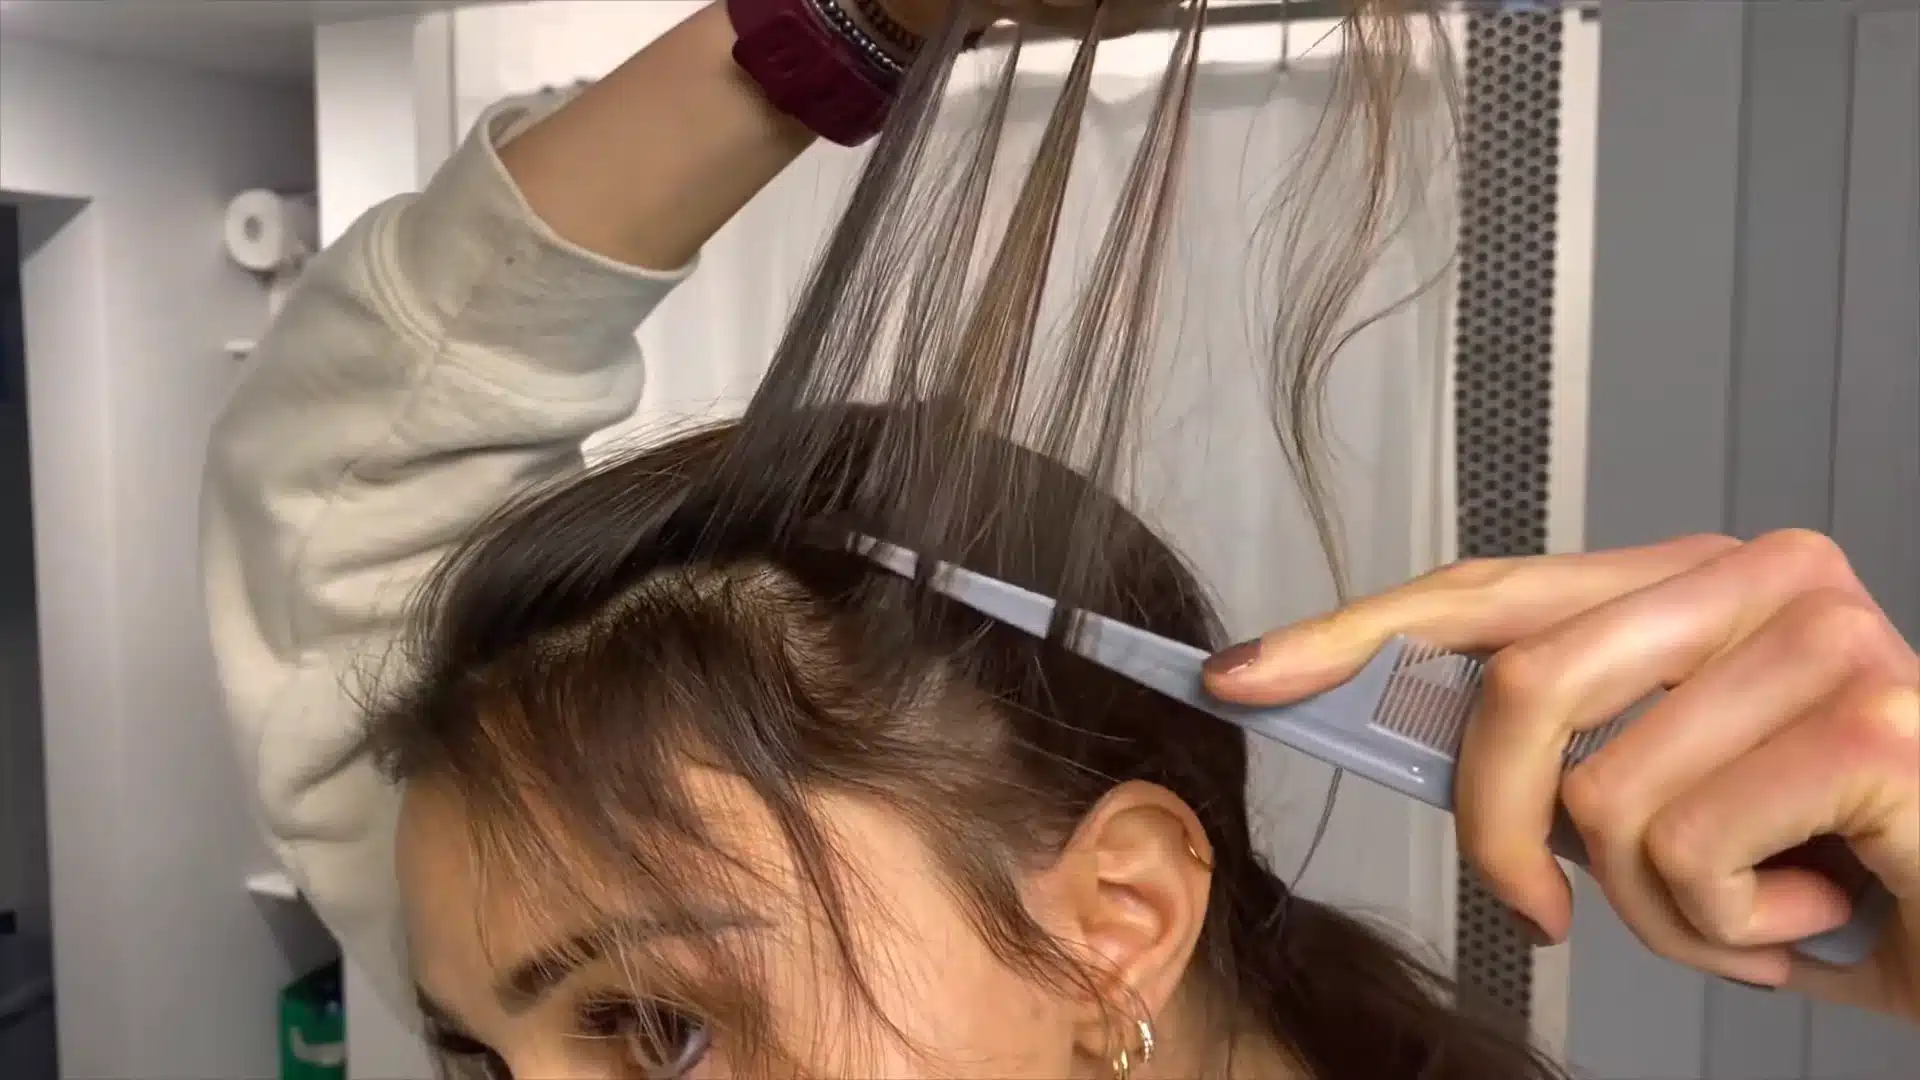
Pull most of your hair into a ponytail and leave out only the front hairline pieces. Maren highlights in two separate rounds: first, the front “ponytail pieces” visible when hair is pulled back, then the sections along the center part.
Working in rounds lets you apply fresh bleach each time and gives you far more control than trying to do everything at once.
Step 4: Weave and Paint the Bleach
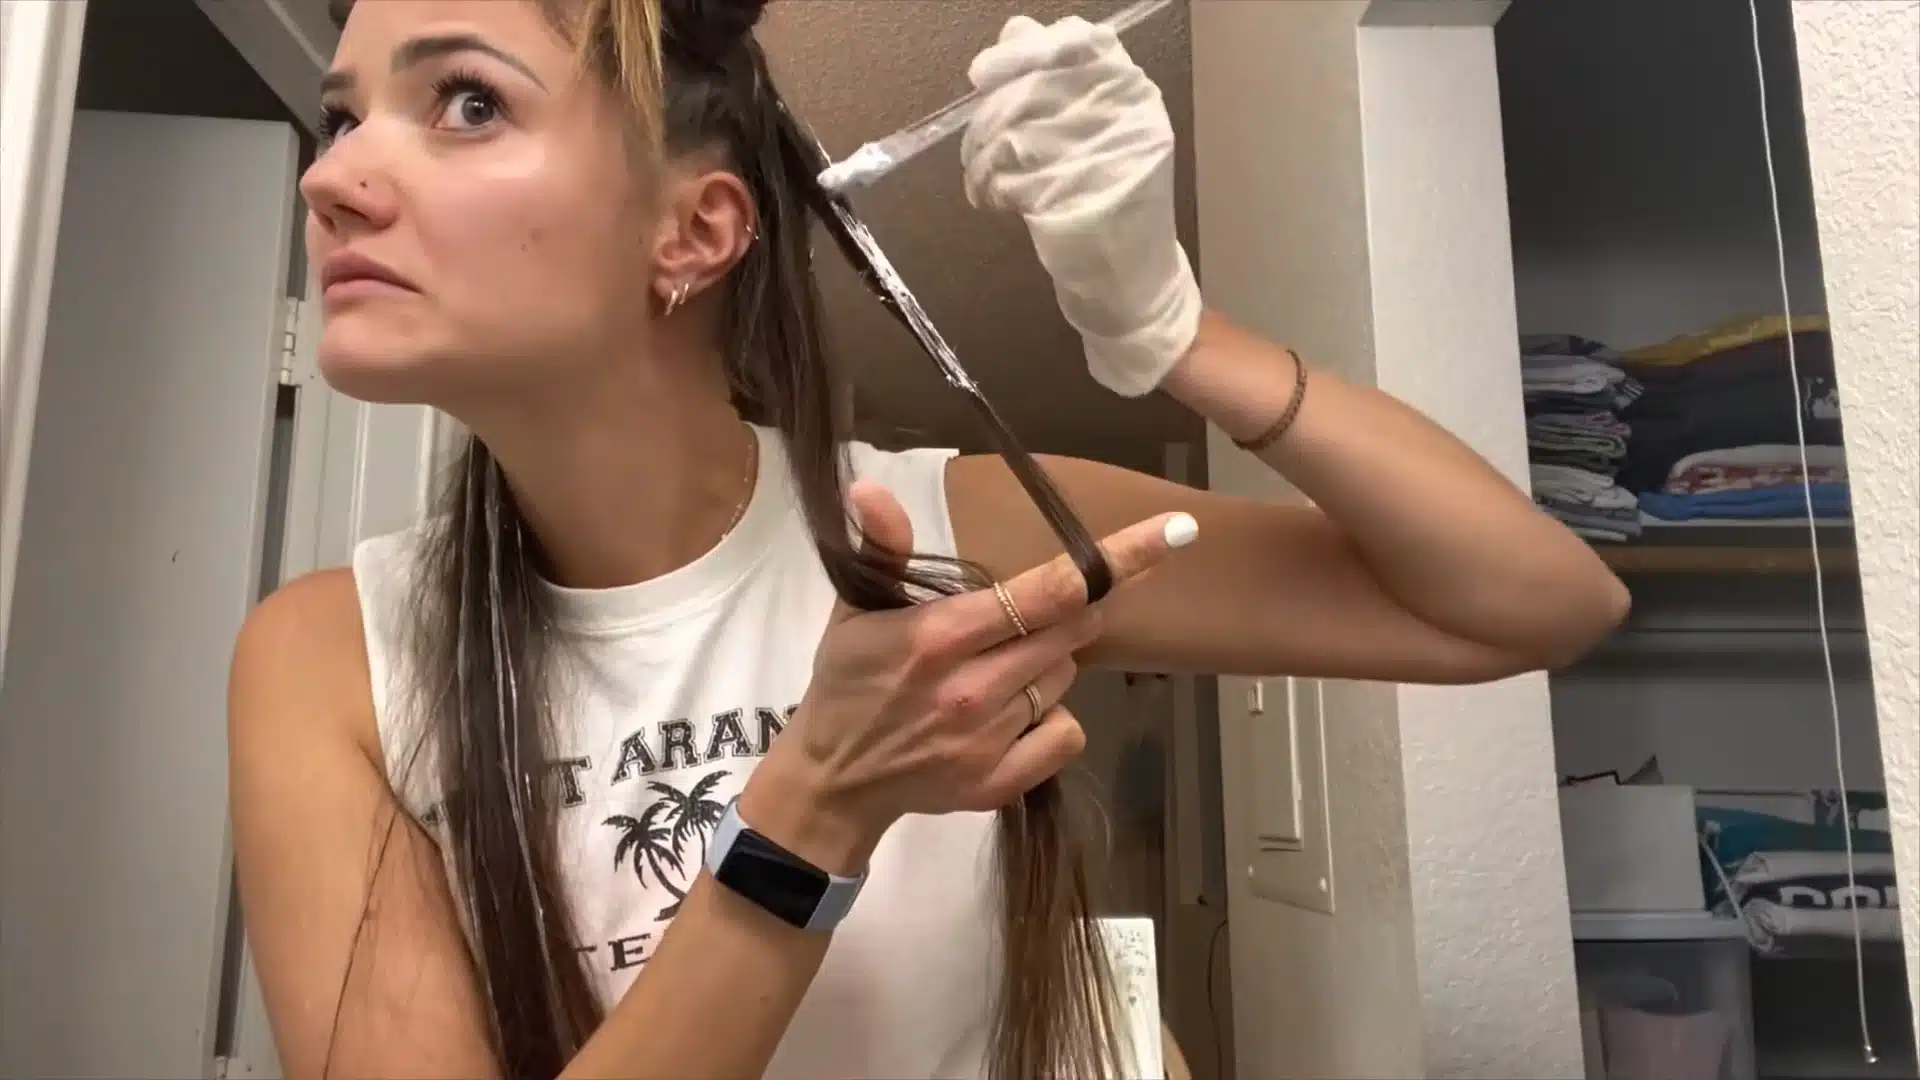
Use a fine-tooth comb to weave thin strands from each section. Finer weaves give a natural, sun-kissed look. Paint bleach starting a few inches below the root, work down the strand, then lightly touch the root area last.
Starting at the root first causes “hot roots,” where scalp heat over-bleaches that section, leaving an unnatural lighter root against darker mid-lengths.
Step 5: Wrap in Foil and Develop for 40 Minutes
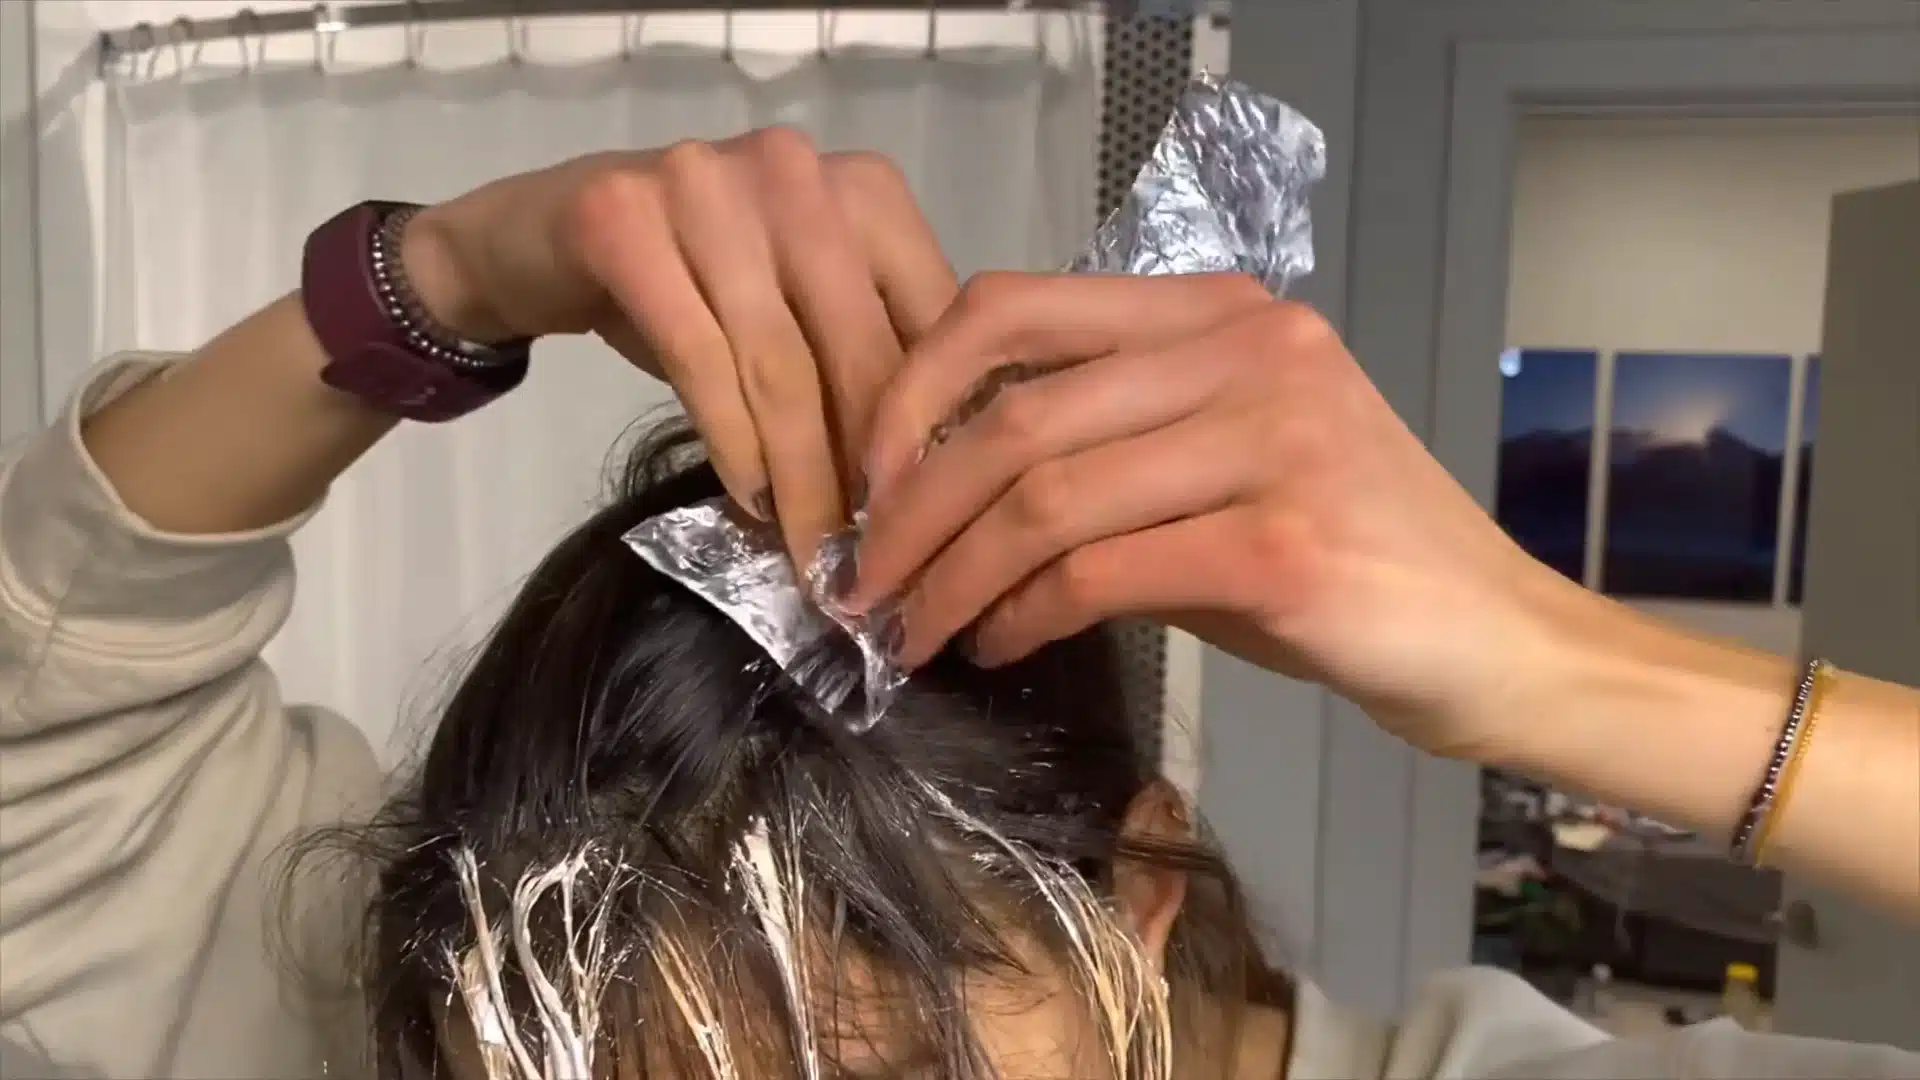
Wrap each painted section in aluminum foil and tuck it out of the way before moving to the next. Leave the bleach to develop for up to 40 minutes. Even if your product says “foil-free,” use foil in dry climates or at high altitude.
Without it, bleach dries out mid-process and stops lifting, leaving you with patchy, uneven results.
Step 6: Rinse and Check the Lift
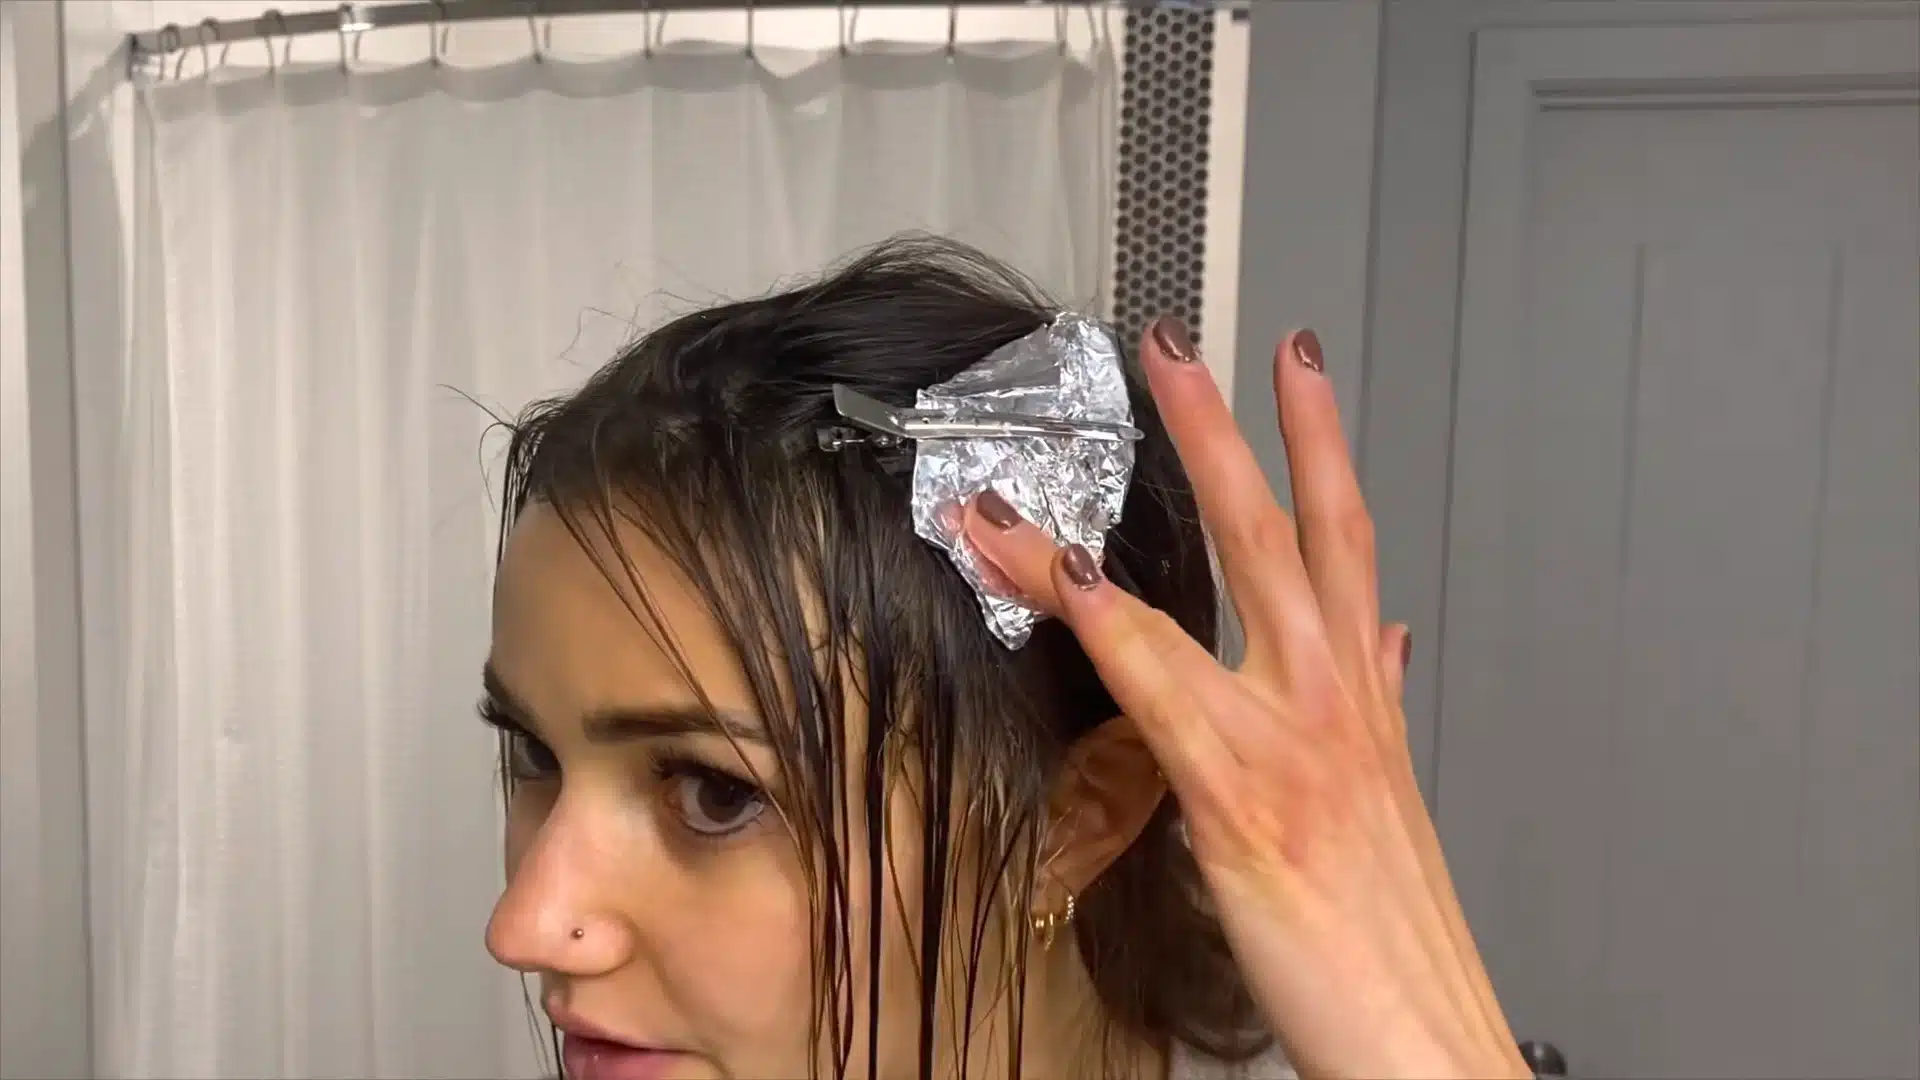
Rinse thoroughly until all the gritty, sandy texture is gone from your hair. Then assess the color. A yellow tone means the hair lifted well and is ready to tone.
An orange or brassy tone indicates the bleach didn’t fully lift, often because the product has dried or coverage is uneven. You may need a second bleach round before moving to toning.
Step 7: Repeat for Your Center Part, Then Tone
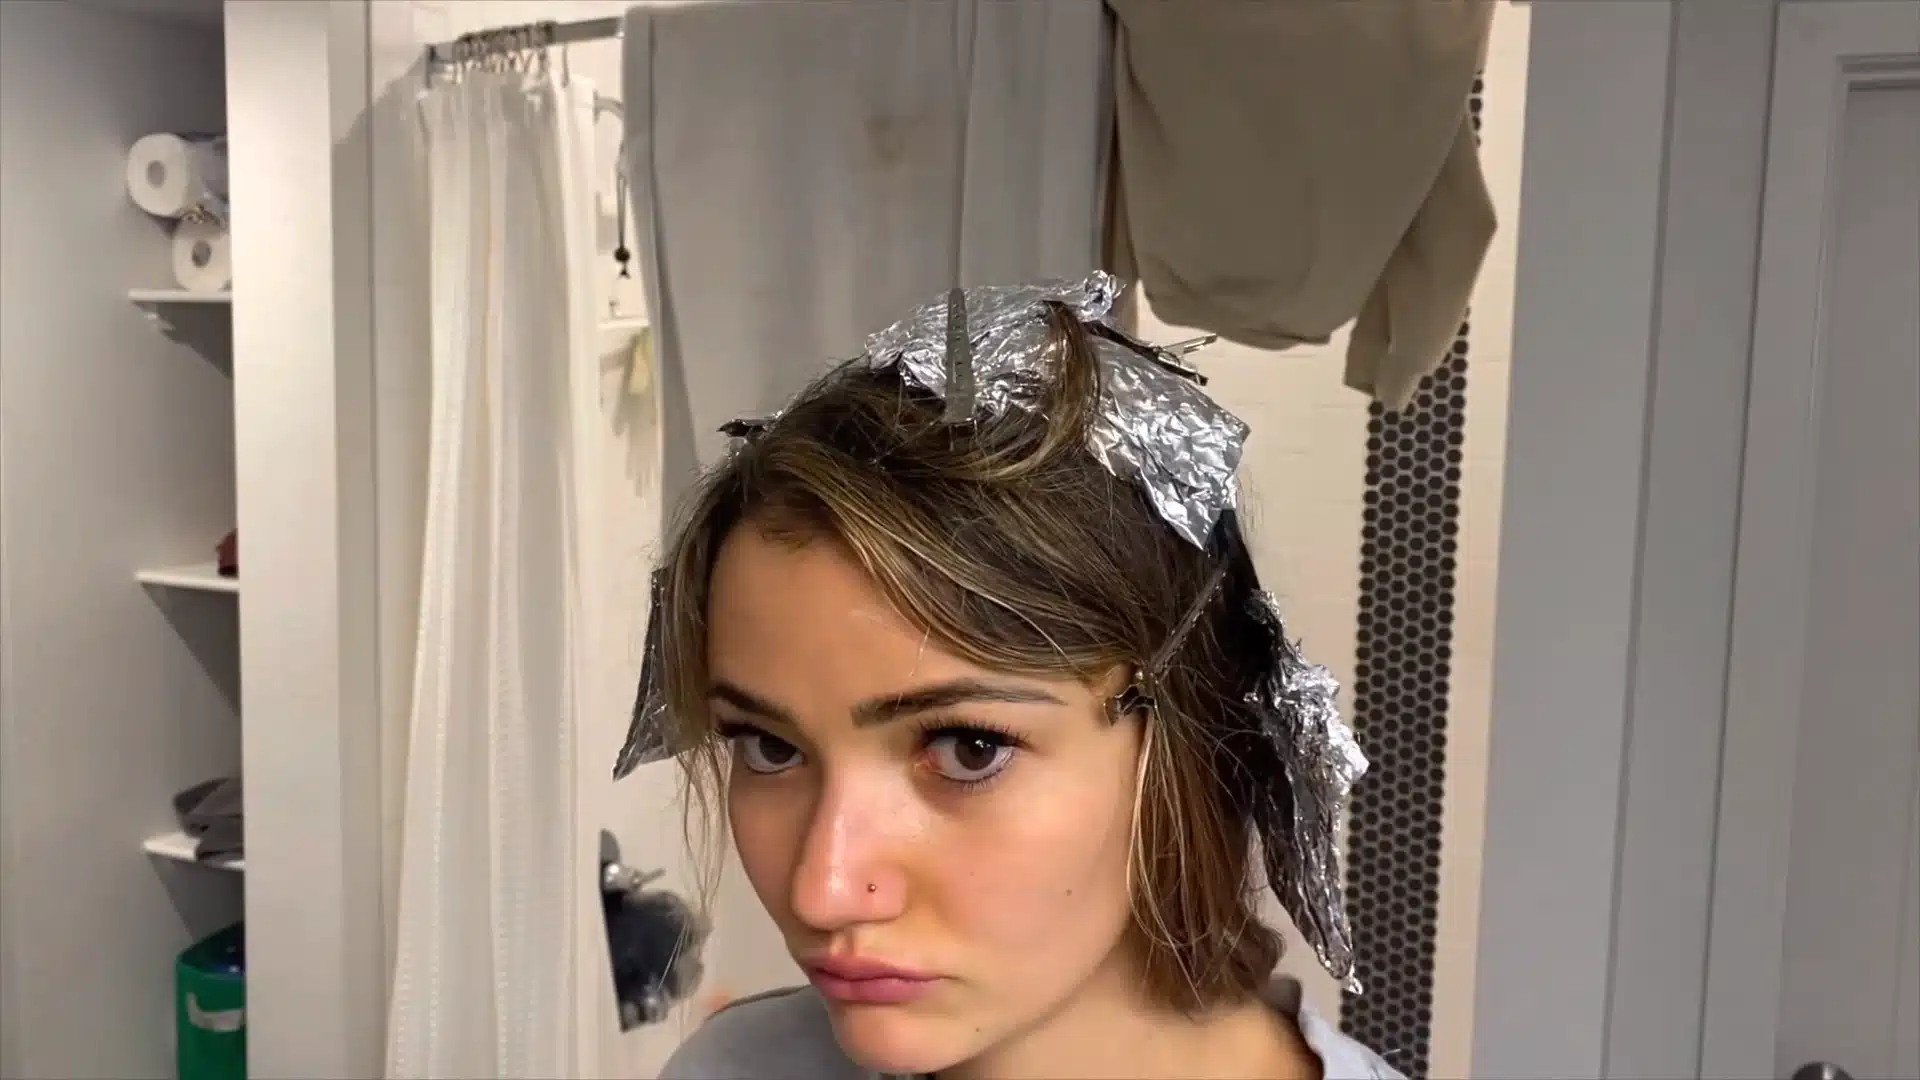
Once the front pieces are rinsed and dry, part your hair down the middle and repeat the weave-and-paint process along the part line. For the back, hold hair up in the mirror and paint a few sections freehand.
After all sections are done, move to Phase 2: toning with a 10-volume developer to neutralize brassiness and reach your final highlight color.
For a clearer look at each step in action, you can watch this full tutorial by @marenmakesit below.
Disclaimer: Results may vary depending on hair type, color history, and application technique. This is for informational purposes only and is not professional hair advice.
Dark Brown Hair Highlight Maintenance Tips
Keeping dark hair with highlights healthy and vibrant requires extra care, as lightened strands dry out faster and fade more easily over time.
- Color Safe Shampoo: Use sulfate-free formulas to protect caramel, honey, or ash tones from fading too quickly.
- Deep Conditioning Mask: Apply a rich moisturizing treatment weekly to reduce dryness, split ends, and brittle texture.
- Purple or Blue Shampoo: Use once or twice weekly to neutralize brassy orange or yellow tones common in dark-highlighted hair.
- Heat Protectant Products: Always shield hair before blow drying, curling, or straightening to reduce fading and prevent breakage.
- Regular Touch Up: Foil highlights usually need refreshing every 6 to 8 weeks, while balayage can stay fresh for several months.
When to See a Professional
Some highlighted goals are not safe to attempt without professional guidance. If dark brown hair has been chemically relaxed, permed, or heavily heat-damaged, adding bleach can cause breakage around the highlighted areas.
Going from dark brown to honey blonde or lighter in one session can also create strong brassiness that many at-home kits cannot fully correct.
A professional colorist can spread the process across multiple appointments while using bond-building treatments to help protect the hair.
Results may still vary depending on the hair’s condition, texture, and color history, but professional work often delivers a smoother and more even finish.
For full-length highlights from root to tip, foil placement requires precision and timing that is difficult to achieve at home, especially when aiming for consistent color and dimension.
Conclusion
Highlights on dark brown hair work because they add what a solid base color often lacks: movement, texture, and light.
Whether you go for soft caramel balayage that grows out quietly or structured foil highlights with a clean, defined contrast, the technique and shade you choose should fit the level of maintenance you want to manage afterward.
The at-home process is genuinely doable for subtle lifts, and the step-by-step above gives you a realistic starting point.
But for anything more dramatic, booking with someone who can plan the lift in stages will protect your hair and get you closer to what you actually want to see in the mirror.
If you’ve tried highlights on your dark brown hair or have a technique you swear by, share it in the comments.
Frequently Asked Questions
Can I Get Highlights on Dark Brown Hair without Bleach?
Yes, but non-bleach products only lift dark brown hair slightly. Noticeably lighter highlights usually require bleach for clear, vibrant results.
Do Highlights Look Good on Short Dark Brown Hair?
Yes, highlights add depth, texture, and movement to short dark brown hair. Caramel or mocha tones work especially well on layered cuts.
Will Highlights Damage My Dark Brown Hair Permanently?
Highlights can weaken hair, but proper conditioning and limited heat styling help maintain healthy strands and reduce long-term damage or breakage.
What is the Money Piece Highlight, and How is It Different from Full Highlights?
A money piece brightens front hair sections around the face, while full highlights add dimension throughout the entire head for an overall lighter look.